
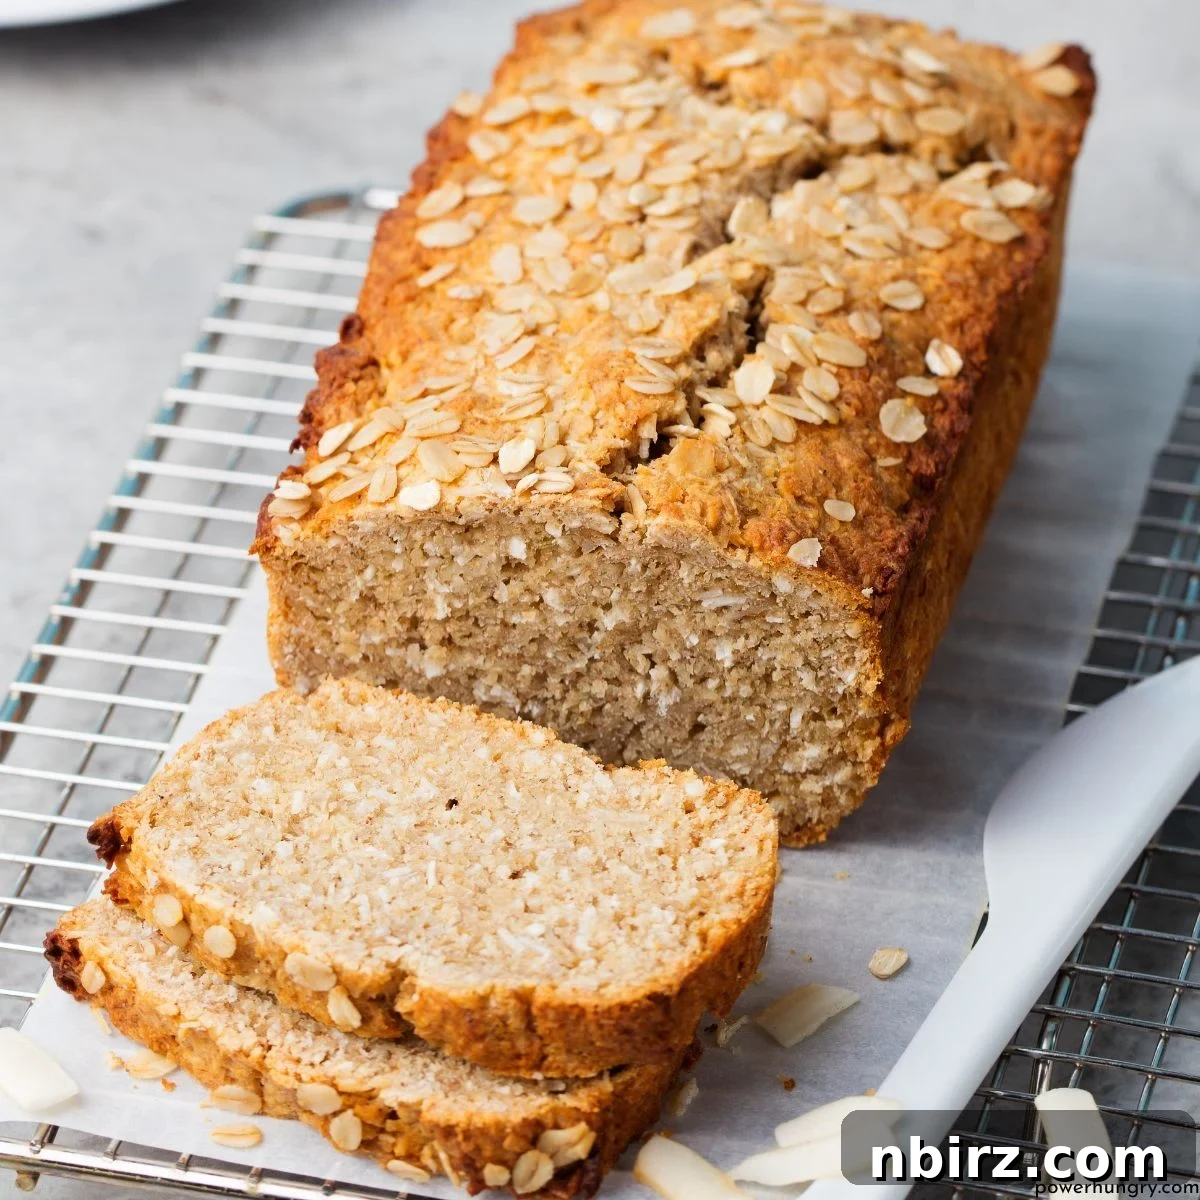
Delicious & Nutritious Chickpea Flour Oat Bread: Your Go-To Yeast-Free, Gluten-Free Loaf
Imagine a bread that’s not only incredibly delicious but also aligns perfectly with your healthy lifestyle goals. This chickpea flour oat bread recipe is precisely that—a revelation in quick baking! Crafted for speed and simplicity, you can have a satisfying loaf ready in minutes, free from yeast, gluten, added sugar, and oil. It’s a truly wholesome option that doesn’t compromise on taste or texture.
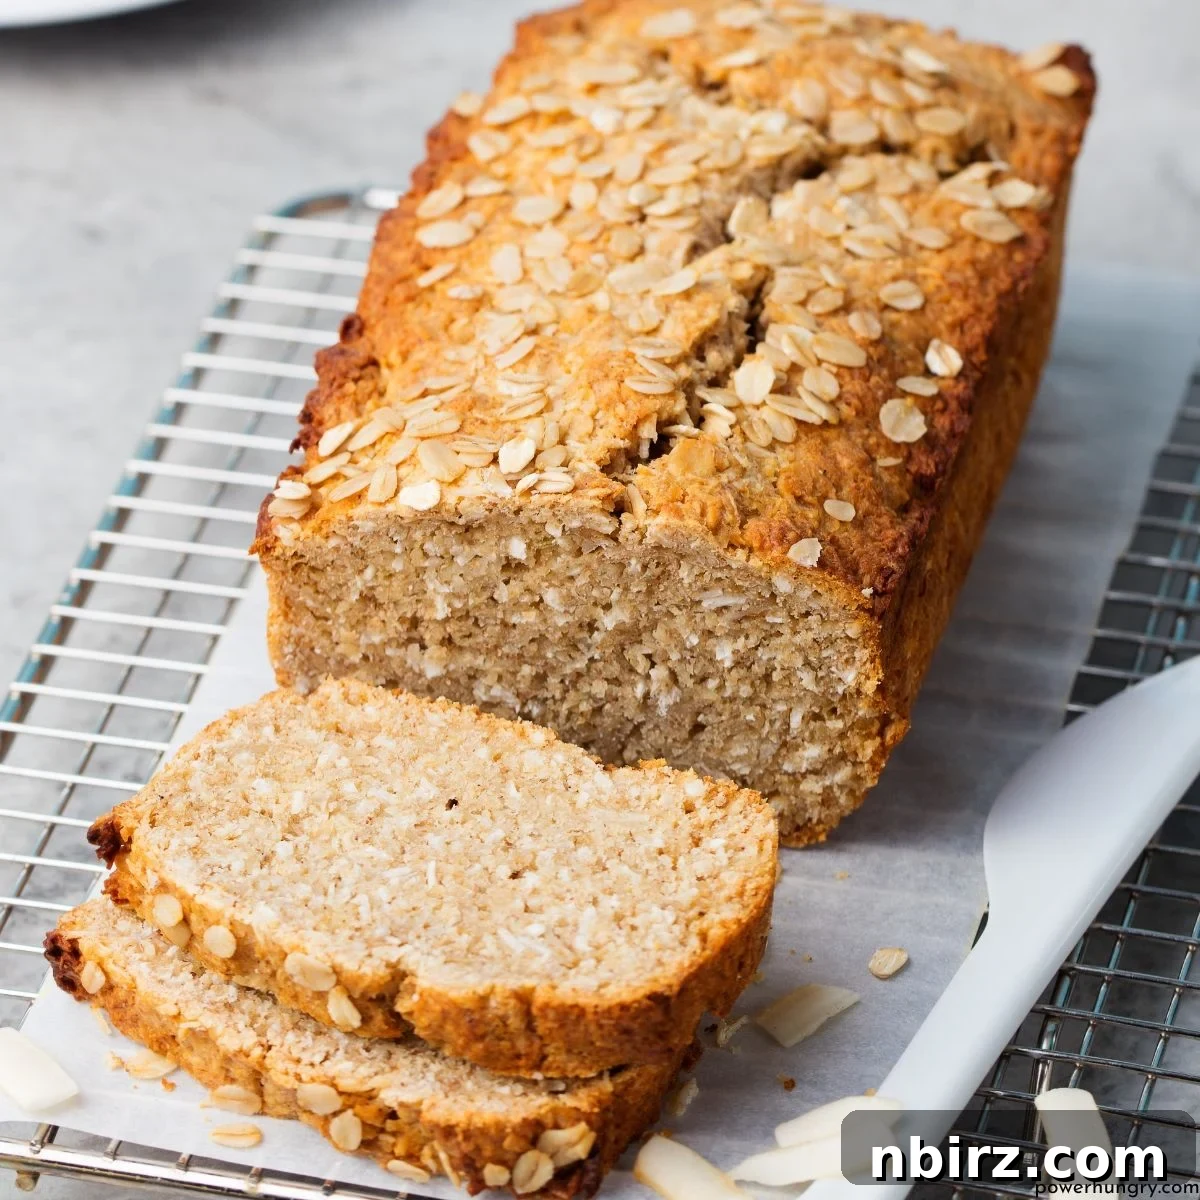
I am passionate about sharing the versatility of chickpea flour (also known as garbanzo bean flour or besan). It’s incredibly easy to integrate into a vast array of baked goods, adding a unique nutty flavor and impressive nutritional benefits. If you’re new to using it, blending it with oat flour, as we’ve done in this recipe, creates a harmonious balance of flavors and textures. The natural sweetness and delicate texture of oats perfectly complement the slightly earthy, nutty undertones of chickpea flour, resulting in an irresistible loaf that you’ll want to make again and again.
This dynamic duo of flours doesn’t just taste good; it delivers a powerful nutritional punch. The loaf is loaded with dietary fiber, promoting digestive health and sustained energy. Moreover, it provides an exceptional boost of plant-based protein, making each slice immensely satisfying on its own. While delicious plain, I particularly love it toasted, topped with a generous smear of sunflower seed butter and a dollop of your favorite fruit jam for an extra layer of indulgence.
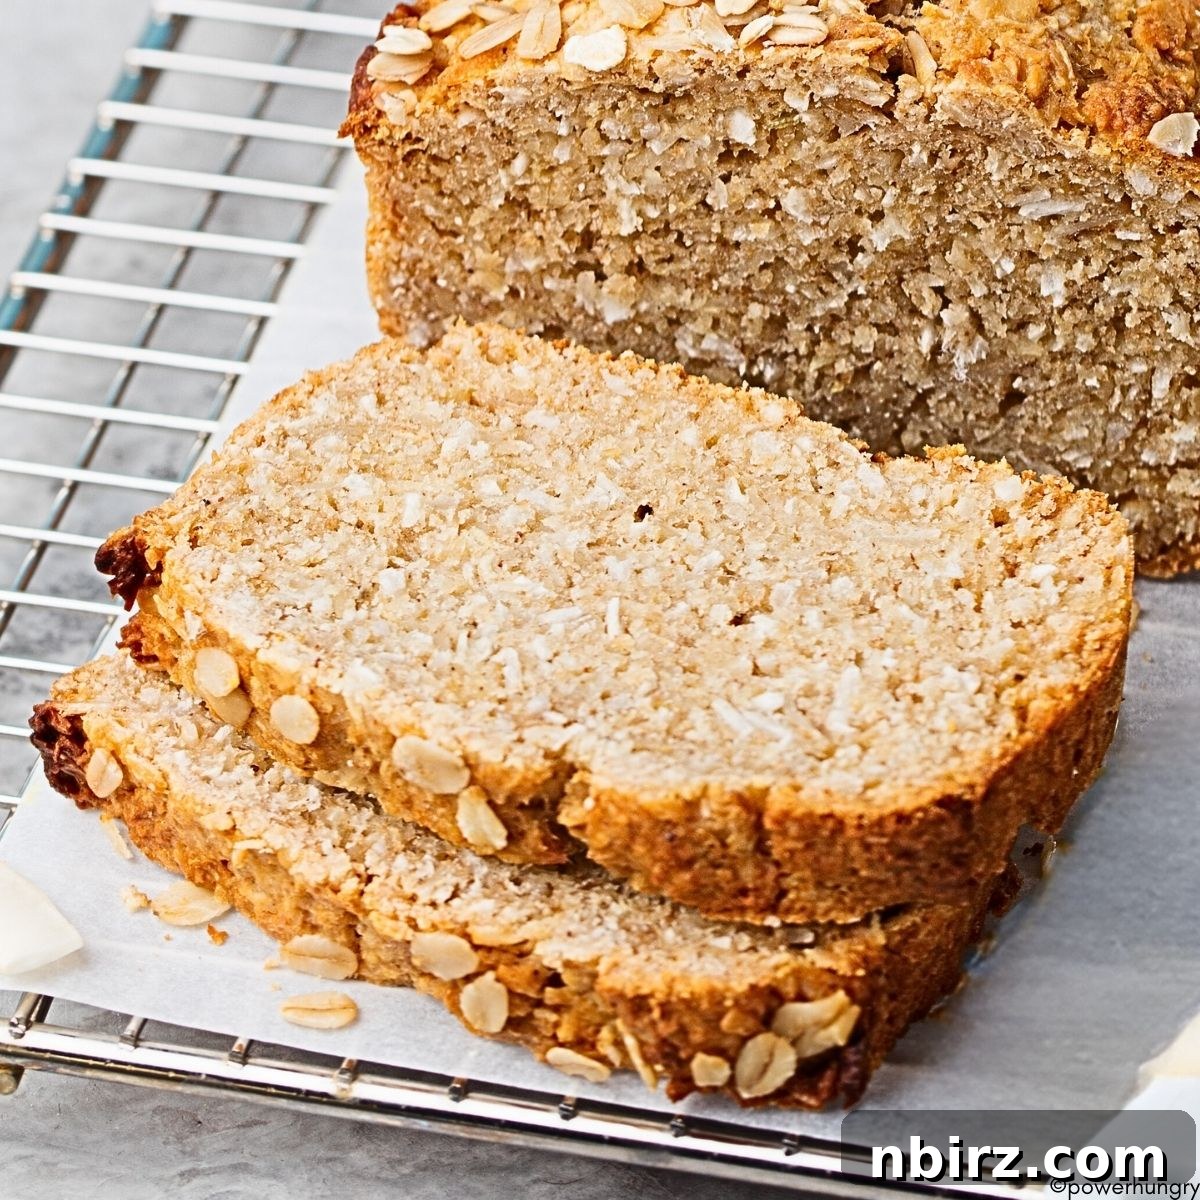
Why This Chickpea Flour Oat Bread is a Must-Try: Recipe Benefits Explored
This recipe isn’t just easy to make; it’s also incredibly adaptable to various dietary needs and health preferences. Here’s a breakdown of the fantastic benefits this bread offers:
- Vegan (Egg-Free, Dairy-Free): This bread is entirely plant-based, making it suitable for vegans, those with egg or dairy allergies, or anyone looking to incorporate more plant-based foods into their diet. We use non-dairy milk and flaxseed meal as a natural binder, ensuring a rich texture without animal products.
- Oil-Free: Achieving a delicious, moist bread without any added oils is a triumph! This reduces saturated fat content and overall calories, aligning with a whole-food, plant-based approach to eating. The natural fats from the flaxseed meal and the moisture from the non-dairy milk do all the work.
- Gluten-Free: Made exclusively with chickpea flour and oat flour, this recipe is naturally gluten-free. For those with celiac disease or gluten sensitivity, ensure you use certified gluten-free oat flour to prevent cross-contamination.
- Yeast-Free: Say goodbye to long proofing times! This quick bread relies on baking soda for its rise, meaning you can whip up a fresh loaf from start to finish in under an hour. It’s perfect for last-minute baking or for individuals with yeast sensitivities.
- Quick and Easy to Make: With minimal ingredients and straightforward steps, this recipe is incredibly beginner-friendly. There’s no kneading, no complex techniques, just simple mixing and baking.
- High Protein (5 grams per slice): Thanks to the chickpea flour and flaxseed meal, each slice offers a substantial amount of plant-based protein, helping you feel fuller for longer and supporting muscle health.
- High Fiber (3 grams per slice): Both chickpea flour and oat flour are excellent sources of dietary fiber. This contributes to healthy digestion, helps regulate blood sugar levels, and boosts overall gut health.
Understanding Your Ingredients: What You’ll Need
Creating this nourishing bread requires just a few simple, wholesome ingredients. While exact measurements are provided in the recipe card below, here’s a closer look at each component and its role:
- Chickpea Flour: Also universally known as garbanzo bean flour or besan, this flour is derived from ground chickpeas. It brings a unique, earthy, and slightly nutty flavor, a beautiful golden hue, and a dense, tender crumb to the bread. It’s also a powerhouse of protein and fiber.
- Oat Flour: Made from finely ground oats, oat flour lends a subtle sweetness, a softer texture, and additional fiber to the loaf. If you don’t have store-bought oat flour, you can easily make your own by blending rolled oats in a high-speed blender or food processor until a fine powder forms.
- Flaxseed Meal: This superfood ingredient is crucial! When combined with liquid, it forms a gel-like consistency that acts as an excellent egg substitute (often called a “flax egg”), binding the ingredients together. It also adds beneficial omega-3 fatty acids and additional fiber. Both golden and dark flaxseed meal work equally well.
- Baking Soda: Our primary leavening agent for this yeast-free bread. It reacts with an acidic ingredient (lemon juice or vinegar) to produce carbon dioxide bubbles, which cause the bread to rise and become light and airy.
- Salt: Essential for enhancing the overall flavor profile of the bread and balancing the sweetness and nuttiness.
- Nondairy Milk: Provides the necessary moisture for the batter. You can use any plain, unsweetened variety such as oat milk, almond milk, cashew milk, or hemp milk. Ensure it’s not flavored, as this can affect the bread’s taste.
- Lemon Juice or Apple Cider Vinegar: This acidic component is vital for activating the baking soda, creating the lift needed for the bread. Any light-colored vinegar can also be used.
- Optional Rolled Oats: A sprinkle of rolled oats on top adds a lovely rustic appearance and a slight textural crunch.
Crafting Your Chickpea Flour Oat Bread: Step-by-Step Directions
Making this bread is wonderfully straightforward. Follow these steps carefully for a perfect loaf every time:
- Prepare Your Oven and Pan: Begin by preheating your oven to 400°F (200°C). This ensures the oven is at the correct temperature for even baking as soon as your batter is ready. Line a 9×5-inch (22.5×12.5 cm) loaf pan with parchment paper, leaving an overhang on the longer sides to easily lift the bread out later. If you don’t mind a bit of oil, you can lightly oil or spray the pan with nonstick cooking spray instead.
- Whisk Dry Ingredients: In a large bowl, thoroughly whisk together the chickpea flour, oat flour, flaxseed meal, baking soda, and salt. Whisking ensures that the leavening agent is evenly distributed, leading to a consistent rise.
- Combine Wet and Dry: In a separate measuring cup, combine your chosen nondairy milk and lemon juice (or vinegar). Pour this wet mixture into the bowl with the dry ingredients. Stir well with a spoon or spatula until everything is just combined. Avoid overmixing, as this can develop the gluten in oat flour (though minimal) and lead to a tougher bread.
- Fill Loaf Pan and Garnish: Spoon the batter into your prepared loaf pan, spreading the top evenly with the back of a spoon or spatula. If desired, sprinkle a handful of rolled oats over the surface for added visual appeal and texture.
- Bake to Perfection: Transfer the loaf pan to your preheated oven and bake for 25 to 30 minutes. The bread is ready when it has significantly risen, the top shows visible cracks, and it has achieved a beautiful deep golden-brown color. A foolproof test is to insert a toothpick or a thin skewer into the center; if it comes out clean with no wet crumbs attached, your bread is perfectly baked.
- Cool Completely: Carefully remove the loaf pan from the oven and place it on a cooling rack. Allow the bread to cool in the pan for about 15 minutes. This cooling period helps the bread firm up before handling. After 15 minutes, gently remove the bread from the pan (using the parchment paper overhang as handles) and let it cool completely on the rack. Slicing warm bread can lead to a gummy texture, so patience is key for the best results!
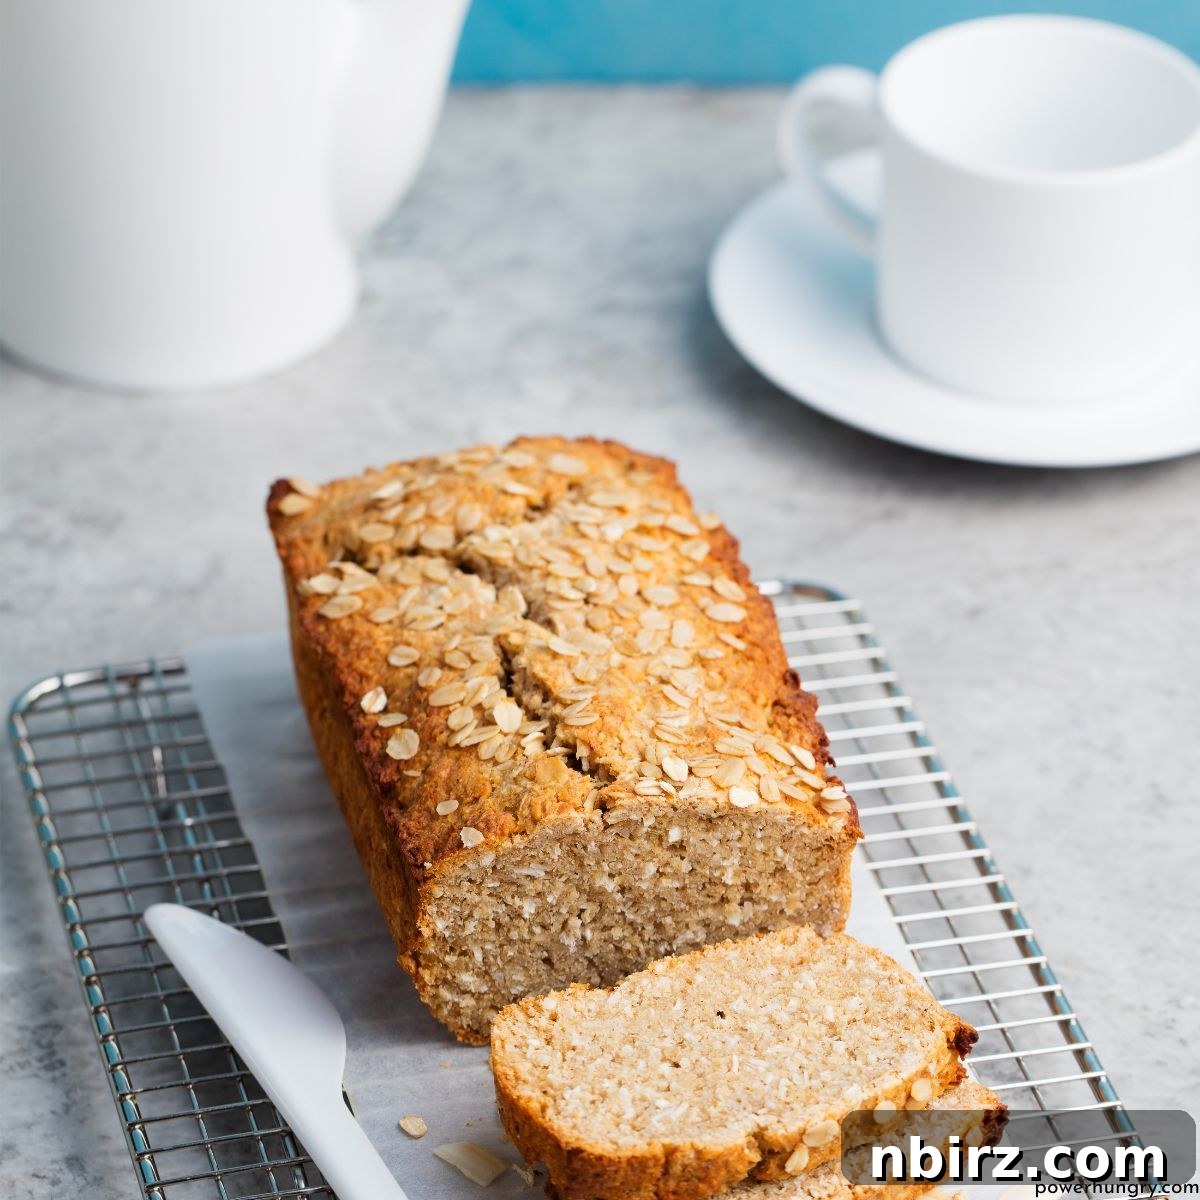
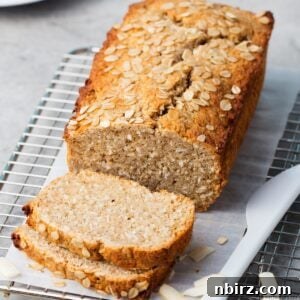
Chickpea Flour Oat Bread (Yeast-free, Oil-free, GF)
Make a satisfying loaf of chickpea flour oat bread, in minutes! High in protein and fiber, it is free of yeast, gluten, added sugar, and oil.
Equipment
-
1 9×5 inch loaf pan
Ingredients
- 1.5 cups chickpea flour
- 3/4 cup finely ground oat flour
- 1/4 cup flaxseed meal, (I used golden flaxseed meal, but dark meal will also work)
- 1 teaspoon baking soda
- 1/2 teaspoon salt
- 1.75 cups nondairy milk, (e.g., oat milk, almond milk, cashew milk, hemp milk)
- 2 teaspoons lemon juice , (or apple cider vinegar (or any light color vinegar)
- Optional: rolled oats, for sprinkling on top
Instructions
-
Preheat oven to 400F (200 C). Line a 9×5-inch (22.5×12.5 cm) loaf pan with parchment paper (if you eat some oil, you can also oil or spray (with nonstick cooking spray) the pan.
-
In large bowl, whisk the dry ingredients: chickpea flour, oat flour, flaxseed meal, baking soda and salt.
-
In a measuring cup, combine the nondairy milk and lemon juice. Add to the dry ingredients, stirring until completely combined.
-
Spoon and spread the batter into the prepared loaf pan, smoothing the top. If desired, sprinkle top with some rolled oats.
-
Bake in the preheated oven for 25 to 30 minutes until risen, the top is cracked and the color is deep golden brown. A toothpick inserted near the center should come out without crumbs attached.
-
Transfer to a cooling rack and cool for 15 minutes in the pan. Remove bread from pan and cool completely before slicing.
Notes
- Storage: Store the bread in an airtight container at cool room temperature for 2 days, in the refrigerator for 5 days, or in the freezer for up to 6 months (I recommend slicing the bread before freezing for easy portioning).
- Alternative Flours: I do not recommend swapping out the chickpea flour or oat flour for other flours in this specific recipe. I have only tested the recipe with these two flours, which have unique properties essential to the bread’s structure and texture. Feel free to explore my index for other recipes using different flour types!
- Baking powder instead of baking soda: If you prefer to use baking powder, you can substitute 1 tablespoon of baking powder (ensure it’s certified gluten-free if needed) in place of the baking soda. In this case, you can omit the lemon juice/vinegar as most baking powders are double-acting and contain their own acidic component.
Nutrition Facts (Per Slice)
Serving: 1 slice |
Calories: 96 kcal |
Carbohydrates: 13g |
Protein: 5g |
Fat: 3g |
Saturated Fat: 0.3g |
Polyunsaturated Fat: 2g |
Monounsaturated Fat: 1g |
Sodium: 212mg |
Potassium: 157mg |
Fiber: 3g |
Sugar: 2g |
Vitamin A: 5IU |
Vitamin C: 0.3mg |
Calcium: 54mg |
Iron: 1mg
Frequently Asked Questions About Chickpea Flour Oat Bread
Here are some common questions you might have when making this delightful bread:
- How should I store the chickpea flour oat bread?
To maintain its freshness, store the bread in an airtight container. It will keep well at cool room temperature for up to 2 days. For longer storage, refrigerate it for up to 5 days, or freeze it for up to 6 months. I highly recommend slicing the bread before freezing; this way, you can easily grab a single slice to toast whenever a craving strikes! - Can I swap out the chickpea flour and/or oat flour for other flours?
I do not recommend substituting the chickpea flour or oat flour for other types of flour in this particular recipe. These two flours have unique absorbency, protein content, and binding properties that are crucial to the bread’s success. This recipe has been specifically developed and tested with this combination to ensure the perfect texture and rise. If you’re looking to experiment with other flours, please check out my index for a wide variety of other recipes tailored to different flour types! - Can I use baking powder instead of baking soda?
Yes, you absolutely can! You can use 1 tablespoon of baking powder (certified gluten-free, if necessary) in place of the baking soda. If you choose this option, you should omit the lemon juice or vinegar from the recipe, as most baking powders already contain an acidic component that reacts when moistened and heated. - Can I add sweeteners or other mix-ins to the bread?
While this recipe is designed to be free of added sugar, you can certainly customize it! For a touch of sweetness, consider adding a tablespoon or two of maple syrup, a few drops of liquid stevia, or a sugar substitute like erythritol. For mix-ins, dried cherries (as mentioned in the original context), raisins, chopped nuts (like walnuts or pecans), or seeds (such as pumpkin or sunflower seeds) would be delicious additions. Spices like cinnamon or nutmeg could also enhance the flavor profile. - Is this bread suitable for meal prepping?
Absolutely! This chickpea flour oat bread is an excellent choice for meal prepping. Its sturdy texture holds up well, and as mentioned in the storage tips, it freezes beautifully. Bake a loaf (or two!) on the weekend, slice it, and freeze the portions. You’ll have healthy, homemade bread readily available for quick breakfasts, snacks, or light lunches throughout the week. - What kind of loaf pan is best?
A standard 9×5-inch (22.5×12.5 cm) metal loaf pan works perfectly. You can also use a ceramic or glass loaf pan, but baking times might vary slightly. Always line your pan with parchment paper for easy removal and to ensure the bread doesn’t stick, especially since this is an oil-free recipe.
Creative Serving Suggestions for Your Homemade Loaf
While a simple slice of this bread is satisfying, it’s also a versatile base for many toppings and preparations:
- Classic Toast: Toast it lightly and spread with your favorite nut or seed butter and a dollop of fruit jam or preserves.
- Savory Delight: Top with mashed avocado, a sprinkle of everything bagel seasoning, or a smear of hummus and sliced cucumber.
- French Toast Alternative: For a unique twist, try dipping slices in a plant-based custard mixture and pan-frying for a healthy, gluten-free French toast.
- Mini Sandwiches: Its sturdy texture makes it ideal for small open-faced sandwiches with your favorite vegan spreads and fresh veggies.
- Soup Companion: Enjoy a slice alongside a hearty bowl of lentil soup or a vibrant vegetable stew.
Bake a Healthier Future with Chickpea Flour Oat Bread
This chickpea flour oat bread recipe is more than just a delicious loaf; it’s a testament to how simple, wholesome ingredients can come together to create something truly special. Packed with protein and fiber, and completely free from common allergens and added oils, it’s a bread you can feel good about enjoying every day. Whether you’re new to gluten-free baking or a seasoned pro looking for a quick, healthy option, this recipe is designed to impress with its ease, flavor, and incredible nutritional benefits. Give it a try, and let this wholesome loaf become a staple in your kitchen!
Discover More Healthy Plant-Based Recipes
- Vegan Coconut Flour Pumpkin Cookies {Nut-Free, Grain-Free}
- Vegan Gluten-Free Pumpkin Bread {easy, oil-free option}
- 3 Ingredient Vegan Zucchini Muffins (Grain free, Oil free)
- 4-Ingredient Chocolate Quinoa Muffins (Vegan, Oil-Fee, GF)
- Banana Bread Protein Granola {vegan, GF}
Like this recipe? Rate and comment below! Your feedback helps others discover delicious, healthy baking.