
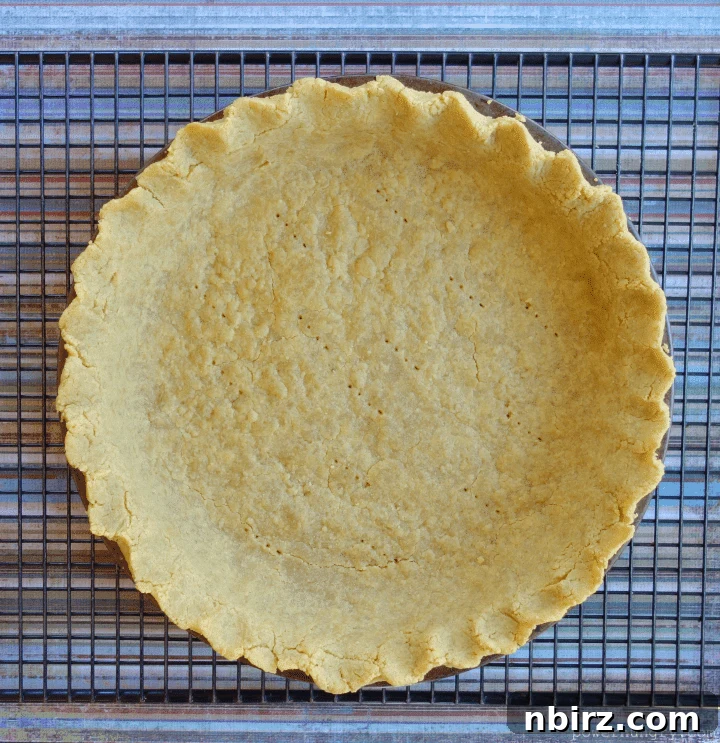
The Ultimate No-Roll Chickpea Flour Pie Crust Recipe
Imagine a pie crust so tender, golden, and delicious that no one would ever guess it’s made with chickpea flour. Now, imagine that same pie crust is incredibly easy to make – a one-bowl wonder that requires absolutely no rolling! This is it: the No-Roll Chickpea Flour Pie Crust you’ve been waiting for.
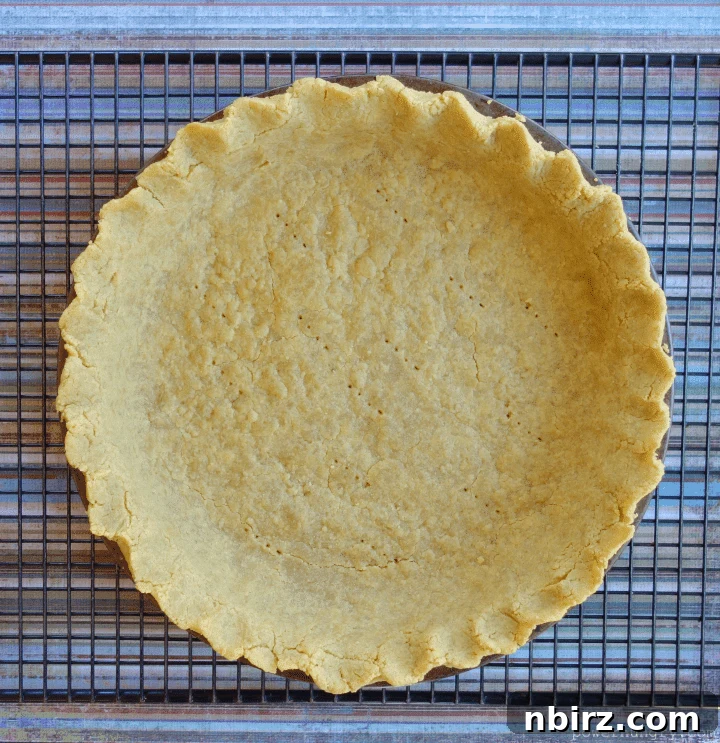
This recipe is perfect for Thanksgiving, holiday baking, or any time you crave a delicious pie without the fuss. It’s a game-changer for those seeking gluten-free, grain-free, or vegan options, without compromising on taste or texture. Let’s dive in and discover how easy it is to create this amazing pie crust.
Why You’ll Love This Easy Grain-Free Vegan Pie Crust
This chickpea flour pie crust is a fantastic alternative to traditional pie crusts, offering several key benefits that make it a standout recipe. If you’re looking for a healthy, versatile, and simple-to-make option, this is the crust for you. It’s also a great option for individuals with dietary restrictions or those simply wanting to incorporate more plant-based meals into their lives.
Previously, I shared recipes for Tiger Nut Flour Crust and Coconut Flour-Almond Flour Pie Crust. This chickpea flour version completes the trifecta of easy, grain-free crust options.
Life happens, and sometimes a nasty cold can throw off your baking schedule (as it did mine!). But don’t worry, it’s always a good time to bake a pie! You’ll absolutely adore everything about this simple and forgiving pie crust. It will quickly become a go-to in your kitchen.
Introducing the No-Roll, Chickpea Flour Pie Crust!
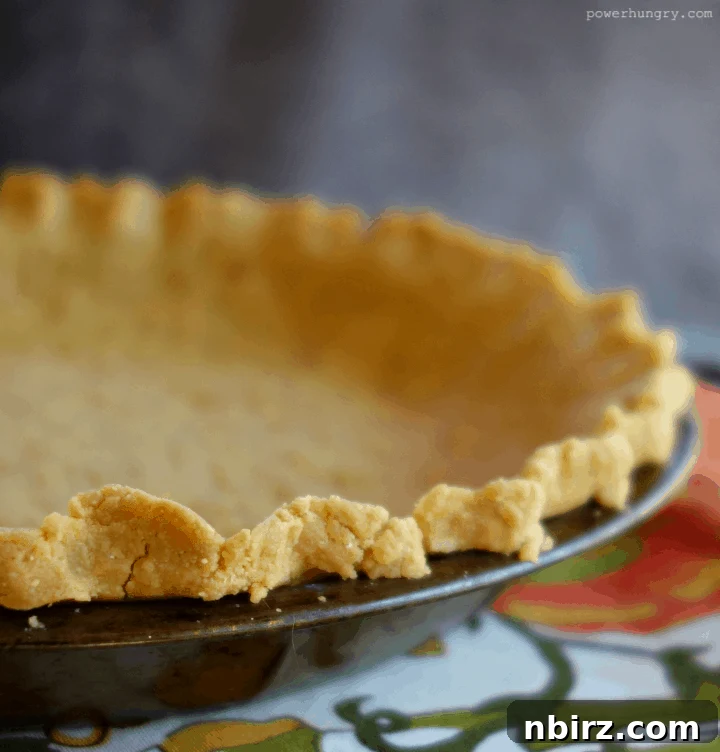
Key Benefits of This Chickpea Flour Pie Crust
What makes this pie crust so special? Here’s a quick rundown of its amazing features:
- No Rolling Required: Say goodbye to the stress of rolling out dough! Simply press it directly into your pie pan.
- Grain-Free: A perfect option for those avoiding grains in their diet.
- Gluten-Free: Suitable for individuals with gluten sensitivities or celiac disease.
- Vegan: Made with plant-based ingredients like coconut oil (with options for butter or ghee if you’re not vegan).
- One-Bowl Recipe: Minimal cleanup! Everything is mixed in a single bowl.
- Quick & Easy: From start to oven in just 10 minutes!
The Beauty of No-Rolling: Simplicity at its Finest
Yes, you read that correctly! No rolling is needed to make this incredibly easy pie crust. Furthermore, you can mix it all up in minutes, with gusto, in a single bowl. The best part? It’s practically impossible to overwork the dough, so no need to worry about tough crusts. No mixer or food processor required! Hooray!
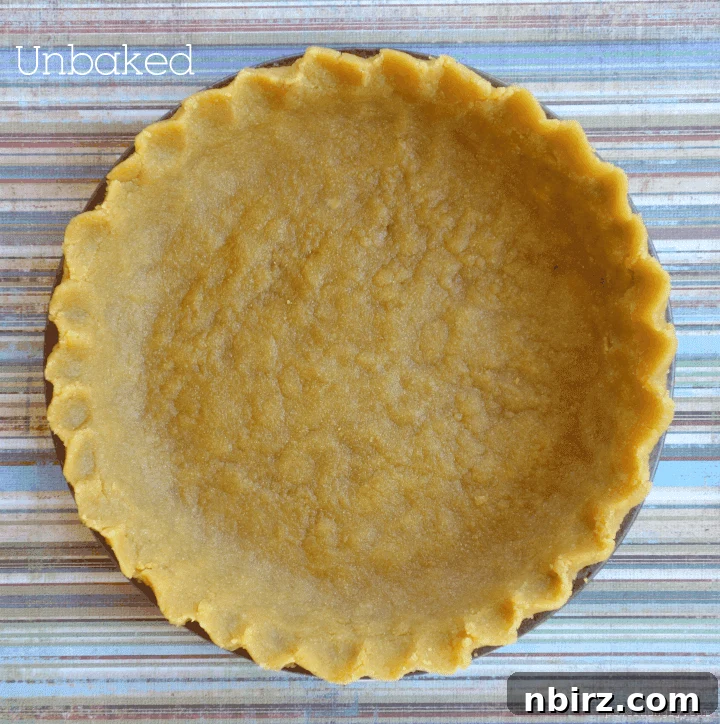
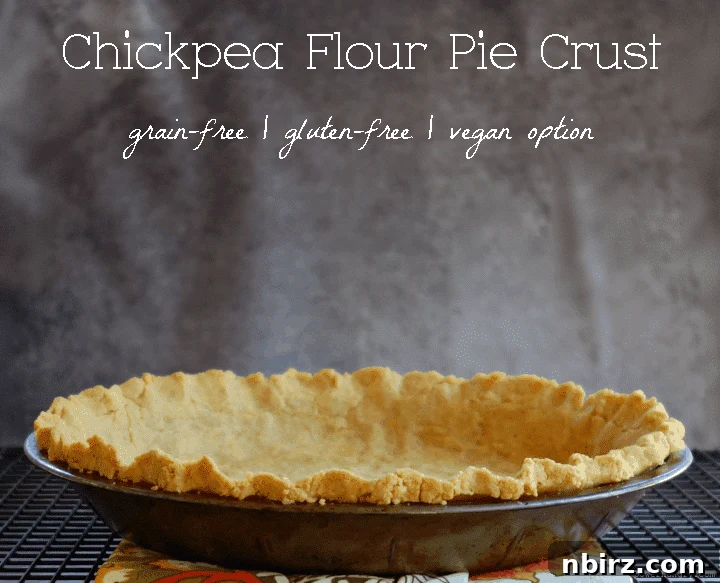
The dough is quite moist, a little bit crumbly, and boasts a sunny yellow color (one of the few pie crusts that lightens as it bakes!). Don’t be alarmed; this is exactly how it should be! Embrace the process and trust the recipe.
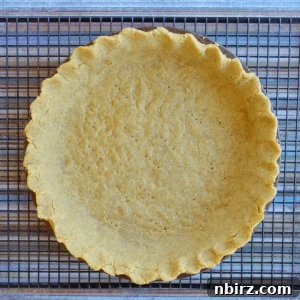
Simply place all of the dough into a 9-inch pie pan and press it evenly against the bottom and up the sides. You’ll have plenty to create a crimped edge if you desire, adding a touch of elegance to your homemade pie.
Essential Ingredients for Your Chickpea Flour Pie Crust
The success of this recipe lies in the quality of the ingredients. Here’s what you’ll need:
- Chickpea Flour: Also known as garbanzo bean flour, besan, or ceci flour. This is the star of the show!
- Coconut Oil: Adds moisture and a subtle flavor (see recipe card below for alternative ingredient options).
- Maple Syrup: A natural sweetener that complements the chickpea flour (alternative sweetener options are provided in the Notes section of the recipe card below).
- Water: A small amount is needed to bring the dough together.
- Salt: (Optional) Enhances the flavor of the crust. Adjust to your taste or dietary needs.
For precise measurements, please refer to the recipe card at the end of this post. You can toggle between US Customary (volume) and Metric (weights) for your preferred measurement method.
Step-by-Step Directions for Perfect Pie Crust
Follow these simple steps to create your amazing chickpea flour pie crust. For complete and detailed instructions, including precise measurements, be sure to check out the recipe card below.
- Combine Dry Ingredients: In a medium bowl, whisk together the chickpea flour and salt. This ensures an even distribution of the salt throughout the dough.
- Add Wet Ingredients: Add the softened coconut oil, water, and maple syrup to the bowl.
- Mix the Dough: Using your fingers, work the wet ingredients into the flour mixture until completely blended. Don’t worry about “overworking” the dough – it’s virtually impossible!
- Press into Pan: Evenly press the dough into the bottom and sides of a 9-inch pie plate. Crimp the edge, if desired, for a decorative finish.
- Chill the Dough: Loosely cover the pie plate with plastic wrap and refrigerate for at least 1 hour, or freeze for 20 minutes. This chilling step helps the crust hold its shape during baking.
- Preheat Oven: Preheat your oven to 350°F (175°C).
- Baking Options:
- Unbaked Crust: The crust is ready for use in baked pie recipes that call for an unbaked crust (i.e., simply fill and bake). You can also loosely cover it with plastic wrap and refrigerate until ready to fill and bake.
- Par-baked Crust: Prick the bottom of the crust 5 to 6 times with a fork. Bake in the preheated oven for 10 minutes. Cool on a wire rack and use in baked pie recipes that call for a par-baked crust. This is ideal for pies with very wet fillings.
- Fully-baked Crust: Prick the bottom of the crust 5 to 6 times with a fork. Bake in the preheated oven for 20 to 25 minutes, or until lightly golden brown. Cool on a wire rack and use in recipes that call for a fully-baked crust.
Why This Pie Crust is Delicious, Versatile, and Fuss-Free
Like the other grain-free pie crusts I’ve shared, this chickpea flour version is incredibly versatile and suitable for all your favorite pies, including savory options. It has the delightful short, tender texture of a classic all-purpose flour pie crust – really! – but without the fuss of precise mixing, rolling, and the need for pie weights. This makes it a perfect choice for both novice and experienced bakers.
Enjoy the ease and simplicity of this recipe and experiment with your favorite pie fillings! Whether it’s a classic apple pie, a creamy chocolate pie, or a savory quiche, this crust is ready to take on any challenge.
Happy baking, everyone!
Explore These Related Recipes
Looking for more delicious and healthy recipes? Check out these related options:
- 4-Ingredient Vegan Flax Muffins (GF, oil-free)
- Coconut Flour Almond Flour Pie Crust {keto, vegan, no rolling}
- 2-Ingredient Buckwheat Pizza Crust (V, GF)
- Vegan Pumpkin Pie Protein Bars {no-bake}
- Cauliflower Pizza Crust (Grain-Free, Gluten-Free)
No-Roll Chickpea Flour Crust (V, GF, grain-free)
Ingredients
-
1 and 1/2 cups, 180 g chickpea flour -
1/2 teaspoon fine sea salt, optional/adjustable -
4.5 tablespoons 64 g coconut oil (see notes for options), softened -
3 tablespoons cold water -
1 tablespoon maple syrup
Instructions
-
In a medium bowl, whisk together the chickpea flour and salt.
-
Add the softened coconut oil, water and maple syrup; using your fingers, work the butter into the flour mixture until completely blended (do not worry about “overworking” the dough–you cannot overwork it!)
-
Evenly press the dough into the bottom and sides of a 9-inch pie plate, crimping edge, if desired. Loosely cover with plastic wrap and refrigerate for at least 1 hour or freeze for 20 minutes.
-
Preheat oven to 350F.
-
Unbaked Crust: the crust is ready for use in baked pie recipes calling for an unbaked crust (i.e., simply fill and bake). It can also be loosely covered with plastic wrap and refrigerated until ready to fill and bake.
-
Par-baked Crust: Prick the bottom of crust 5 to 6 times with fork. Bake in preheated oven for 10 minutes. Cool on a wire rack and use in baked pie recipes calling for par-baked crust.
-
Fully-baked Crust: Prick the bottom of crust 5 to 6 times with fork. Bake in preheated oven for 20 to 25 minutes until light golden brown. Cool on a wire rack and use in recipes calling for fully-baked crust.
Notes
Savory Pie Crust: Omit the maple syrup and add an extra 2 to 3 teaspoons of water.
Sweetener Options: An equal amount of granulated sweetener (e.g., coconut sugar) + 2 to 3 extra teaspoons water can also be used in place of the maple syrup. If you do not follow a vegan diet, an equal amount of honey can be used in place of the maple syrup.
Note: Nutrition calculations were made using coconut oil.