
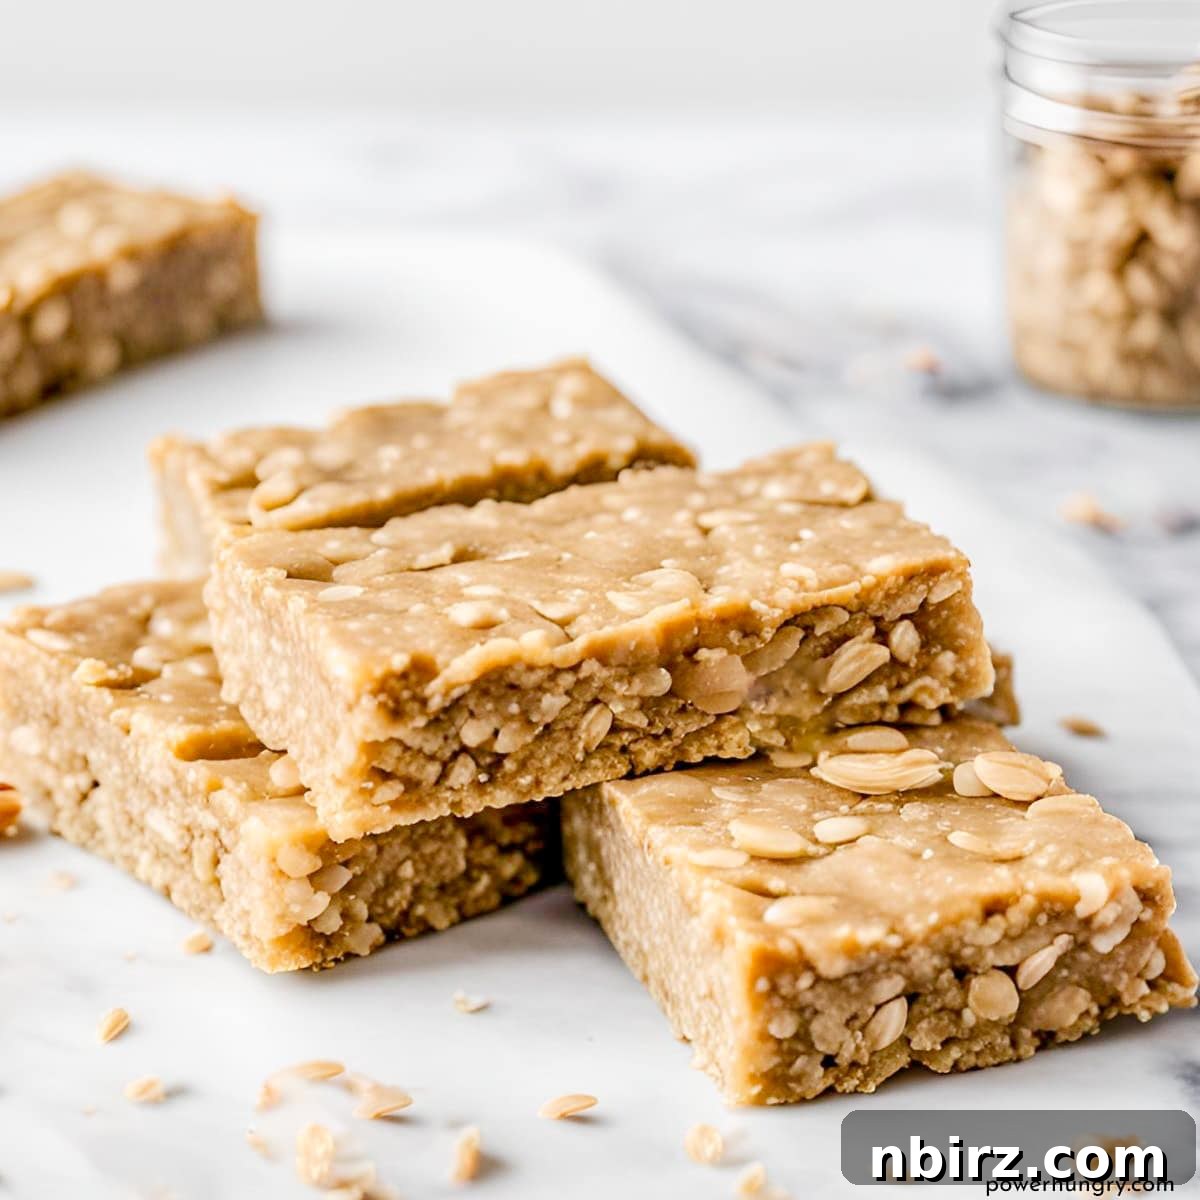
Experience the ultimate guilt-free indulgence with these Homemade Vegan No-Bake Cookie Dough Protein Bars. Exceptionally easy to prepare, packed with protein, completely gluten-free, oil-free, and incredibly cost-effective, these bars are a delicious solution for healthy snacking. Best of all? They require just four simple ingredients!
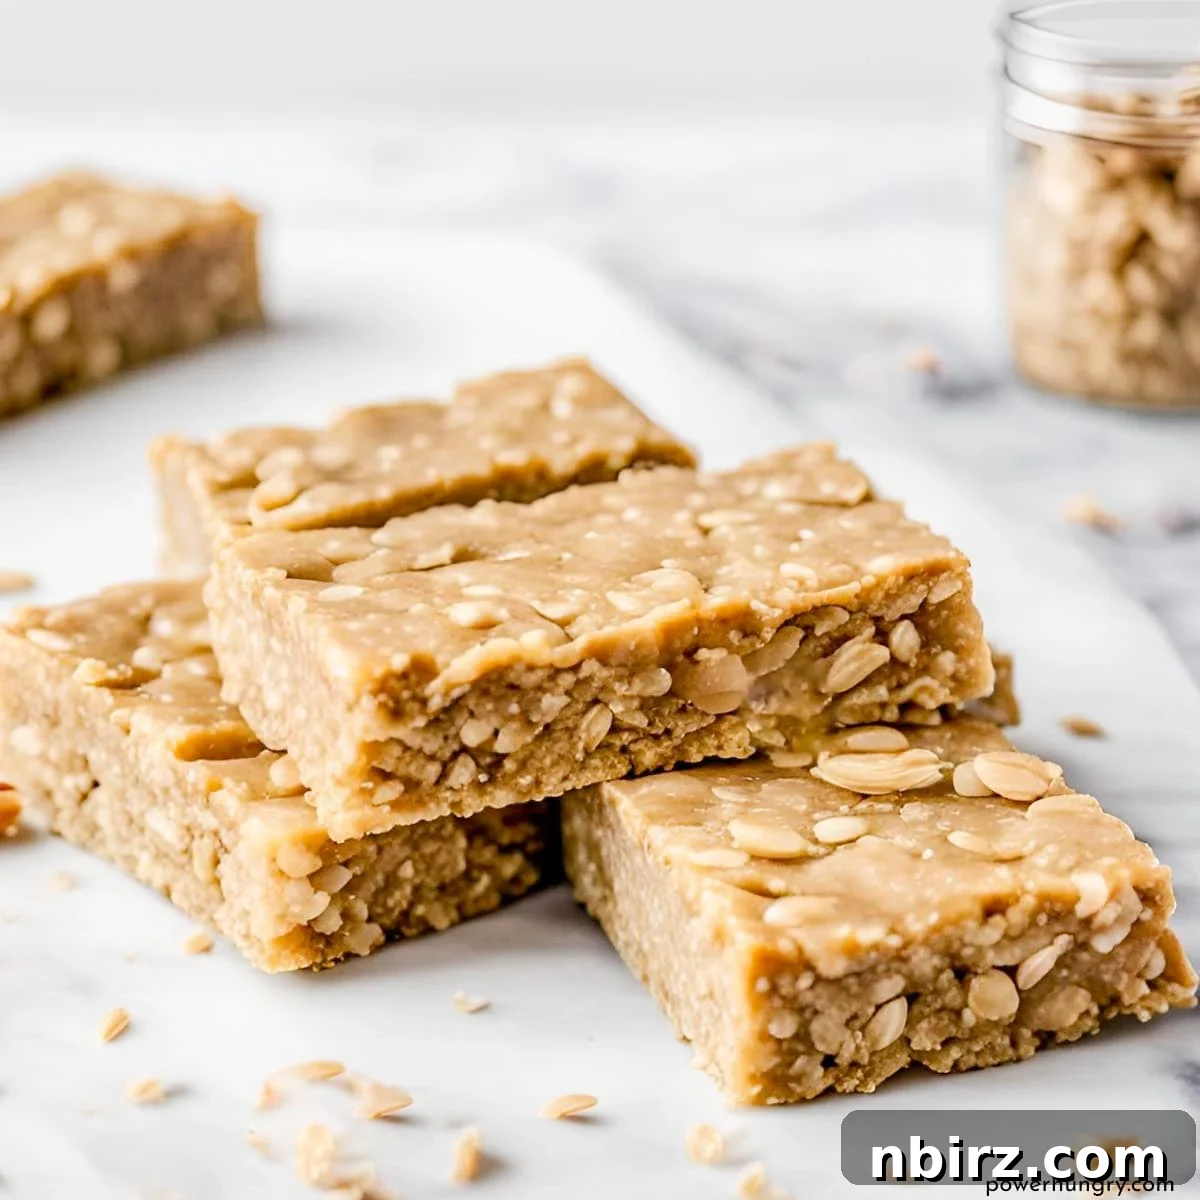
Crafting Your Own Junk-Free Vegan Protein Bars for Peak Performance
In today’s fast-paced world, finding convenient, healthy snack options that truly nourish your body can be a challenge. Store-bought protein bars often come with a hefty price tag and a list of questionable ingredients—fillers, artificial sweeteners, and unhealthy oils—that contradict the very idea of a “health” bar. This is precisely why making your own protein bars at home has become a game-changer for many, including myself and my husband.
For years, I approached my fitness routine with a general belief that a healthy diet was sufficient to meet all my nutritional needs, especially post-workout. While a balanced diet is undeniably crucial, I soon discovered a critical gap in my strategy: inadequate protein intake immediately following intense training sessions. I’d push hard in my workouts, embark on long-distance runs, and yet consistently felt a lingering fatigue and struggled to make significant progress in terms of muscle gain or endurance improvement, despite ample rest.
It took a brief consultation with a sports nutritionist to highlight the missing piece of the puzzle. Within minutes, it became clear: my body craved more protein, particularly in the vital post-exercise window. This realization transformed my approach to nutrition, elevating protein bars and other protein-rich snacks from a mere convenience to an indispensable component of my daily routine, as essential as the workouts themselves.
The good news, and the exciting revelation, is that crafting a basic, wholesome, and high-protein bar at home is surprisingly simple and dramatically more affordable than its commercial counterparts. You don’t need fancy equipment or a culinary degree; just a few core ingredients and a desire for healthier choices. Get ready to embrace your new favorite treat: these incredible Vegan No-Bake Cookie Dough Protein Bars. They offer all the satisfying flavor of cookie dough with none of the guilt, providing the perfect nutrient boost your body deserves.
Why Choose This Recipe? Unbeatable Benefits of Our Protein Bars
This recipe isn’t just about making a snack; it’s about making a smarter, healthier choice for your body and your wallet. Here are the key benefits that make these homemade vegan protein bars an absolute must-try:
- Vegan (Egg-Free, Dairy-Free): Perfect for those following a plant-based diet or anyone looking to reduce their intake of animal products. These bars ensure you get your protein fix without compromising your ethical choices or dietary restrictions. They are naturally free from cholesterol and often boast a lower environmental footprint.
- Gluten-Free: By using certified gluten-free rolled oats, these bars become a safe and delicious option for individuals with celiac disease, gluten sensitivity, or those simply choosing to avoid gluten in their diet. You can enjoy a wholesome snack without worrying about digestive discomfort.
- Oil-Free (No Coconut Oil, Vegetable Oil, or Olive Oil): Many protein bars rely on added oils, which can increase calorie count and sometimes introduce less healthy fats. Our recipe completely skips added oils, making it a lighter and cleaner option. The creaminess comes purely from natural nut or seed butter.
- Only 4 Ingredients: Simplicity is key! With just four core ingredients, these bars are incredibly straightforward to make. This minimal ingredient list also means you know exactly what you’re putting into your body, free from hidden additives.
- Customizable (e.g., Flavor Add-ins, Stir-ins, Toppings): While delicious on their own, these bars are a fantastic canvas for your creativity. Easily adapt the flavor profile with various spices, extracts, nuts, dried fruits, or a touch of chocolate to suit your cravings and dietary preferences.
- No-Bake: Forget preheating ovens and long baking times. This recipe is entirely no-bake, saving you time and effort in the kitchen, especially on busy days or when you don’t want to heat up your home.
- Quick and Easy to Make: From start to finish, the active preparation time for these bars is minimal, often taking less than 15 minutes. The longest part is the chilling, which requires no active input from you. This makes them ideal for meal prep and busy schedules.
Essential Ingredients for Wholesome Homemade Protein Bars
The beauty of these no-bake protein bars lies in their simplicity and the quality of their few ingredients. Each component plays a crucial role in delivering flavor, texture, and powerful nutrition. Focusing on natural, high-quality ingredients ensures a truly “junk-free” snack.
The precise quantities for each ingredient are detailed in the comprehensive recipe card found at the conclusion of this post. For your convenience, you can easily switch between US Customary (volume) and Metric (weights) measurements.
- Old-Fashioned or Quick-Cooking Rolled Oats (certified gluten-free, as needed): Oats form the foundational bulk and provide a significant source of complex carbohydrates and dietary fiber. Old-fashioned (rolled) oats offer a slightly chewier texture, while quick-cooking oats can result in a smoother, more uniform bar. If you have a gluten sensitivity or celiac disease, it’s crucial to select oats explicitly labeled “certified gluten-free” to avoid cross-contamination. Oats contribute to satiety and provide sustained energy, making them an excellent base for a protein-packed snack.
- Plain Nondairy Milk (e.g., almond, rice, soy, hemp): The liquid component that binds all the ingredients together, creating that desirable cookie dough consistency. Using plain, unsweetened nondairy milk allows you to control the overall sweetness of the bars and ensures they remain vegan. Almond milk is a popular choice for its mild flavor, but rice, soy, or hemp milk work equally well, each contributing slightly different nutritional profiles.
- Natural, Unsweetened Nut or Seed Butter (e.g., peanut butter, cashew butter, almond butter, sunflower seed butter, tahini): This ingredient is a triple threat: it provides healthy fats, adds more protein, and acts as the primary binder for the bars. Opt for “natural” varieties that list only nuts/seeds and perhaps a touch of salt, avoiding those with added sugars or hydrogenated oils. Peanut butter offers a classic flavor, while almond or cashew butter provides a milder, creamier taste. For those with nut allergies, sunflower seed butter (sunbutter) or tahini are excellent, safe alternatives.
- All-Natural Vegan Vanilla Protein Powder: The star of the show for boosting the protein content! A good quality vegan protein powder, typically derived from peas, rice, hemp, or a blend, ensures these bars are truly high in protein. Vanilla flavor complements the cookie dough profile perfectly, but you could experiment with unflavored or other mild flavors if desired. Look for brands with minimal added ingredients and sweeteners. The protein helps with muscle recovery and keeps you feeling full and satisfied.
Step-by-Step Guide: Creating Your Perfect No-Bake Protein Bars
Please note that the comprehensive instructions, along with exact measurements, are also conveniently laid out in the recipe card below.
Making these no-bake protein bars is incredibly simple and requires minimal culinary skill. Follow these steps for perfect results every time:
- Prepare Your Pan: First, select an 8-inch (20 cm) square baking pan. Line it thoroughly with either foil or parchment paper, ensuring there’s enough overhang on the sides to easily lift the bars out once firm. This step is crucial for effortless removal and clean-up.
- Powder the Oats: Place your chosen rolled oats (old-fashioned or quick-cooking) into a high-speed blender or a food processor. Process the oats until they transform into a fine, flour-like powder. This step helps create a smooth, even texture for your bars, preventing them from being too chunky.
- Combine Wet Ingredients: Add the plain nondairy milk and your natural nut or seed butter to the food processor bowl with the oat powder. Process the mixture using short, on/off pulses. Continue to process until all ingredients are well-blended and the mixture appears smooth and cohesive. Be sure to stop once or twice to scrape down the sides and bottom of the bowl with a rubber spatula, ensuring everything is thoroughly incorporated.
- Incorporate Protein Powder: Now, add the vegan vanilla protein powder to the mixture in the processor bowl. Again, use on/off pulses to process. It’s important to mix until all the protein powder is fully incorporated and no dry streaks remain. Just like before, pause and scrape down the sides and bottom of the bowl with a rubber spatula one or two times to guarantee an even blend. (Tip: If your nut butter is unsalted, consider adding a tiny pinch of sea salt to the dough at this stage to enhance the flavors.)
- Shape and Chill the Bars: Transfer the thick, cookie dough-like mixture into your prepared pan. Place a large piece of parchment paper, wax paper, or plastic wrap directly on top of the bar mixture. Use this barrier to firmly press and spread the dough evenly across the bottom of the pan, flattening it into a uniform layer. Cover the pan and refrigerate it overnight until the bars are very firm. Alternatively, if you’re short on time, place the pan in the freezer for about one hour, or until solid enough to cut.
- Cut into Bars: Once the mixture is thoroughly chilled and firm, use the foil or parchment paper liner to carefully lift the entire slab of protein bar dough from the pan and transfer it to a clean cutting board. Gently peel off the liner. Using a sharp knife, cut the large slab into 8 equally sized bars. You can adjust the size to your preference, creating smaller bite-sized pieces or larger, more substantial bars.
FAQs: All Your Questions About Vegan Protein Bars Answered
Here are answers to some of the most common questions about making, storing, and customizing your delicious homemade vegan no-bake protein bars:
- How Should I Store the Bars to Keep Them Fresh?
For optimal freshness and to maintain their firm, chewy texture, it’s best to individually wrap each bar tightly in plastic wrap. This prevents them from drying out and sticking together. You can then store the wrapped bars at cool room temperature for up to 1 day if you plan to consume them quickly. For longer storage, keep them in the refrigerator for up to 2 weeks. If you want to prepare a large batch, these bars freeze beautifully! Place the individually wrapped bars in an airtight container or freezer bag and freeze for up to three months. To enjoy a frozen bar, simply let it thaw at room temperature for about 1 hour before eating.
- What is the Taste and Texture of These No-Bake Vegan Cookie Dough Bars?
These bars boast a wonderfully firm, yet slightly fudge-like texture, reminiscent of dense cookie dough. The flavor profile is subtly sweet with a prominent oat and vanilla essence, which is beautifully complemented by the rich, creamy notes of your chosen nut or seed butter. The specific type of nut or seed butter you use will significantly influence the overall taste, ranging from the classic sweetness of peanut butter to the earthy depth of tahini or the buttery smoothness of cashew butter.
- Can I Customize the Flavor of the Bars with Add-Ins?
Absolutely! One of the greatest advantages of this recipe is its versatility. You can personalize your bars in countless creative ways. Consider swirling in a slick of melted chocolate, adding warming spices like cinnamon, ginger, or pumpkin pie spice for a seasonal twist, or a few drops of natural extracts such as almond or peppermint for distinct flavor notes. Chopped nuts (walnuts, pecans, almonds) or dried fruits (cranberries, raisins, finely chopped dates) can add delightful texture and bursts of flavor. Even a handful of your favorite dairy-free chocolate chips can transform them into a decadent treat!
- How Can I Make the Bars Sweeter if I Prefer a Richer Taste?
These bars are designed to be minimally sweet, relying on the natural flavors of the ingredients. If you have a sweeter tooth and prefer your vegan protein bars a bit more indulgent, there are several natural ways to enhance their sweetness. You can fold in a few tablespoons of dairy-free mini chocolate chips, some finely chopped dried fruit like dates or apricots, or even a sprinkle of unsweetened coconut flakes directly into the dough. Alternatively, or in addition, you can mix in a small amount of your favorite natural sweetener, such as mashed dates, a spoonful of coconut sugar, a dash of stevia, or a liquid sweetener like agave nectar or maple syrup. Start with a small amount and adjust to taste.
- Is it Possible to Add Chocolate to These Bars?
Yes, and we highly recommend it for chocolate lovers! There are several ways to infuse these bars with chocolatey goodness. You can press dark chocolate chips into the top of the bars before chilling, or drizzle them with melted dairy-free chocolate once they are firm. For a truly decadent “chocolate chip cookie dough” experience, fold miniature dairy-free chocolate chips or finely grated dark chocolate directly into the dough mixture before pressing it into the pan.
- I Don’t Need the Bars to be Vegan. Can I use Whey Protein instead of Vegan Protein?
While this recipe is crafted for vegan protein powder, you can adapt it for whey protein, but with a crucial modification. Whey protein typically absorbs liquid differently than plant-based proteins, and if used as written, the bars would likely turn out gooey, sticky, and unable to hold their shape. To successfully use whey protein, you’ll need to adjust the wet-to-dry ingredient ratio. Increase the total amount of oats to 2 cups (approximately 200 grams total oats) and reduce the amount of nondairy milk to 1/2 cup (118 ml). This adjustment will help achieve the desired firm, sliceable consistency.
- Can I Form Protein Balls Instead of Bars?
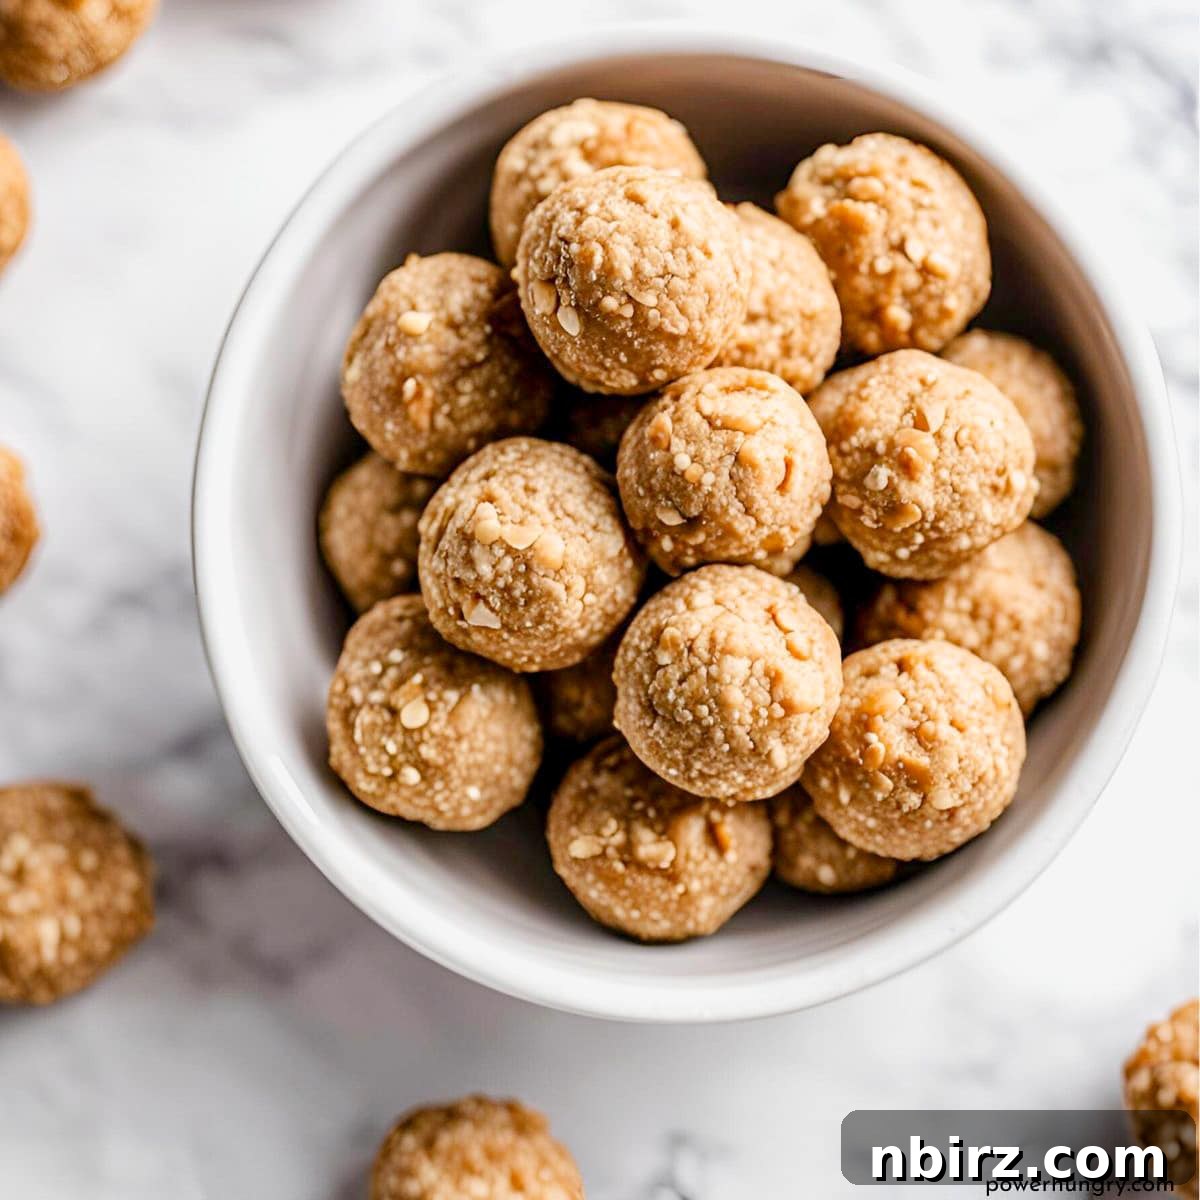
Absolutely! The versatile dough can be shaped in any way that suits your preference. Instead of pressing it into a pan, you can roll small portions into protein balls, create mini free-form bars, or even press them into fun shapes using cookie cutters. This is a great option for portion control or for a quick, bite-sized snack.
- Can I use Oat Flour in Place of the Rolled Oats?
Yes, you can substitute oat flour for rolled oats. If using pre-made oat flour, replace the rolled oats with an equal weight of oat flour (100 grams). This typically translates to about 1 cup minus 2.5 tablespoons of oat flour. Ensure your oat flour is also certified gluten-free if needed.
Explore More Related Recipes for Healthy Snacking
If you loved these versatile and nutritious no-bake protein bars, you’ll be thrilled to discover other equally delicious and easy-to-make healthy snack recipes. Expand your repertoire of wholesome, homemade treats with these fantastic options:
- 3-Ingredient No-Bake Granola Bars {vegan, GF} – Simplicity at its best with minimal ingredients.
- Vegan Coconut Flour Cookie Dough {no-bake, keto option, nut-free} – A delightful nut-free option for cookie dough lovers.
- Vegan No-Bake Oat Protein Bars (4 ingredients, GF) – Another classic, quick, and satisfying oat-based bar.
- 3-ingredient Fruit Protein Bars {vegan, no-bake, grain-free} – Embrace natural sweetness with these fruit-forward protein bars.
- Chickpea-Pepita Protein Bars {Gluten-Free, Grain-Free, Vegan} – An innovative and nutrient-dense protein bar with unique ingredients.
Vegan No-Bake Cookie Dough Protein Bars (4 ingredients)
Ingredients
- ▢ 1 cup 100 g old-fashioned or quick-cooking rolled oats (GF, if needed)
- ▢ 1 and 1/3 cups, 315 mL plain nondairy milk (e.g. almond, rice, soy, hemp) or low-fat milk
- ▢ 1/2 cup natural, unsweetened nut or seed butter (e.g., peanut, cashew, sunflower)
- ▢ 1 and 1/3 cups lightly packed all natural vegan vanilla protein powder
Instructions
-
Line an 8-inch (20 cm) square baking pan with foil or parchment paper.
-
Place the oats in a blender or food processor and process into a fine powder.
-
Add the milk and the nut or seed butter to the processor bowl. Process, using on/off pulses, until the mixture is blended and smooth, stopping to scrape the sides and bottom of the bowl once or twice with a rubber spatula.
-
Add the protein powder to bowl; process using on/off pulses until all of the protein powder is incorporated, stopping to scrape the sides and bottom of the bowl once or twice with a rubber spatula.
-
Transfer the mixture to the prepared pan. Place a large piece of parchment paper, wax paper or plastic wrap atop bar mixture and use it to spread and flatten the bars evenly in the pan. Cover and refrigerate overnight until very firm.
-
Using the liner, lift the mixture from the pan and transfer to a cutting board. Peel off the foil or parchment and cut into 8 bars.
Notes
Add Chocolate: Consider topping the bars with a bit of melted bittersweet melted chocolate, as I did withthese bars.
Whey Protein Tip: Whey protein will not work in this recipe as written; the bars will have a gooey, sticky texture that will not hold together in bar form. But the problem is easily solved: simply increase the total amount of oats to 2 cups and reduce the amount of milk to 1/2 cup.
Protein Balls instead of Bars: You can form into any size or shape that suits your fancy, from balls to rounds to free-form mini bars.
Nutrition
Like this recipe? Rate and comment below!