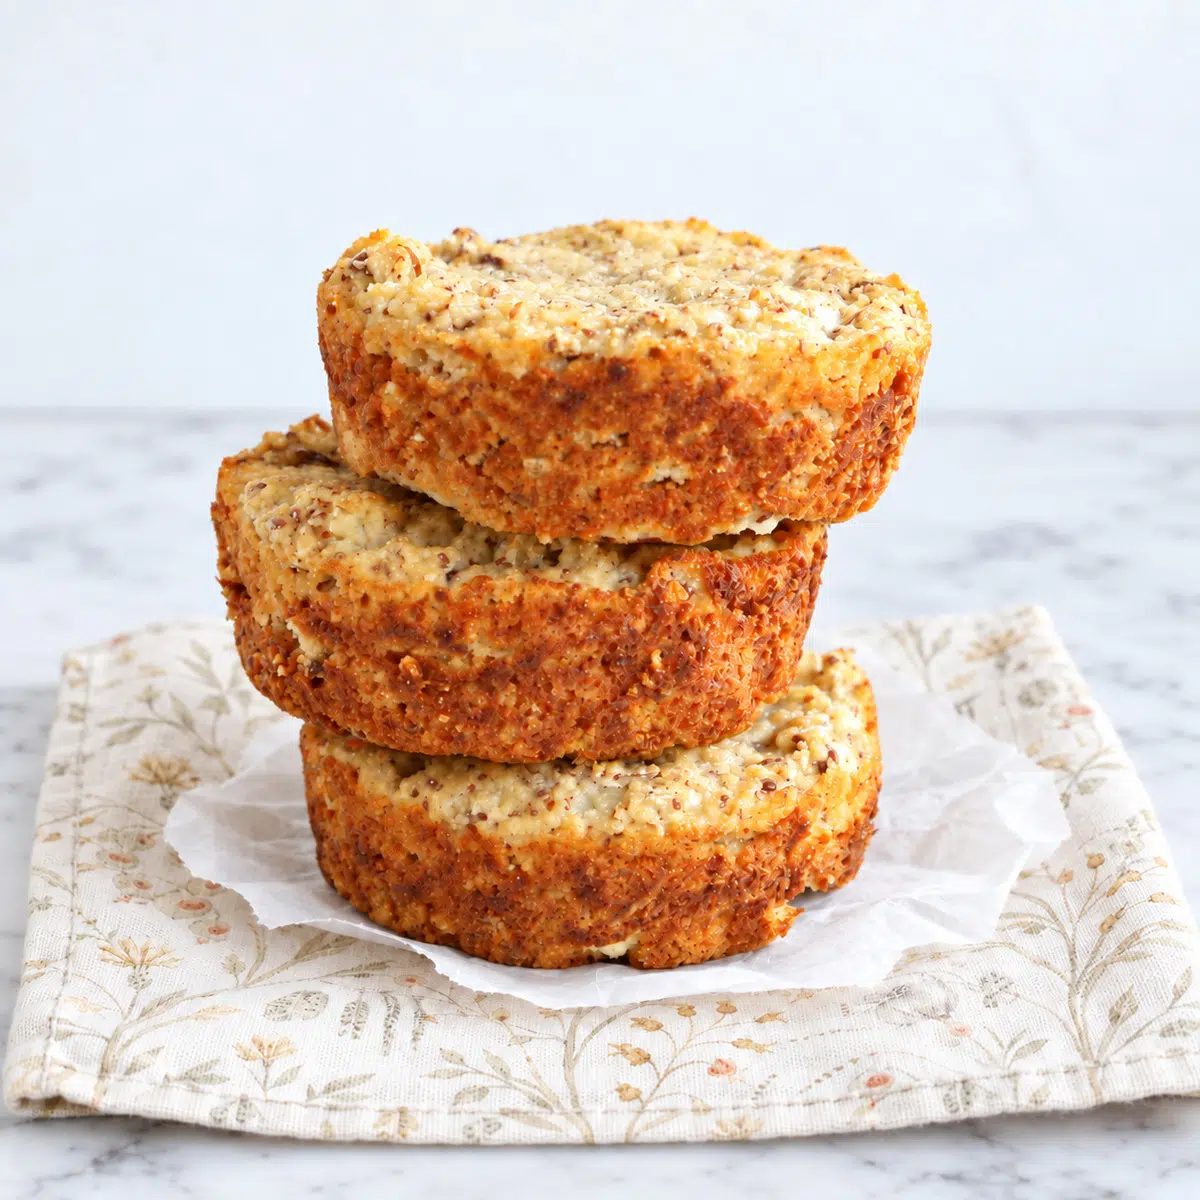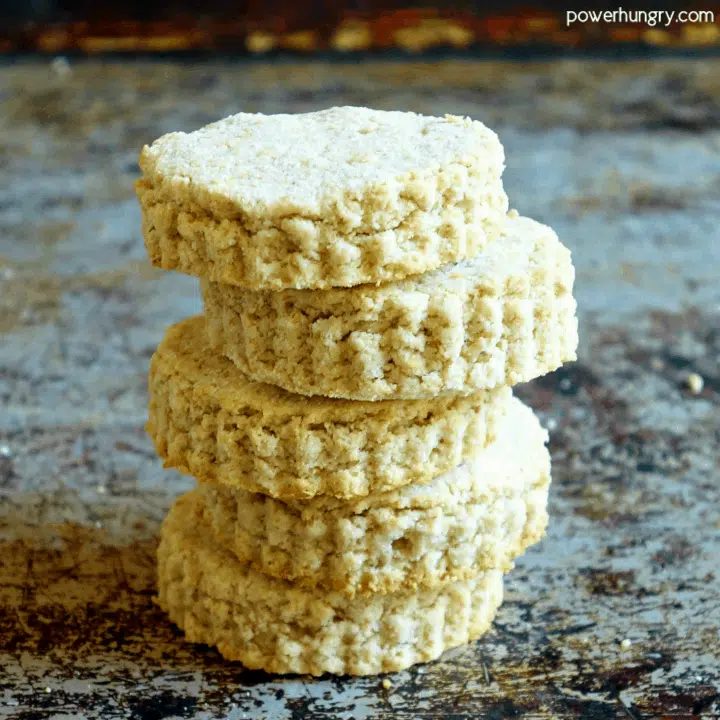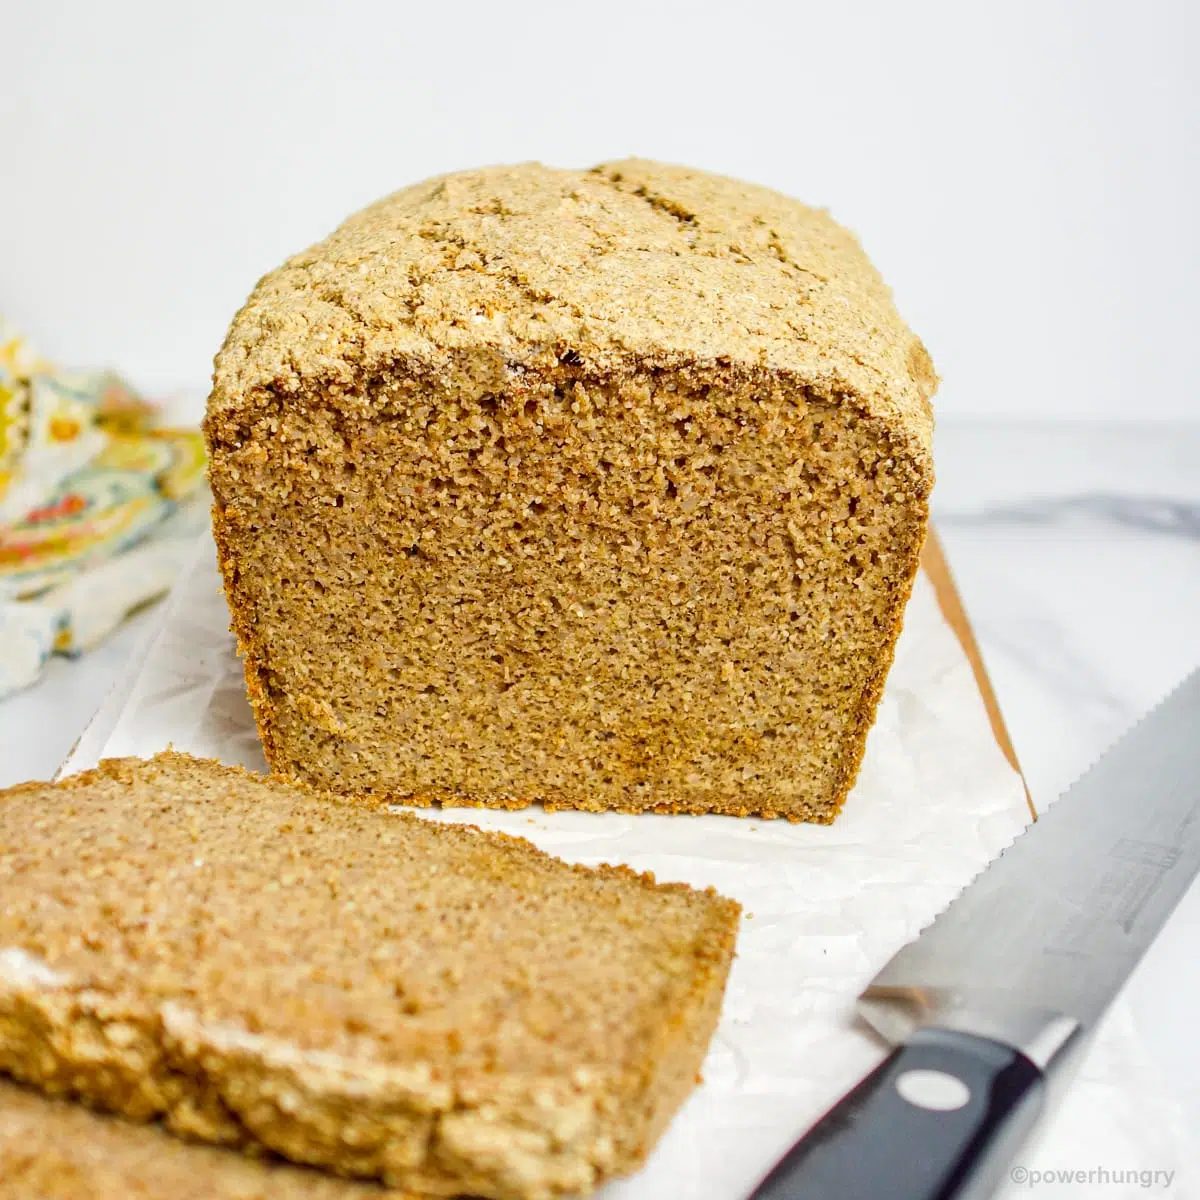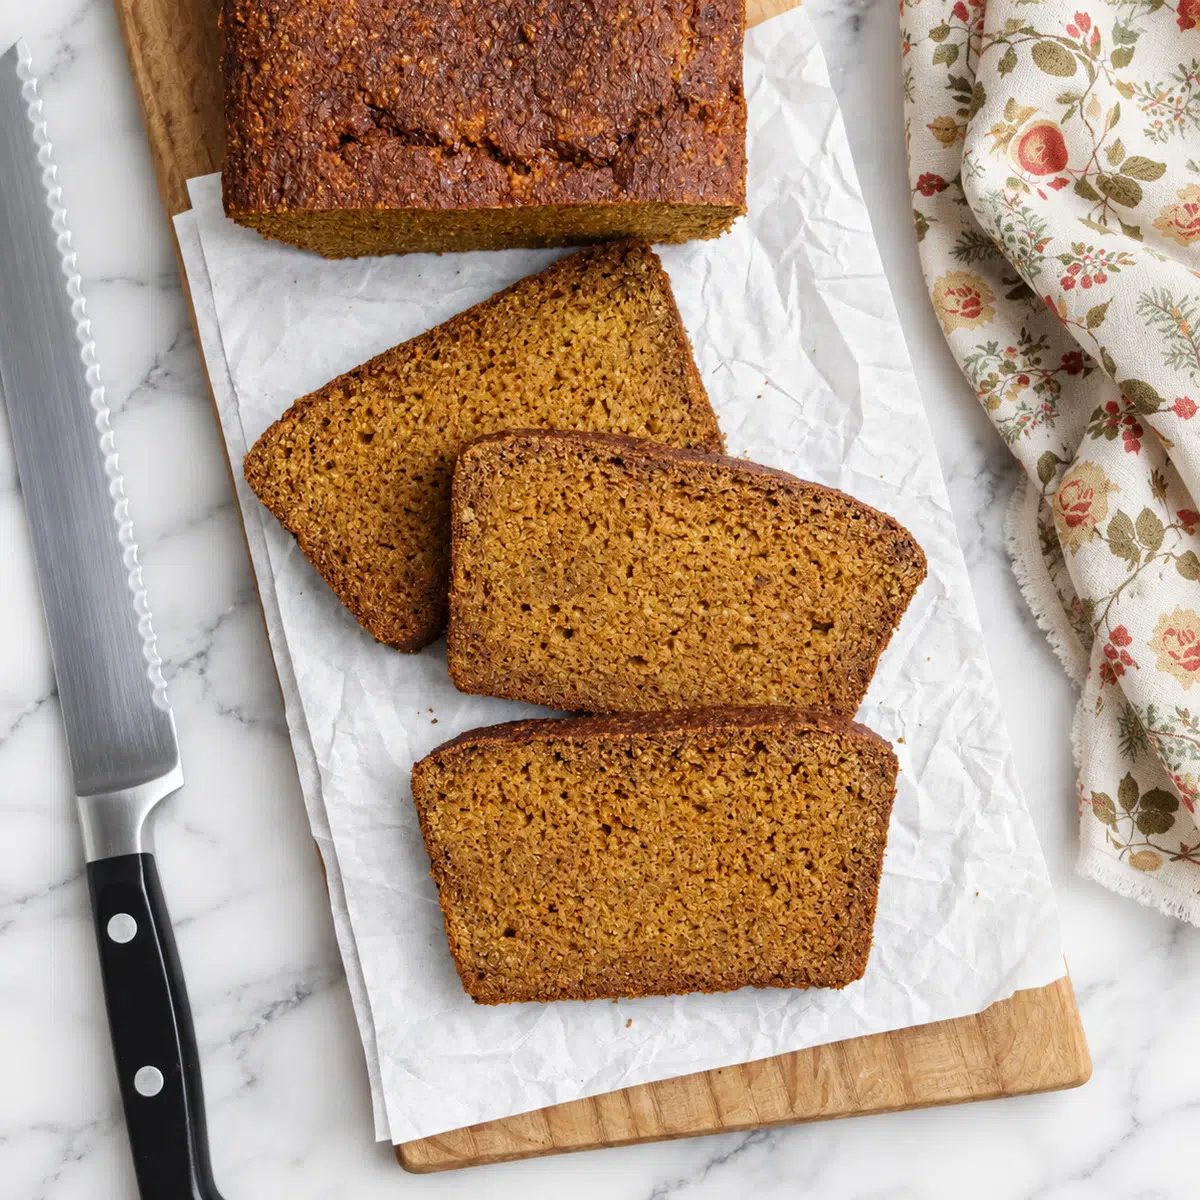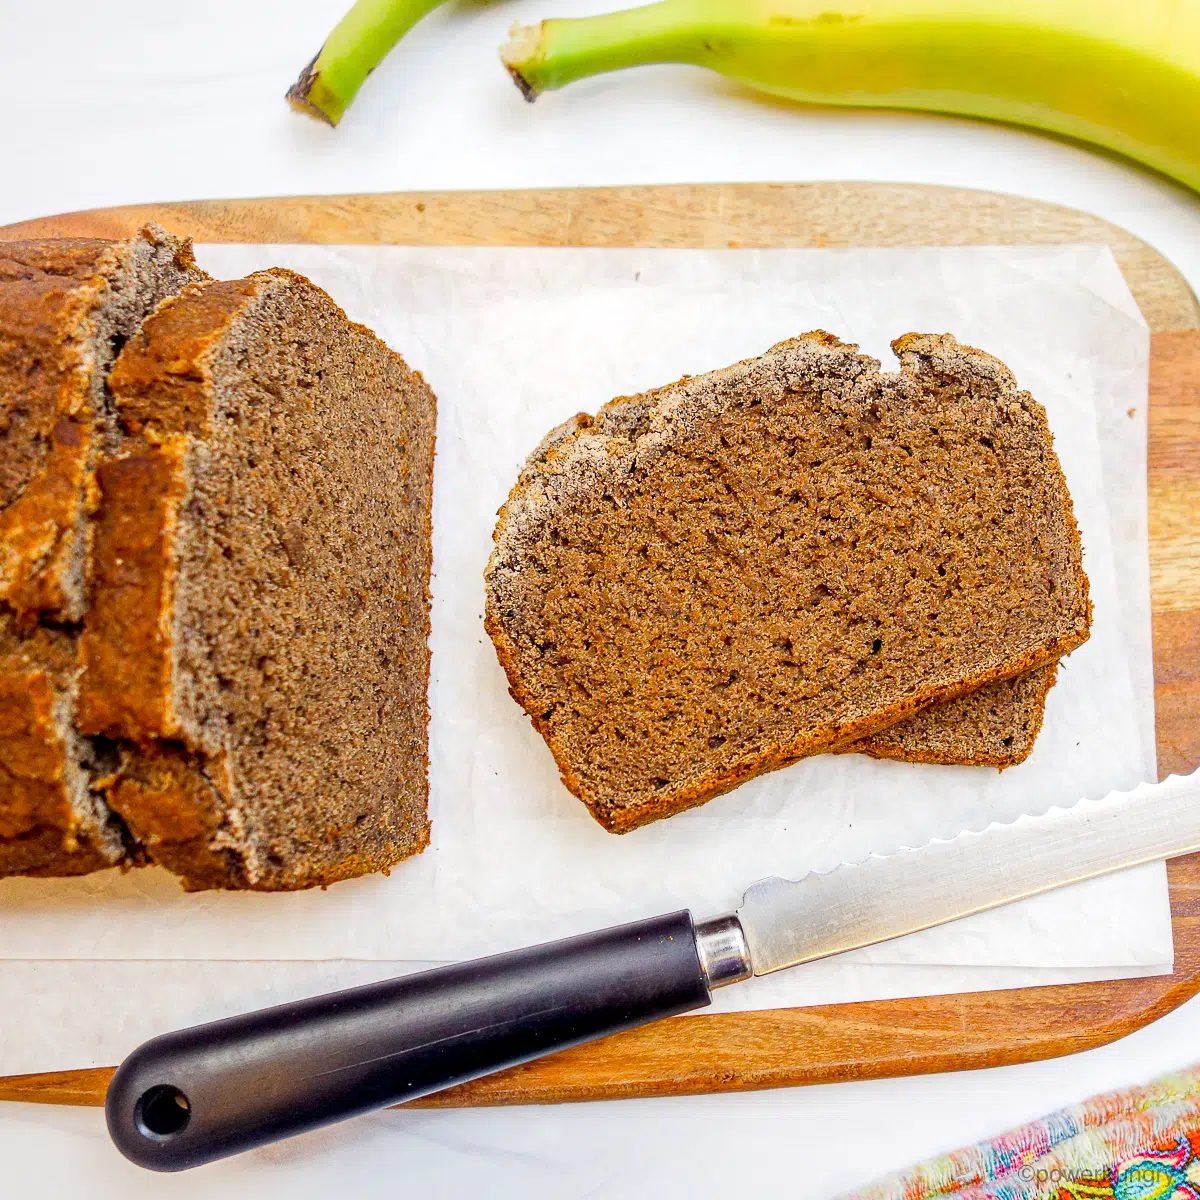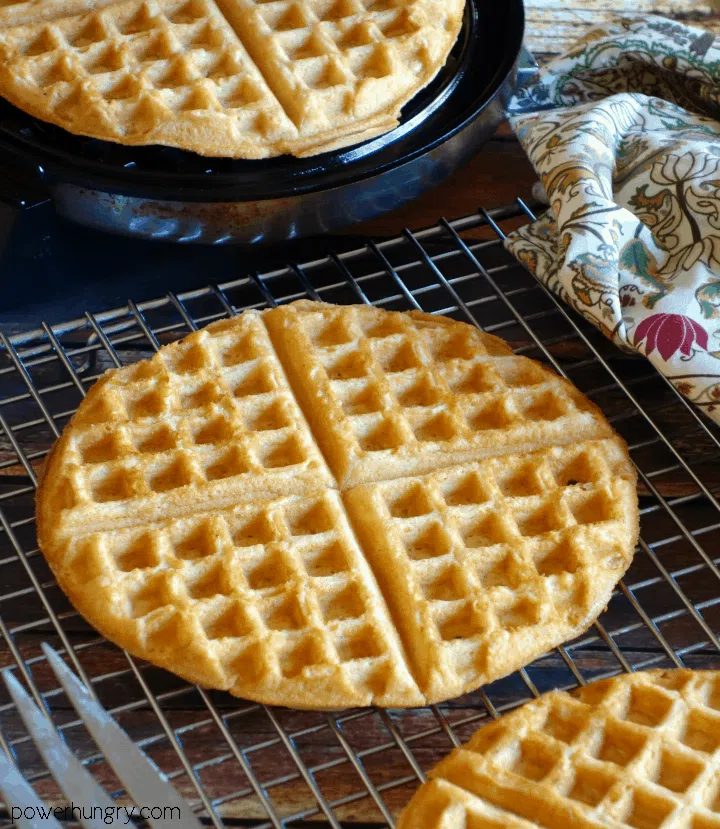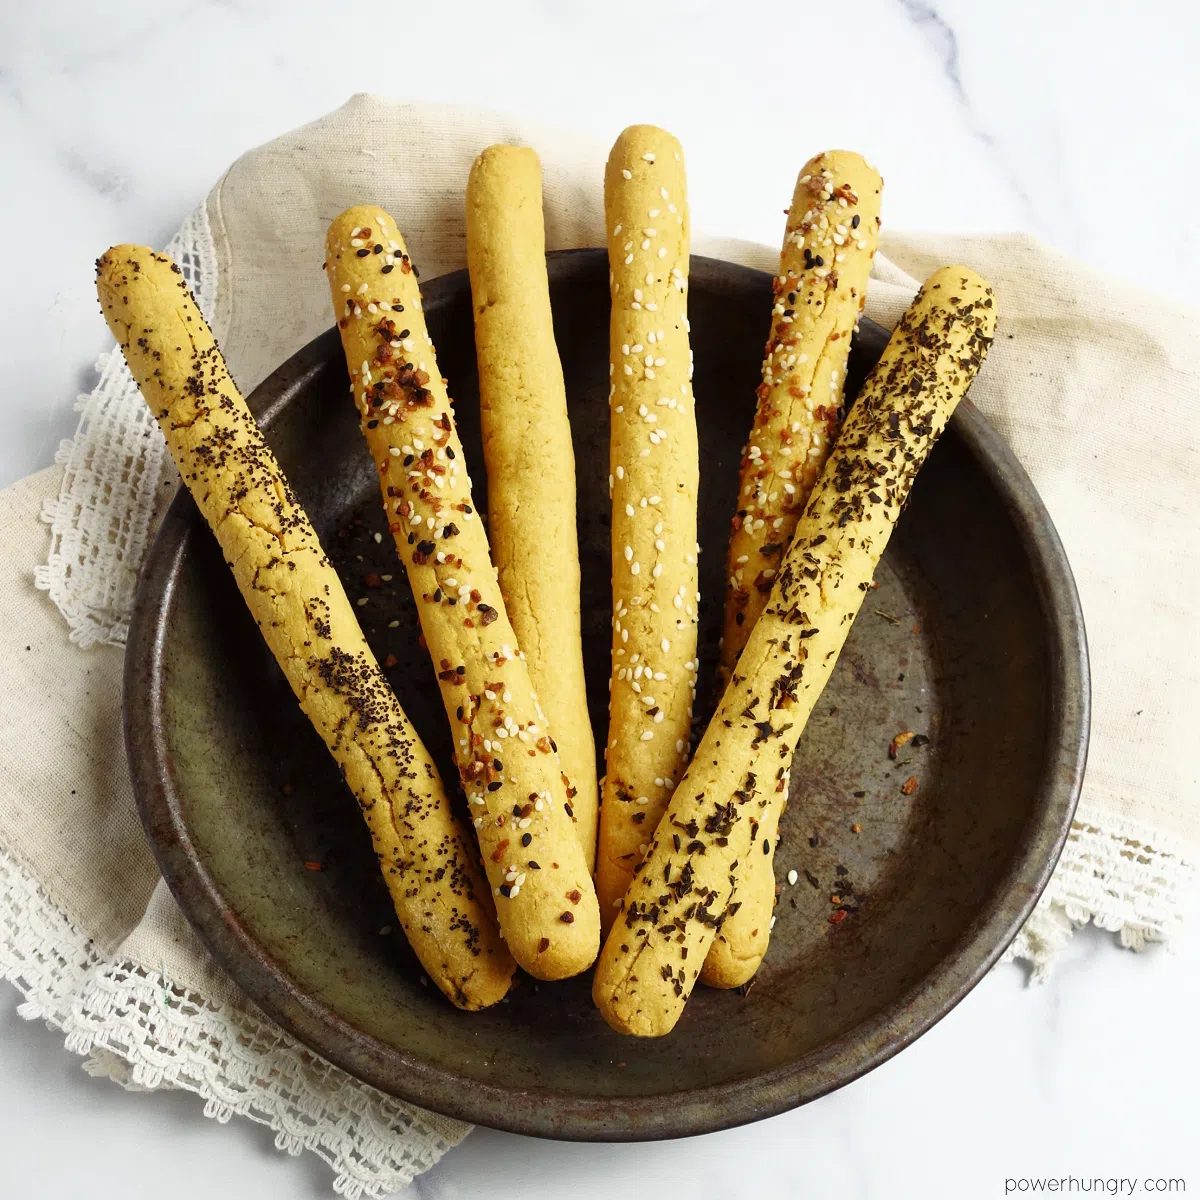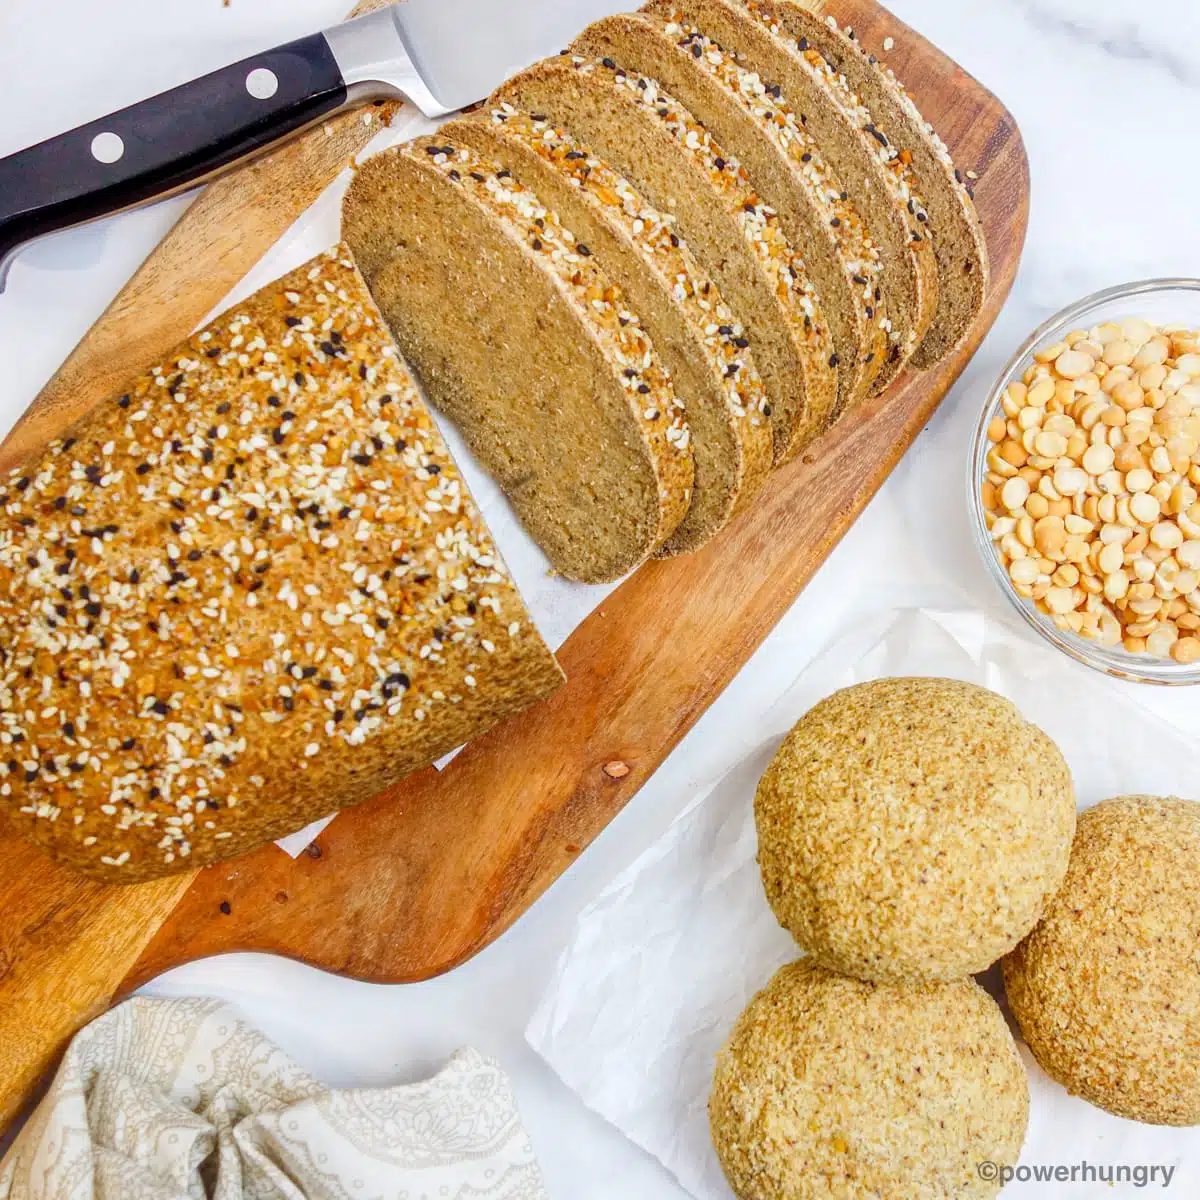
4-Ingredient Split Pea Bread made from uncooked split peas! It’s high protein, oil-free, gluten-free, added sugar-free, grain-free & yeast-free. Make it (with ease) into a loaf or individual bread rolls.
High Protein Bread Made From Dried Split Peas
Forget about peas porridge hot, cold, or in the pot nine days old. Instead, make bread. Firm, tender, satisfying bread, made from split peas! I cannot get enough of it.
My split pea bread is cheap & straightforward (two of my go-to recipe qualities). You will need less than one pound of peas, plus whole psyllium husks, baking soda, and a splash of vinegar or lemon juice to make a substantial loaf or 8 generous rolls. Other than some tap water and optional salt, that’s it.
I used yellow split peas to make my loaves and rolls, but green split peas work just as well. Keep in mind that the green peas will (of course) result in green bread, which may terrify other members of your household. Solution: amp up the green with a handful of fresh herbs to quell fears and justify the verdant hue.
Prepare to be delighted and amazed with each bite of this bread!
Recipe Benefits
- Vegan (egg-free, dairy-free)
- Gluten-free
- Grain-free
- Yeast-free (no active yeast or instant yeast required)
- Oil-free
- 16 grams fiber per serving (1.5 slices or 1 roll)
- 11 grams protein per serving (1.5 slices or 1 roll)
- Added sugar free
- Flourless
- Straightforward to make
- Frugal
- 4 ingredients (plus water and optional salt)
Ingredients for Split Pea Bread
The exact amounts of each ingredient are indicated in the recipe card at the end of the post.Toggle betweenUS Customary(volume) andMetric(weights) for preferred measurement option.
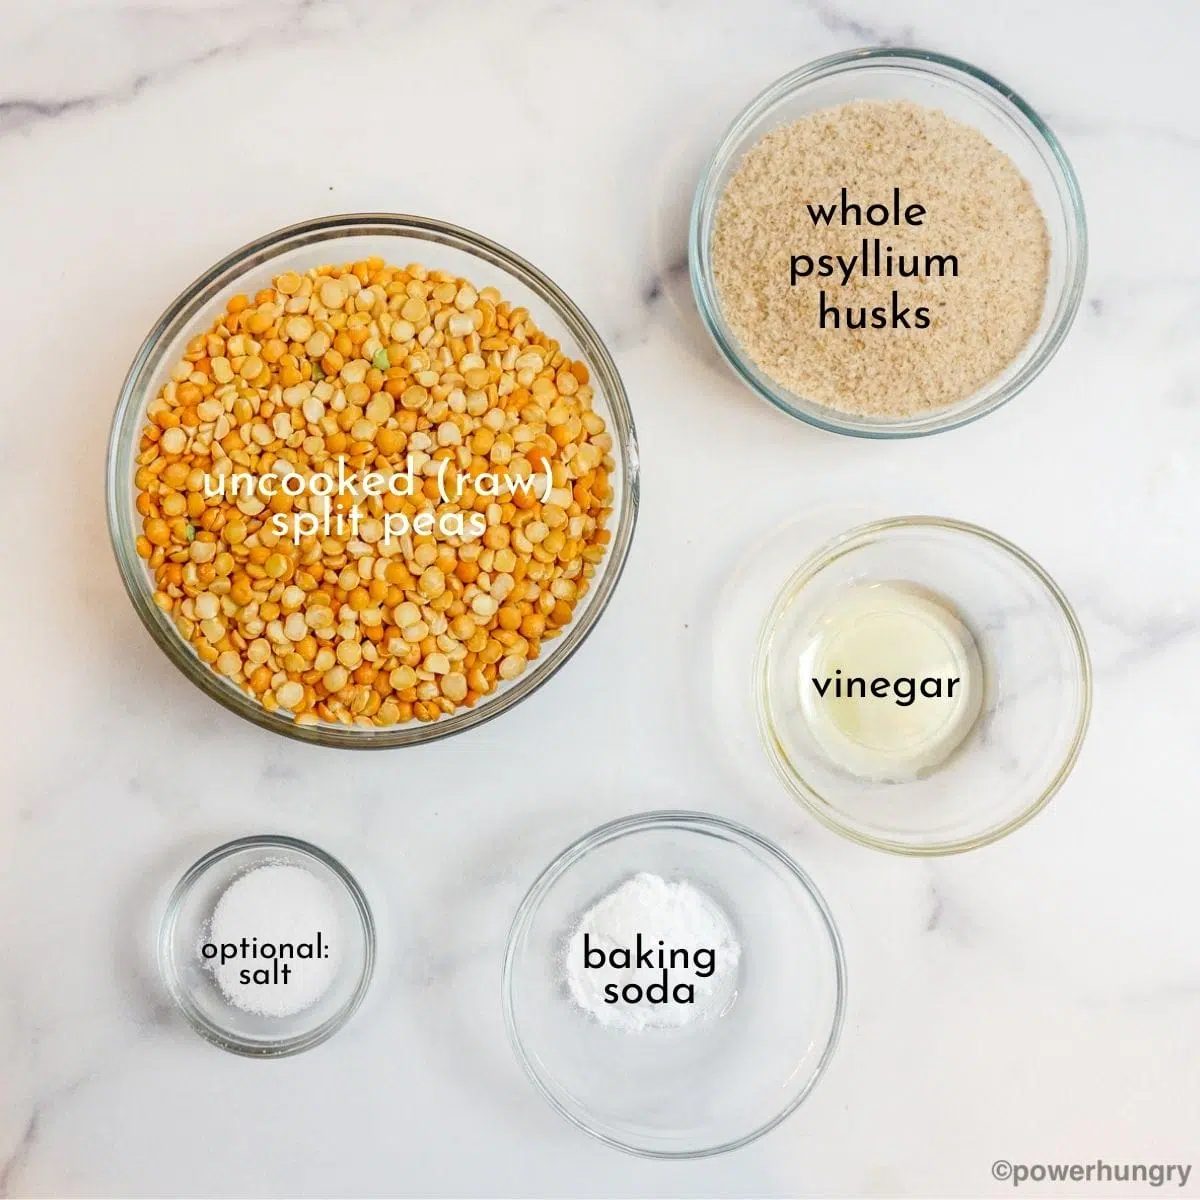
- Uncooked (raw) split peas (yellow or green)
- Whole psyllium husks
- Baking soda
- Vinegar (or lemon juice)
You will also need some regular tap water (or the plain water of your choice). I like to add some salt, but it is optional/adjustable according to your preferences and needs (i.e., if you choose to omit the salt, it will not affect the success of the bread).
No fat–in oil or whole ingredient form–is needed to make this recipe work. The creamy quality of the split peas translates into tender bread, without additional help from fats.
What are Whole Psyllium Husks?
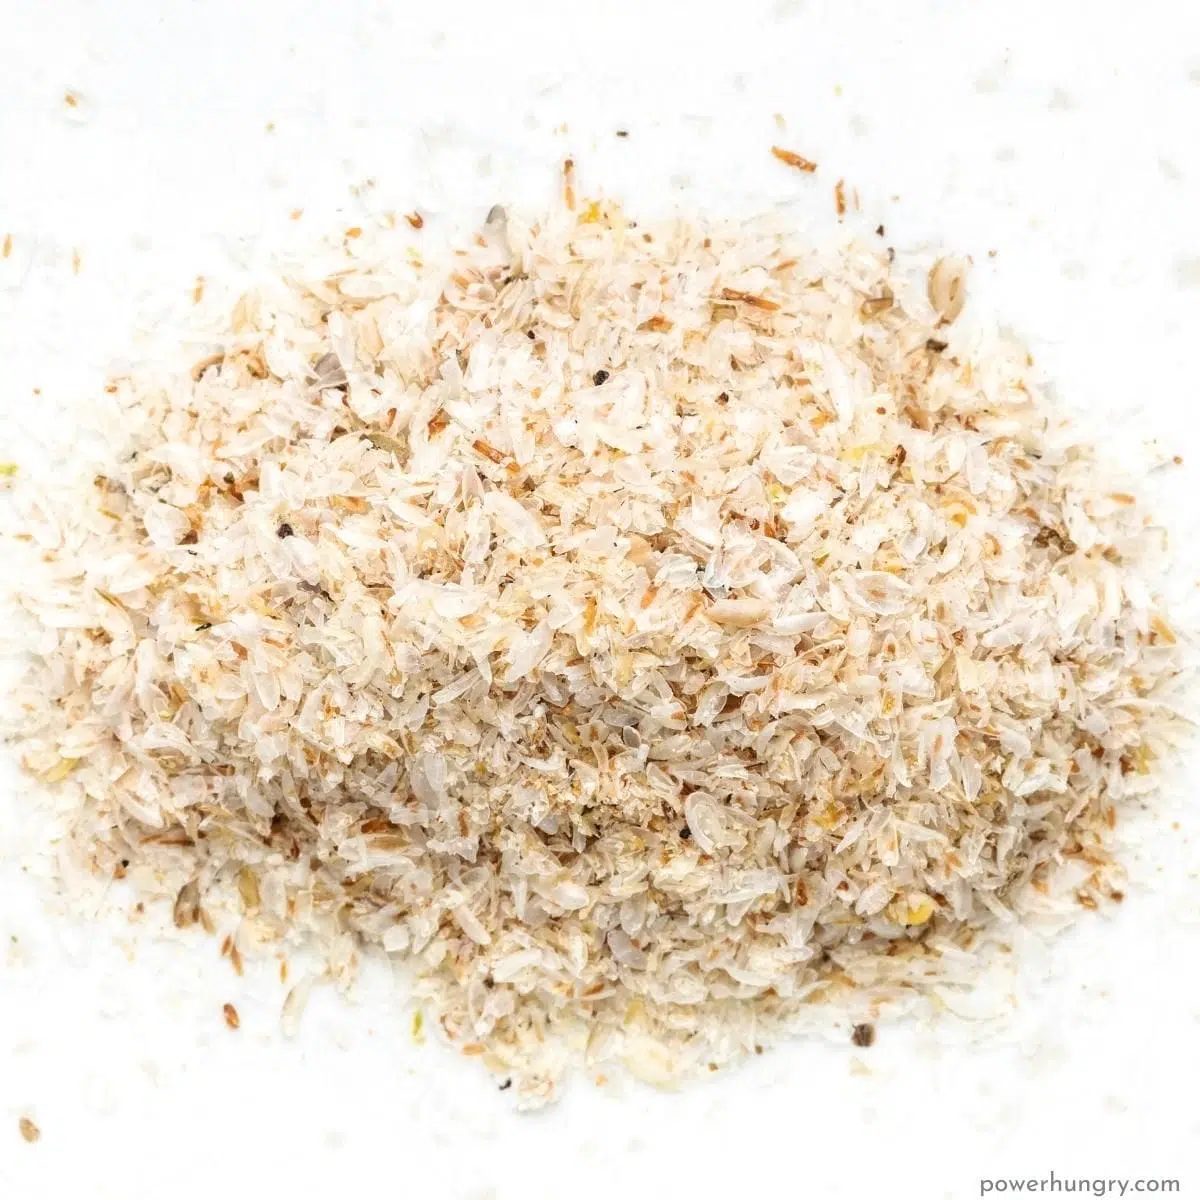
Psyllium husk is essential for making this grain-free, gluten-free, yeast-free bread “work.”
Psyllium is a plant product derived from the husks of the seeds from the Plantago ovata plant. When combined with liquid, the husks swell, creating a gelatin. The gel can be used in ways similar to eggs, and also stands in for gluten (creating structure) in gluten-free and grain-free breads.
I order whole psyllium husks online. You can search for them on any search engine and find multiple purveyors. You may also be able to find them in a well-stocked natural foods grocery store.
Store the psyllium husks in an airtight container and it will last for years, making it a frugal buy. Plus once you have it, you can make all kinds of memorable gluten-free vegan breads, such as my100% Millet Sandwich Bread,Straightforward Multigrain Sandwich Bread,Coconut Flour Sandwich Bread,100% Millet Banana Bread,Buckwheat Sandwich Bread,Oat Sandwich Bread,4-Ingredient Power Bread,100% Chia Firm Sandwich Bread, and much more!
How to Make Split Pea Bread
Note that the complete instructions are also in the recipe card below.
Step One: Quick Soak the Split Peas
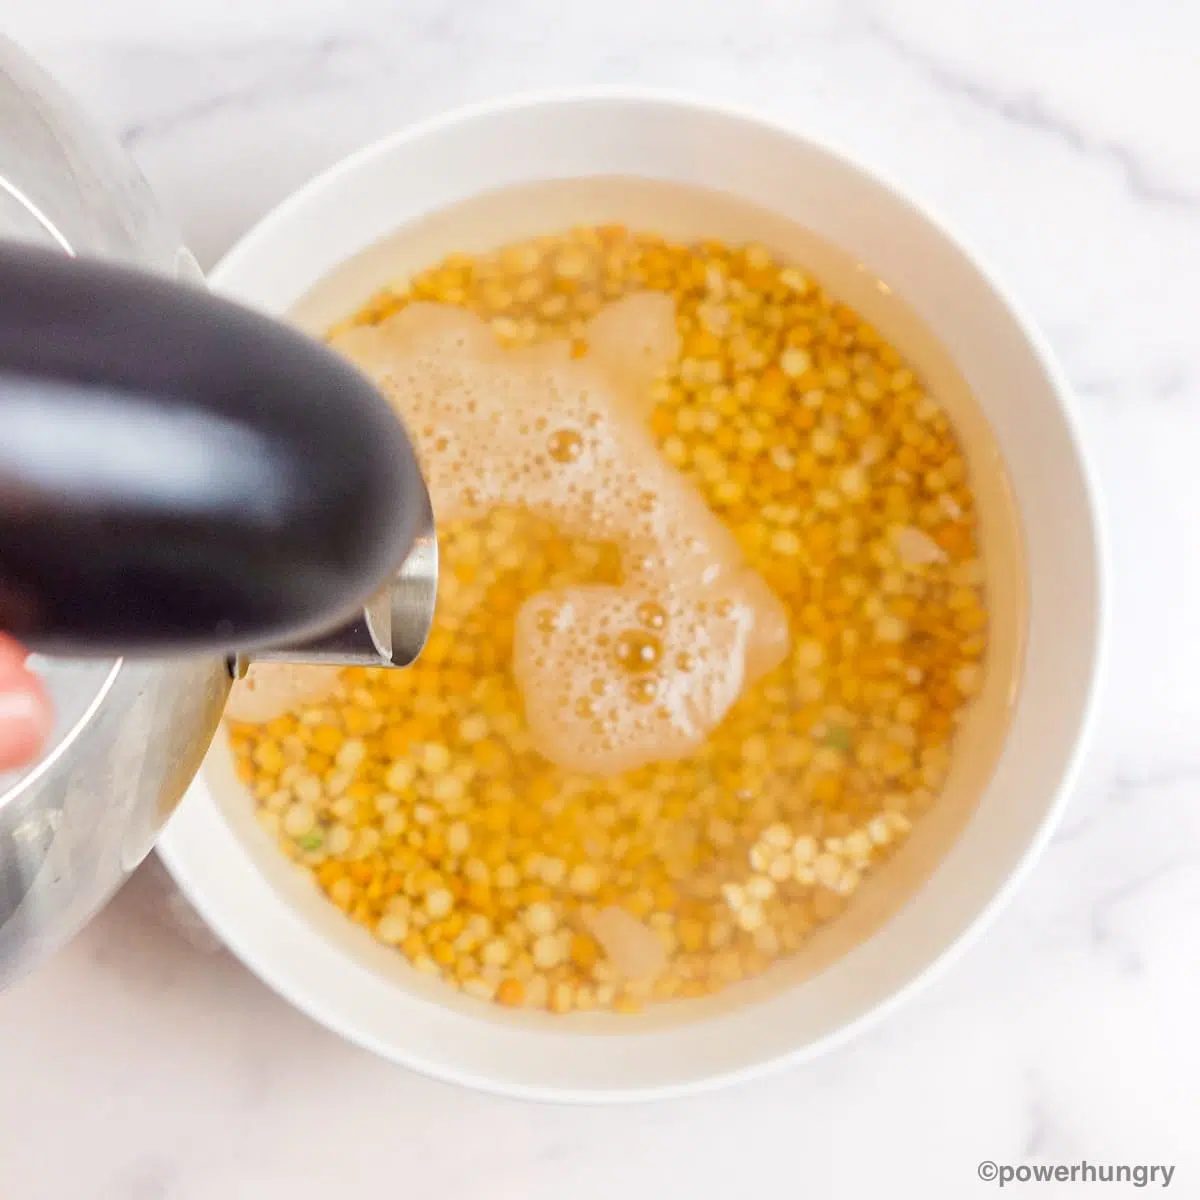
Place the uncooked (raw) split peas in a large bowl. Add enough boiling water to cover the split peas by at least one inch of water. Let soak for at least 45 minutes until the peas are plump and nearly twice their original size.
Alternatively, soak the peas in cold or room temperature water for 8 to 12 hours until similarly plumped.
Step Two: Drain the Split Peas
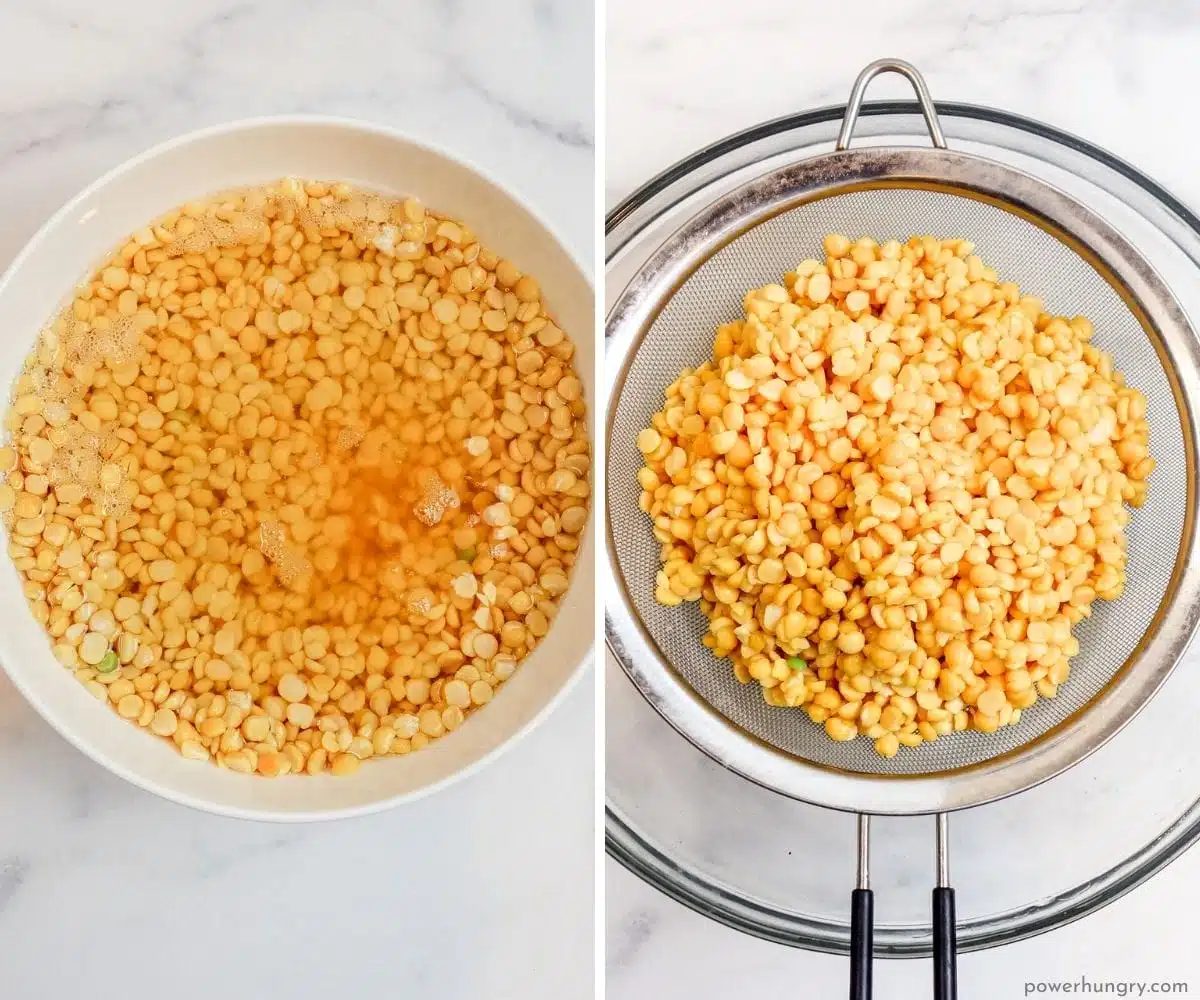
Rinse and drain the split peas through a colander or mesh sieve. Discard the soaking water.
Step Three: Preheat the Oven and Prepare Baking Pan
Preheat the oven to 350F (180C). Line a baking sheet with parchment paper.
Step Four: Process the Soaked Split Peas
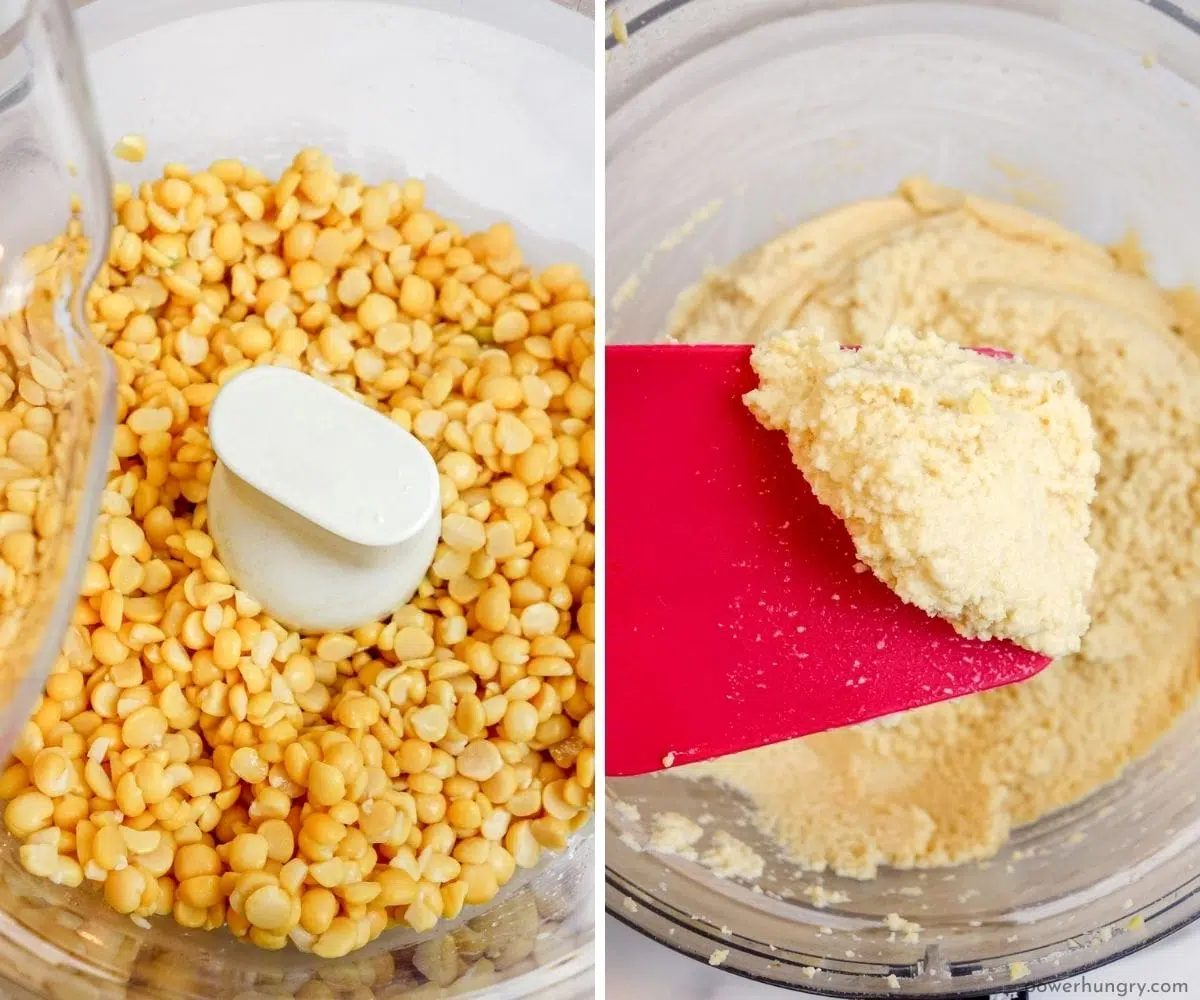
Place the drained, soaked split peas, 2/3 cup (150 mL) water, and the vinegar in the bowl of a food processor (or blender). Process, stopping several times to scrape down the sides of the bowl, until very smooth (i.e., no noticeable pieces of split pea remain).
Step Five: Add the Dry Ingredients
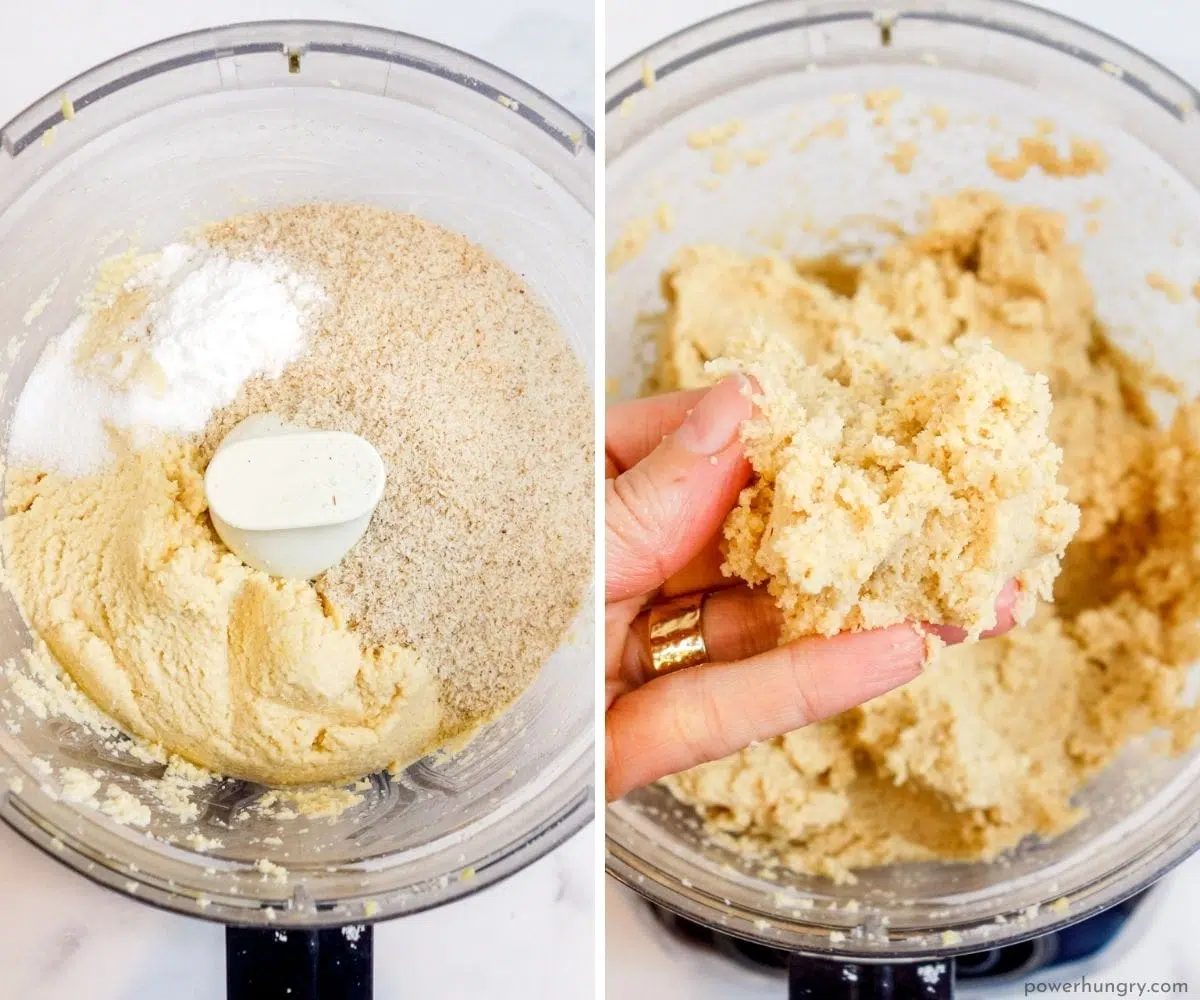
Add the whole psyllium husks, baking soda and (optional) salt to the food processor bowl.
Process, stopping once or twice to scrape down the sides of the processor bowl, until a soft dough forms.
Step Six: Shape the Dough
Option One: Split Pea Bread Loaf
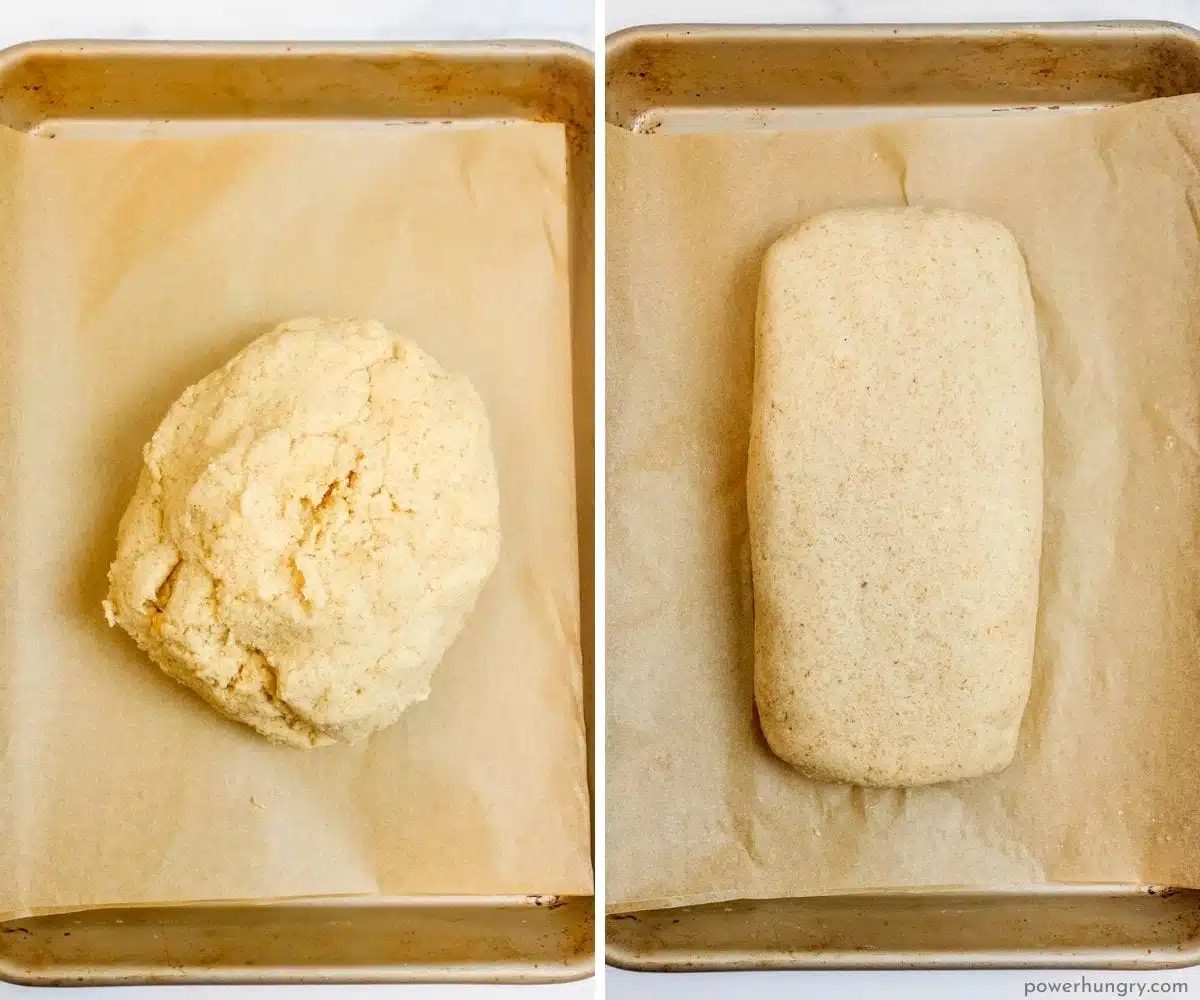
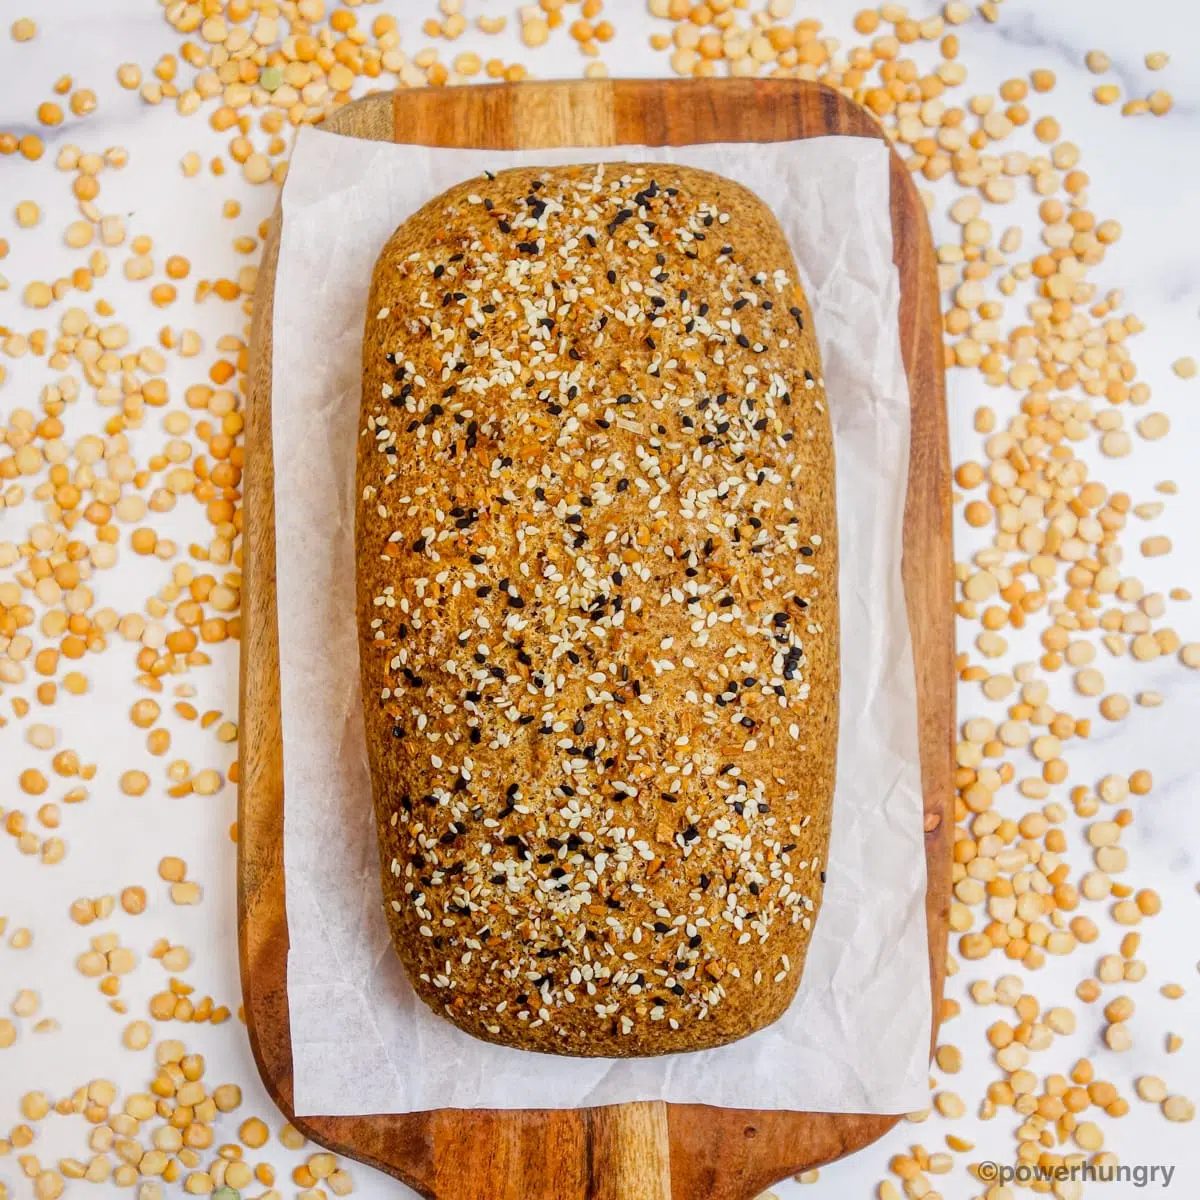
Gather the dough into a ball and place on the prepared baking sheet. Shape into a loaf (8 x 4 x 2 inches/ 20 x 10 x 5 centimeters). Wet your hands as you go to help smooth the top and sides of the loaf.
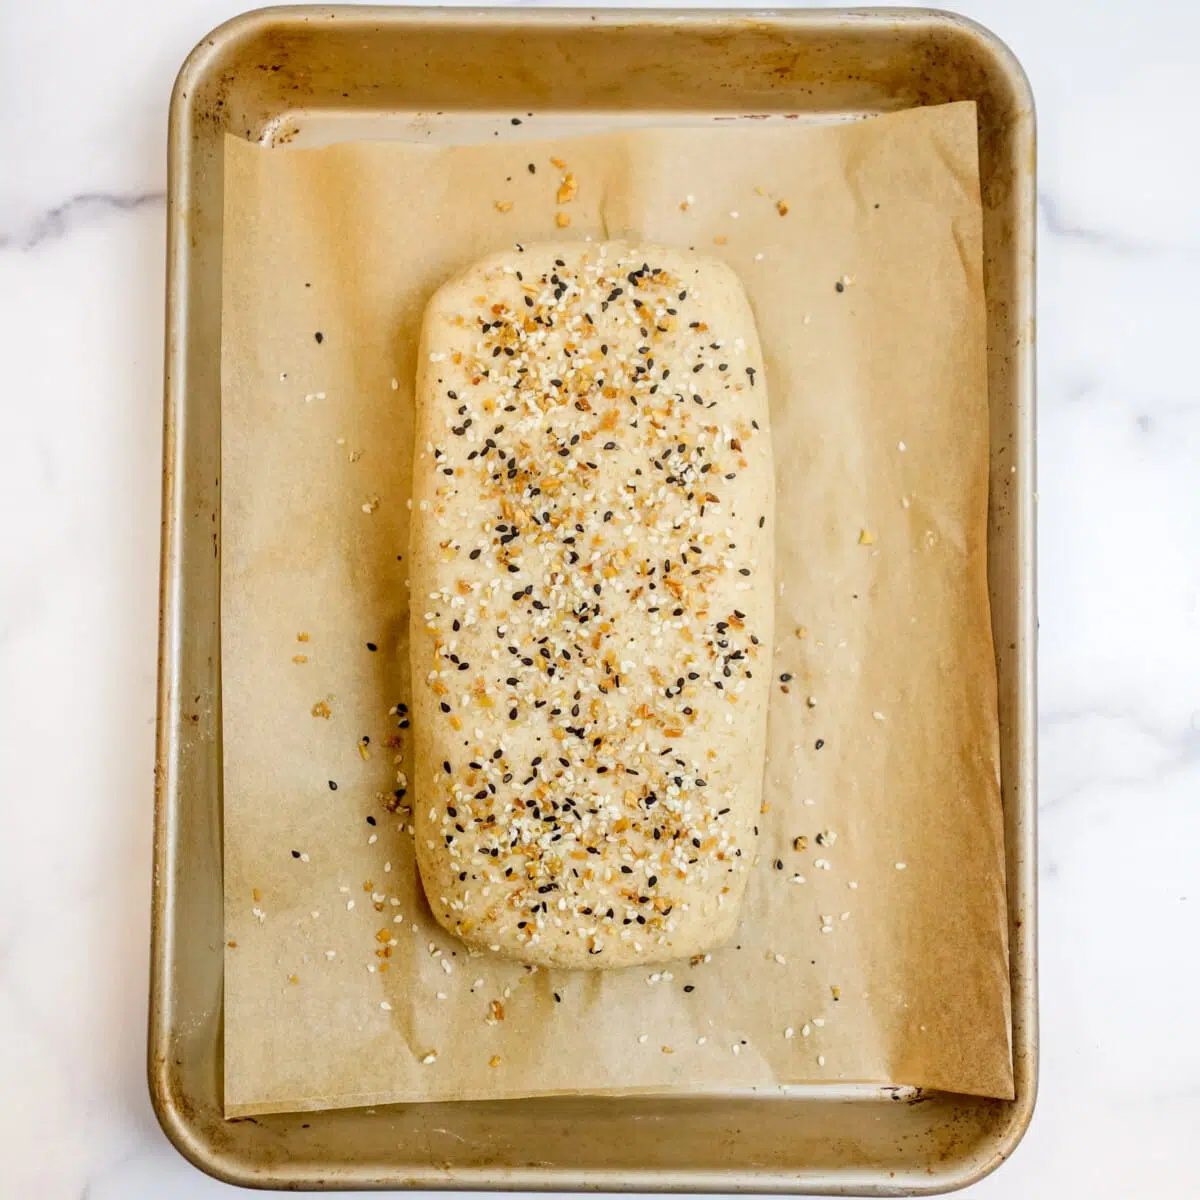
If desired, sprinkle the top of the loaf with some seeds (such as sesame seeds, sunflower seeds, or pumpkin seeds).
Option Two: Split Pea Bread Rolls
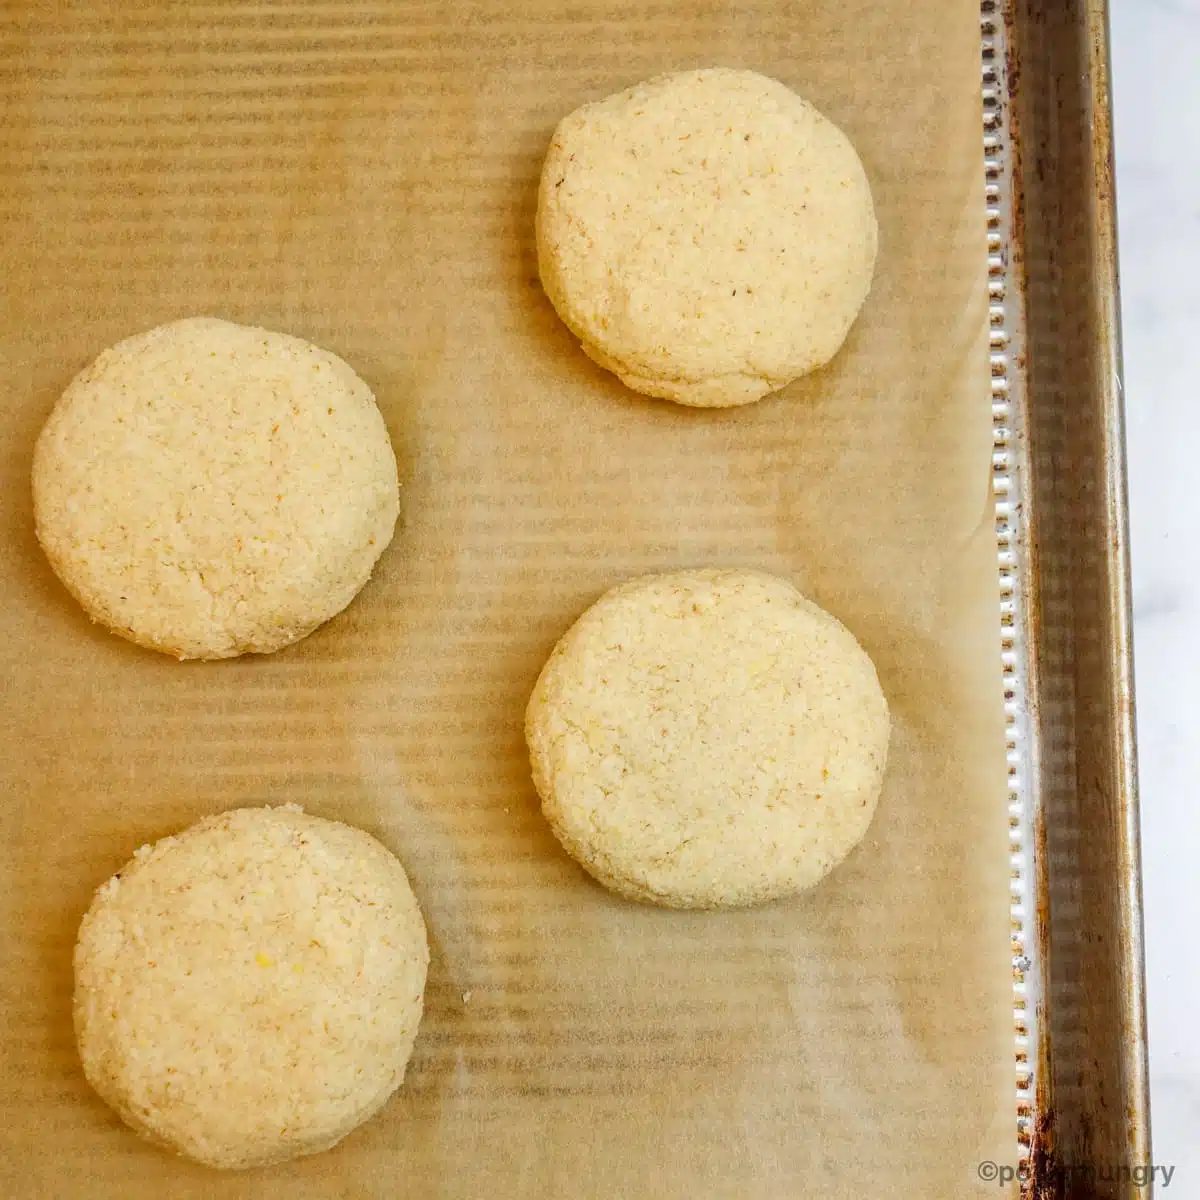
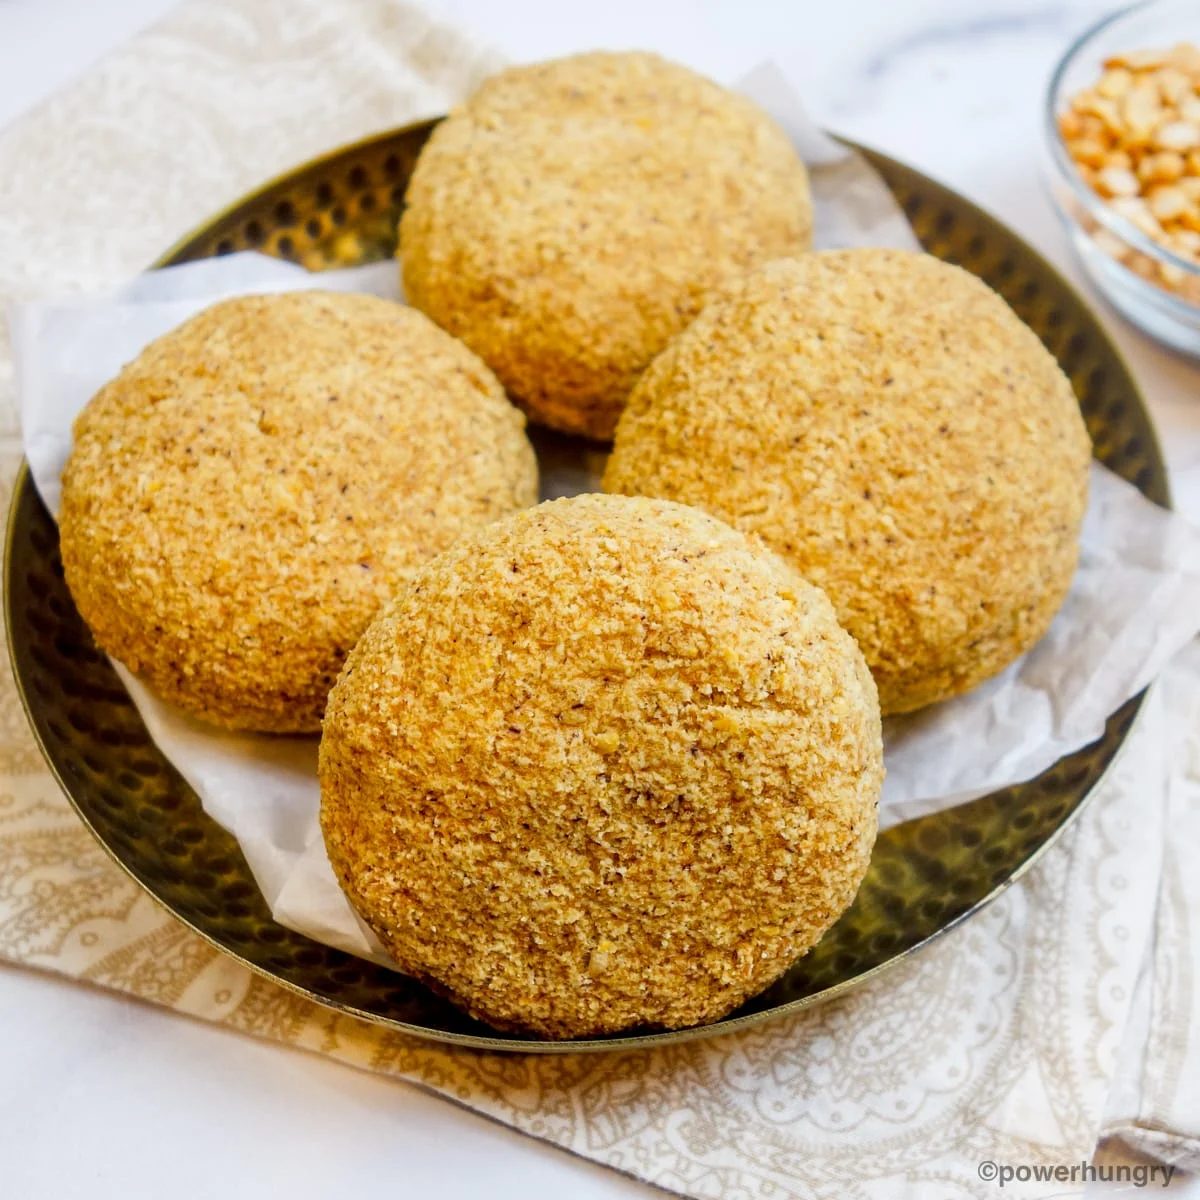
Gather the dough into a ball and divide the dough into eight equal portions. You can weigh the dough to measure equal portions, eyeball it, or roll the dough into an even log and cut into 8 even amounts.
Roll each piece into a ball. Flatten and smooth each ball into a 3-inch (7.5 cm) diameter round. Place the rounds of dough on the prepared baking sheet, spacing 2 inches (5 cm) apart.
Step Six: Bake
Bake the bread as follows, depending on the shape:
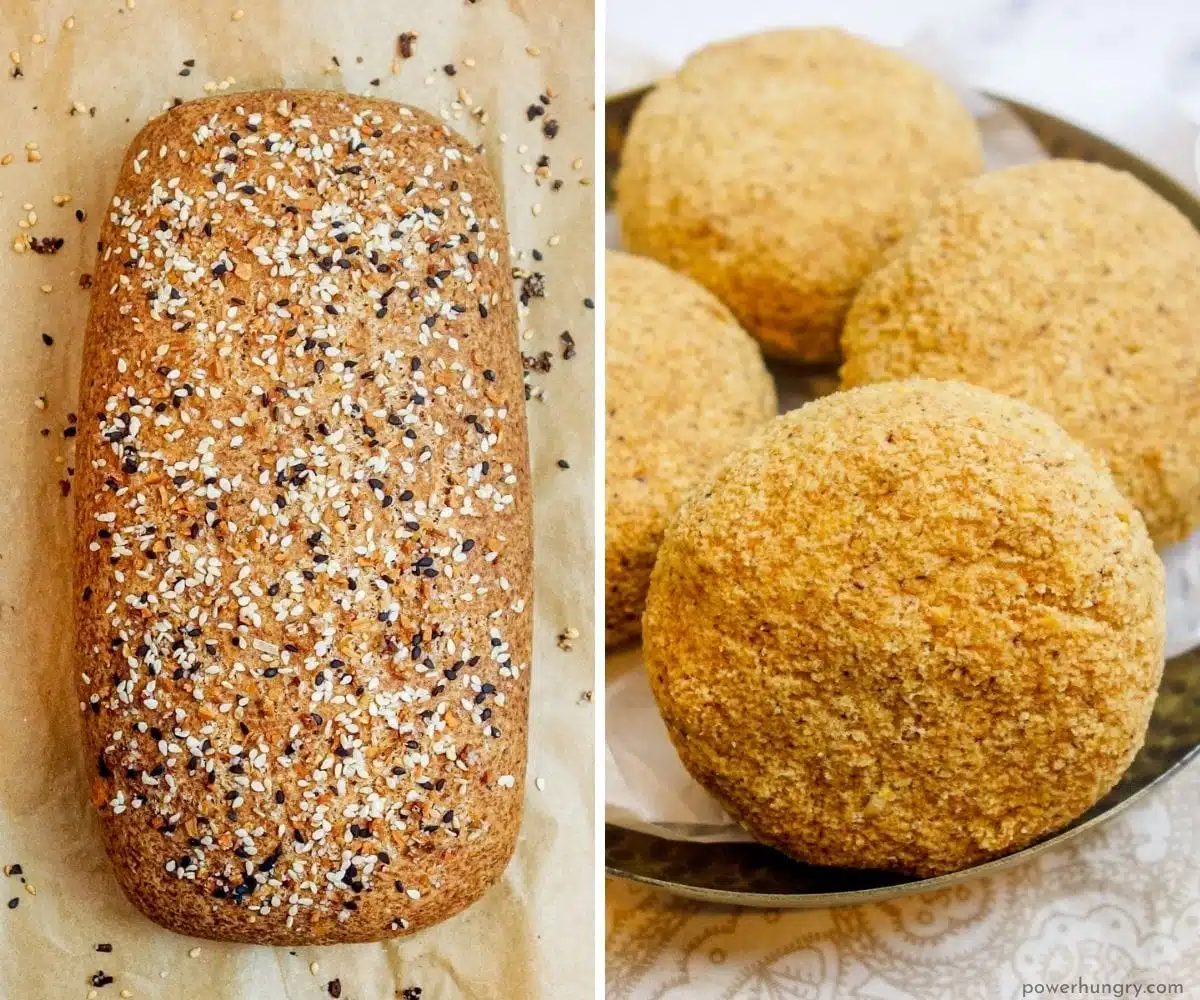
For a loaf:50 to 55 minutes, or until risen and the surface of the loaf appears dry. The crust will be a deep golden brown color.
For rolls:25 to 30 minutes until the rolls are risen, the surface is dry, and light golden brown.
Step Seven: Cool the Bread
Transfer the loaf or rolls to a cooling rack. Let the loaf or rolls cool completely before slicing.
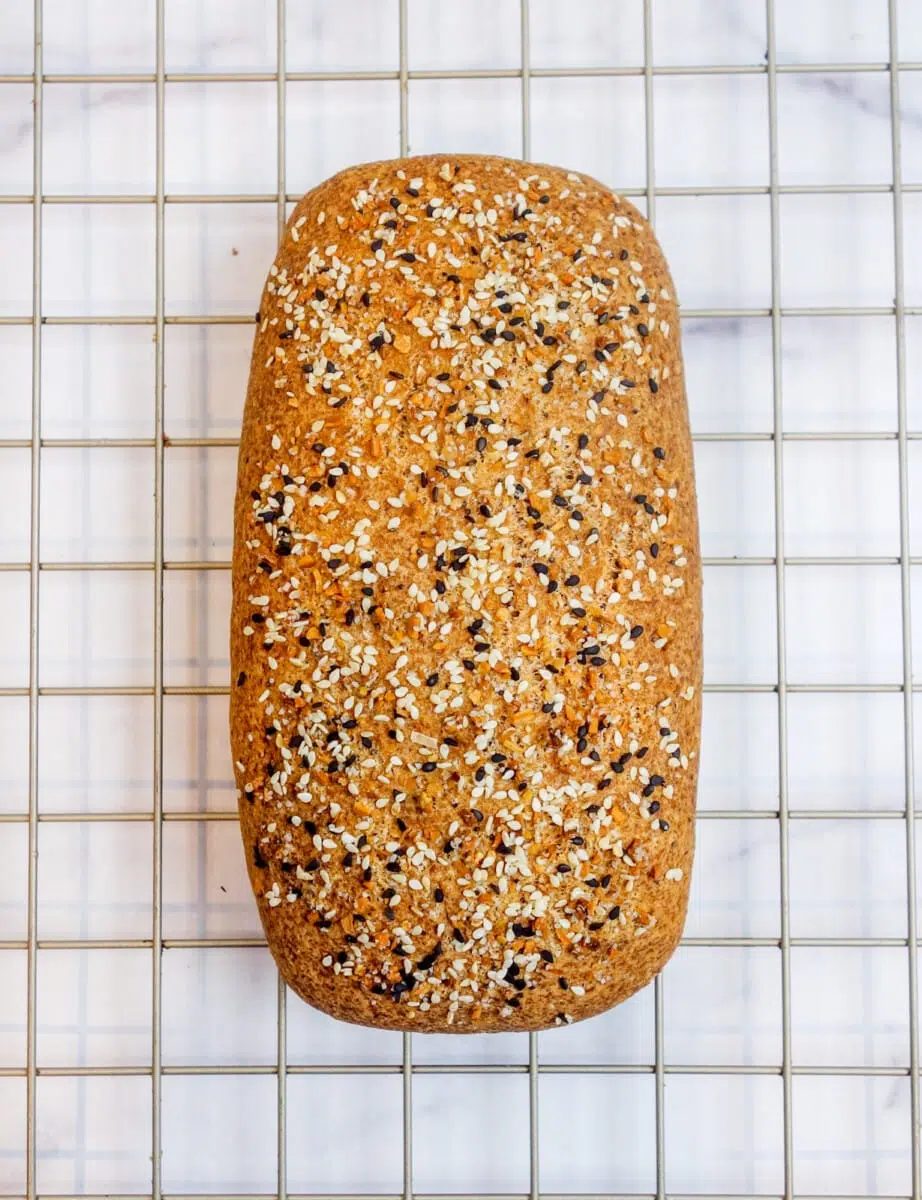
Split pea bread, complete! Isn’t it gorgeous?
FAQ
How Should I Store the Split Pea Bread?
Store the cooled split pea bread in an airtight container at (cool) room temperature for 1 day, the refrigerator for 2 weeks, or the freezer for up to 6 months.
The split pea bread should be stored in the refrigerator or freezer after one day because of the relatively high moisture content (which can make the bread go bad more quickly than a traditional loaf of bread made with wheat flour, or other gluten-free bread made from flour).
What is the Taste and Texture of the Grain-Free Split Pea Bread?
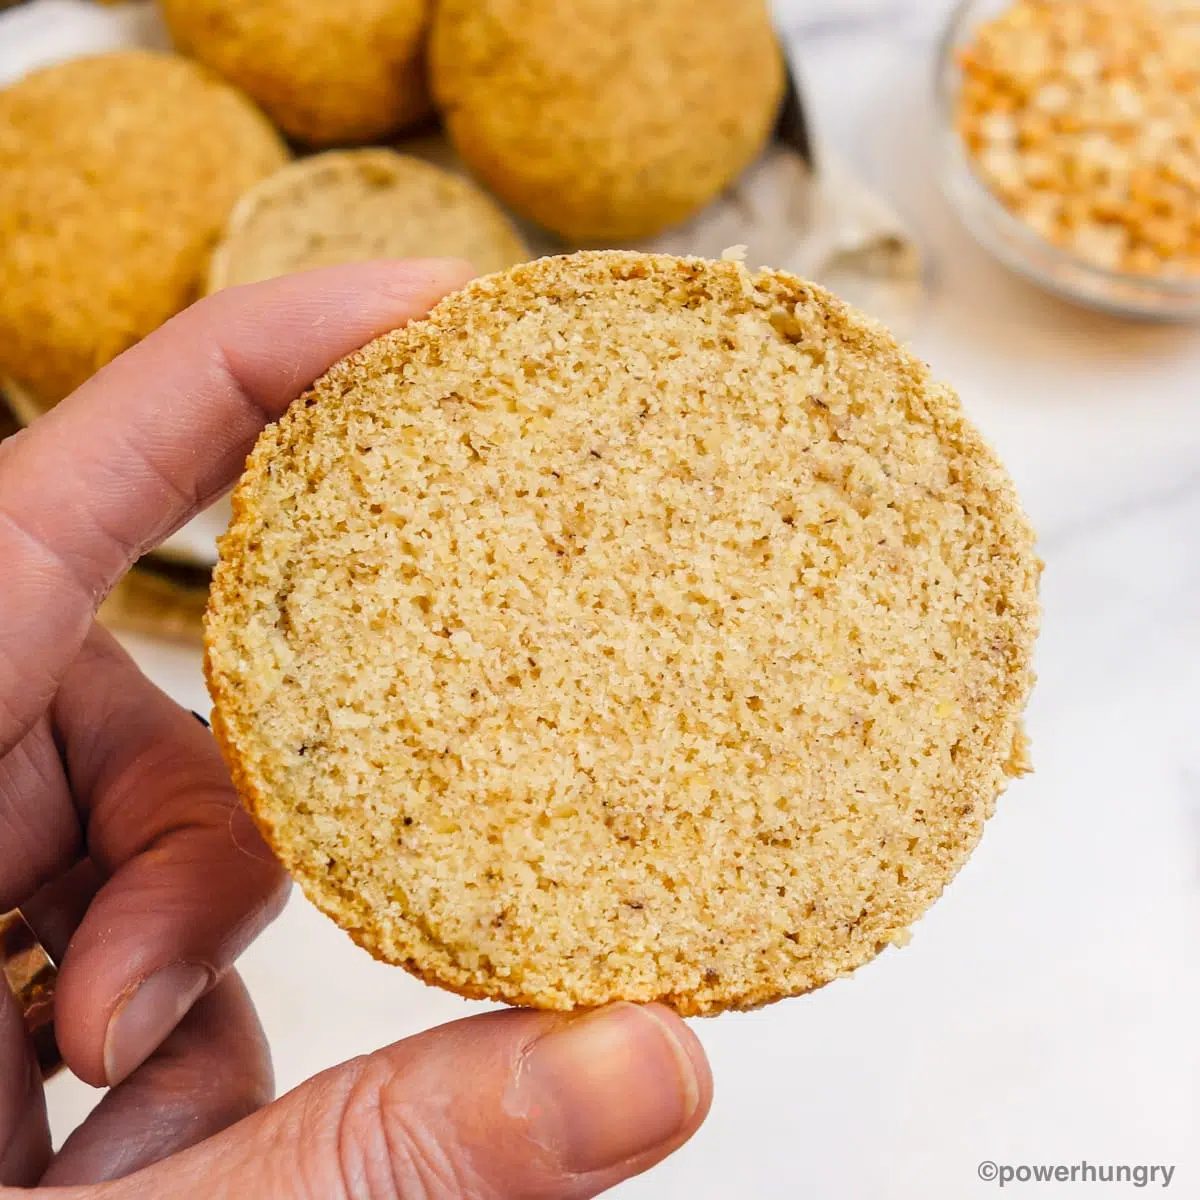
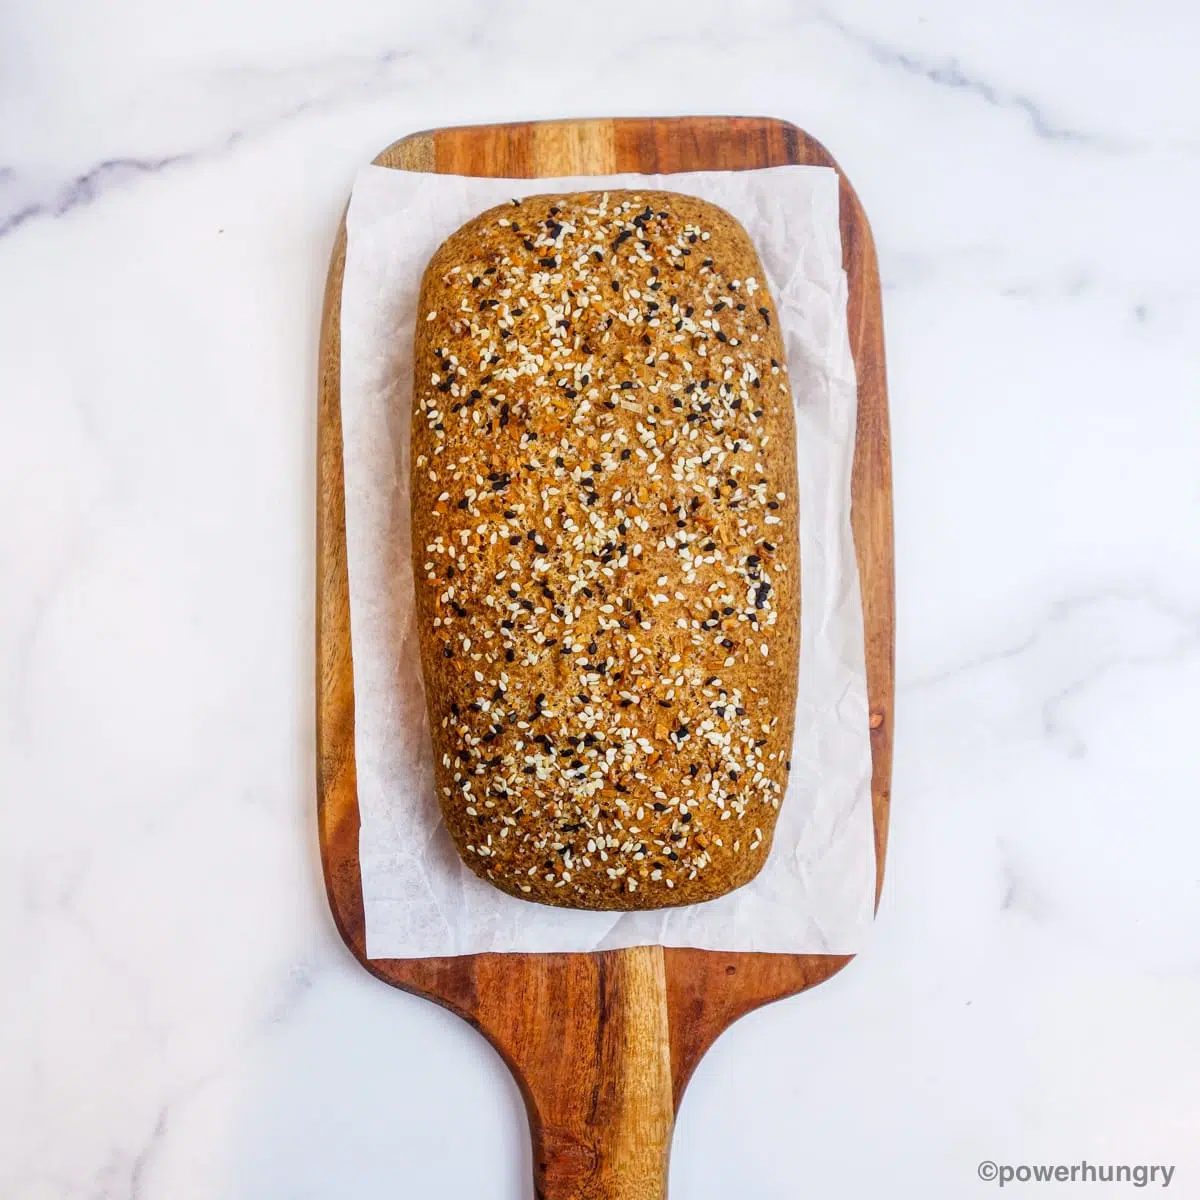
The split pea bread made with yellow split peas has a a faint, pleasant flavor of dried peas. Overall, the flavor is mostly neutral and can be paired with both savory and sweet toppings and fillings. Bread made with green split peas has a minuscule amount of more pea flavor (more like fresh peas, to me).
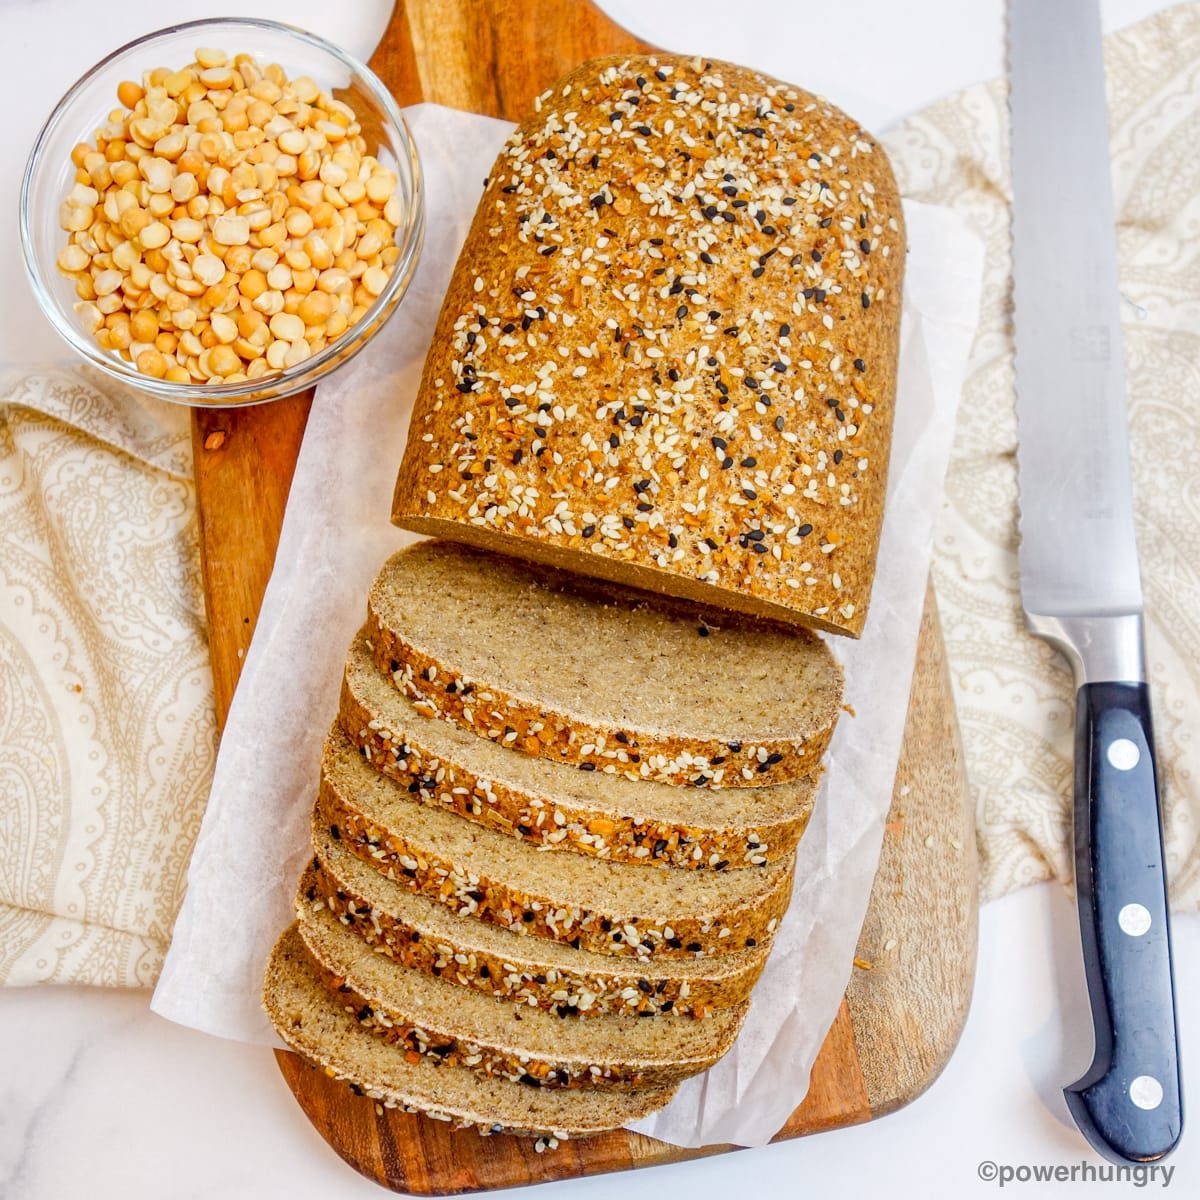
The full loaf has a pleasing, not-too-thick crust. The bread turns out slightly more dense when made in loaf form (as compared to the rolls)
While I love slices of bread, especially for sandwiches and toasting,I prefer this bread made into rolls. The rolls are lighter and slightly more springy than the loaf. But you cannot go wrong with either shape.
How Do I use this Nourishing Grain-Free Bread for Sandwiches?
Since this is a firm loaf, you can cut slices thick or thin for your desired sandwich filling or topping. I recommend cutting the loaf into thinner slices for closed sandwiches and thicker slices for open-face sandwiches.
The bread rolls are also reliable for sandwiches and burgers. Simply split, fill, and enjoy!
My Bread is Gooey Inside. Why?
This gluten-free bread should not be gooey inside, at all. If your bread comes out gooey in the middle, it is most likely due to one or more of the following reasons:
- Oven temperature is not accurate. Use an oven thermometer (they are very inexpensive) to regularly check the accuracy of your oven’s temperature.
- The bread was not baked long enough. The bread may look done before 50 minutes have passed. That does not mean that it is cooked on the inside. Bake for the entire time.
- The bread was not cooled before slicing.
- Inaccurate measurement of ingredients. With minimal breads such as this one, accuracy of measurements is critical. I strongly suggest using a kitchen scale for measuring the split peas and whole psyllium husks.
How Should I Store the Bread?
Store the cooled bread in an airtight container at cool room temperature for 2 days. the refrigerator for 1 week or the freezer for up to 6 months.
Can I Replace the Psyllium with Flaxseed Meal?
No. This particular gluten-free bread recipe can only be made with psyllium husks.
Can I Make this Bread with Other Legumes?
Yes! You can make it with lentils. I used myHigh Protein Lentil Breadas inspiration for this recipe. I am working on tests with other legumes, such as beans.
Can I Make this Gluten-Free Bread in a Bread Maker (Bread Machine)?
I have not tried it so I cannot make recommendations one way or any-other.
Can I Bake this Kitchen-made Sandwich Bread in a Loaf Pan?
Yes! Shape the loaf as directed and place into a parchment paper-lined (or greased) 8-inch loaf pan (8×4 inches/ 20×10 cm). The baking time will be about the same as for a baking sheet. Nevertheless, begin checking for doneness 5 minutes earlier than the recommended time.
Can I Sprinkle Seeds on Top of the Bread Before Baking?
Yes! Sprinkle with sesame seeds, green pumpkin seeds (pepitas), poppy seeds, shelled sunflower seeds, or hemp hearts (shelled hemp seeds).
Can I Use Psyllium Powder in Place of the Whole Psyllium Husks?
Possibly. I have not tested this gluten-free bread with psyllium powder, but theoretically it should work. Be sure to use an equal weight of psyllium powder to replace the whole psyllium husks (not volume).
What are Some Nourishing Topping Ideas for This Kitchen-made Bread?
- Sliced or mashed avocado
- Sliced or mashed bananas
- Vegan cream cheese (try my straightforwardDIY Cashew Cream Cheese recipe)
- Nut butter or seed butter (try my DIYSunflower Seed Butter,Pepita Butter, orAlmond Butter)
Happy baking!
Split Pea Bread (V, GF, Oil-Free)
- Prep Time: 5 minutes
- Cook Time: 50 minutes
- Total Time: 5 minutes
- Servings: 1 loaf or 8 rolls
Ingredients
- 12 oz dried split peas (yellow or green)
- Boiling water for soaking
- 2/3 cup water
- 1 tablespoon light-colored vinegar (or lemon juice) (e.g., apple cider vinegar , white vinegar)
- 1/2 cup whole psyllium husks
- 1/2 teaspoon baking soda
- Optional: 1/2 to 3/4 teaspoon salt
Method
- Place the dried split peas in a large bowl . Cover with enough boiling water to cover the peas with 1 inch of water. Let soak for at least 45 minutes until the peas are plump and almost twice their size (see notes for soaking in cold water overnight).
- Preheat the oven to 350F/180C. Line a large baking sheet with parchment paper .
- Rinse and drain the split peas through a colander or fine mesh sieve. Discard the soaking water.
- Place the drained, soaked split peas, 2/3 cup (150 mL) water, and vinegar in the bowl of a food processor or a blender. Cover and process, stopping several times to scrape down the sides of the bowl, until smooth.
- Add the psyllium husks, baking soda , and optonal salt to the split peas. Cover and process, stopping once or twice to scrape down the sides of the bowl, until just blended into a soft dough.
- Gather the dough into a ball and place on the prepared baking sheet . Shape the dough into a loaf or 8 rolls– Loaf: Use damp hands to shape into a loaf (8x4x2 in / 20x10x5 cm). Rolls: Divide the dough into eight equal portions. Roll each piece into a ball. Flatten and smooth each ball into a 3-inch (7.5 cm) diameter round. Space 2 inches (5 cm) apart on baking sheet .
- Bake the bread– Loaf: 50 to 55 minutes, or until risen and the surface of the loaf appears dry. The crust will be a deep golden brown color. Rolls: 25 to 30 minutes until the rolls are risen, the surface is dry, and light golden brown.
- Transfer the loaf or rolls to a cooling rack . Let cool completely before slicing.
Notes
Storage for the Bread: Store the cooled bread in an airtight container at cool room temperature for 2 days. the refrigerator for 1 week or the freezer for up to 6 months. Split Pea Weight Tip: 12 ounces/ 340 grams of dried (uncooked) split peas is about 1.75 cups. Loaf vs. Rolls: The split pea rolls have a somewhat lighter texture than the full-sized loaf. Overnight Soak Option: If you prefer, soak the split peas in cold or room temperature water for 8 to 12 hours or until plump and nearly double their size. Psyllium Husks Tip : I have not tested this gluten-free bread with psyllium powder, but theoretically it should work. Be sure to use an equal weight of psyllium powder to replace the whole psyllium husks (not volume).