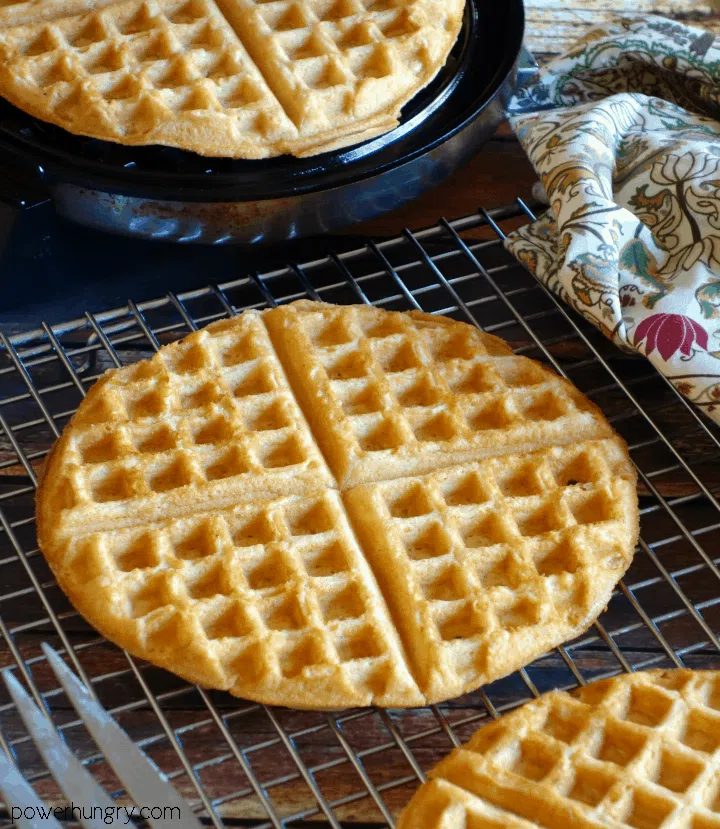
These 3 ingredient chickpea flour waffles are a wonder: golden, fluffy, and crispy-edged, they are naturally vegan, oil-free, grain-free & gluten-free.
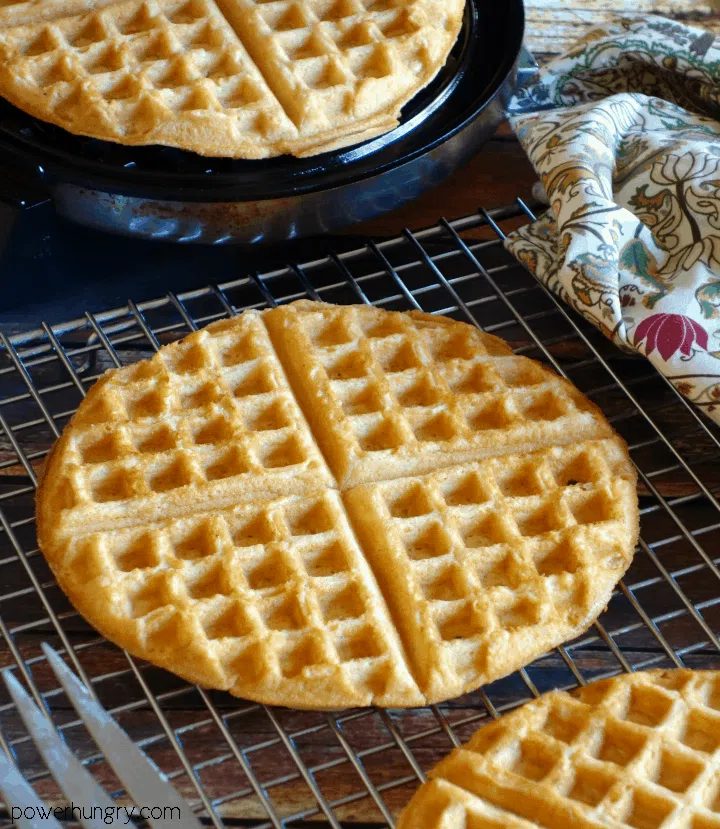
I love a good waffle, especially if it is golden, fluffy, crispy at the edges, and drizzled with maple syrup. Are you with me?
If your answer is “yes,” then you simply must give my 3-ingredient wonder waffles a try.
Recipe Benefits
These chickpea flour waffles are everything you want in a nourishing, satisfying waffle. Specially, they are:
- grain-free
- vegan (no eggs, no dairy)
- gluten-free
- sugar-free
- frugal (make thatcheap)
- filling
- versatile (add in different spices, extracts, etc)
- especially-nutritious
I know, it sounds too good to be true. But trust me, it isn’t!
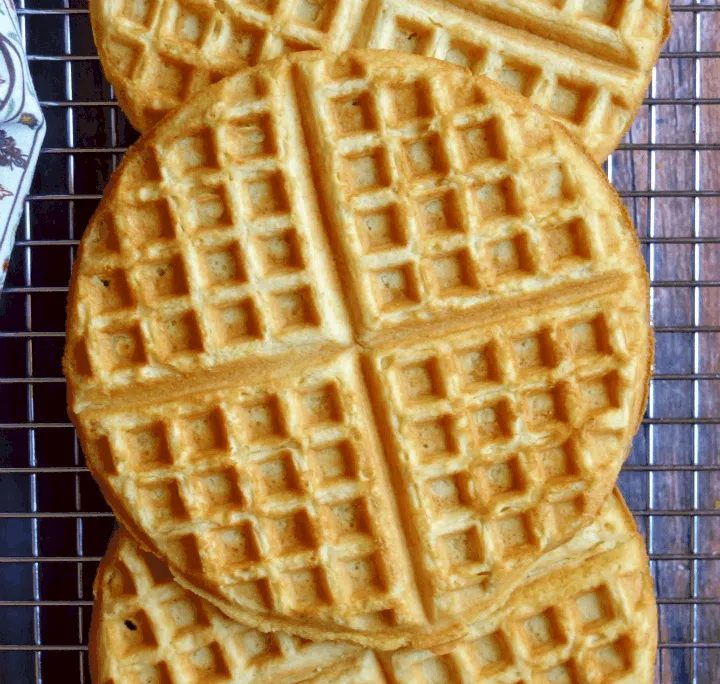
Ingredients for the 3 Ingredient Chickpea Flour Waffles
The exact amounts of each ingredient are indicated in the recipe card at the end of the post.Toggle betweenUS Customary(volume) andMetric(weights) for preferred measurement option.
- chickpea flour (it may also be labeled garbanzo bean flour, besan, or gram flour)
- baking powder
- Optional: vegetable oil (only a very small amount to help prevent sticking. It can be omitted)
You will also need some regular tap some water and (optional) salt for the basic recipe.
Step by Step Instructions
Note that the complete instructions are also in the recipe card below.
These waffles could not be simpler to prepare.
Step One: Whisk the Dry Ingredients
In a medium or large bowl, whisk the chickpea flour, baking powder and (optional) salt.
Step Two: Add the Wet Ingredients
Stir in the water and (optional) oil to the bowl. Whisk thoroughly to ensure that the batter is completely blended and smooth. Let the batter rest for 10 minutes while the waffle iron preheats.
Step Three: Preheat the Waffle Iron
Preheat the waffle iron to medium-high heat while the batter sits.
Step Four: Add the Batter to the Waffle Iron
Ladle the batter (about 1/2 cup of batter) into the preheated waffle iron and cook according to waffle iron manufacturer’s directions (generally about 2-5 minutes), depending on the type of maker).
That, dear readers, is it!
Eat Immediately, Or Store for Later
Eat the waffles immediately (yes, please!) or refrigerate or freeze ahead for an instant breakfast (simply toast to reheat–no need to defrost if frozen, just head straight to the toaster).
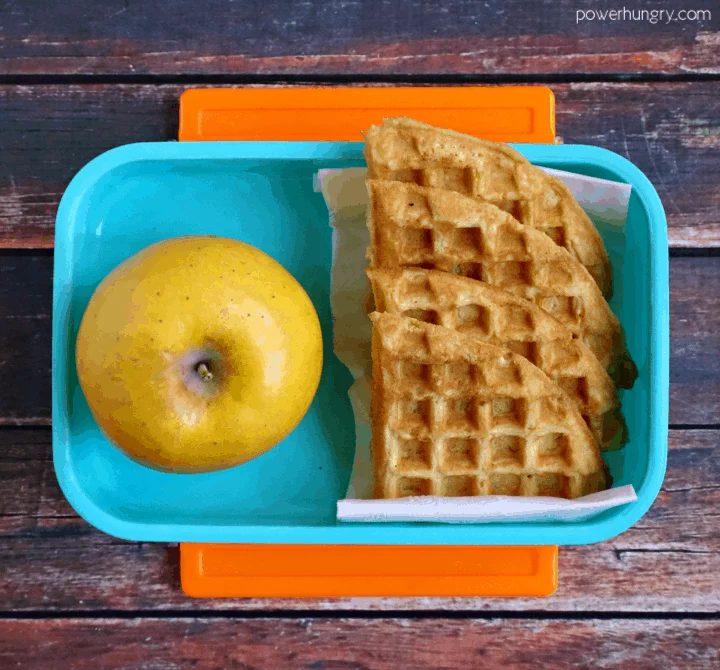
As much as I love eating the waffles hot and plated (hello, maple syrup), the quarters are ideal for portable eats, too!
Suggested Toppings
- Syrups:e.g., warmmaple syrup, agave nectar, brown rice syrup, or the liquid syrup / sweetener of your choice.
- Fruits and berries:e.g., blueberries, raspberries, diced strawberries, sliced bananas, diced apples or pears, dice peaches.
- Powdered sugar:(look at mygrain-free powdered sugar; it takes a minute to make)
Variations and Add-In Options
Since it is a challenge to eat syrup-coated waffles on the move, consider the following add-in ideas:
Stir-In Ideas
- Sweeteners:(e.g., maple syrup, coconut sugar, xylitol, brown sugar, etc. 1 to2 tablespoons is a good place to start). or finely chopped dried fruit, or mini chocolate chips to waffles you plan to take on the move.
- Flavorings:A splash of vanilla or almond extract, or finely grated lemon zest, orange zest, or lime zest.
- Milk instead of water:To up the nutrition of the waffles, replace the water with an equal amount of the nondairy milk of your choice (e.g., oat milk, coconut milk, soy milk, almond milk).
- Spices:Oh the possibilities! Cardamom, cinnamon, allspice, pumpkin pie spice, or ground ginger ((about 1 teaspoon). Or add a generous pinch of nutmeg.
- Savory herbs and spices:You can also head in asavorydirection (lunch! dinner! snacks!) with the addition of chopped fresh herbs, savory spices, black pepper, sriracha or hot sauce.
Add-In Ideas
I suggest you do not add extras directly to the batter, since it is a thin batter (the add-ins will sink). Instead, ladle in the batter as described in step 3, and sprinkle with a heaping tablespoon (more or less) of your chosen addition. Close the lid and cook!
- Miniature dark chocolate chips or chopped chocolate
- Finely chopped nuts or seeds
- Finely chopped dried fruit
Make a Waffle Sandwich
And lest any of us forget, waffles are quick bread, which means this is also a recipe for the easiest, most memorable, grain-free bread recipe.Bring on the sandwiches!
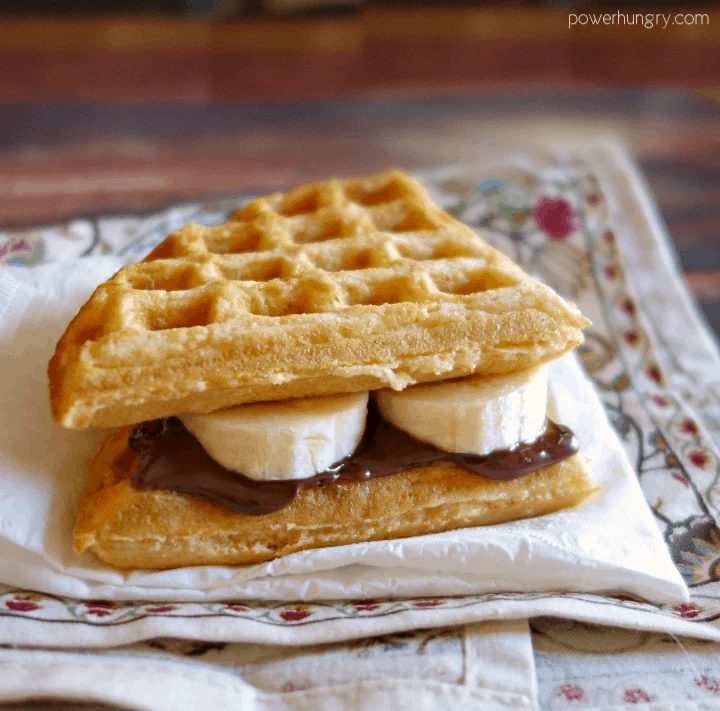
Hungry? Me too! I’m off to make a waffle sandwich…
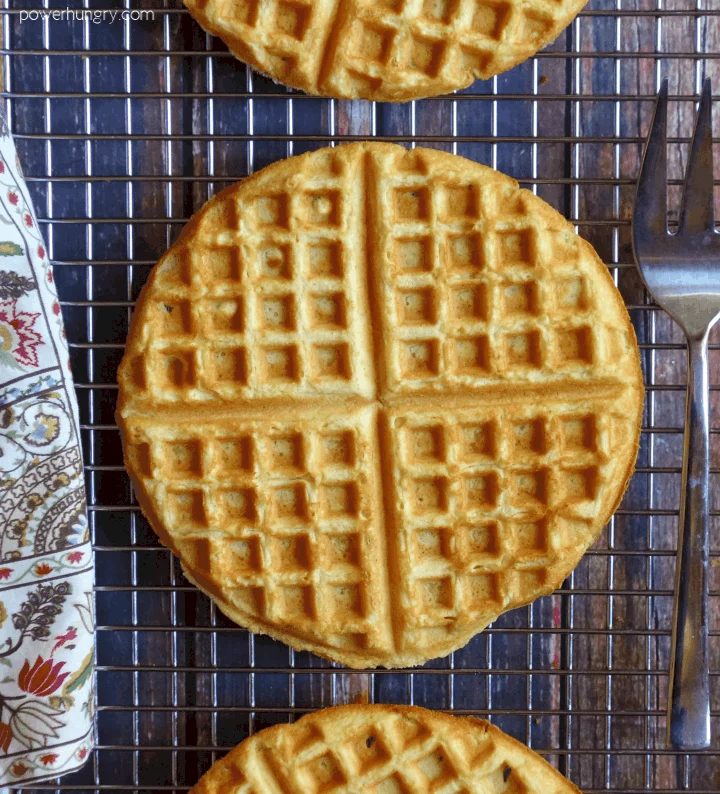
FAQ
- How should I store the waffles?Store the completely cooled waffles in an airtight container in the refrigerator for 3 days, or the freezer for up to 6 months. Rewarm the waffles by toasting (pop-up toaster or toaster oven).
- Can I substitute another flour for the chickpea flour?No, this recipe only works with chickpea flour.
- 2 Ingredient Lentil Waffles
- Vegan Gluten-Free Oat Waffles (straightforward, nourishing)
- Vegan Almond Flour Waffles {Oil-Free, Grain-Free}
- Grain-Free Vegan Banana Waffles {Oil-Free}
- Vegan Peanut Butter Banana Oat Muffins (oil-free, gluten-free)
- Fluffy Muffin Tin Pancakes {vegan, grain-free, nut-free}
3-Ingredient Chickpea Flour Waffles (V, GF, Grain-Free, OIl-Free Option)
- Prep Time: 2 minutes
- Cook Time: 5 minutes
- Total Time: 7 minutes
- Servings: 6 big waffles
Ingredients
- 1.5 cups chickpea flour
- Optional: 1/4 teaspoon salt
- 2 teaspoons baking powder (certified GF, as needed)
- 1.33 cups water
- Optional: 2 tablespoons (30 mL) vegetable oil (your choice of type; sub with more water for oil-free)
Method
- In a large bowl , whisk together the chickpea flour , baking powder and salt.
- Add the water (and optional 2 tablespoons oil, or additional 2 tablespoons water), whisking until blended and smooth. Let stand for 10 minutes.
- Preheat a standard waffle maker to medium-high heat.
- Spray the plates of the waffle iron with nonstick cooking spray (no need to do this if the waffle iron is nonstick). Ladle or pour in about 1/2 cup (118 mL) batter.
- Cook the waffle according to waffle maker directions (for most makers, until a light changes color). The waffles should be a deep golden color (adjust settings as needed).
- Remove waffle and repeat with remaining batter.
Notes
Keep the waffles warm: You can keep the waffles warm in a 200˚F oven as you prepare all of the waffles. Storage: Store the completely cooled waffles in an airtight container in the refrigerator for 3 days, or the freezer for up to 6 months. Rewarm the waffles by toasting (pop-up toaster or toaster oven). Flavor Additions: See the post above for flavor ideas, such as spices, extracts, and replacing the water with milk. Addition Options: Consider adding up to 1/2 cup mini chocolate chips, finely chopped dried fruits (e.g., raisins, dried cranberries , finely chopped nuts or seeds to the waffles. I suggest you do not add directly to the batter, since it is a thin batter (the add-ins will sink). Instead, ladle in the batter as decribed in step 3, and sprinkle with a heaping tablespoon (more or less) of your chosen addition. Close the lid and cook!