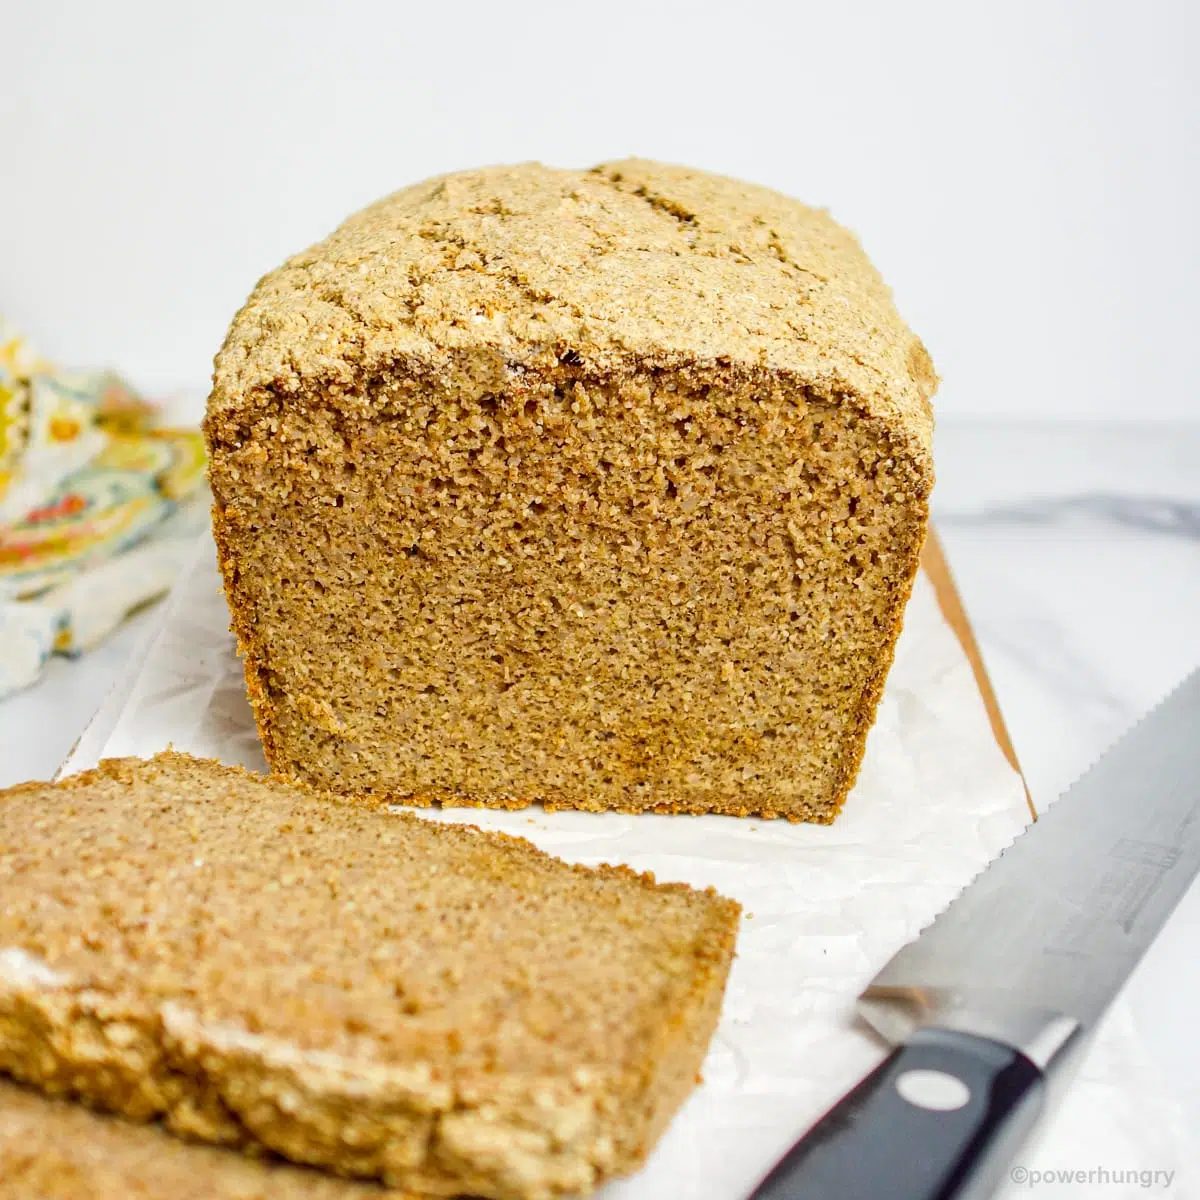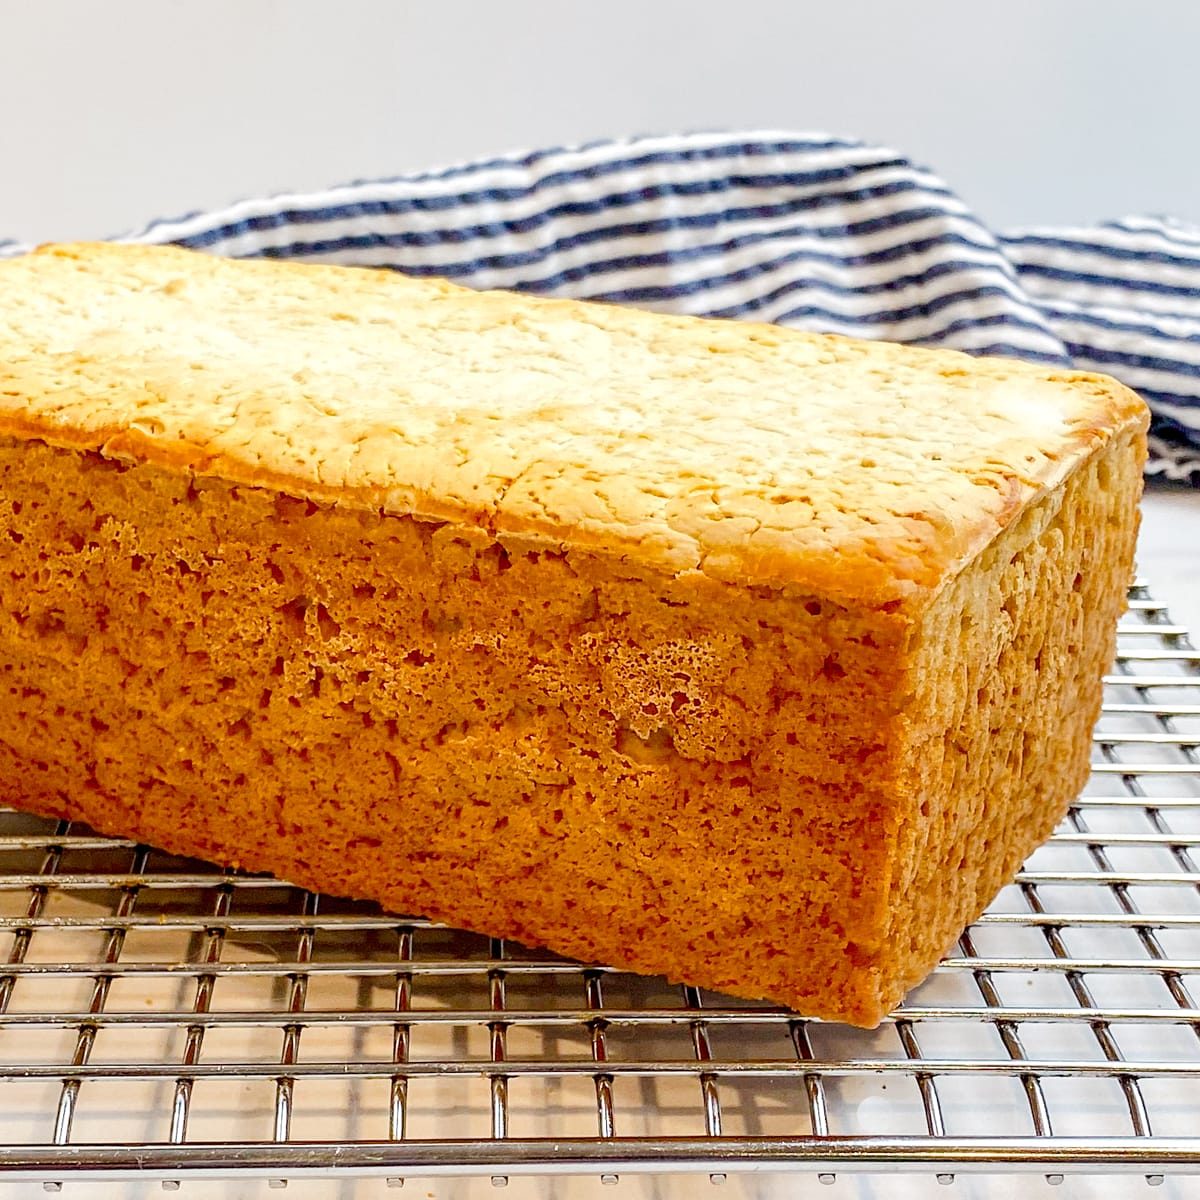
Four ingredients (plus water & optional salt) is all that you need to make my memorable flourless brown rice yeast bread! It is psyllium-free, gluten-free, oil-free, cheap, straightforward, and all around wonderful. Soak the rice for 30 minutes, blend the batter, and you have sandwich bread in no time!
Gluten-Free Bread Recipe made with Uncooked Brown Rice
A lovely reader left a comment for me a few weeks ago, asking if I had heard about the gluten-free rice bread recipe that was popular on platforms such as YouTube and TikTok. I had not, so I immediately went to take a look.
Sure enough, it is a thing! I watched multiple recipes for turning uncooked white rice into impressive, squared-off loaves of sandwich bread, with the minimal additions of sugar, oil, and yeast (plus water, and salt as desired). However, the scale of the loaves, and exact proportions, were often vague, as were the sizes of the baking pans.
Many of the recipes made exacting assertions (without explanation; it annoyed me), including the following:
- White rice is the only rice option (some authors insisted it had to be Calrose rice, sushi rice, or other short-grain white rice, in particular)
- The rice must be soaked overnight
- A high-speed blender is essential for blending the batter (no regular blenders allowed)
- The bread can only be baked in a narrow baking pan (although exact dimensions were not provided)
- The sweetener must be granulated white sugar for the recipe to “work”
- Oil is critical for the success of the recipe
Really? I was not going to take anyone else’s word for what could or could not be done. I needed to know firsthand. Moreover, if I was going to share a recipe for the bread, I wanted it to be my own creation.
That is exactly what I have done. I put the bread mandates to the test, made many batches, my way (including multiple fails), and finally figured out my own version of this wonder bread. I am finally ready to share the results!
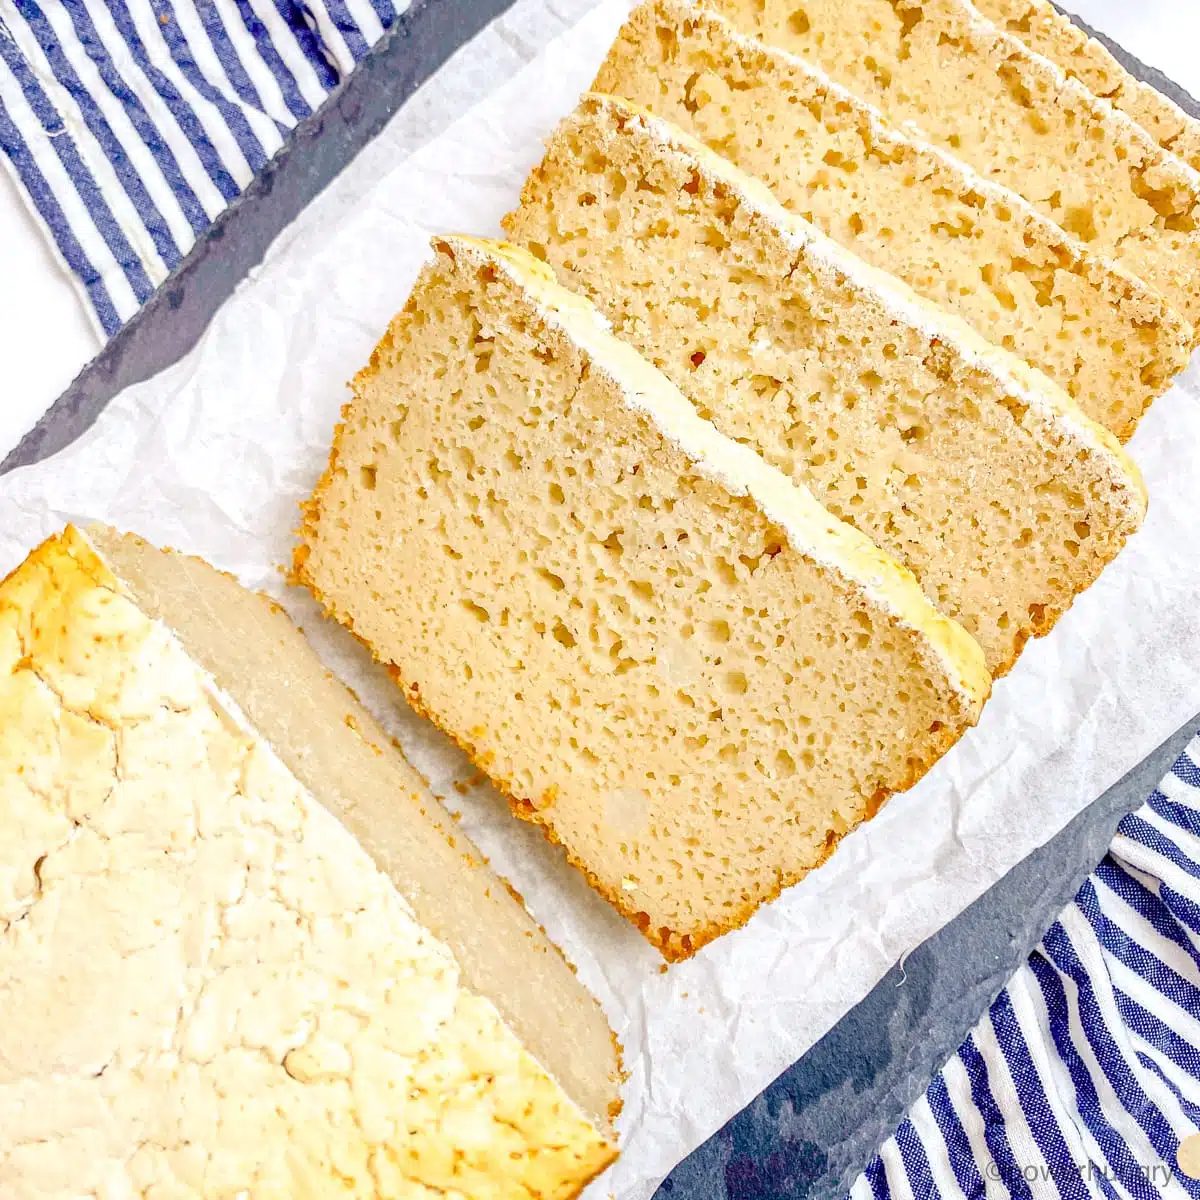
Brown Rice Works (with One Essential Tweak)
To make a long story short, the ricedoes nothave to be white rice. Brown rice works! Further, it does not need to be a specific type of brown rice. I tested with short grain, long grain and medium grain. They all produced great bread.
A caveat: brown rice works so long as youadd one additional ingredient.
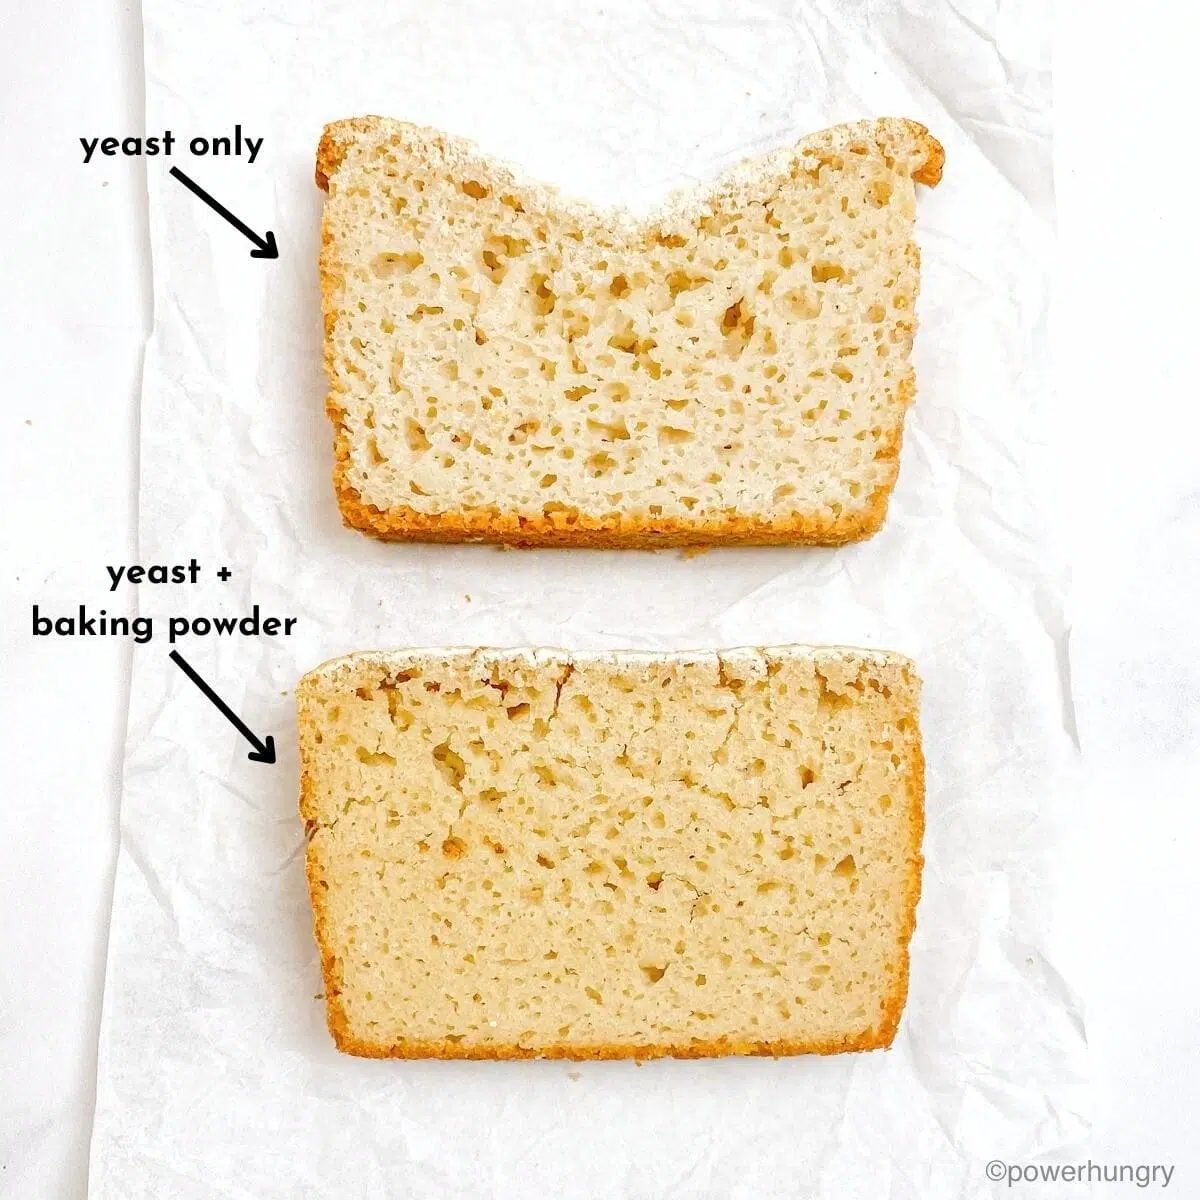
When made with yeast alone, the center of the bread does not rise. The sides rise, but the gas bubbles from the yeast fermentation are not strong enough to support the center of the bread.
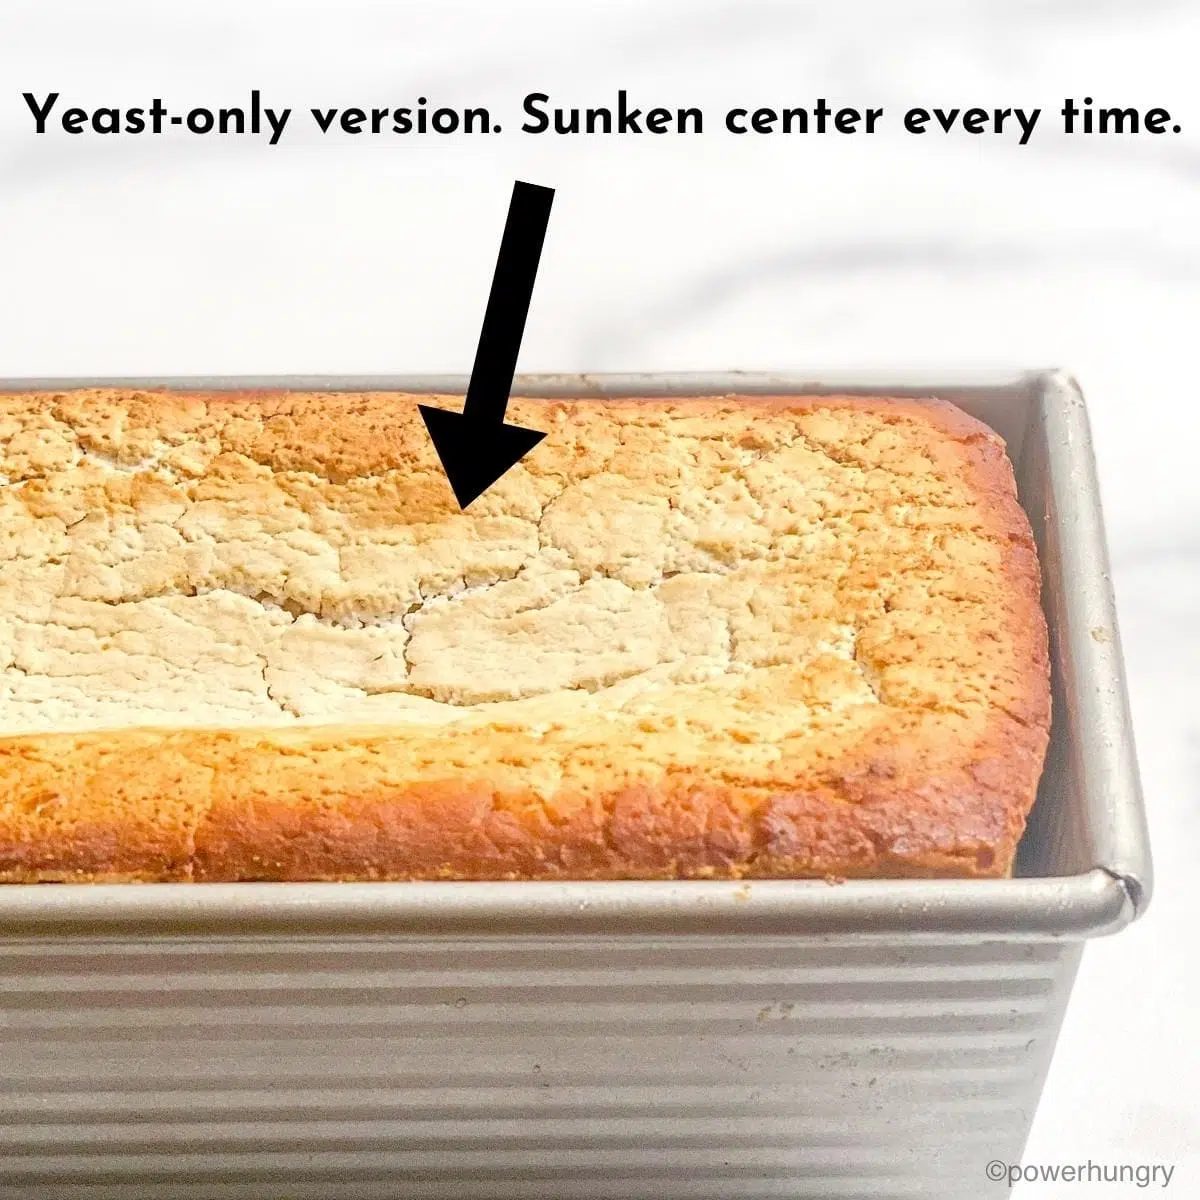
I knew I could likely add some psyllium gel (from whole husks or powder), but I specifically wanted this recipe to be free of psyllium for those who cannot tolerate it. I also wanted to keep the recipe cheap and straightforward, with readily available ingredients. What else could I add?
Baking powder is the answer.I have several old-fashioned bread and biscuit recipes that use a combination of yeast and baking powder, and/or baking soda (angel biscuits are a classic example, a staple in the American South).
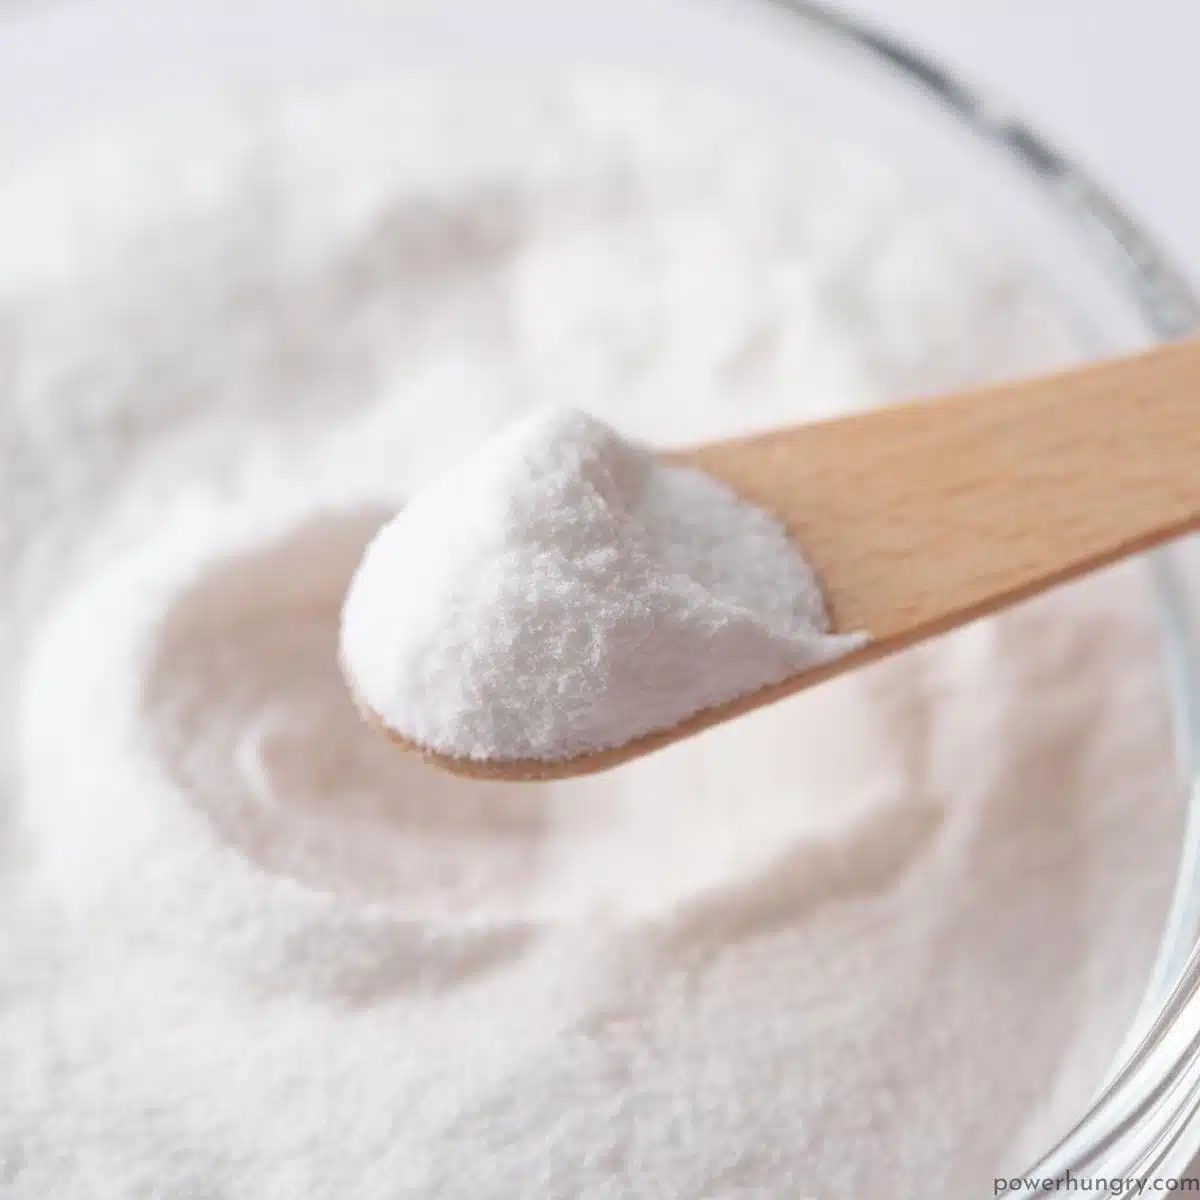
I tried it (several times, to get the proportions just right), and it worked like a charm! The combination of CO2 bubbles from the baking powder, plus the fermentation bubbles from the yeast, works to lift and support the center of the loaf. Hooray!
Additional Rules Overturned
Those “rules” I mentioned earlier (e.g., the bread can only be madethis wayorthat way…”) ? I tested all of them. As I result, I was also able to:
- Cut the rice-soaking time down to 30 minutes (with a plain trick)
- Create a 9×5 inch (22.5×12.5 cm) full size sandwich loaf
- Eliminate the oil (if you want to add some, you can. Notes are in the recipe card)
- Use (almost) any sugar (I used coconut sugar; maple syrup, molasses, or any sugar (except artificial) will work to “feed” the yeast)
- A regular blendercanbe used (with some minor guidelines)
Are you excited to try this? I hope so, because this is such a fun, straightforward and satisfying bread to make and eat!
Recipe Benefits
The hearty, vegan bread recipe is all of the following, and more:
- No psyllium husks
- Frugal (cheap!)
- Flourless (no white rice flour or brown rice flour)
- No added starches (such as cornstarch, tapioca starch, arrowroot, or potato starch)
- Gluten-free
- Vegan (egg-free & dairy-free}
- Oil-free (no vegetable oil, butter, olive oil, safflower oil, or other added fats)
- No xanthan gum, no guar gum
- Oil-free
- Good source of fiber
- Minimal ingredients
- Straightforward
I have the nutritional information included at the bottom of the recipe card, below.
Ingredients for Brown Rice Bread
The exact amounts of each ingredient are indicated in the recipe card at the end of the post.Toggle betweenUS Customary(volume) andMetric(weights) for preferred measurement option.
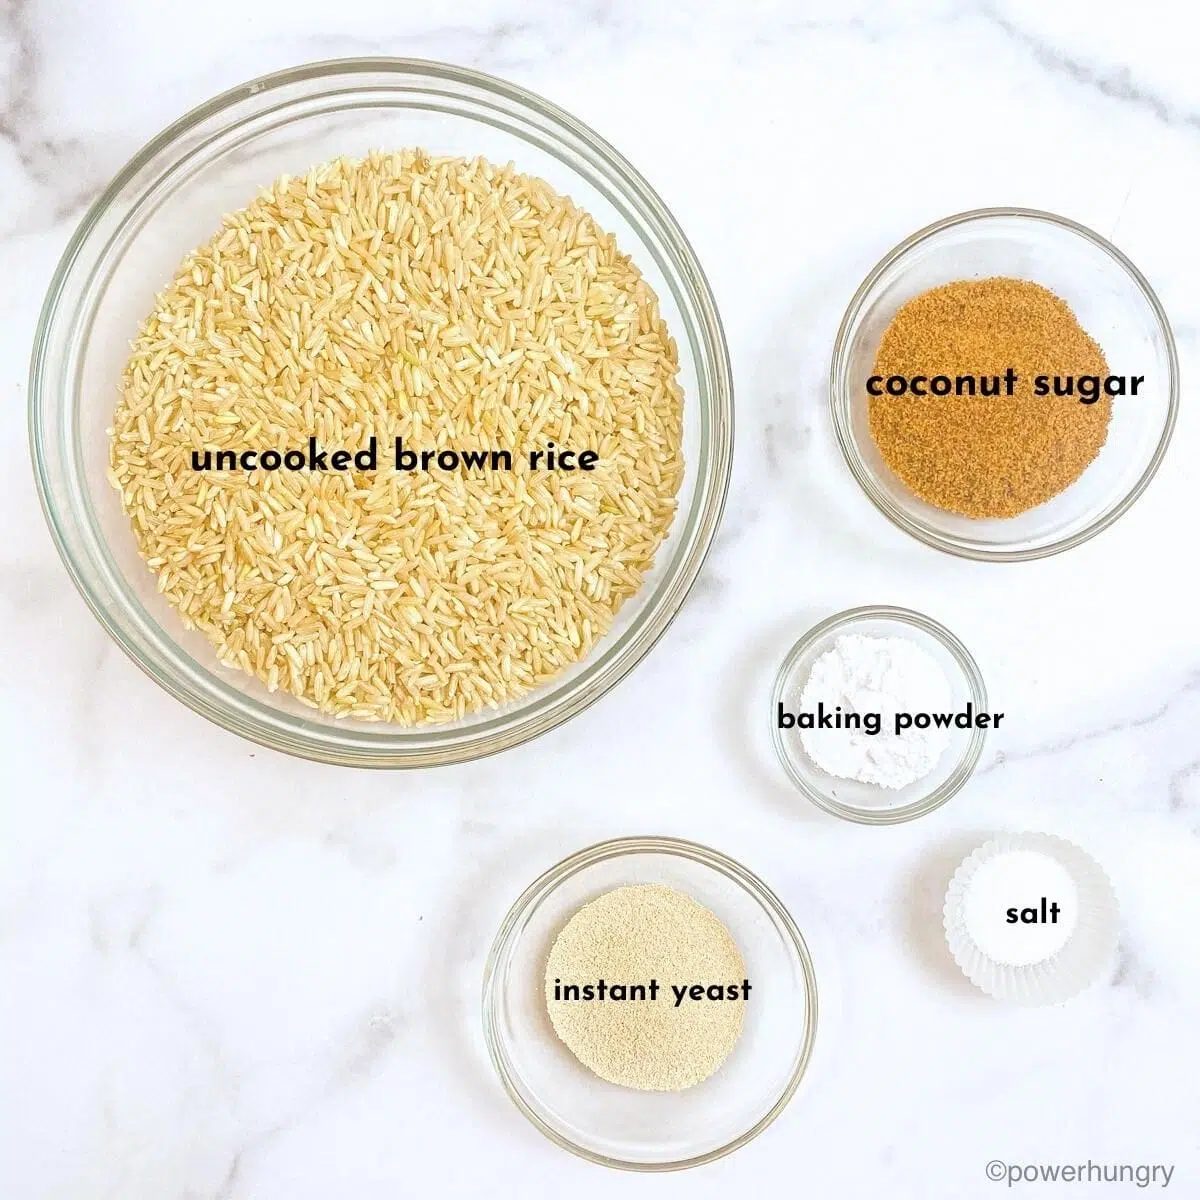
Good news: this excellent gluten-free loaf of bread requires no more than four ingredients.
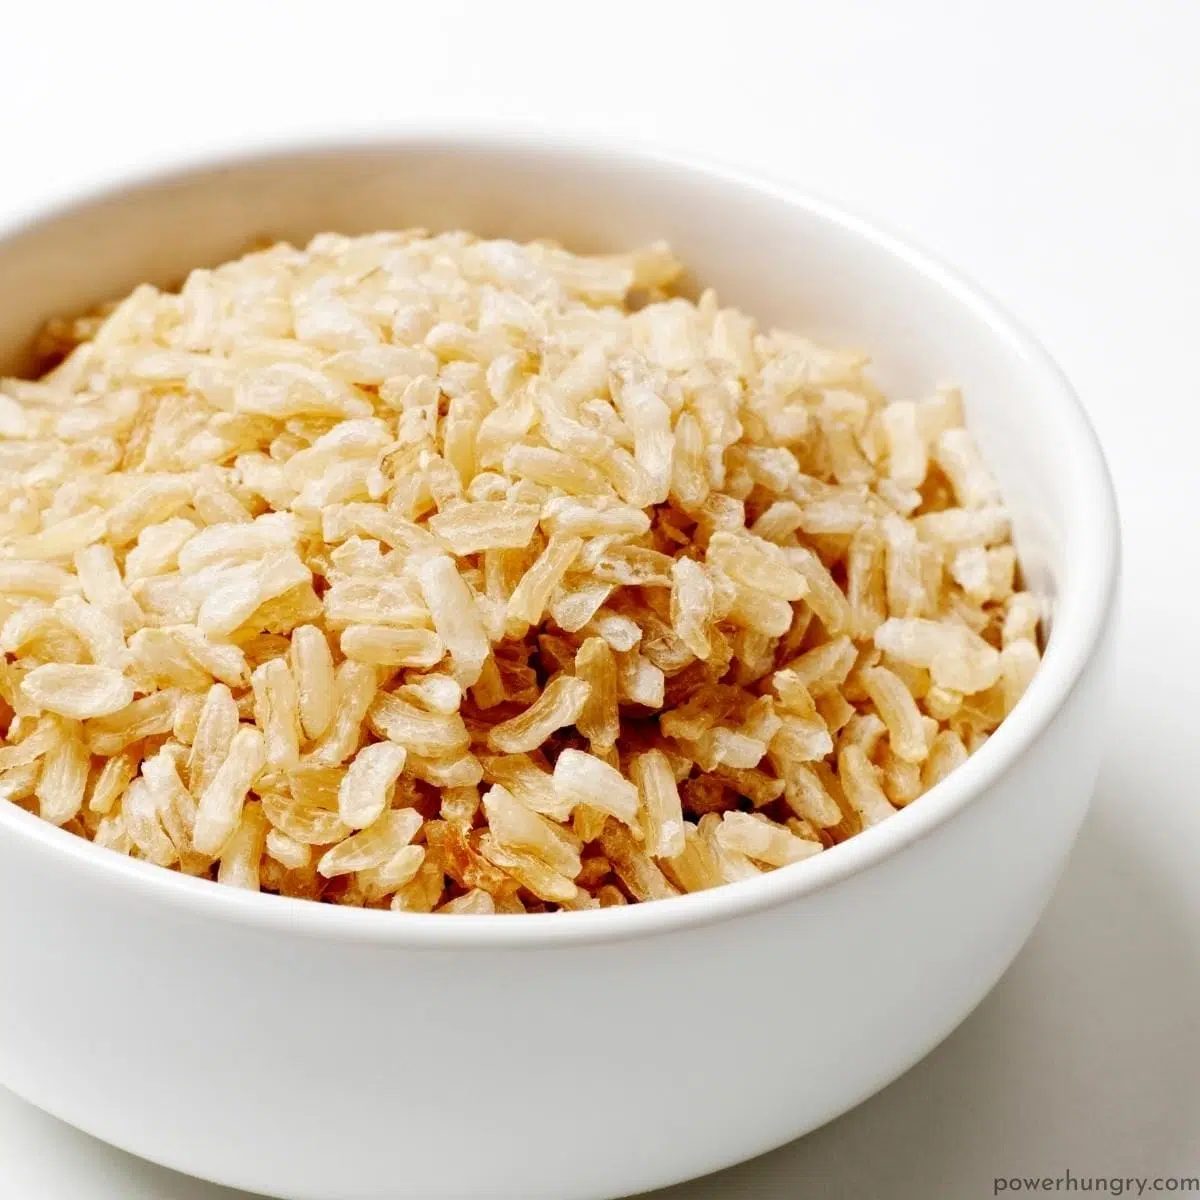
- Uncooked (raw) brown rice (i tested with medium grain brown rice and long grain brown rice)
- Coconut sugar (other options, such as brown sugar or maple syrup can also be used. Options are included in the recipe card, below)
- Instant yeast (it may also be labeled rapid rising yeast, or quick yeast) (Note: do not use Red Star brand platinum yeast. It is not gluten-free).
- Baking powder (yes, yeast AND baking powder. I will explain why below)
You will also need water (for soaking and blending the rice in a batter. Use regular tap water, or filtered water). Salt is optional, according to your needs and preferences. I like to add one teaspoon of salt to the batter.
It is essential thatinstant yeast, notregular active dry yeast, is used in the recipe.
Make sure you are usingbaking powder,notbaking soda(sodium bicarbonate). Baking powder is a combination of baking soda plus an acidic ingredient (cream of tartar). Baking soda is used in much smaller quantities than baking powder.
Step by Step Directions
Note that the complete instructions are also in the recipe card below.
Step One: Fast-Soak the Brown Rice
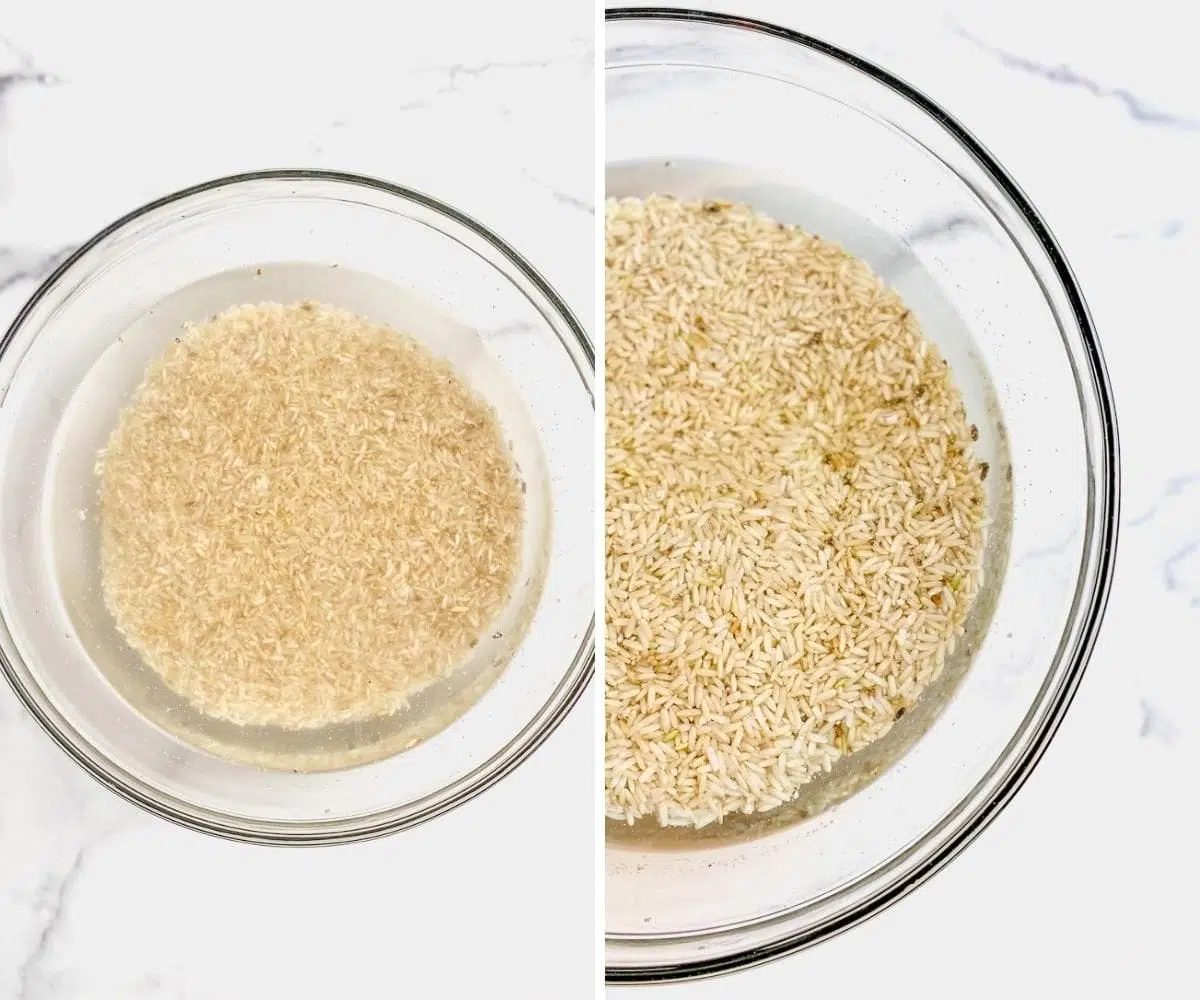
Place the uncooked brown rice in a large mixing bowl. Addboiling waterto the bowl (enough to cover the rice by about 1 inch / 2.5 cm).
Allow the rice to soak for thirty minutes. The rice can soak for longer (for example, if another matter becomes pressing! Or, you get distracted (who, me?) :)).
Note:You are welcome to soak the rice in a more traditional manner. Place the brown rice in the bowl, as described above, but cover with room temperature water. Allow the rice to soak for anywhere from six to twenty four hours.
Step Two: Prepare the Baking Pan
Prepare a 9×5-inch (22.5×12.5 cm) loaf pan. If using a nonstick loaf pan (e.g., silicone), no preparation is needed. Otherwise, line the pan with nonstick parchment paper. If you do not object to oil, spray the pan with nonstick cooking spray, or lightly oil/grease the pan.
Step Three: Rinse and Drain the Rice
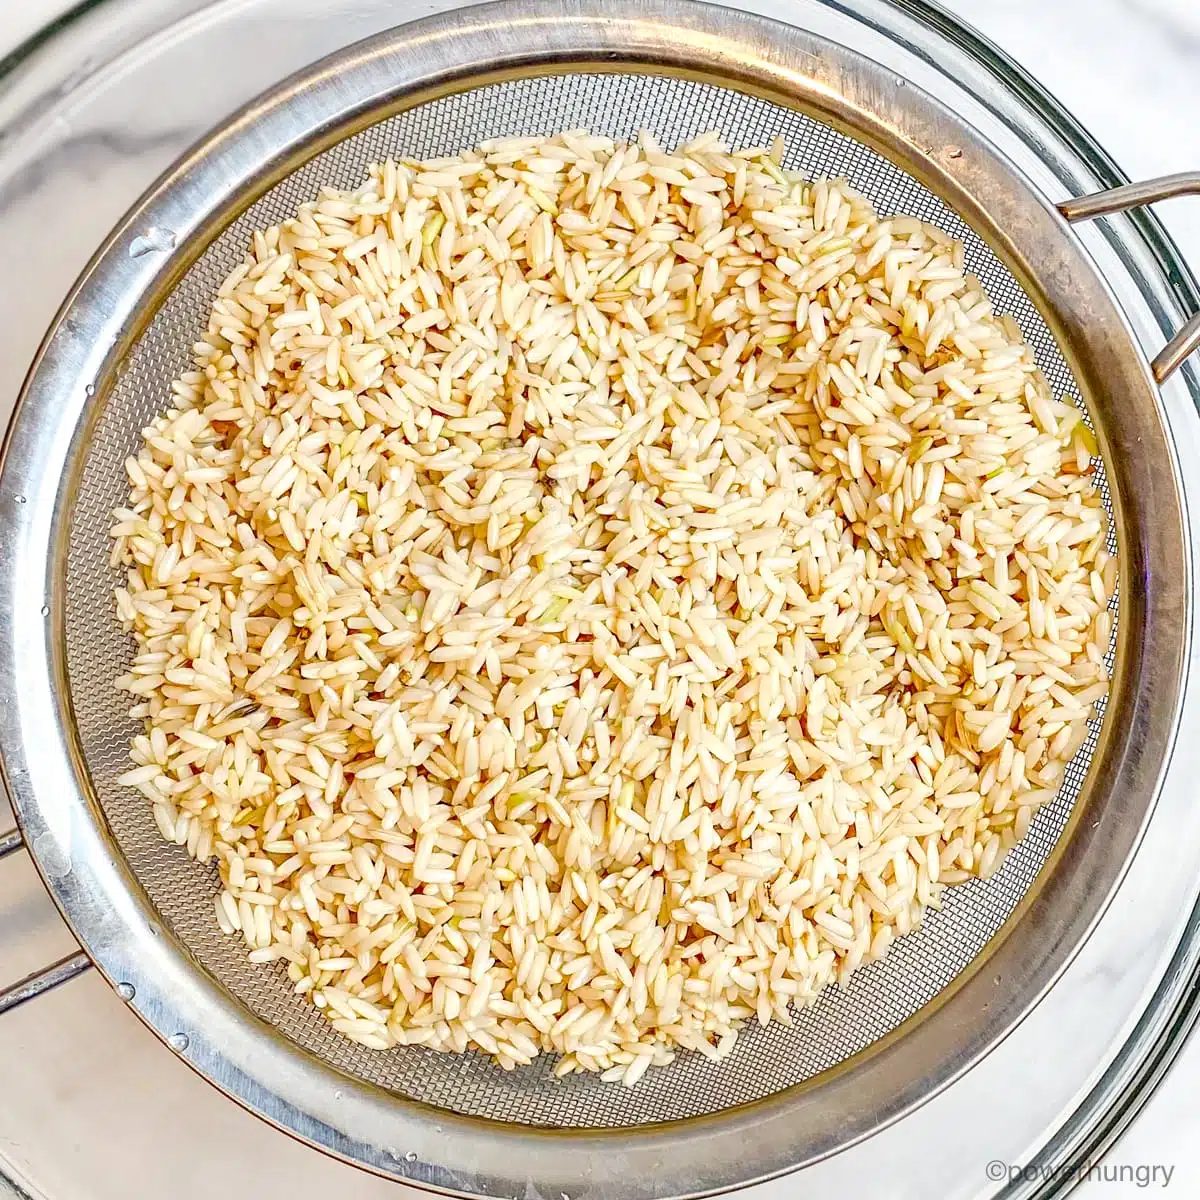
Drain the soaked rice through a colander or mesh sieve and rinse under cold water. Gently shake off the excess water.
Step Four: Blend the Batter (Withoutthe Yeast and Baking Powder)
Scrape the soaked, drained rice into a high-speed blender container. Add the room temperature water, coconut sugar, and optional salt. Blend on high speed for 90 to 120 seconds until the batter is silky smooth andvery warm(it isvery importantthat the batter be very warm to activate the instant yeast).
Regular Blender Instructions:Use warm water instead of room temperature water. Blend at 30 second intervals (to avoid overheating the blender motor) until the batter is completely smooth and silky, and the batter is very warm.
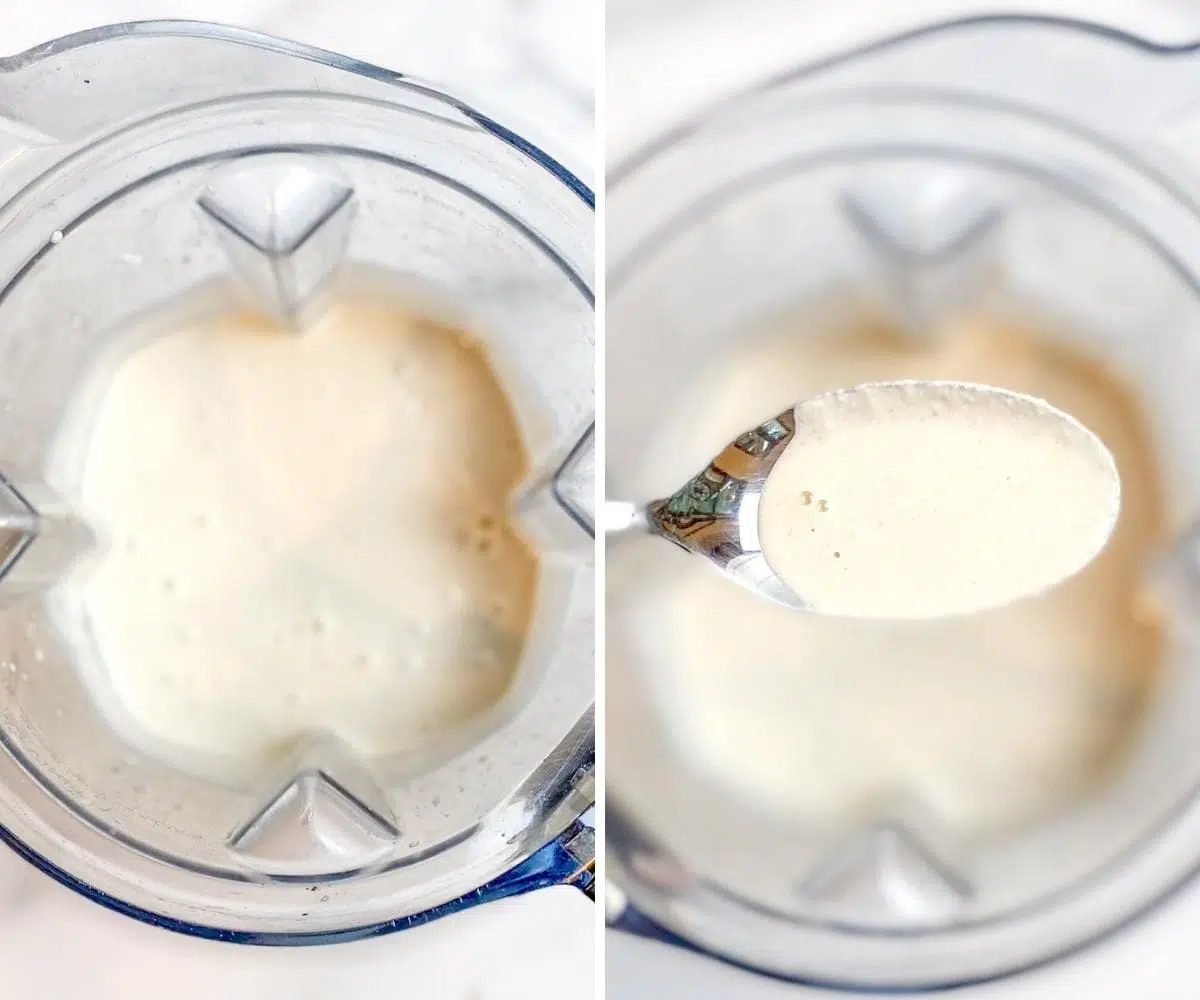
Step Four: Add the Yeast and Baking Powder
Add the instant yeast and baking powder to the blender container. Blend for 15 to 20 seconds until combined.
Step Five: Pour Batter Into Pan and Preheat Oven
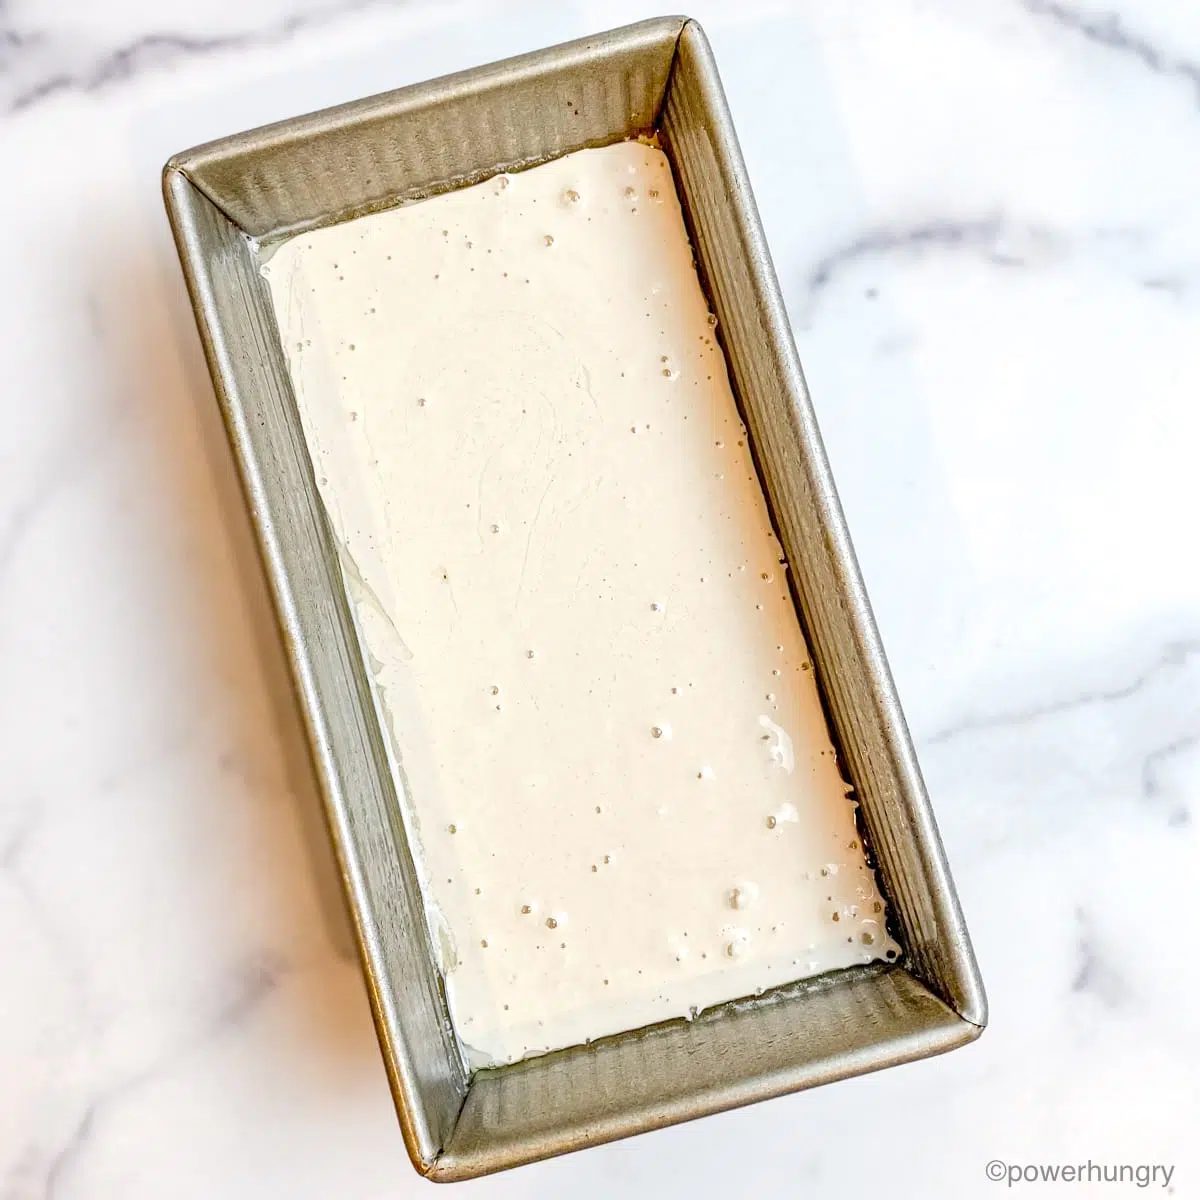
Pour the bread batter into the prepared pan. Place the pan in a draft-free warm place.Immediatelypreheat the oven to 350F (180C).Do not hesitate!
The bread rises very quickly.The oven needs to be hot and ready to go as soon as the bread hits the needed rising mark (see next step).
Step Six: Let Bread Batter Rise (Watch Closely!)
Let the bread batter rise for 20 to 25 minutes. It happens quickly, so stay close by. I mean it.
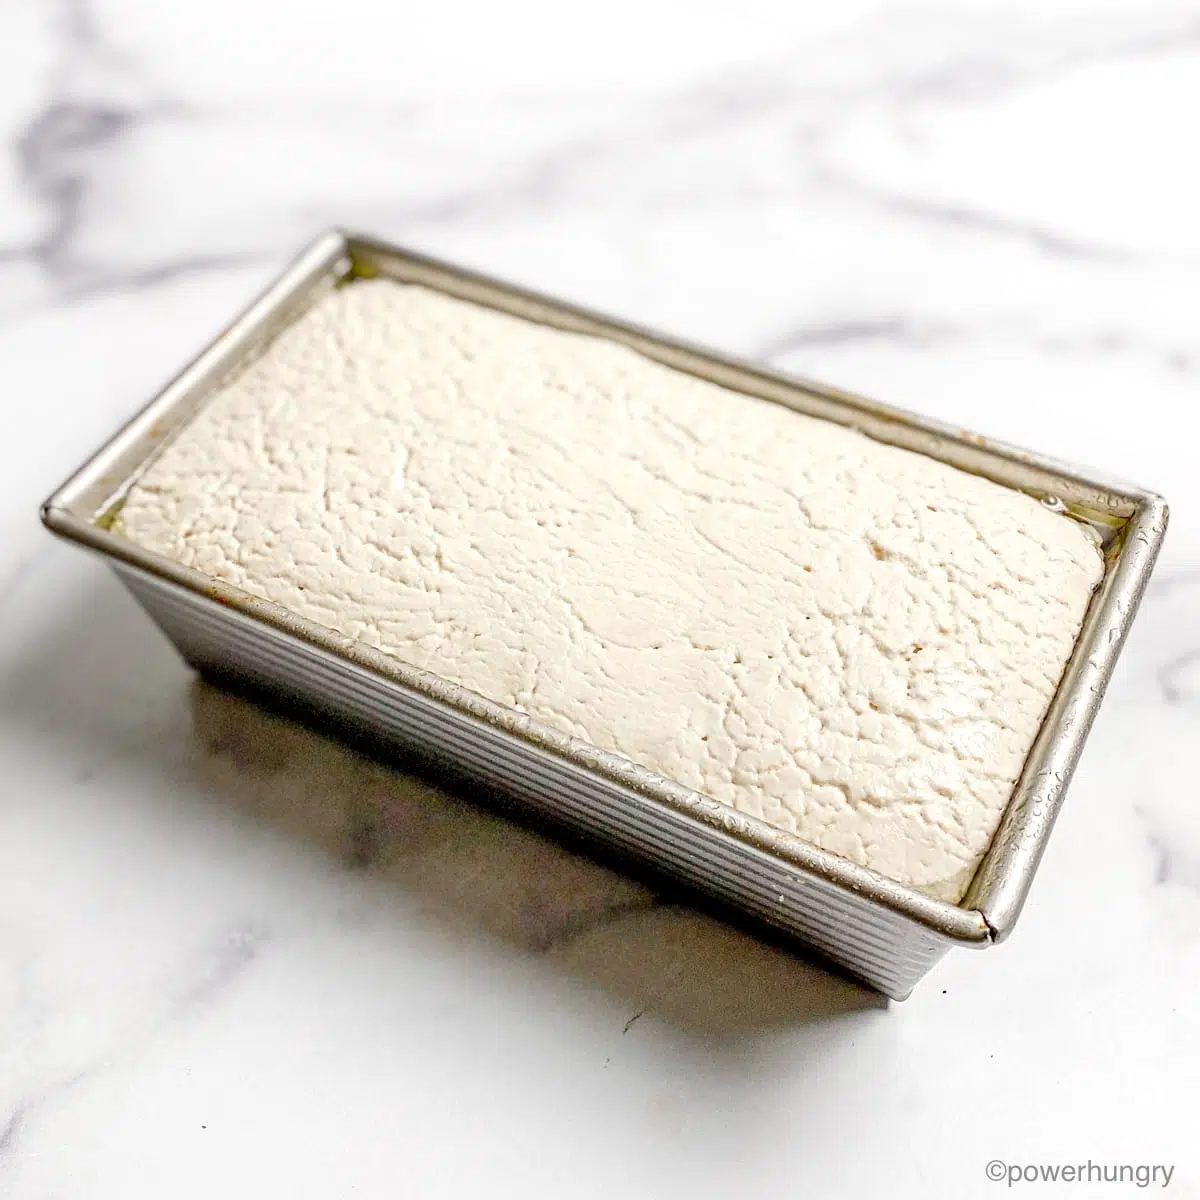
The bread is ready to bake as soon as the batter is a short distance away from the the top edge of the pan (the batter should be no closer than 1/4 inch away from the top). If the batter is all the way to the top, it will overflow the top of the pan (not good for so many reasons) once it hits the heat of the oven.
I suggest doing a task or chore directly in front of the bread.
The timing for the rise will depend, in part, on the warmth and humidity in your kitchen.
Step Seven: Bake the Bread
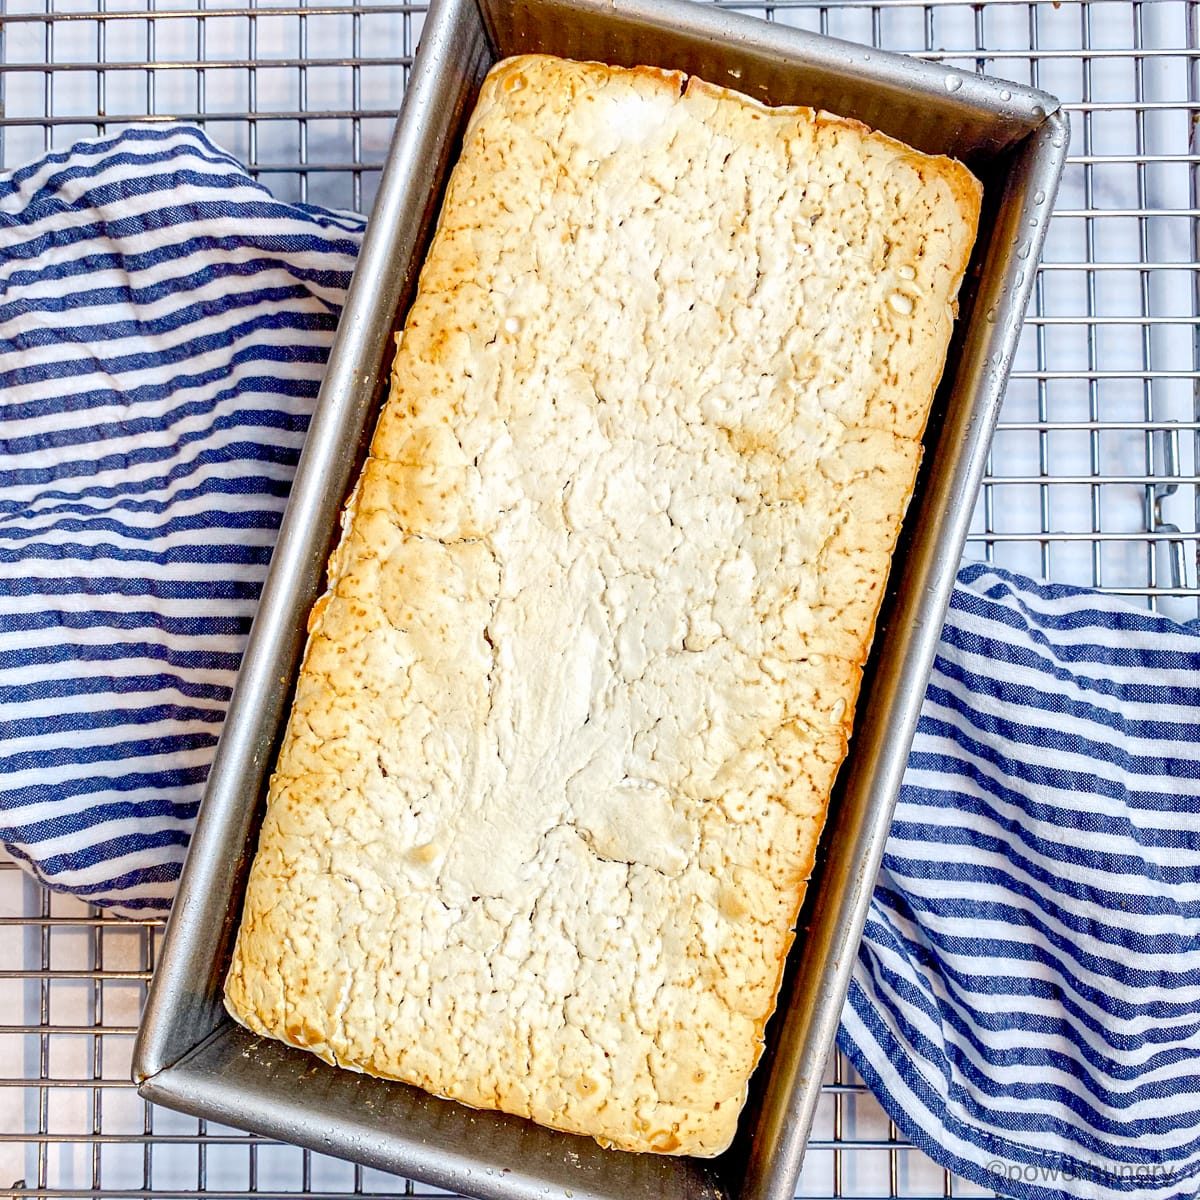
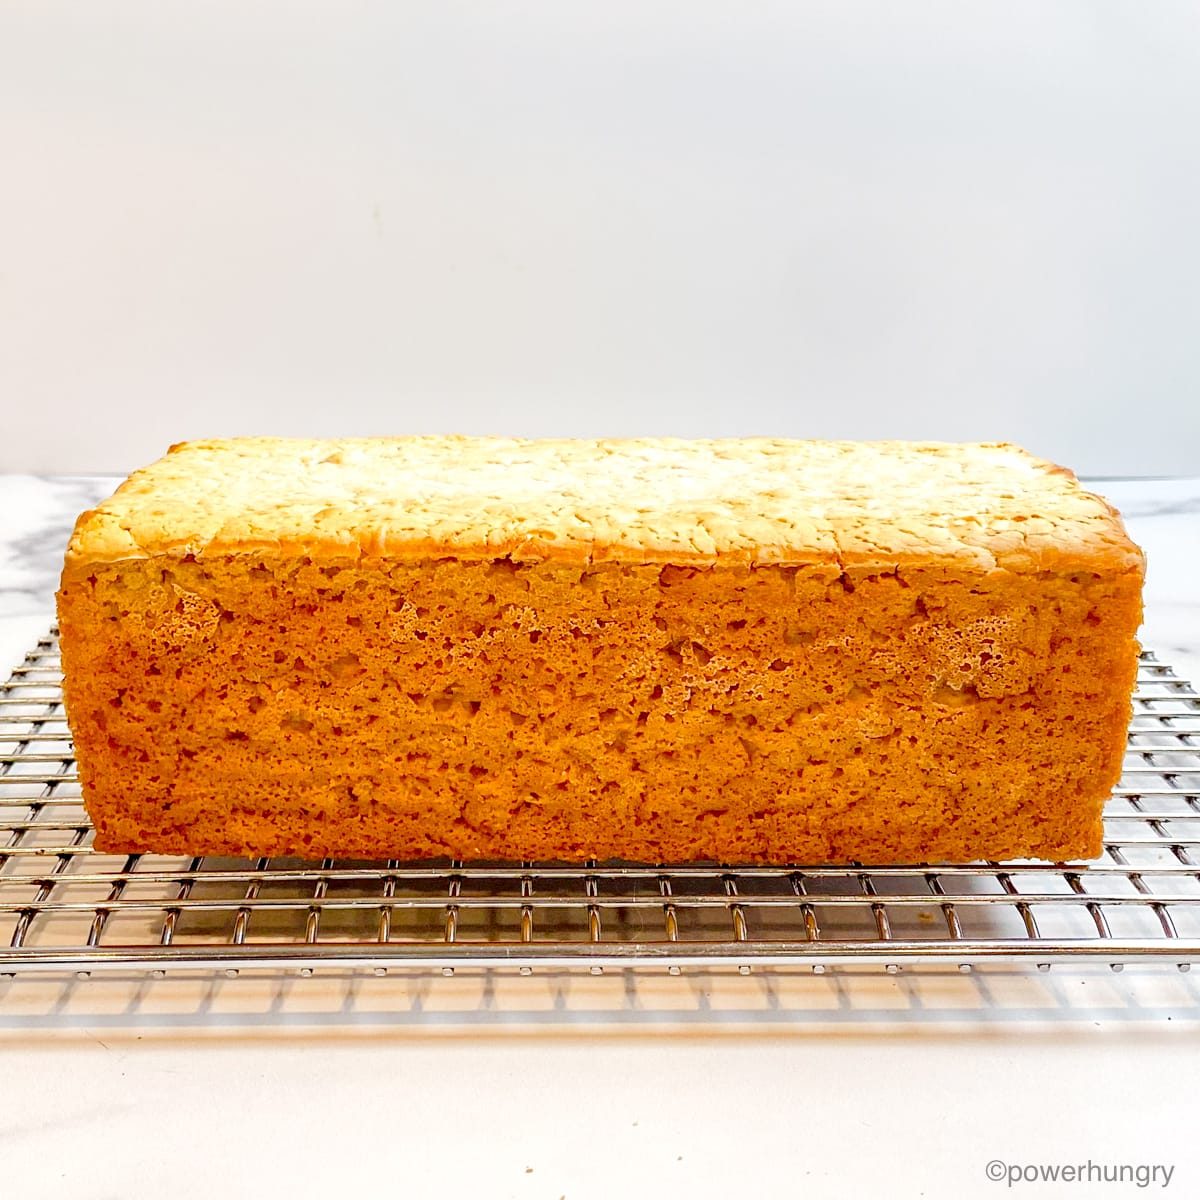
Bake the bread in the preheated oven for 45 to 50 minutes until crusty in appearance and deep golden brown at the edges. The loaf will be flat on top (no peaks in the center) and somewhat pale towards the middle (even when it is completely baked).
Step Eight: Cool the Bread
Let the loaf cool, in the pan, on a cooling rack for 15 minutes.
Remove the bread from the pan and cool the loaf completely on a wire rack, or other cooling rack.
Slice the Bread
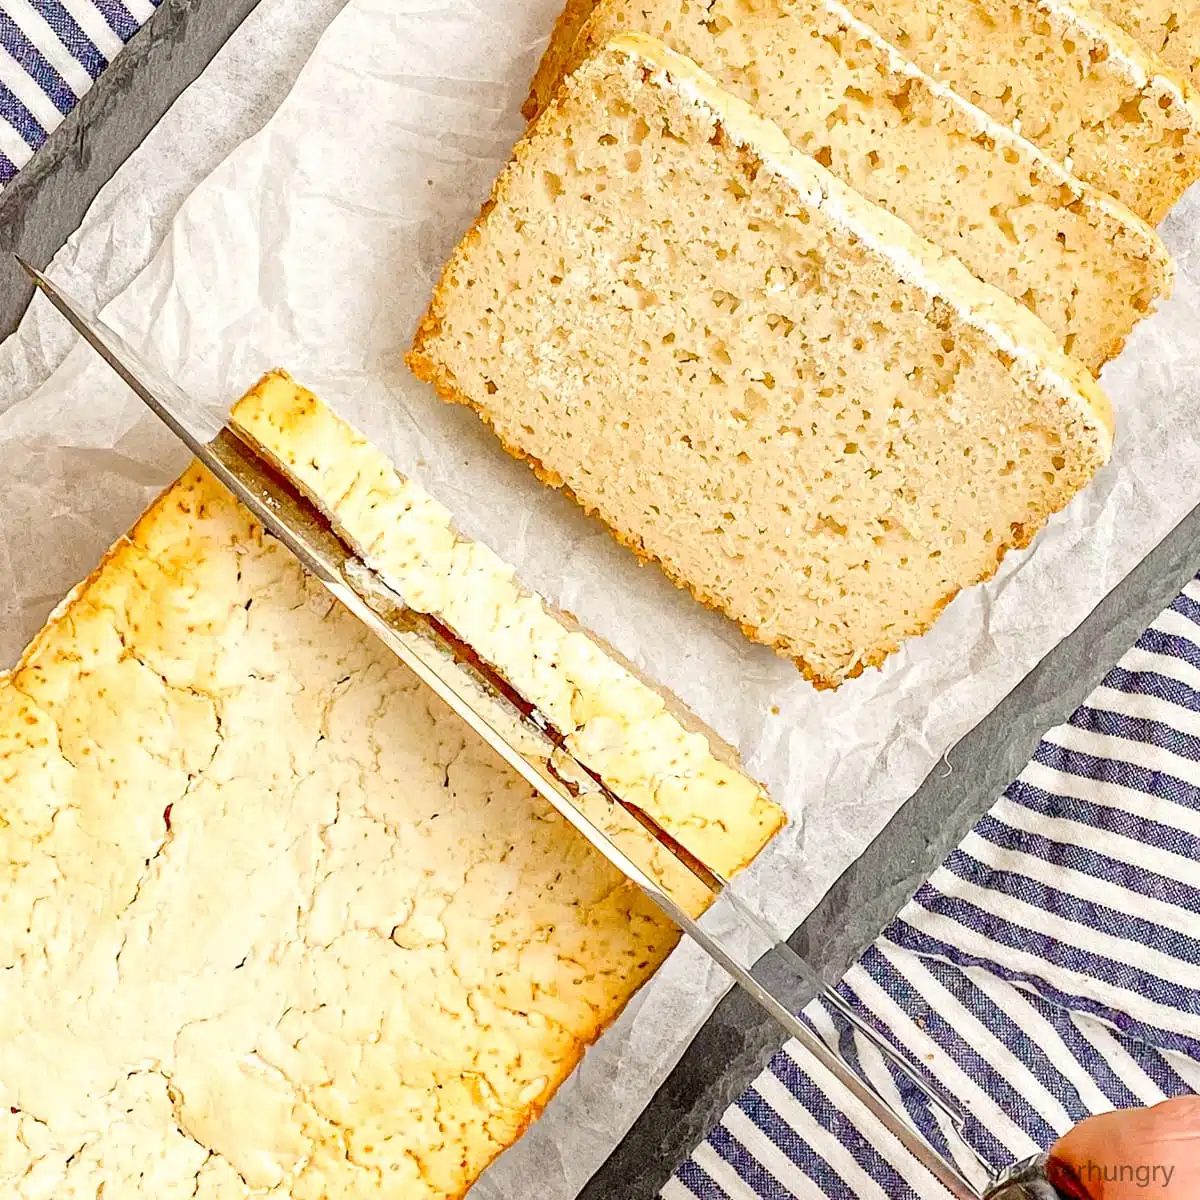
This is a sturdy bread, with minimal crumbs. You can slice it thick or (relatively) thin, as you desire.
What is the Texture & Taste?
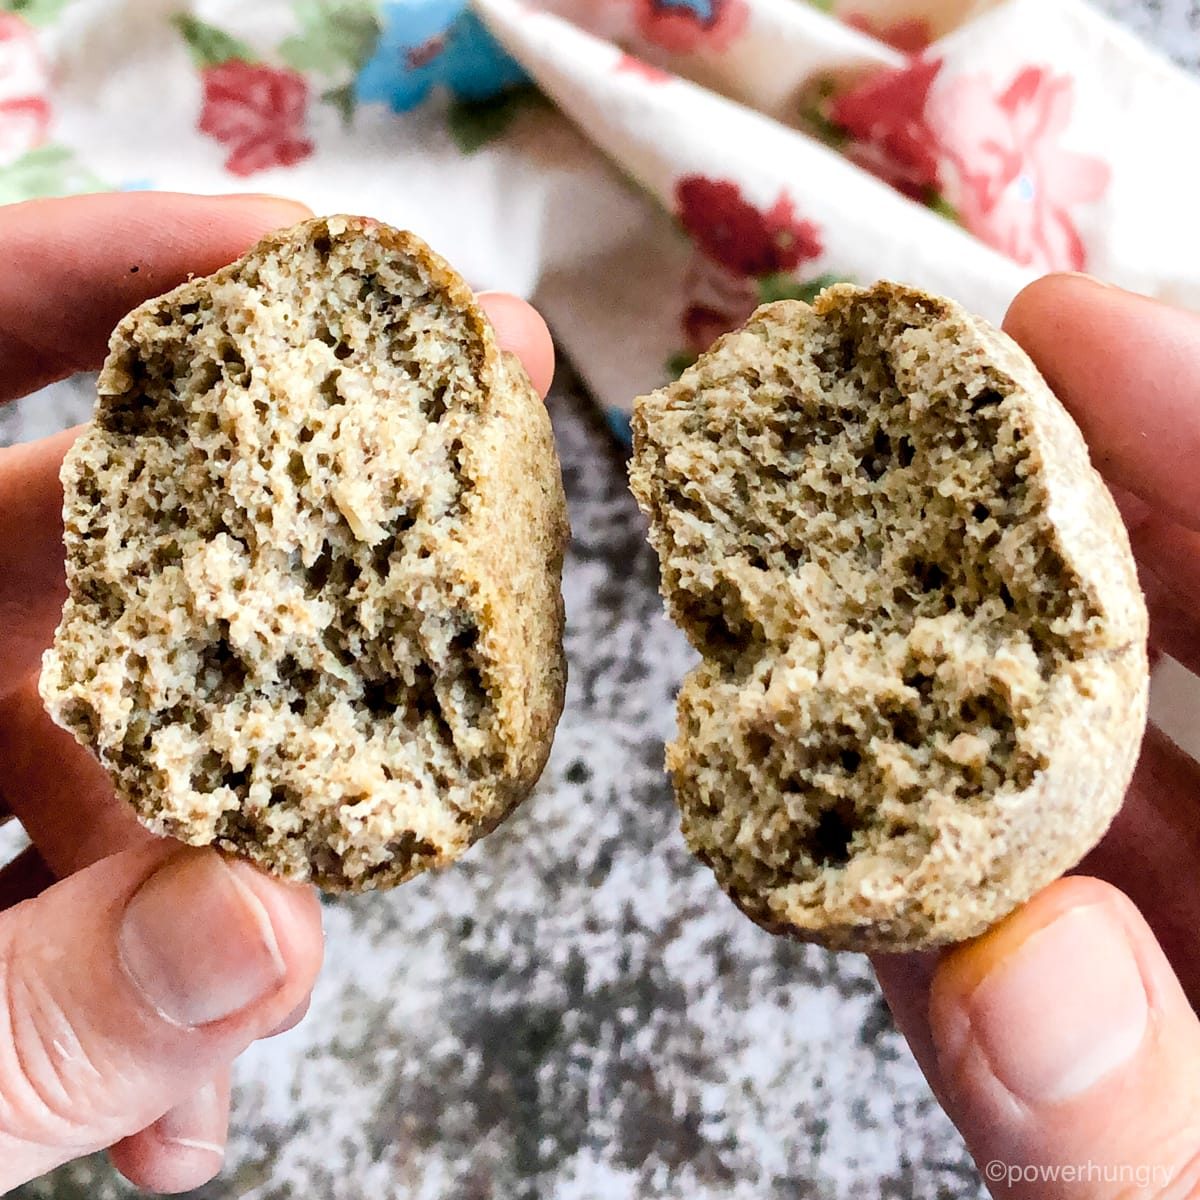
This is a firm, crusty bread. It may seem dry as you slice it, but it has a pleasing, rustic texture and warm, yeast bread.
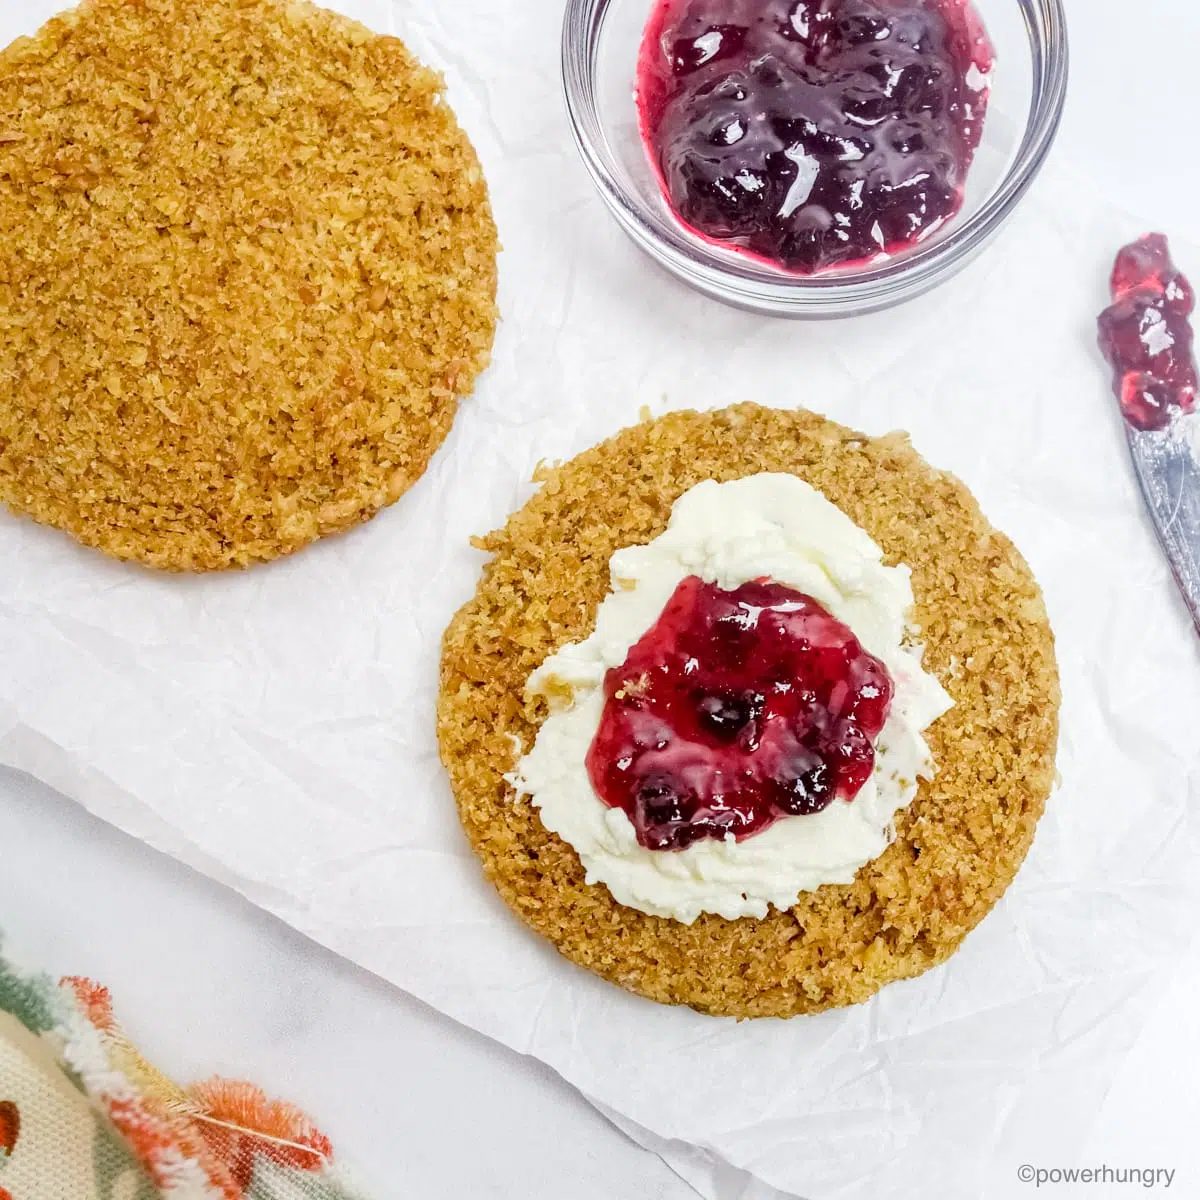
Use this bread to make sandwiches (open face, or two slice sandwiches) with a variety of sweet or savory fillings. It is reliable for avocado toast, or top your toast withnut butterorseed butter,hummus,vegan cream cheese, or fruit preserves.
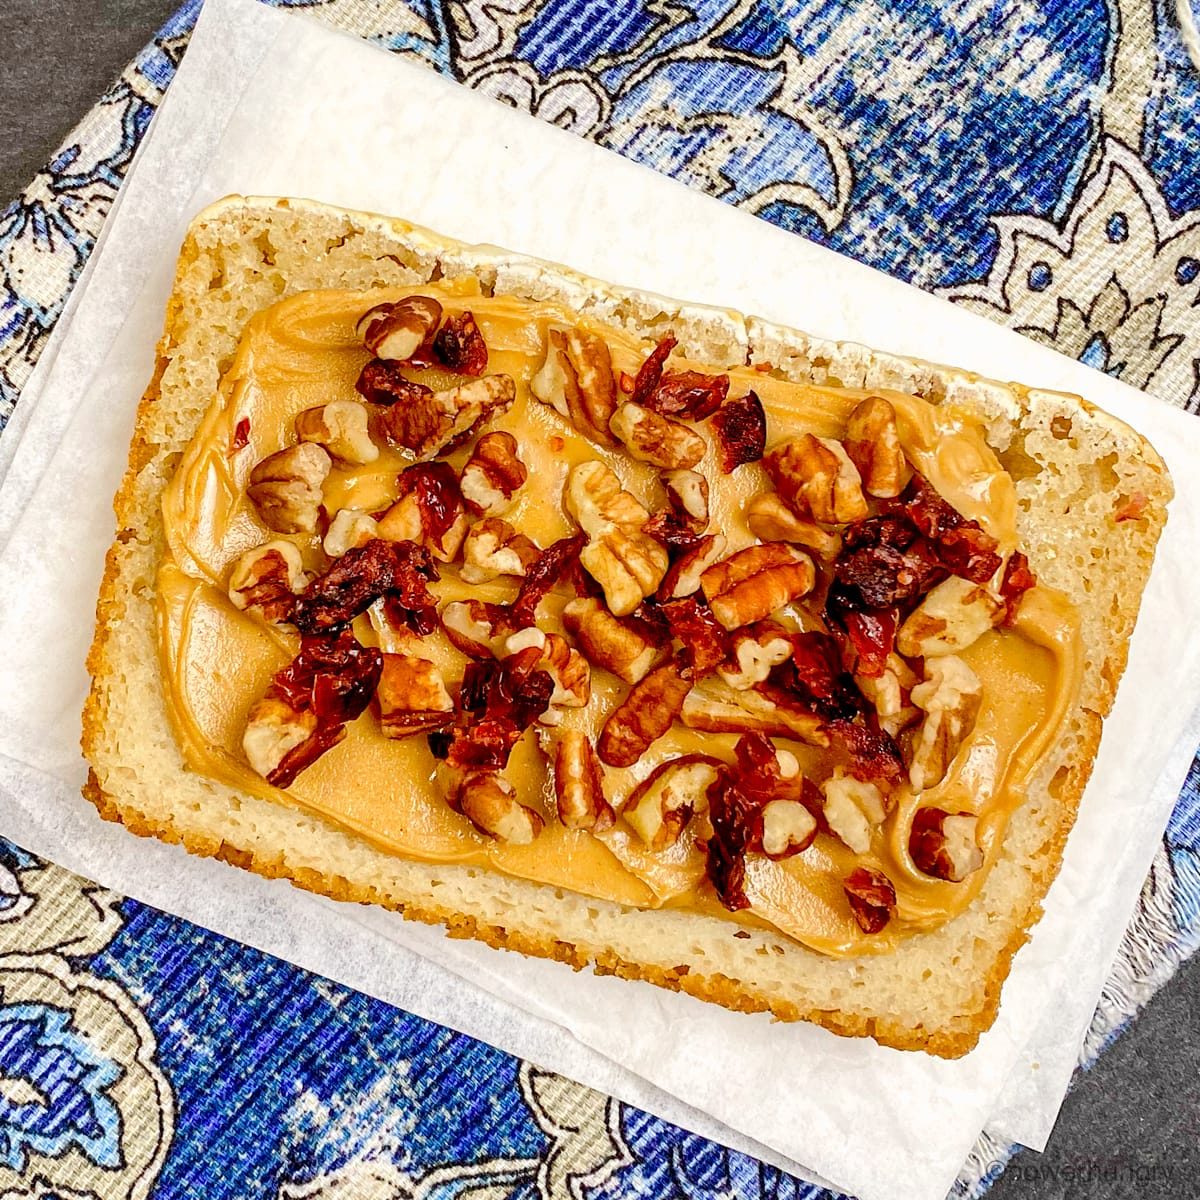
The bread is a great accompaniment to dinners and lunches, too. It is wonderful with soups, stews and salads.
Flavor Variations
Consider adding any of the following options to the bread:
- Dried herbs or fresh chopped herbs (add fresh herbs to the batter after blending, to avid green bread)
- Dried ground spices, such as ground cumin, curry powder, garlic powder, or onion power.
- Sweet spices (such as cinnamon, cardamom, or ginger)
FAQ
- How should I store the flourless brown rice yeast bread?Store the cooled bread in an airtight container at cool room temperature for one day, the refrigerator for one week, or the freezer for up to six months.
- Can I use brown rice flour (instead of soaking whole grain rice)?I do not have directions for using brown rice flour in place of whole rice. It may very likely be possible, but would require testing to adapt the proportions of the ingredients.
- Can I use white rice instead of brown rice?Yes. You are welcome to substitute any variety of white rice for the brown rice. Use the same weight of rice.
- Will this bread work with other uncooked grains?I have only tested this recipe with brown rice. I do not know if any other grains will work.
- My oven has a convection setting. Should I use it for this bread?I tested this bread in a conventional oven (radiant heat, not convection). So for reliable results, I recommend using radiant heat, if possible. If you are used to baking bread in a convection oven, you are welcome to experiment with baking the bread in a convection oven.
- Can I blend the batter in a food processor?No. A food processor cannot break down the rice into a completely smooth batter, which is necessary for the success of the bread.
- Can I use cooked/leftover rice to make the bread?No. The recipe will not work with cooked rice.
- Can I bake the bread in a toaster oven?No. Even if the bread pan can fit into a toasted oven, the bread batter will be too close to the heating element in a small oven (toaster oven) for the bread to bake evenly.
- Can I add oil or other fat to the flourless brown rice yeast bread?Yes! replace 1 to 4 tablespoons of the room temperature water with the oil or melted fat of your choice. It will make the bread somewhat softer.
Tips for Success
- My flourless brown rice yeast bread did not rise as expected. Why?
- The most likely reasons are the following:
- Regular yeast was used instead of instant yeast.This recipe will not work with regular yeast. You must use instant yeast.
- Batter was not very warm after blending.The batter needs to be very warm after blending to help activate the yeast.
- Sugar was reduced or eliminated.The sugar was left out, reduced, or replaced with artificial sugar. The sugar is essential for “feeding” the yeast (to produce gas bubbles).
- Oven temperature is off.I regularly check my oven temperature setting using an inexpensive oven thermometer. Check to make sure the oven is accurate before baking. If the oven is too hot, it can force a faster rise to the bread, leading to a bubble under the top of the loaf.
- The most likely reasons are the following:
- Can I make the bread without yeast?No, this is a yeast bread. The overwhelming majority of bread recipes on my site are for yeast-free bread (including ones that use rice flour, sorghum flour, chickpea flour, teff flour, and chickpea flour). Other options abound! Simply typebreadinto the search box.
- Can I make this flourless brown rice yeast bread in a bread machine?I have not tested this in a bread machine so I cannot recommend how to make bread machine adaptations to the recipe, or whether it will work.
- Can I leave out the sugar?No, sugar is needed to activate (and feed) the yeast. The bread will not rise much at all without it.
- Can I Use another Type of Sweetener in Place of Coconut Sugar?Yes! You can use an equal amount of maple syrup, agave nectar, molasses, or granulated sugar of your choice.Sugar substitutes will not work(for the same reason, above, that the sugar cannot be omitted from the recipe).
Happy baking!
Flourless Brown Rice Yeast Bread (GF, Oil-Free, No Psyllium)
- Prep Time: 5 minutes
- Cook Time: 50 minutes
- Total Time: 1 hour
- Servings: 14 (1 loaf)
Ingredients
- 1 lb uncooked (raw) brown rice (any variety)
- 2 tablespoons coconut sugar (see notes for options)
- 2 1/4 teaspoons instant yeast (it MUST be instant/ fast rising yeast)
- 2 teaspoons baking powder (certified GF, as needed)
- 1 teaspoon salt (optional/adjustable)
- 1 1/4 cups WARM water (not cold)
Method
- Place the uncooked brown rice in a large mixing bowl . Add boiling water t o the bowl (enough to cover the rice by about 1 inch / 2.5 cm).
- Allow the rice to soak for thirty minutes. (See notes for soaking overnight, instead of a fast soak).
- Prepare a 9×5-inch (22.5×12.5 cm) loaf pan . If using a nonstick loaf pan (e.g., silicone), no preparation is needed. Otherwise, line the pan with nonstick parchment paper . If you do not object to oil, spray the pan with nonstick cooking spray , or lightly oil/grease the pan.
- Drain the soaked rice through a colander or mesh sieve and rinse under cold water. Gently shake off the excess water.
- Scrape the soaked, drained rice into a high-speed blender container (see notes for using a regular blender). Add the 1 and 1/4 cups warm water, coconut sugar , and optional salt. Blend on high speed for 90 to 120 seconds until the batter is silky smooth and very warm ( it is very important that the batter be very warm to activate the instant yeast ).
- Add the instant yeast and baking powder to the blender container. Blend for 15 to 20 seconds until combined.
- Pour the bread batter into the prepared pan. Place the pan in a draft-free warm place. Immediately preheat the oven to 350F (180C). Do not hesitate (the bread rises very quickly. The oven needs to be hot and ready to go as soon as the bread hits the needed rising mark (see next step).
- Let the bread batter rise for 20 to 25 minutes. It happens quickly, so stay close by. T he bread is ready to bake as soon as the batter is a short distance away from the the top edge of the pan (the batter should be no closer than 1/4 inch away from the top). (Note: If the batter is all the way to the top, it will overflow the top of the pan once it hits the heat of the oven).
- Bake the bread in the preheated oven for 45 to 50 minutes until crusty in appearance and deep golden brown at the edges. The loaf will be flat on top (no peaks in the center) and somewhat pale towards the middle (even when it is completely baked).
- Let the loaf cool, in the pan, on a cooling rack for 15 minutes.
- Remove the bread from the pan and cool the loaf completely on a wire rack, or other cooling rack .
- Slice the bread, thick or (relatively) thin, as desired. The bread is wonderful plain, toasted, as part of a sandwich, or any way that you prefer!
Notes
Bread Storage: Store the cooled bread in an airtight container at cool room temperature for one day, the refrigerator for one week, or the freezer for up to six months. Yeast Note: Instant yeast is gluten-free, with the exception of Red Star PLatinum Yeast. It includes enzymes derived from wheat. Brown Rice Alternatives: Substitute any variety of white rice for the brown rice. Use the same weight of rice.I have only tested this recipe with brown rice. I do not know if any other grains will work. The recipes does not work, as written, with brown rice flour. The recipe will not work with cooked brown rice, either. Rising Time: The timing for the rise will depend, in part, on the warmth and humidity in your kitchen. Alternative—Soak Rice Overnight: You are welcome to soak the rice in a more traditional manner. Place the brown rice in the bowl, as described above, but cover with room temperature water. Allow the rice to soak for anywhere from six to twenty four hours. Bake in a Conventional (radiant heat) Oven: I tested this bread in a conventional oven (radiant heat, not convection). For reliable results, I recommend using radiant heat, if possible. If you are used to baking bread in a convection oven, you are welcome to experiment with baking the bread in a convection oven. Do not bake the bread in a toaster oven or air fryer (the outside will burn before the bread is baked). Regular Blender Instead of High Speed Blender : Use warm water, instead of room temperature water, to blend the batter. Stop every 30 seconds to let the blender cool down to avoid overheating the blender. Blend until completely smooth and the batter is very warm. A food processor will not work. Notes About the Yeast: This particular bread recipe cannot be made without yeast. Also, the bread must be made with instant yeast (also called rapid rise, fast, or quick yeast). It will not work, as written with regular active yeast. Bread Machines: I have not tested this in a bread machine so I cannot recommend how to make bread machine adaptations to the recipe, or whether it will work. Coconut Sugar Options: Use an equal amount of maple syrup , agave nectar, molasses, or granulated sugar of your choice to replace the coconut sugar . Do not omit the sugar or use sugar substitutes. Sugar is needed in the recipe to activate (feed) the yeast and make the bread rise. My bread did not rise as expected. Why? The most likely reasons are the following. Regular yeast was used instead of instant yeast. This recipe will not work with regular yeast. You must use instant yeast. Batter was not very warm after blending . The batter needs to be very warm after blending to help activate the yeast. Sugar was reduced or eliminated. The sugar was left out, reduced, or replaced with artificial sugar. The sugar is essential for “feeding” the yeast (to produce gas bubbles). Oven temperature is off. I regularly check my oven temperature setting using an inexpensive oven thermometer. Check to make sure the oven is accurate before baking. If the oven is too hot, it can force a faster rise to the bread, leading to a bubble under the top of the loaf.