
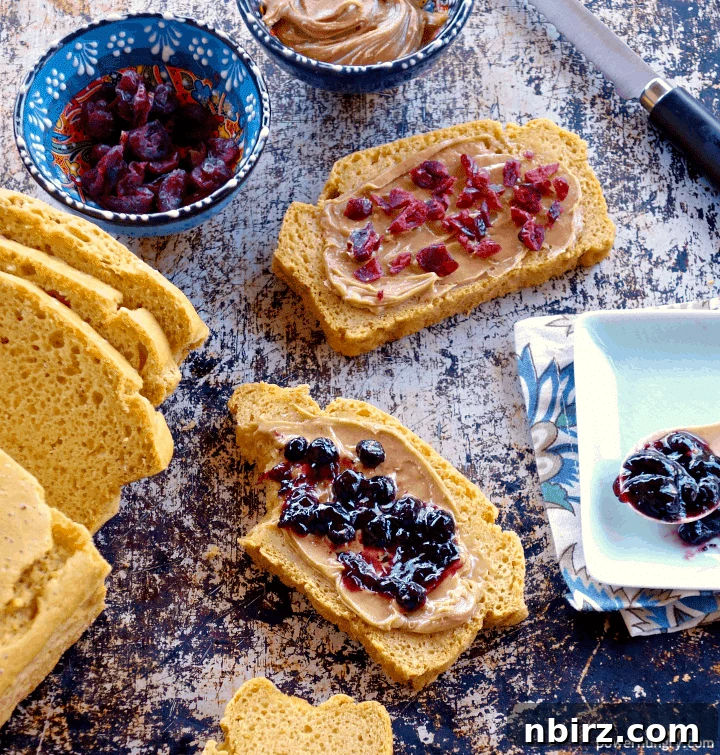
The Ultimate Chickpea Flour Sandwich Bread Recipe: Vegan, Gluten-Free, and 5 Ingredients!
Looking for a simple, healthy, and incredibly tasty sandwich bread? Look no further! This Chickpea Flour Sandwich Bread recipe is your answer. It’s vegan, grain-free, gluten-free, and requires only 5 basic ingredients. Perfect for anyone with dietary restrictions or those simply looking for a delicious and easy homemade bread option.
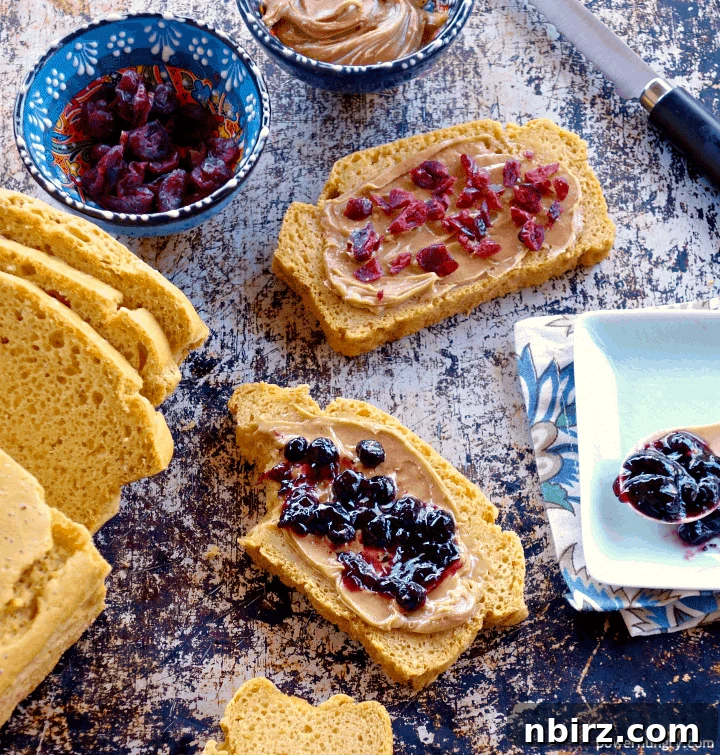
I’m all about recipes that are straightforward and fuss-free. This bread is exactly that. Minimal ingredients, minimal steps, and minimal effort – maximum flavor!
Why You’ll Love This Chickpea Flour Sandwich Bread
This bread is a game-changer. Here’s why:
- Vegan: Completely plant-based and cruelty-free.
- Grain-Free: Made without any grains, making it suitable for those avoiding wheat, rye, barley, and other grains.
- Gluten-Free: Safe for individuals with gluten sensitivities or celiac disease.
- 5 Simple Ingredients: You probably already have these pantry staples!
- Easy to Make: No kneading or complicated techniques required.
- Ready in Under an Hour: From mixing bowl to sliced sandwich in less than 60 minutes.
- Perfect for Sandwiches and Toast: Slices beautifully and holds up well with various fillings.
- Absolutely Scrumptious! A subtly nutty flavor that complements both sweet and savory toppings.
The Magic of 5 Ingredients
This recipe proves that you don’t need a laundry list of ingredients to create something amazing. Let’s break down what you’ll need:
- Chickpea Flour: The star of the show! Also known as garbanzo bean flour or besan, it provides structure, protein, and a unique flavor.
- Baking Soda: Our leavening agent. It reacts with the seltzer water to create air bubbles, giving the bread its rise and light texture.
- Granulated Cane Sugar: A touch of sweetness helps with browning, balances the chickpea flavor, and aids in the bread’s rise. Don’t worry, it’s not overly sweet!
- Seltzer Water or Club Soda: The fizz is key! The carbonation creates lift and contributes to a tender crumb.
- Oil: Adds moisture and richness. Olive oil, avocado oil, or any neutral-tasting oil will work.
Optional, but recommended: A pinch of salt to enhance the flavors.

Ingredient Substitutions and Variations
While I highly recommend sticking to the recipe for the best results, here are a few options you can consider:
- Oil: Feel free to use your favorite cooking oil. Coconut oil (melted) also works well, but it will impart a slight coconut flavor.
- Sweetener: You can substitute the cane sugar with other granulated sweeteners like coconut sugar or brown sugar. For liquid sweeteners like maple syrup or agave, simply add them along with the other wet ingredients. If you prefer a sugar-free option, try using a sugar substitute that measures 1:1 with sugar, but be aware that the texture and browning may be slightly different.
- Seltzer Water: It is important to use a fresh can or bottle of seltzer water for the best carbonation. This is critical for getting the bread to rise properly. If you don’t have seltzer water, you can use club soda or sparkling water as a substitute. Do not use flat or stale seltzer, as the bread will not rise properly.
Step-by-Step Guide to Chickpea Flour Bread Perfection
Making this bread is incredibly simple. Here’s a detailed breakdown of the process:
Step 1: Preheat and Prep
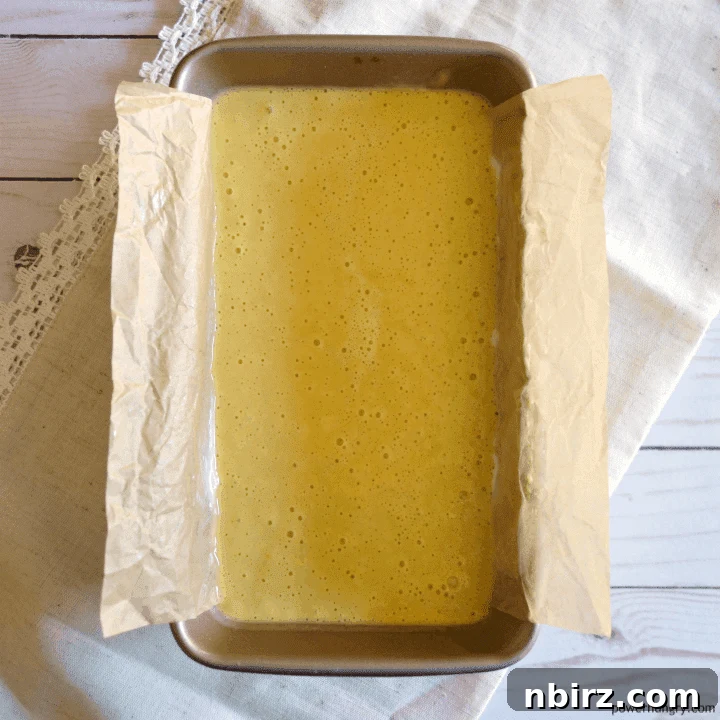
Preheat your oven to 375°F (190°C). Line a 9×5 inch loaf pan with parchment paper, leaving some overhang on the sides. This makes it easy to lift the bread out later. Lightly grease the exposed sides of the pan with cooking spray or oil.
Step 2: Whisk the Dry Ingredients
In a large mixing bowl, whisk together the chickpea flour, sugar, baking soda, and salt (if using). This ensures that the baking soda is evenly distributed, which is important for proper leavening.
Step 3: Add the Wet Ingredients
Pour the seltzer water and oil into the bowl with the dry ingredients. Gently stir until just combined. Be careful not to overmix, as this can deflate the bubbles from the seltzer water, which will affect the bread’s rise. A few lumps are okay.
Step 4: Pour into the Pan
Pour the batter into the prepared loaf pan. No need to shape the loaf – just pour it in and let it do its thing!
Step 5: Bake to Golden Perfection
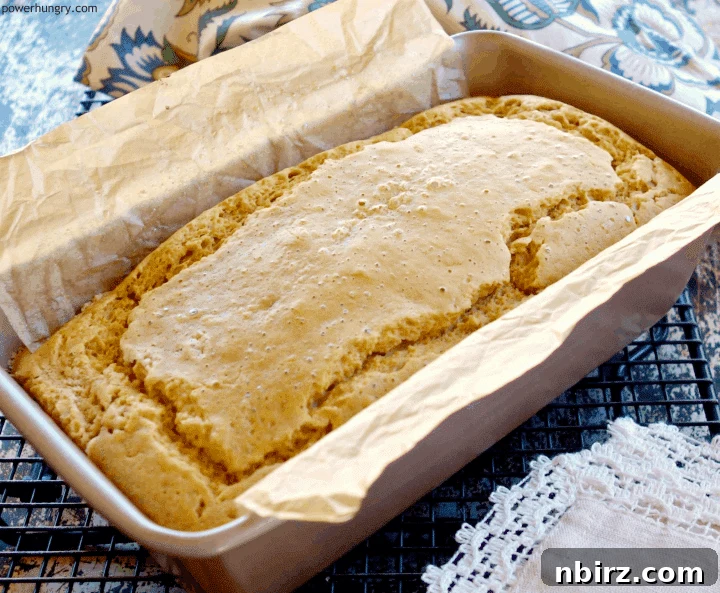
Place the loaf pan in the preheated oven and bake for 40-45 minutes, or until a toothpick inserted into the center comes out clean. The bread should be golden brown on top and sound hollow when tapped.
Congratulations, you’ve baked bread!
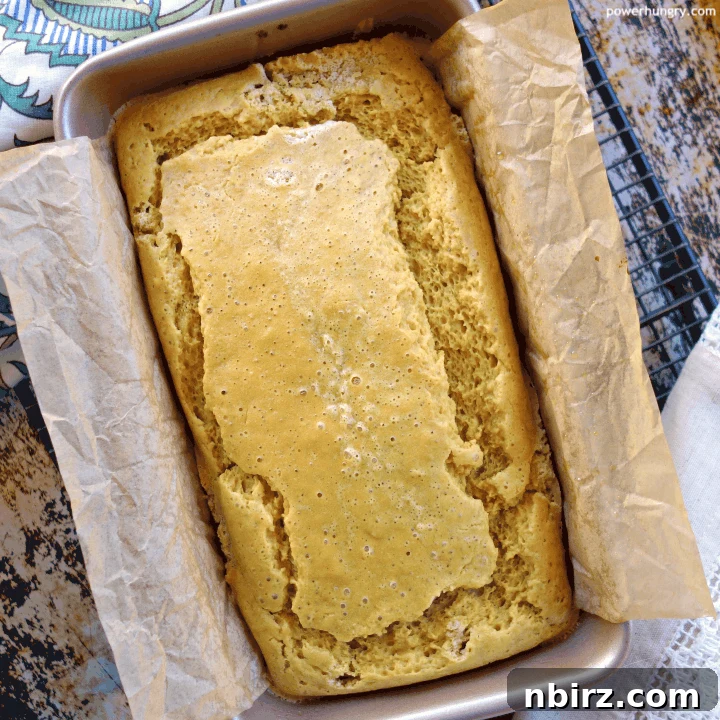
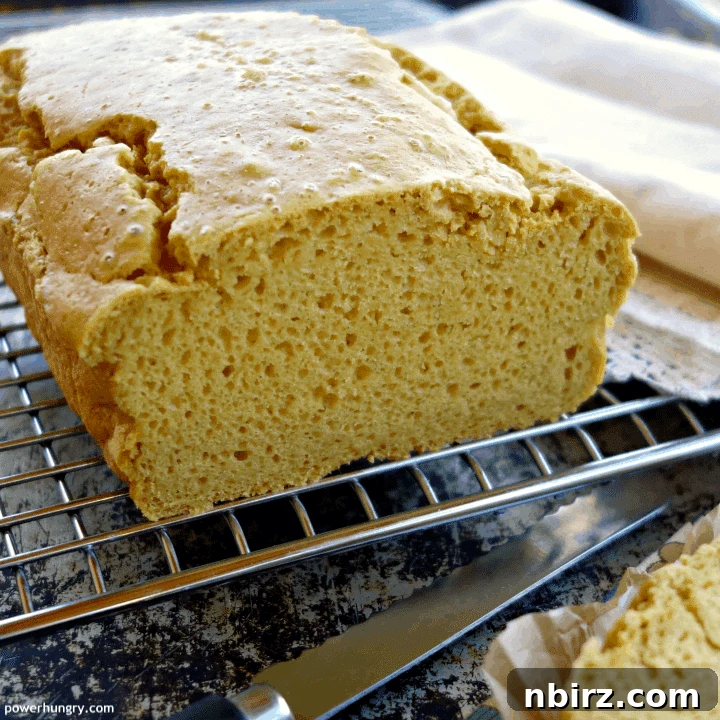
Let the bread cool in the pan for about 15 minutes before transferring it to a wire rack to cool completely before slicing. This prevents the bread from crumbling.
I usually slice this bread into 12 thick slices, but feel free to slice it thinner or thicker depending on your preference.
Serving Suggestions
This bread is incredibly versatile. Here are a few ideas to get you started:
- Sandwiches: The classic choice! Use it for your favorite sandwich fillings, from simple turkey and cheese to more adventurous combinations.
- Toast: Toast a slice and top with avocado, nut butter, jam, or a fried egg.
- Grilled Cheese: Elevate your grilled cheese with this flavorful bread.
- Croutons: Cube the bread and bake it until crispy for homemade croutons.
- Snacking: Simply enjoy a slice on its own with a drizzle of olive oil or a sprinkle of herbs.
Storing Your Homemade Bread
To keep your chickpea flour sandwich bread fresh, store it in an airtight container at room temperature for up to 2 days. For longer storage, refrigerate it for up to a week or freeze it for up to 6 months. When freezing, wrap the bread tightly in plastic wrap or a freezer bag to prevent freezer burn.
Frequently Asked Questions
Can I use other sweeteners, or leave it out altogether?
Yes! You can use any granulated sugar you like (coconut sugar, sucanat, etc.). You can also use a liquid sweetener like maple syrup, adding it with the wet ingredients. If you don’t want any sweetener, just omit it, but note that the bread might be slightly less brown and the flavor slightly more savory.
How do I test the bread for doneness?
The best way is to insert a toothpick into the center of the loaf. If it comes out clean, the bread is done. You can also use an uncooked piece of spaghetti as a tester.
More Grain-Free and Vegan Bread Recipes to Explore
If you love this recipe, you might also enjoy these other easy and delicious grain-free and vegan bread options:
- Chickpea Flour Flax Sandwich Bread
- 2-Ingredient Lentil-Flax Bread
- Chickpea Flour Beer Bread (3 ingredients, oil-free)
- Coconut Flour Bread (4 ingredients, oil-free)
- Almond Flour Soda Bread (oil-free)
- 3-Ingredient Vegan Almond Bread
- 5-Ingredient Lentil Sandwich Bread
- Fluffy Red Lentil Bread
- 2-Ingredient Flax Sandwich Bread
Chickpea Flour Sandwich Bread Recipe
A simple, delicious, and versatile bread that’s vegan, gluten-free, and made with just 5 ingredients!
Ingredients:
- 2 1/2 cups (300g) chickpea flour
- 1 1/2 tablespoons cane sugar, or sugar/sweetener of choice
- 1 1/4 teaspoons baking soda
- 1/4 teaspoon fine sea salt (optional)
- 1 (12-ounce/355ml) can unflavored seltzer, sparkling water, or club soda
- 2 tablespoons olive oil, or oil of choice
Instructions:
- Preheat oven to 375°F (190°C). Line a 9×5 inch loaf pan with parchment paper; grease or spray the exposed sides.
- In a large bowl, whisk together the chickpea flour, sugar, baking soda, and salt.
- Slowly pour the seltzer down the side of the bowl; add the olive oil and stir until combined.
- Immediately pour into prepared baking pan.
- Bake for 40 to 45 minutes until risen, golden brown and a skewer inserted near the center comes out clean.
- Let cool in the pan for 15 minutes; remove from pan. Cool completely before slicing.
Notes:
Store the cooled bread in an airtight container at room temperature for 2 days, in the refrigerator for 1 week, or tightly wrapped in freezer for up to 6 months.
Sweetener Options: Use any granulated sugar you prefer (e.g., coconut sugar, sucanat), or an equal amount of liquid sweetener such as maple syrup (add with the other wet ingredients).
Tip: An uncooked piece of spaghetti can be used as a tester (instead of a skewer) for determining if the center is set!
Prepare to fall in love with this recipe! It’s so easy and delicious, I’m sure you’ll be making it again and again. Happy baking and enjoy every bite!