
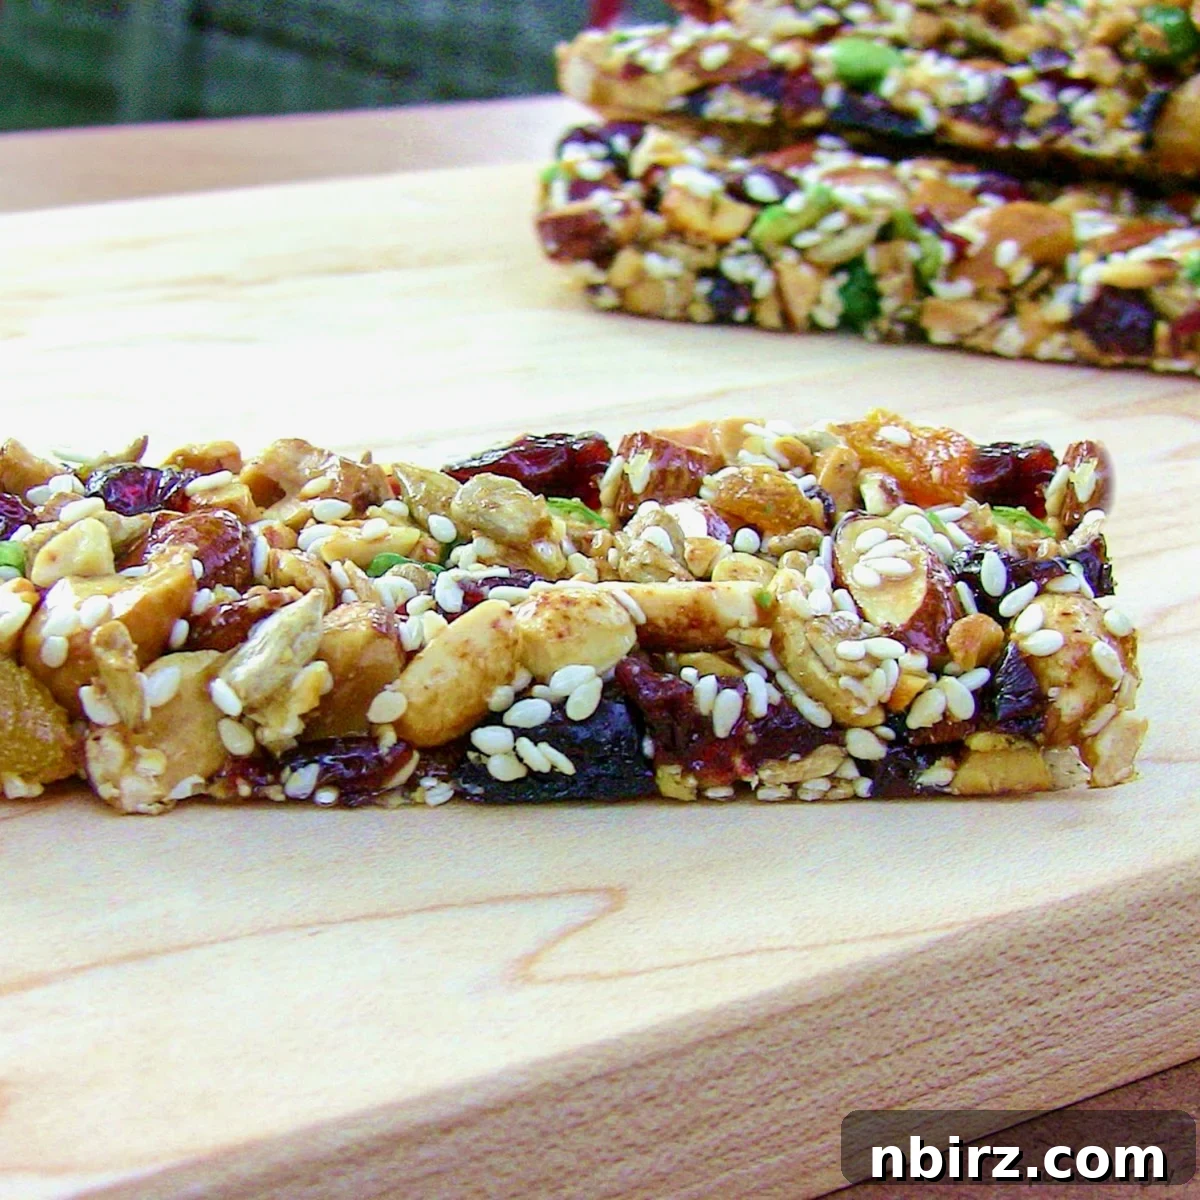
Homemade KIND Bars: The Ultimate DIY Recipe for Healthy Snacking
Tired of the high price tag on store-bought KIND bars? Craving a healthier, more customized snack option? Look no further! This comprehensive guide will walk you through creating your very own delicious and nutritious KIND bars in the comfort of your kitchen. Not only will you save money, but you’ll also have complete control over the ingredients, ensuring a snack that perfectly aligns with your dietary needs and taste preferences.
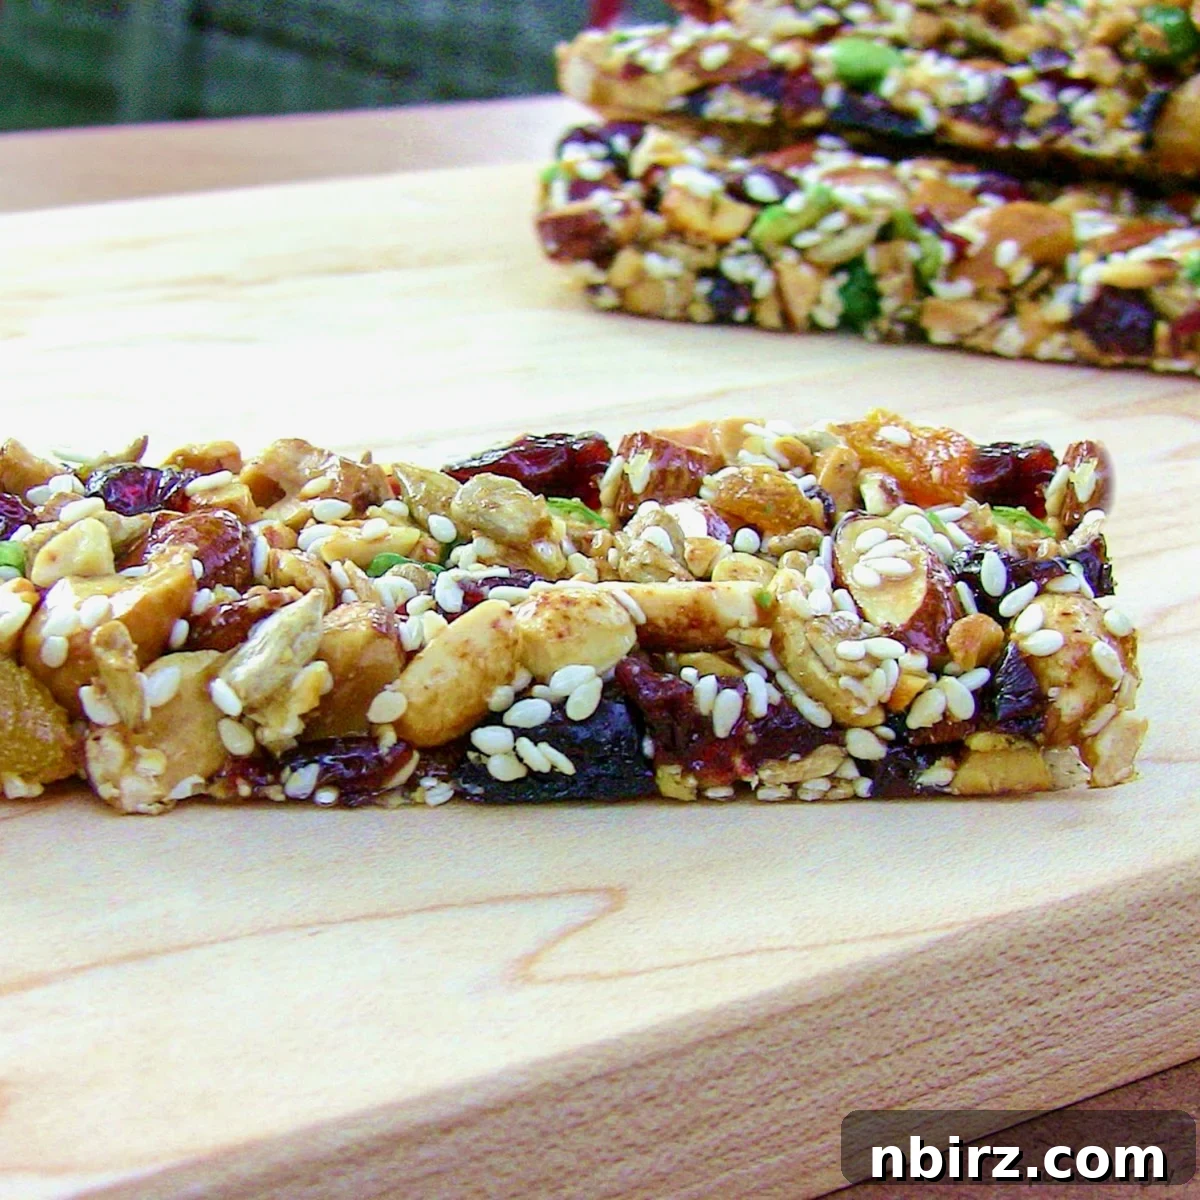
Energy bars are a staple in many households, providing a quick and convenient boost of energy. However, the cost of regularly purchasing them can quickly add up, especially for active individuals or families with multiple members. The beauty of homemade energy bars lies in their affordability and adaptability. You can easily adjust the ingredients to cater to specific dietary restrictions, allergies, or simply to experiment with new and exciting flavor combinations. From Homemade Lara Bars to Homemade Clif Bars, the possibilities are truly endless. Now, it’s time to conquer the iconic KIND bar!
Developing this homemade KIND bar recipe required a bit of experimentation to achieve the perfect ratios and texture. Drawing inspiration from the ingredient lists on commercial KIND bar labels, and after a few delightful trials (and errors!), we’ve cracked the code. Prepare to be amazed at how closely these DIY versions resemble the original – but with the added benefit of being made with love and your personal touch!
Why Make Your Own KIND Bars? Recipe Benefits
Beyond the cost savings and customization options, making your own KIND bars offers a plethora of benefits. Here are just a few reasons to give this recipe a try:
- Vegan: Perfect for those following a plant-based lifestyle, these bars are completely egg-free and dairy-free.
- Gluten-Free: Made with gluten-free ingredients, this recipe is suitable for individuals with gluten sensitivities or celiac disease.
- Oil-Free: A healthier alternative to many store-bought bars, these homemade KIND bars are made without added oils.
- Simple Ingredients: This recipe requires only a handful of readily available ingredients, making it a breeze to whip up a batch whenever you need a healthy snack.
- Nutrient-Packed: Each bar provides a good source of protein and fiber, helping to keep you feeling full and energized.
Key Ingredients for Homemade KIND Bars
The secret to replicating the taste and texture of KIND bars lies in using high-quality ingredients and striking the right balance. Here’s a breakdown of what you’ll need:
The precise amounts of each ingredient are listed in the recipe card at the end of this article. Remember to select your preferred measurement option: US Customary (volume) or Metric (weights).
- Nuts or Seeds: The foundation of any great KIND bar! Choose your favorites, such as almonds, peanuts, walnuts, pecans, cashews, sunflower seeds, pumpkin seeds, or a combination. Coarsely chop them for that signature KIND bar texture. Roasting the nuts/seeds enhances their flavor significantly.
- Crisp Rice Cereal: Adds a delightful crunch and airy texture. Opt for a certified gluten-free version if needed.
- Dried Fruit: Provides sweetness, chewiness, and bursts of flavor. Consider dried cranberries, raisins, dried apricots, dried blueberries, unsweetened flake coconut, or dried cherries. Chopping the dried fruit into smaller pieces ensures even distribution throughout the bars.
- Brown Rice Syrup: Acts as a binder, holding all the ingredients together. Its sticky consistency and mild flavor make it the ideal sweetener for these bars. (See the FAQ section for substitution options).
- Optional: Salt: A pinch of salt enhances the sweetness and balances the flavors, bringing out the best in the nuts, seeds, and dried fruit.
Step-by-Step Guide to Making Homemade KIND Bars
Full instructions with detailed measurements are available in the recipe card below.
- Preheat the Oven: Preheat your oven to 325°F (160°C). Prepare an 8-inch (20 cm) square baking pan by lining it with parchment paper or nonstick foil. This will prevent the bars from sticking and make it easy to lift them out later. *(Note: A 9-inch pan may result in thinner bars).
- Combine the Dry Ingredients: In a medium-sized bowl, combine the coarsely chopped nuts/seeds, crisp rice cereal, and chopped dried fruit. Add the optional salt.
- Add the Binder: Pour the brown rice syrup over the dry ingredients and stir well until everything is evenly coated. Ensure that all the nuts, seeds, and dried fruit are moistened with the syrup.
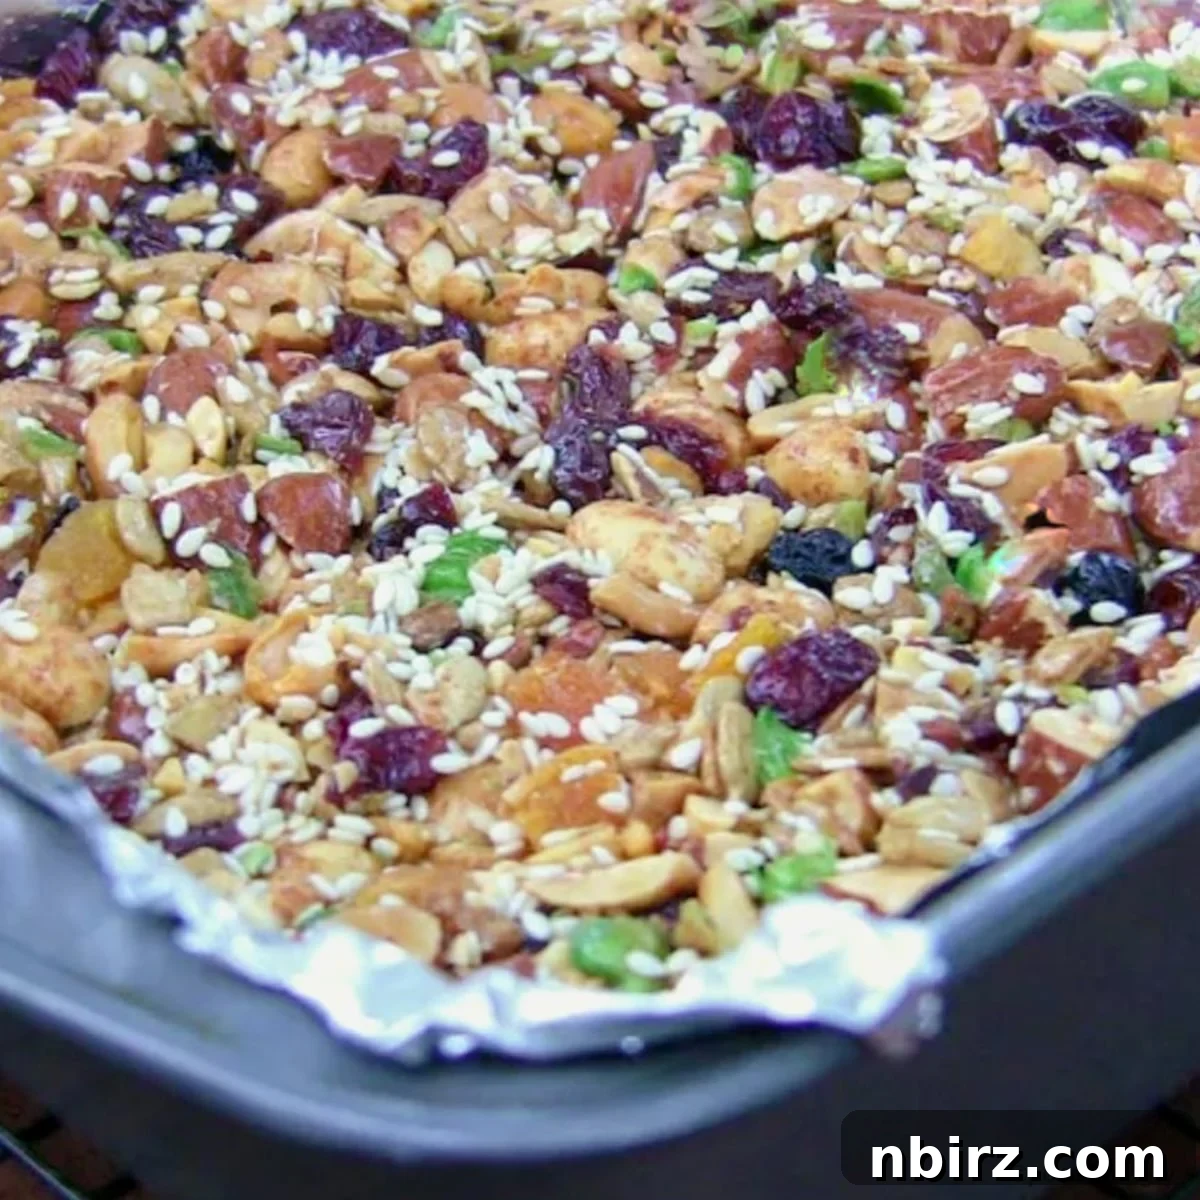
- Press into the Pan: Transfer the mixture to the prepared baking pan. To ensure an even and compact layer, tear off a sheet of parchment paper or nonstick foil slightly smaller than the size of the pan. Use this paper or foil to firmly press the bar mixture into the pan, spreading it evenly across the surface.
- Bake to Perfection: Bake in the preheated oven for 18 minutes. The bars will still be soft at this stage, but they will firm up as they cool.
- Cool and Set: Remove the pan from the oven and place it on a wire cooling rack. Allow the bars to cool for 15-20 minutes, or until they are partially set. The cooling time will vary depending on the temperature of your kitchen. Avoid cooling them completely at this stage, as they will become difficult to cut.
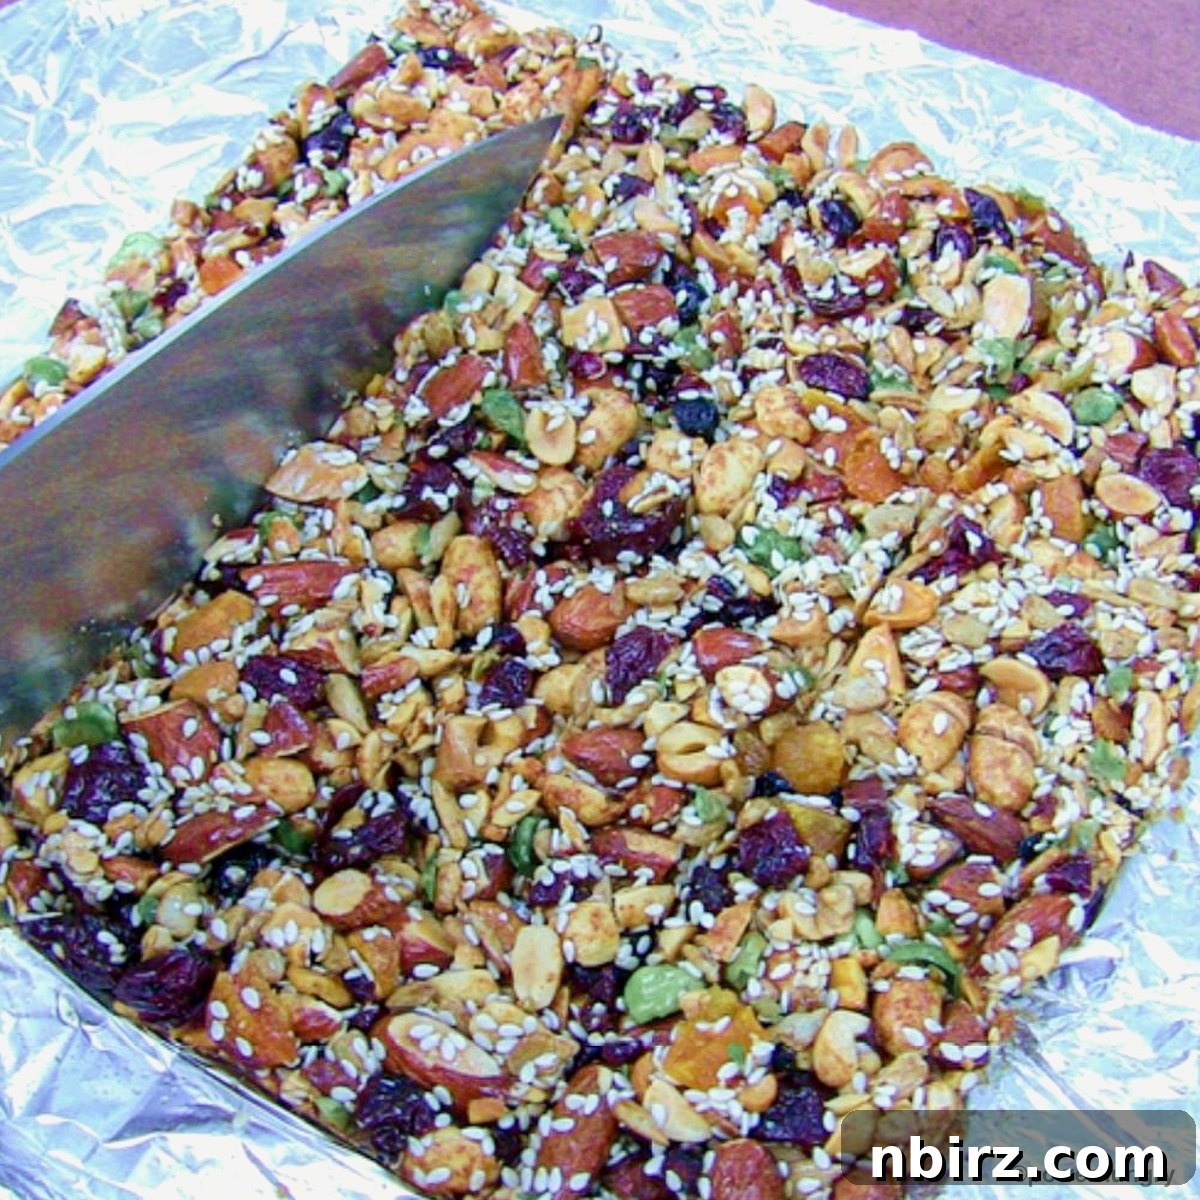
- Cut and Wrap: Use the edges of the parchment paper or foil to lift the bars from the pan. Do not attempt to remove the bars from the paper or foil at this point, as they will likely stick. Cut the bars into 10 equal-sized pieces.
- Final Cooling and Storage: Once the bars are completely cooled, carefully remove them from the parchment paper or foil. Wrap each bar individually in parchment paper or wax paper to prevent them from sticking together. Store the wrapped bars in an airtight container at room temperature for up to two weeks.
Essential Tips for KIND Bar Success
Follow these helpful tips to ensure your homemade KIND bars turn out perfectly every time:
- Lining the Pan is Crucial: Always line the baking pan with parchment paper or nonstick foil. If you’re using regular foil, lightly grease it with nonstick cooking spray or oil to prevent sticking.
- Timing is Everything: Cut the bars while they are still slightly warm, but not completely cooled. Cutting them when they’re fully cooled can cause them to crumble and break apart.
- Patience is a Virtue: Do not attempt to remove the bars from the parchment paper or foil until they are completely cooled. Warm bars will stick stubbornly, while cooled bars release easily.
- Don’t Panic: The bars will appear soft when they first come out of the oven. This is normal. Let them cool in the pan at room temperature for about 15 minutes, and they will firm up enough to cut without falling apart.
- Nut Measuring Matters: Measure the nuts *before* chopping them. If you measure after chopping, you’ll end up with too many nuts in your mixture.
- Fruit Measuring Flip: Conversely, chop the dried fruit *before* measuring.
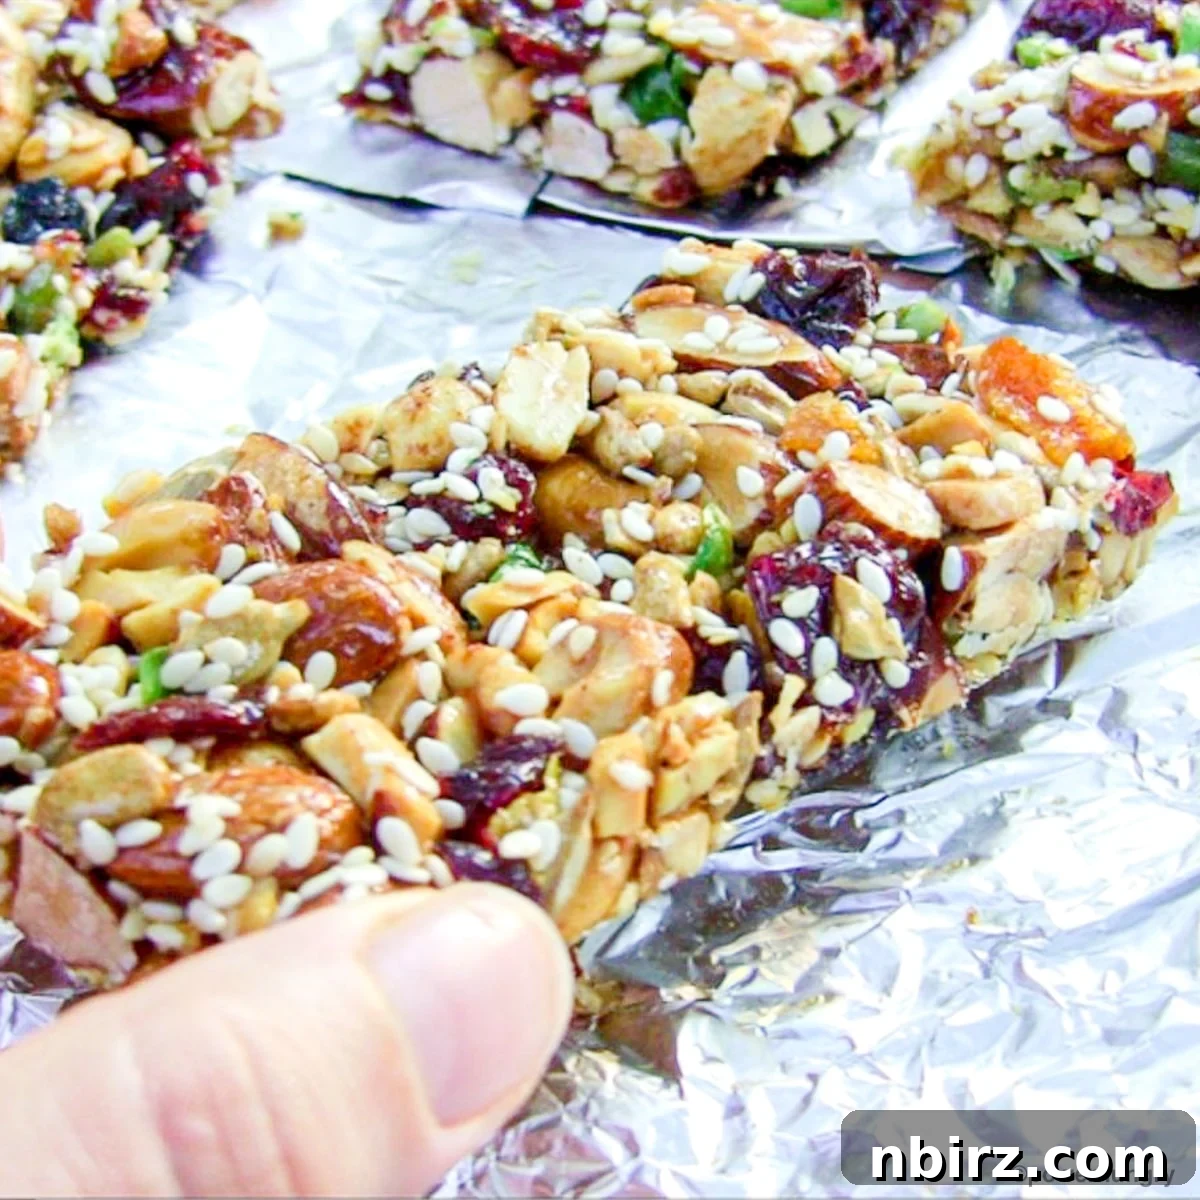
And that’s it! You now possess the knowledge and skills to create your own customized KIND bars. Feel free to replicate existing KIND bar flavor blends by consulting their ingredient lists online, or unleash your creativity and invent entirely new combinations. The possibilities are truly limitless!
Proper Storage for Your DIY KIND Bars
To maintain the freshness and quality of your homemade KIND bars, follow these storage guidelines:
Wrap each bar securely in wax paper or parchment paper. Foil can also be used, but it’s essential to store the bars in a cool, dry place. Exposure to heat (e.g., in a backpack left in the sun) can cause the bars to become sticky and adhere to the foil.
Frequently Asked Questions (FAQ)
- Can I substitute brown rice syrup? Yes, you have a few options. If you’re not strictly vegan, honey can be used. If you’re okay with corn syrup, opt for an organic corn syrup. However, maple syrup and agave nectar are not recommended as they don’t provide sufficient binding.
- Can I omit the dried fruit and use only nuts/seeds? Absolutely! Simply omit the dried fruit from the recipe and increase the amount of nuts/seeds to 2 cups.
- Should I use raw or toasted nuts and seeds? Either will work, but toasting the nuts first significantly enhances their flavor. If you’re short on time, feel free to use pre-roasted nuts and seeds. If they are lightly salted, remember to omit the added salt in the recipe.
- I don’t have an 8-inch baking pan. What can I do? Don’t worry! If you have a 9-inch (22.5 cm) pan, slightly increase the ingredient quantities (e.g., use about 1 2/3 to 1 3/4 cups total nuts and seeds, 1/2 cup dried fruit, and 1/3 cup syrup). The cooking time remains the same. You can even use a round pan – who says these have to be rectangular?
More Recipes You Might Enjoy
- Vegan Chickpea Flour Banana Bread (Grain-free, Oil-free)
- Homemade Pumpkin Seed Flour (aka Pepita Flour)
- Pumpkin Seed, Pumpkin Spice Homemade Larabars
- Rustic Irish Oat Scone Bread (Vegan, GF, Oil-free)
- Vegan Flax Muffin for One (Oil-free, Grain-free)
DIY KIND Bars
5 minutes
18 minutes
23 minutes
10
bars
Equipment
-
1 8 inch square baking ban
Ingredients
-
1.67
cups
nuts or seeds, chopped,
(raw or toasted) -
1/4
cup
crisp rice cereal,
(certified GF, as needed) -
1/3
cup
chopped dried fruit,
(e.g., raisins, dried cranberries, dried apricots, dried cherries, dried blueberries) -
Optional : 1/8 teaspoon salt -
1/4
cup
brown rice syrup,
(see notes for options)
Instructions
-
Preheat oven to 325F (160C). Line an 8-inch (20 cm) square pan (9-inch is too big* see note below) with parchment paper or nonstick foil (alternatively, grease or spray traditional foil).
-
In a medium bowl, combine the chopped nuts/seeds, cereal, and dried fruit. Add the salt and syrup and stir to coat.
-
Scrape mixture into prepared pan. Tear off a good size piece of nonstick foil or parchment paper (around the size of the pan or slightly smaller). Use the paper or foil to firmly press and spread evenly into pan.
-
Bake for 18 minutes (the bars will not be hard at this point).
-
Place pan on cooling rack and let cool for 15 to 20 minutes (give or take) until partially set up (it will depend on how hot or cold the kitchen—just don’t cool completely).
-
Use the sides of foil to lift the bars from the pan. Do not try to remove from foil—they will stick like crazy. Cut into 10 bars.
-
Once cooled, the bars will lift right off of the foil. Wrap in parchment or wax paper and store in an airtight container at room temperature for up to 2 weeks.
Notes
Just Nuts KIND Bars: Follow recipe above but omit the dried fruit; increase the nuts to 2 cups.
Notes
Note about Toasted vs. Raw Nuts: I am a big fan of the toasted nut. You can use either raw or toasted in these bars, but seriously…they are so much yummier if you toast the nuts first! If you, like me, experience burst of laziness, feel free to use roasted nuts (seeds, too). If they are lightly salted, just be sure to omit the added salt.
Note about Measuring Nuts: Measure the nuts BEFORE you chop (i.e., 1 cup unchopped nuts, then chop them). If you measure 1 cup chopped nuts, you will have too many.
Note about Measuring Dried Fruit: Conversely to measuring nuts, here you want to chop the fruit first, and then measure.
Note about Pans: If you don’t have the correct pan size, don’t fret. If you have a 9-inch (22.5 cm) pan, increase all of the quantities slightly (e.g., about 1 and 2/3 to 1 and 3/4 cups total nuts and seeds, 1/2 cup dried fruit, 1/3 cup syrup). Cooking times remain the same. And if you only have a round pan, use it! Who says these have to be cut into rectangles? Wedges or crazy shapes are pretty cool and every bit as delicious.
Syrup: An equal amount of corn syrup will work in place if brown rice syrup. Look for organic brands, if possible. Honey may work (note it is not vegan). Maple syrup and agave nectar will not work.
Nutrition