
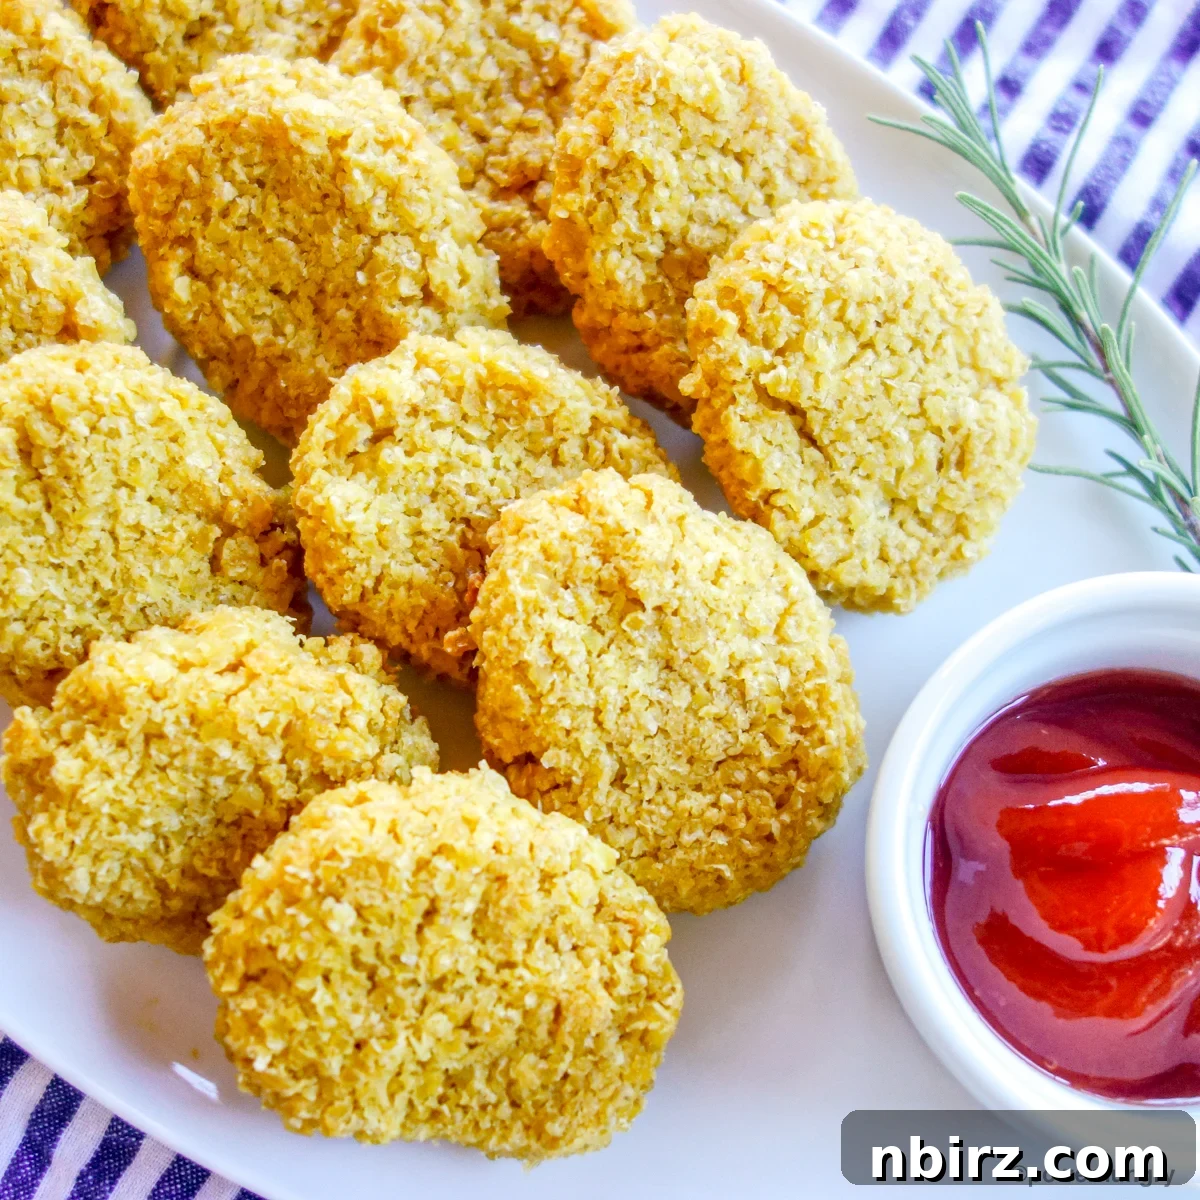
Looking for an incredibly easy, high-protein, and utterly delicious vegan alternative to traditional chicken nuggets? Your search ends here! Introducing my revolutionary 2-Ingredient Millet Nuggets! These plant-based wonders are perfectly crispy on the outside, wonderfully tender on the inside, and boast an impressive 11 grams of protein per serving. Prepare to add these simple yet satisfying nuggets to your regular recipe rotation – they’re a game-changer for quick, healthy vegan meals.
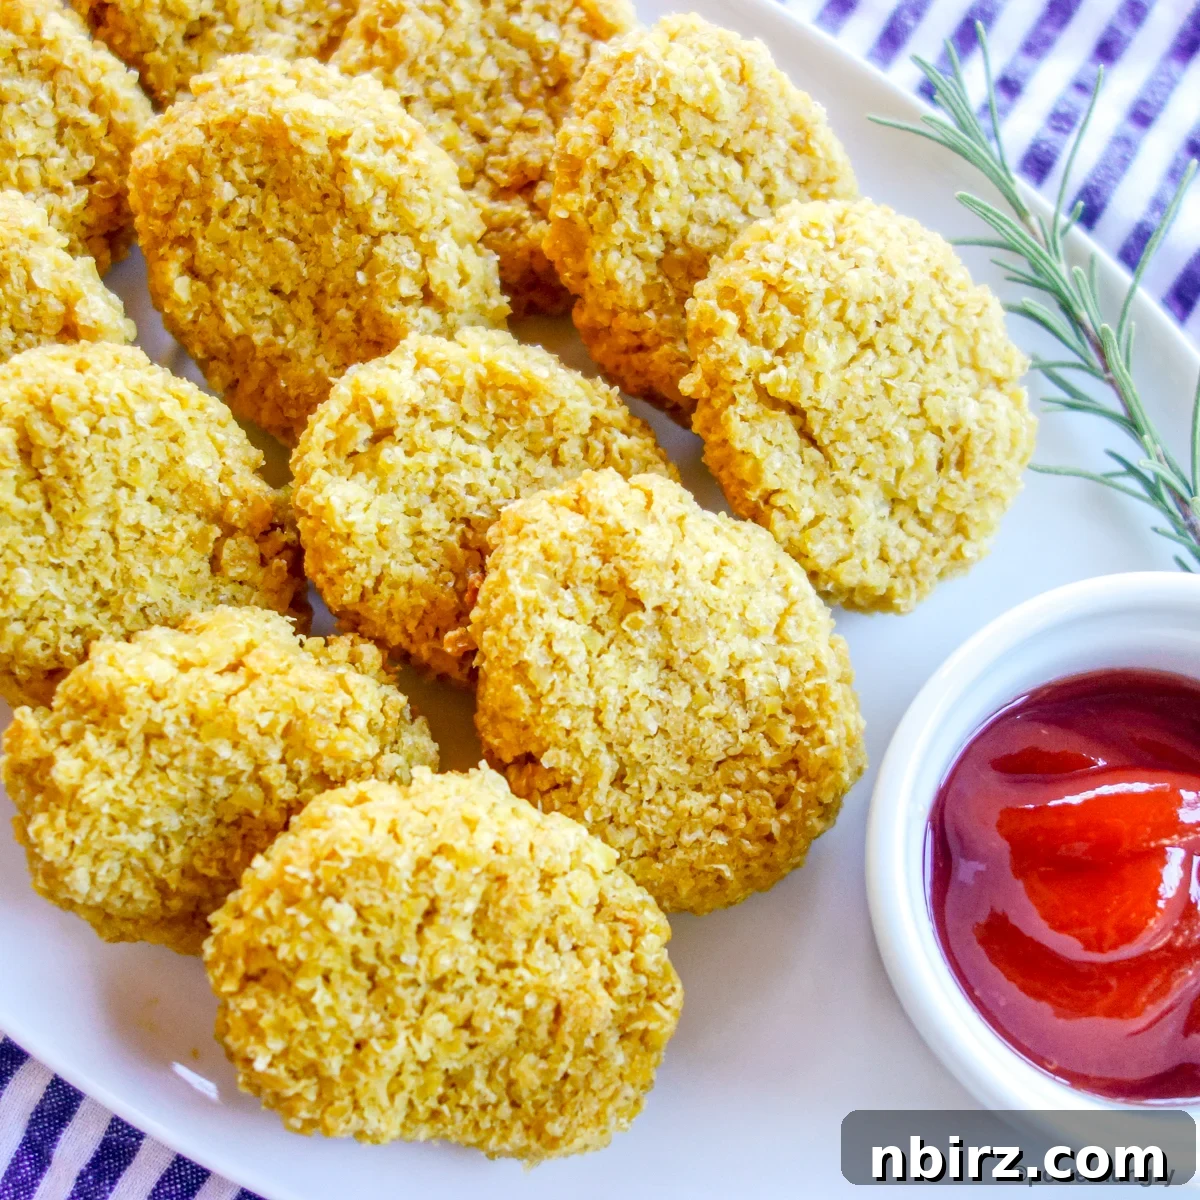
Effortless & Nutritious: 2-Ingredient High-Protein Vegan Millet Nuggets
Crafting plant-based meat alternatives should be both straightforward and beneficial for your health. If you’ve enjoyed my versatile vegan ground beef alternatives (like my classic Vegan Ground Beef, the innovative 2-Ingredient Mushroom Almond Ground Beef, or the hearty Mushroom Oat Ground Beef), then you absolutely must pause what you’re doing and experience these exceptional 2-ingredient millet nuggets. They offer a unique, high-protein vegan chicken nugget experience unlike any other.
The beauty of these millet nuggets lies in their convenience. You can easily prepare a large batch in advance, freeze them, and then simply pop them into your oven or air fryer whenever you desire a quick, high-protein vegan snack or a complete meal. Feel free to double or even triple the recipe to ensure you always have a healthy option readily available.
And for those wondering if these will pass the ultimate taste test with picky eaters? The answer is an enthusiastic YES! Kids and adults alike rave about their flavor and texture, making them a family-friendly favorite.
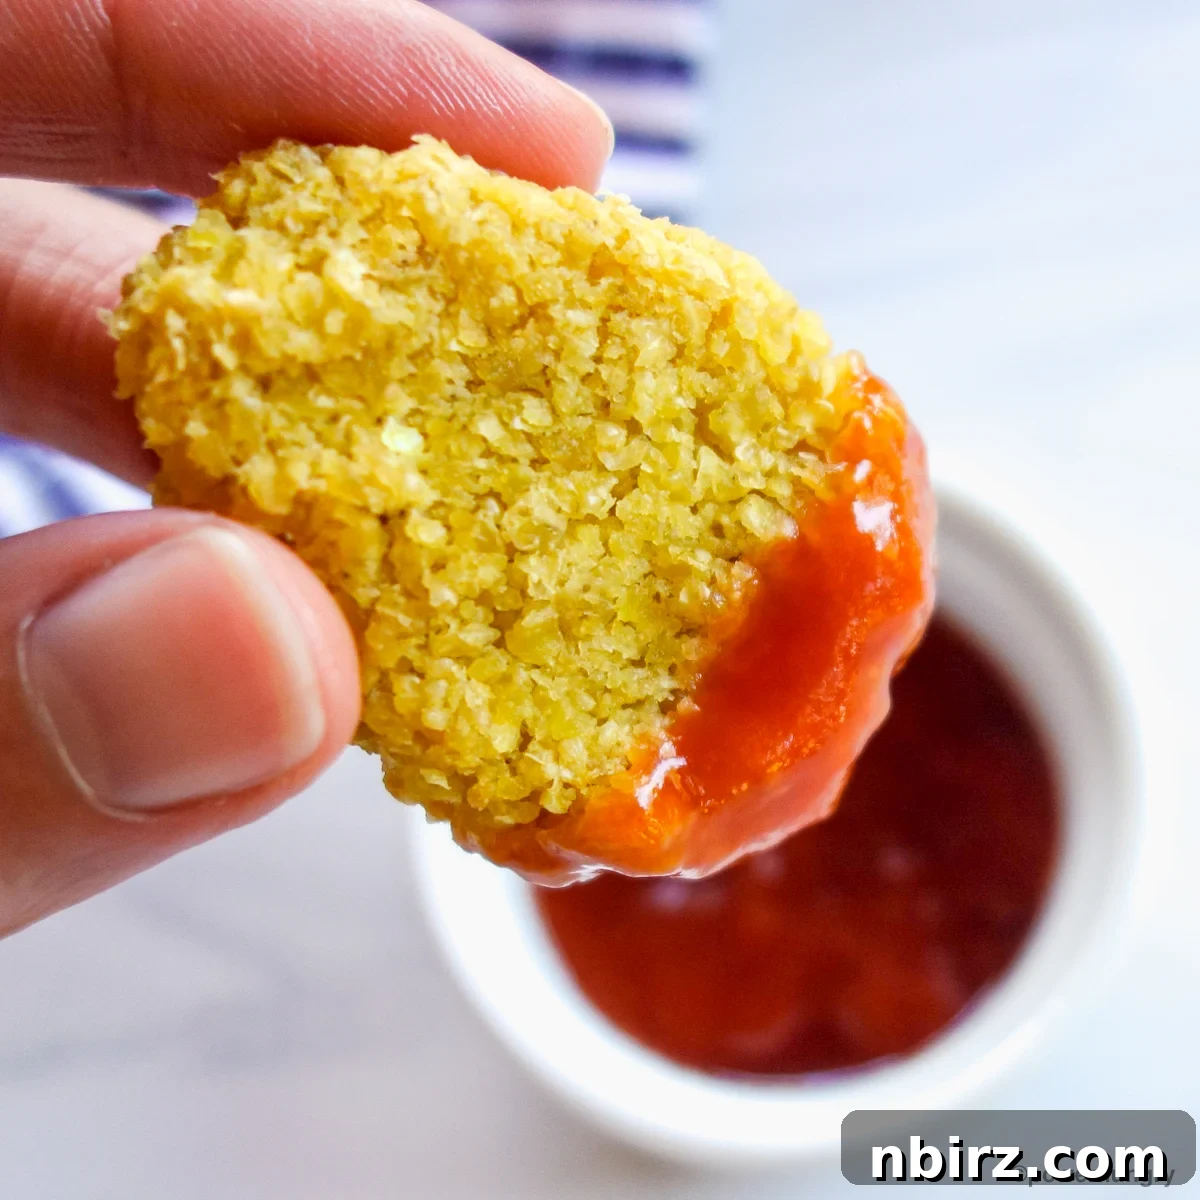
Unlocking the Goodness: Key Benefits of These Millet Nuggets
These vegan millet nuggets aren’t just easy to make; they’re also packed with incredible health benefits and cater to a wide range of dietary needs. Here’s why they stand out:
- Minimal Ingredients: Crafted with just 2 core ingredients (plus water and optional salt), simplifying your cooking process and grocery list.
- High Protein: Each serving provides a substantial 11 grams of protein, making it an excellent source for sustained energy and muscle support, perfect for a plant-based diet.
- High Fiber: With 7 grams of fiber per serving, these nuggets aid in digestion, promote gut health, and contribute to a feeling of fullness.
- Completely Vegan: Entirely plant-based, meaning they are egg-free and dairy-free, suitable for all vegan lifestyles.
- Oil-Free: Prepared without any added oils, making them a lighter and healthier option for those monitoring fat intake.
- Gluten-Free: Naturally free from gluten, making them a safe and delicious choice for individuals with celiac disease or gluten sensitivity.
- Lectin-Free: Millet is a lectin-free grain, which may be beneficial for those following specific dietary protocols to avoid lectins.
- Soy-Free: An ideal option for anyone avoiding soy, providing a delicious plant-based protein alternative without common allergens.
- Effortless Preparation: The recipe is designed for maximum simplicity, requiring minimal effort and kitchen skills.
- Excellent for Meal Prep: Can be easily made in advance and stored, saving you precious time during busy weekdays.
- Budget-Friendly: Made with affordable, wholesome ingredients, offering a frugal way to enjoy nutritious plant-based meals.
- No Binders Needed: Unlike many vegan recipes, these nuggets hold together beautifully without the need for additional binders like psyllium husk, flaxseed meal, or tapioca.
Simple Ingredients for Extraordinary Flavor
The shopping list for these high-protein millet nuggets is refreshingly short, proving that delicious and nutritious food doesn’t require a pantry full of exotic items. Here’s what you’ll need:
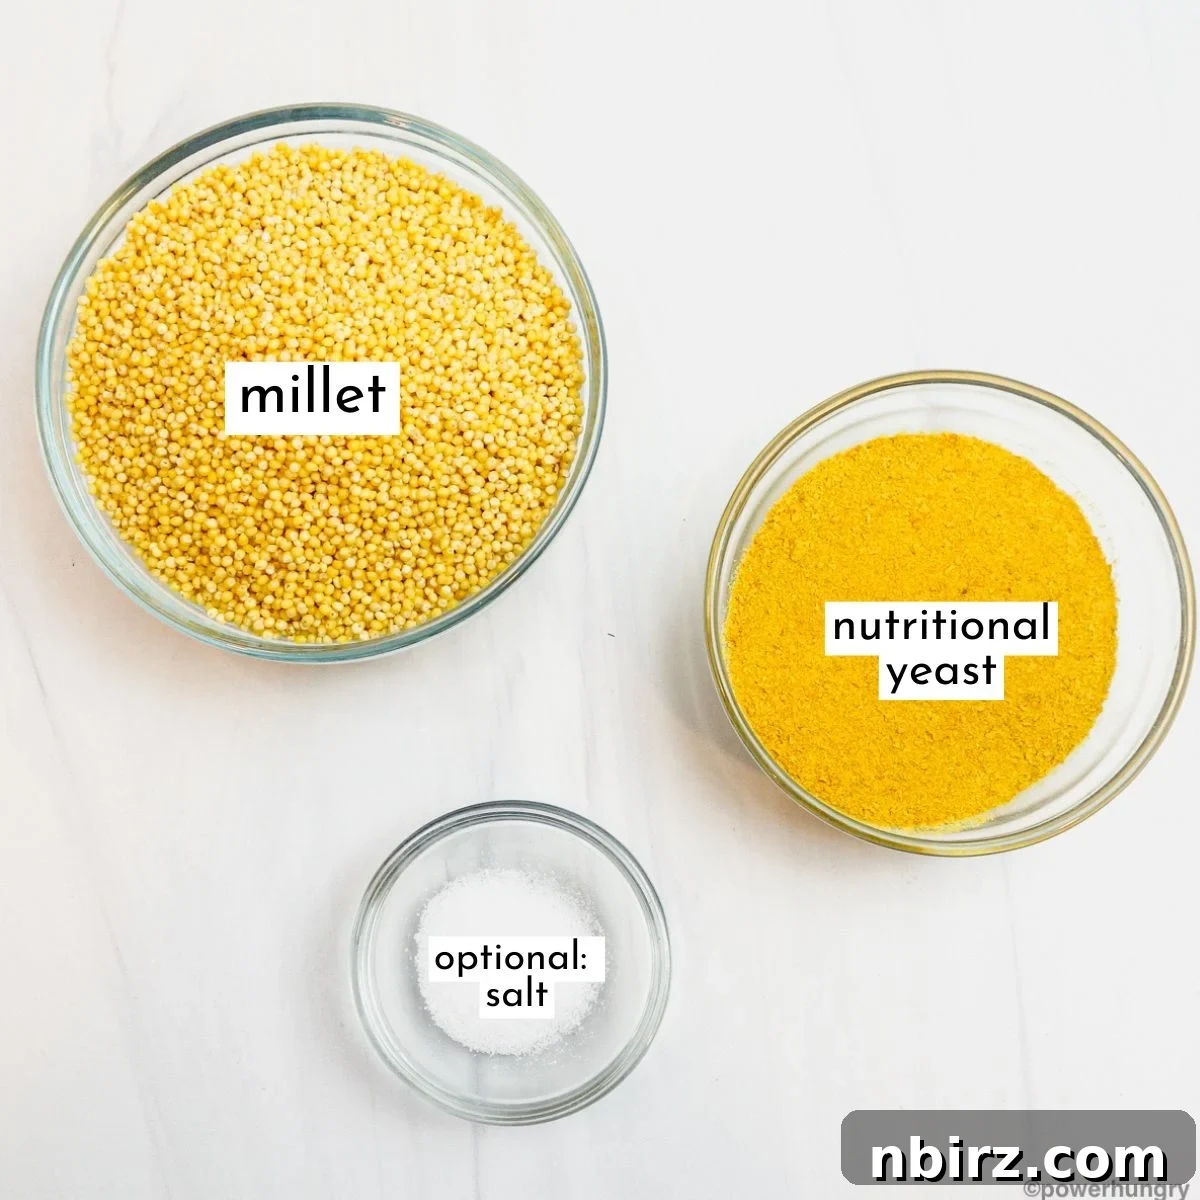
For precise measurements, refer to the detailed recipe card at the end of this article. You can easily switch between US Customary (volume) and Metric (weights) measurements.
- Nutritional Yeast: This is a deactivated yeast product, distinct from the active yeast used in bread making. It’s cherished in vegan cuisine for its ability to impart a rich, savory, umami flavor often described as nutty or cheese-like. Beyond its incredible taste, nutritional yeast is a powerhouse of protein and a fantastic source of B vitamins, especially B12 (when fortified). You’ll find it available in flake, granule, or powder form. (See my notes further below for guidance on omitting or substituting this ingredient if desired.)
- Millet: A small, pale yellow grain (though technically a seed), millet is a nutritional marvel. It is naturally gluten-free, lectin-free, and remarkably easy to digest. Uniquely, millet is one of the few grains that is alkalizing to the body, contributing to a balanced pH. It’s rich in magnesium, a good source of folate, and high in dietary fiber. Look for it in the health food aisle of major supermarkets or at dedicated health food stores, typically alongside other whole grains.
You will also need filtered tap water to combine the ingredients and optional, adjustable salt (fine table salt or sea salt) to enhance the flavors.
Step-by-Step Guide: How to Craft Your Millet Nuggets
A comprehensive, printable version of these directions is available in the recipe card at the bottom of the page.
Part I: Perfectly Cooking the Millet Base
Step One: Preheat Your Oven
Begin by preheating your oven to 400°F (200°C). This ensures your oven is at the optimal temperature for both cooking the millet and baking the nuggets, leading to consistent results.
Step Two: Combine Dry & Wet Ingredients
In a 9-inch (22.5 cm) square baking pan, thoroughly stir together the measured millet, nutritional yeast, and optional salt. Once these dry ingredients are well combined, add the specified amount of water and stir again until all ingredients are evenly distributed and the millet is fully immersed.
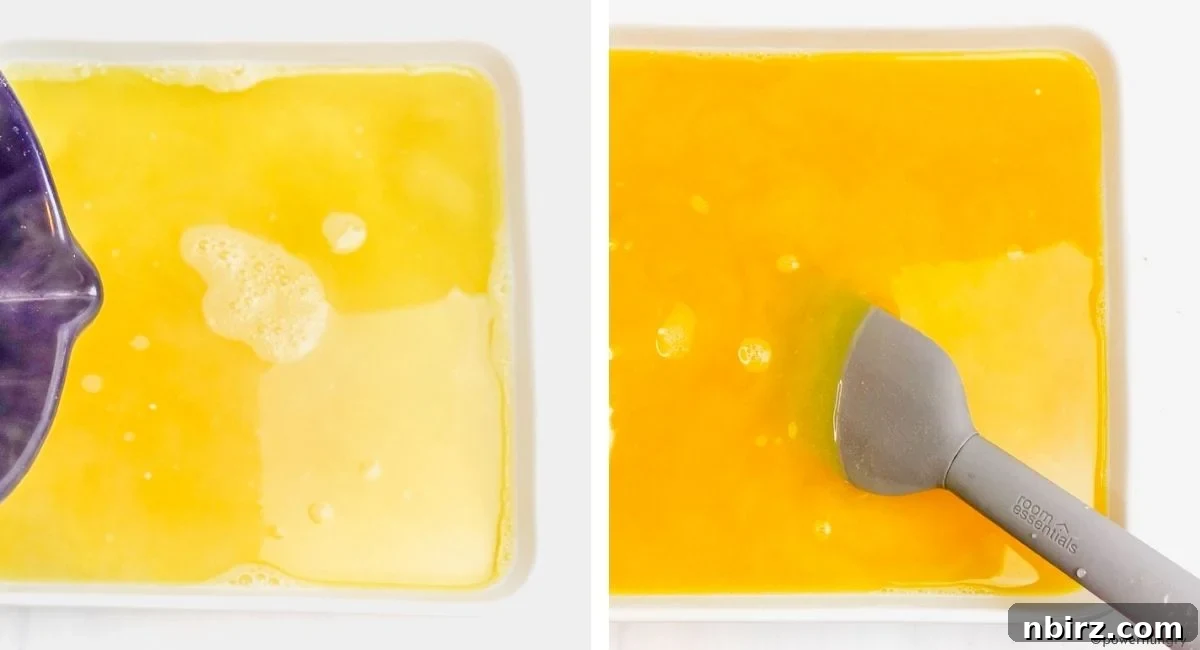
Step Three: Bake the Millet to Perfection
Place the baking pan into your preheated oven and bake for approximately 45 to 50 minutes. The millet is cooked when all the water has been completely absorbed, and the mixture appears thick and cohesive.
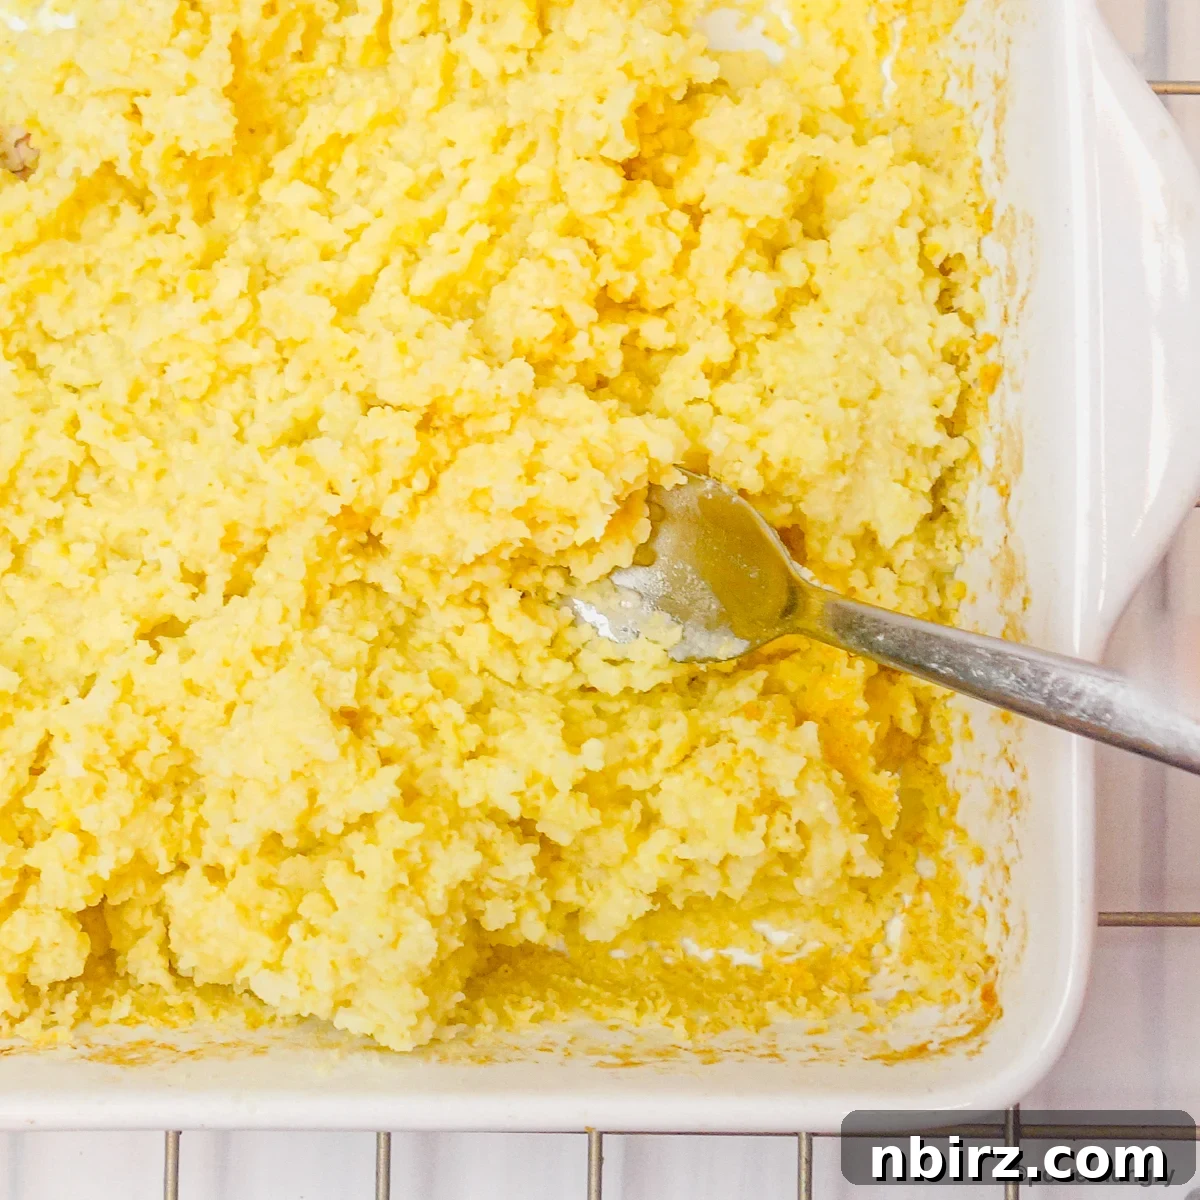
Step Four: Cool and Prepare the Millet Mixture
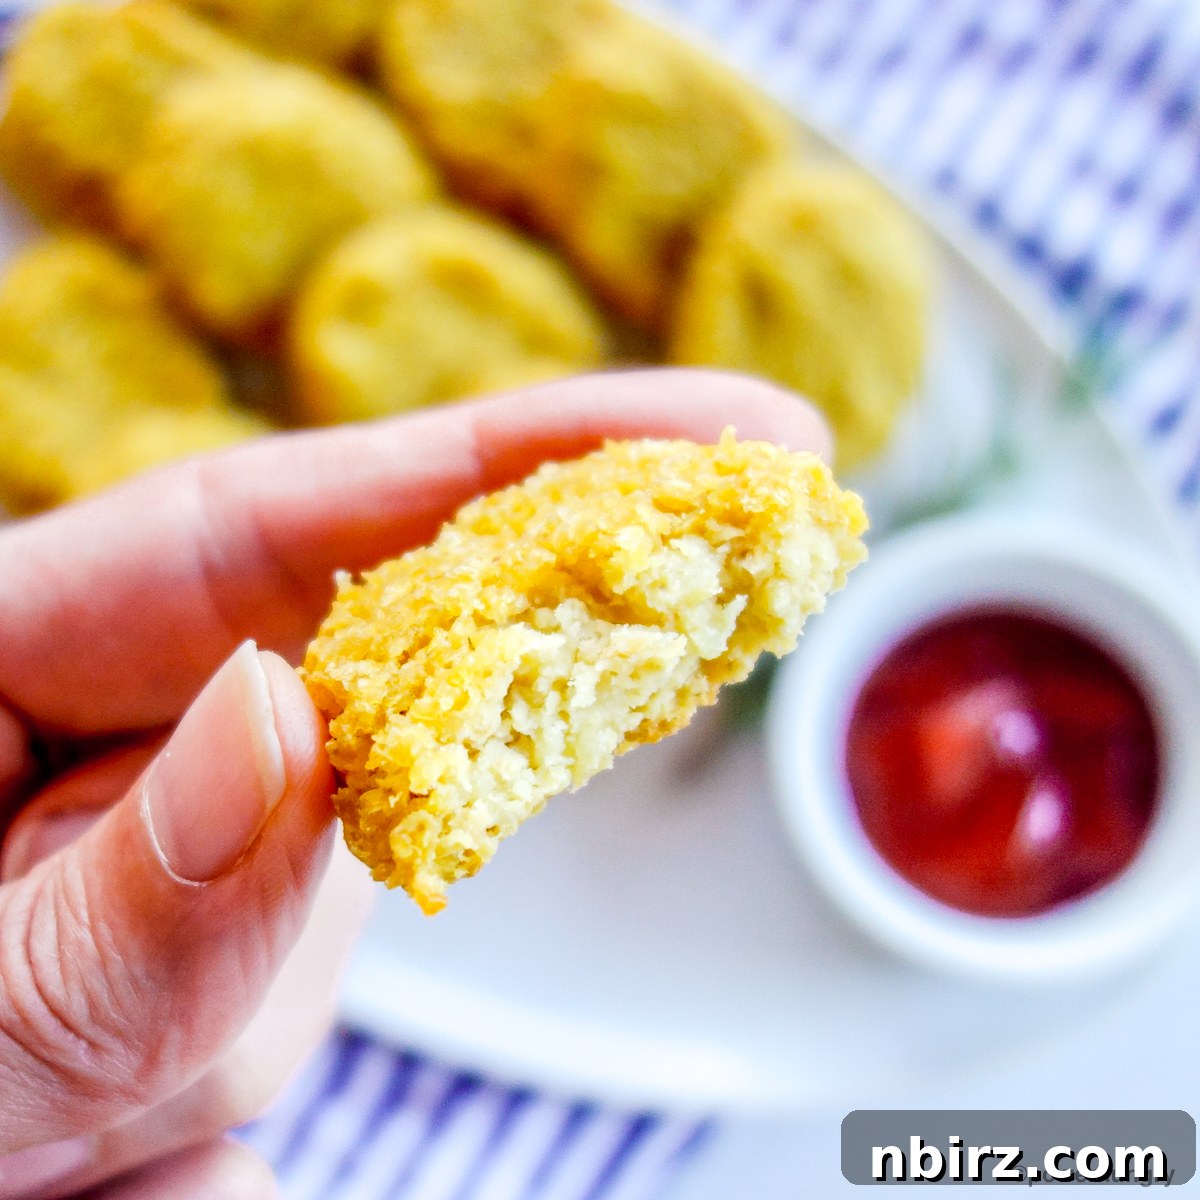
Once baked, remove the pan from the oven and let the cooked millet cool in the baking pan on a wire cooling rack for at least 10 minutes. This resting period helps it set slightly. After 10 minutes, use a fork to vigorously fluff and stir the slightly cooled millet. As you do this, break down the grains and ensure the nutritional yeast (which might have settled during baking) is thoroughly reincorporated. The millet should now have a stiff, mush-like consistency, with the individual grains broken down. Don’t forget to scrape up any deliciously crusty bits from the sides and bottom of the pan – these add fantastic texture to your nuggets! Allow the mixture to cool for another 10 minutes or until it’s cool enough to comfortably handle by hand.
Part II: Shaping & Baking Your Golden Millet Nuggets
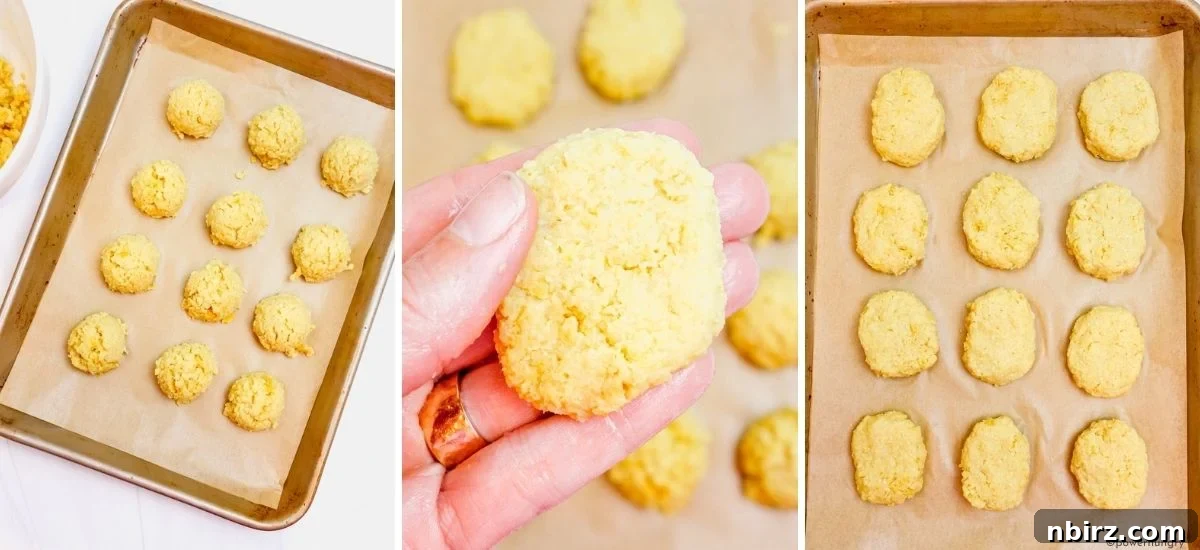
Step One: Portion the Millet Mixture
Line a large baking sheet with parchment paper. Using a medium cookie scoop or a heaping tablespoon, divide the prepared millet mixture into 24 equal portions. Arrange these portions neatly on the parchment-lined baking sheet, leaving some space between each.
Step Two: Shape Your Nuggets
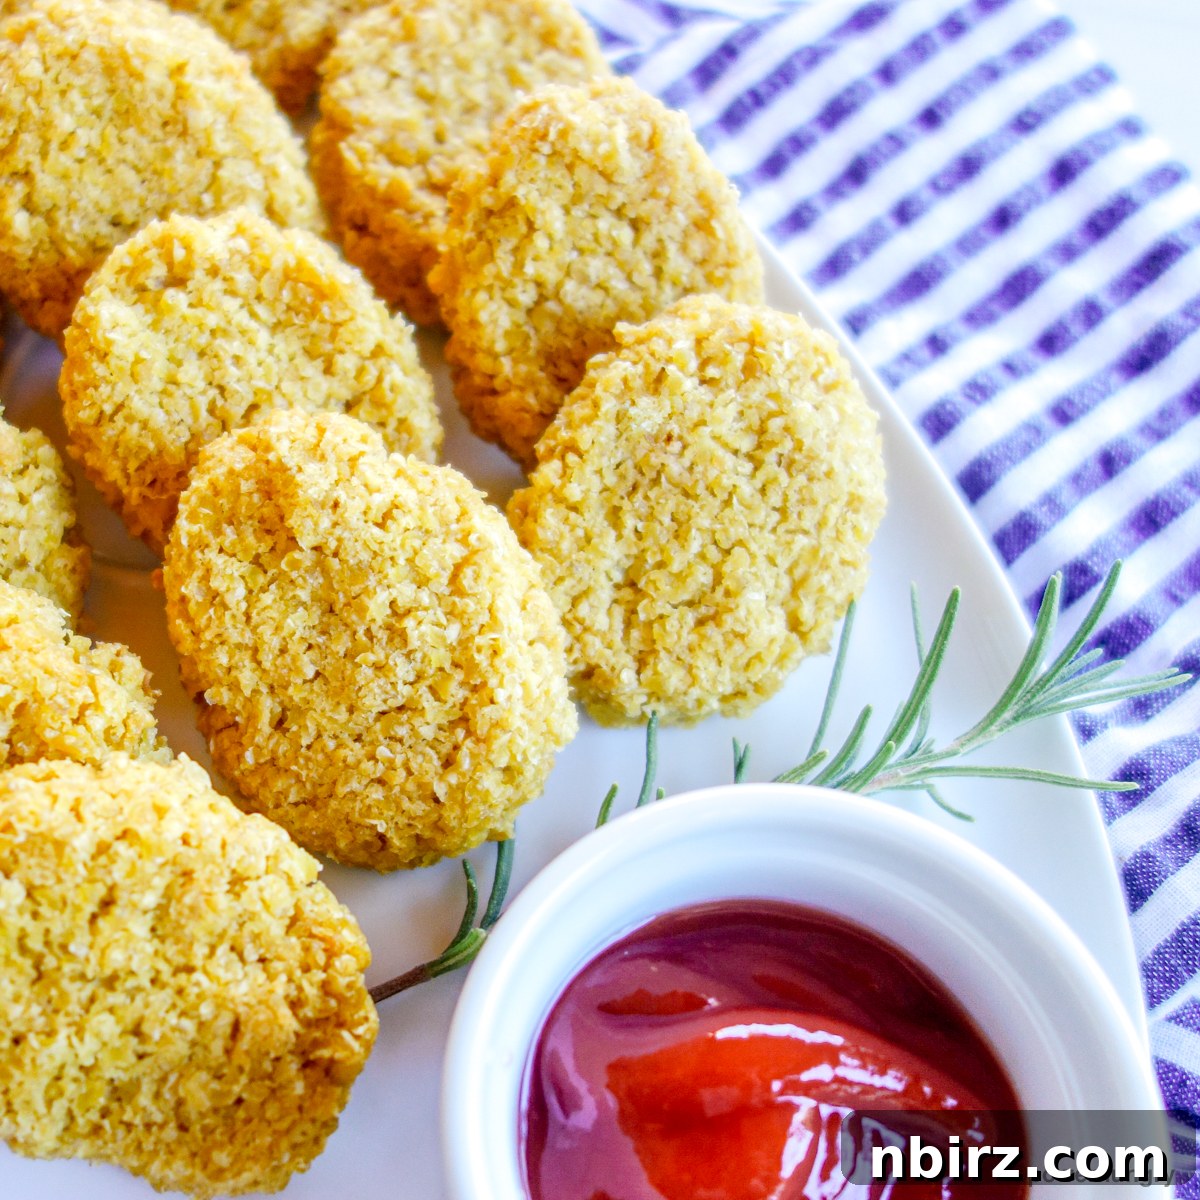
Working with one portion at a time, use your hands to compact and flatten the mixture into the classic shape of a chicken nugget. Aim for a thickness of about 1/4 inch and a length of approximately 2 inches (5 cm). The goal is to create uniformly shaped nuggets that will cook evenly and look appealing. Return each shaped nugget to the baking sheet and repeat the process with the remaining portions until all 24 nuggets are formed.
Step Three: Bake for Crispy Perfection
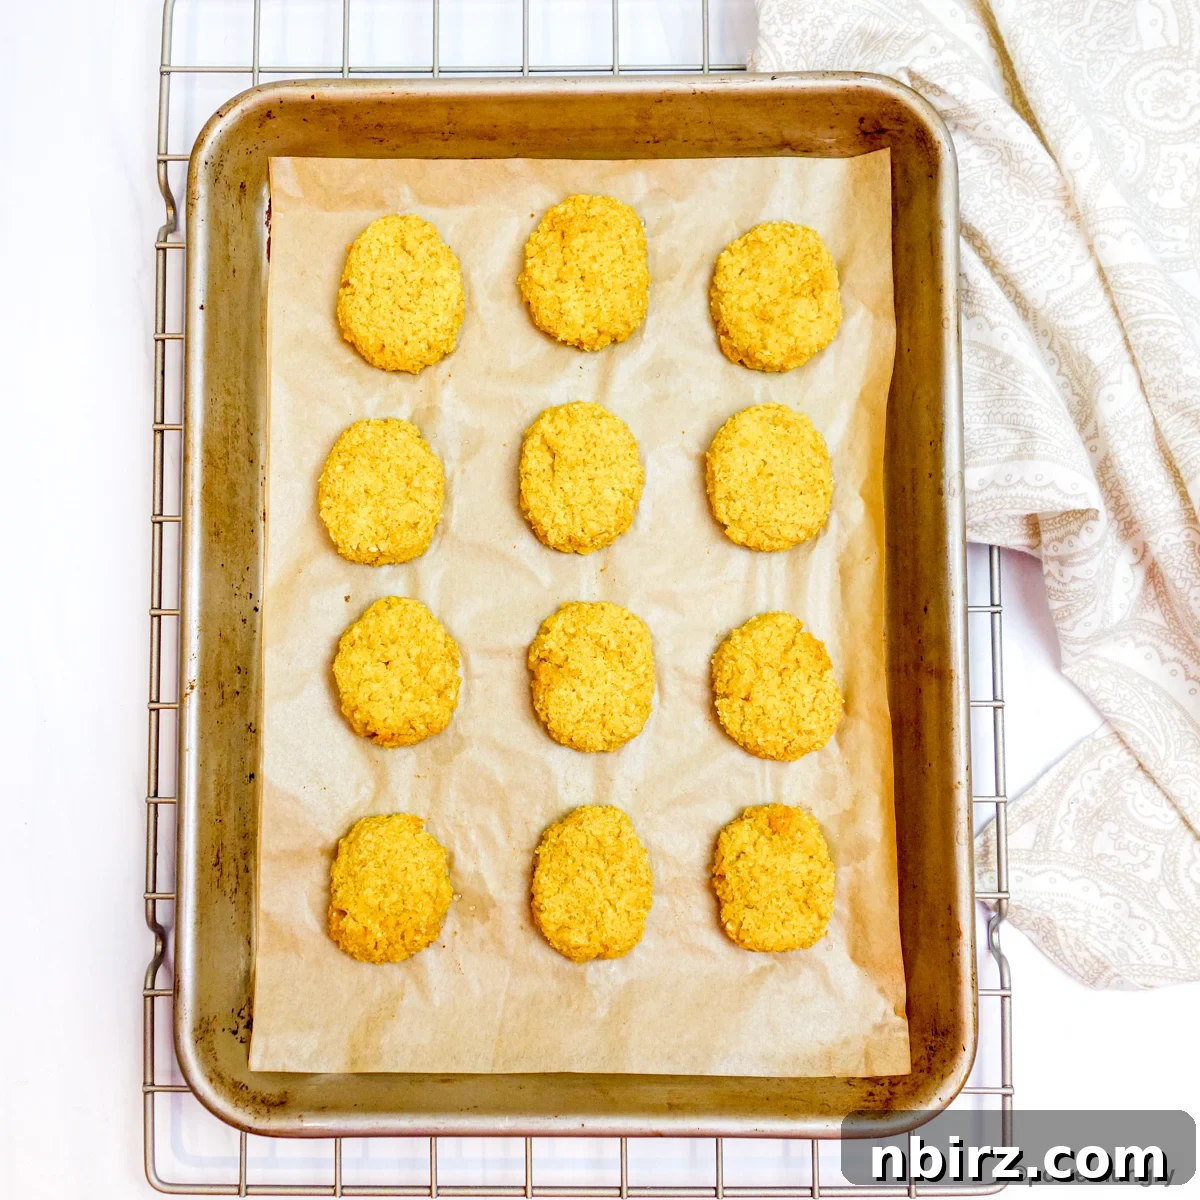
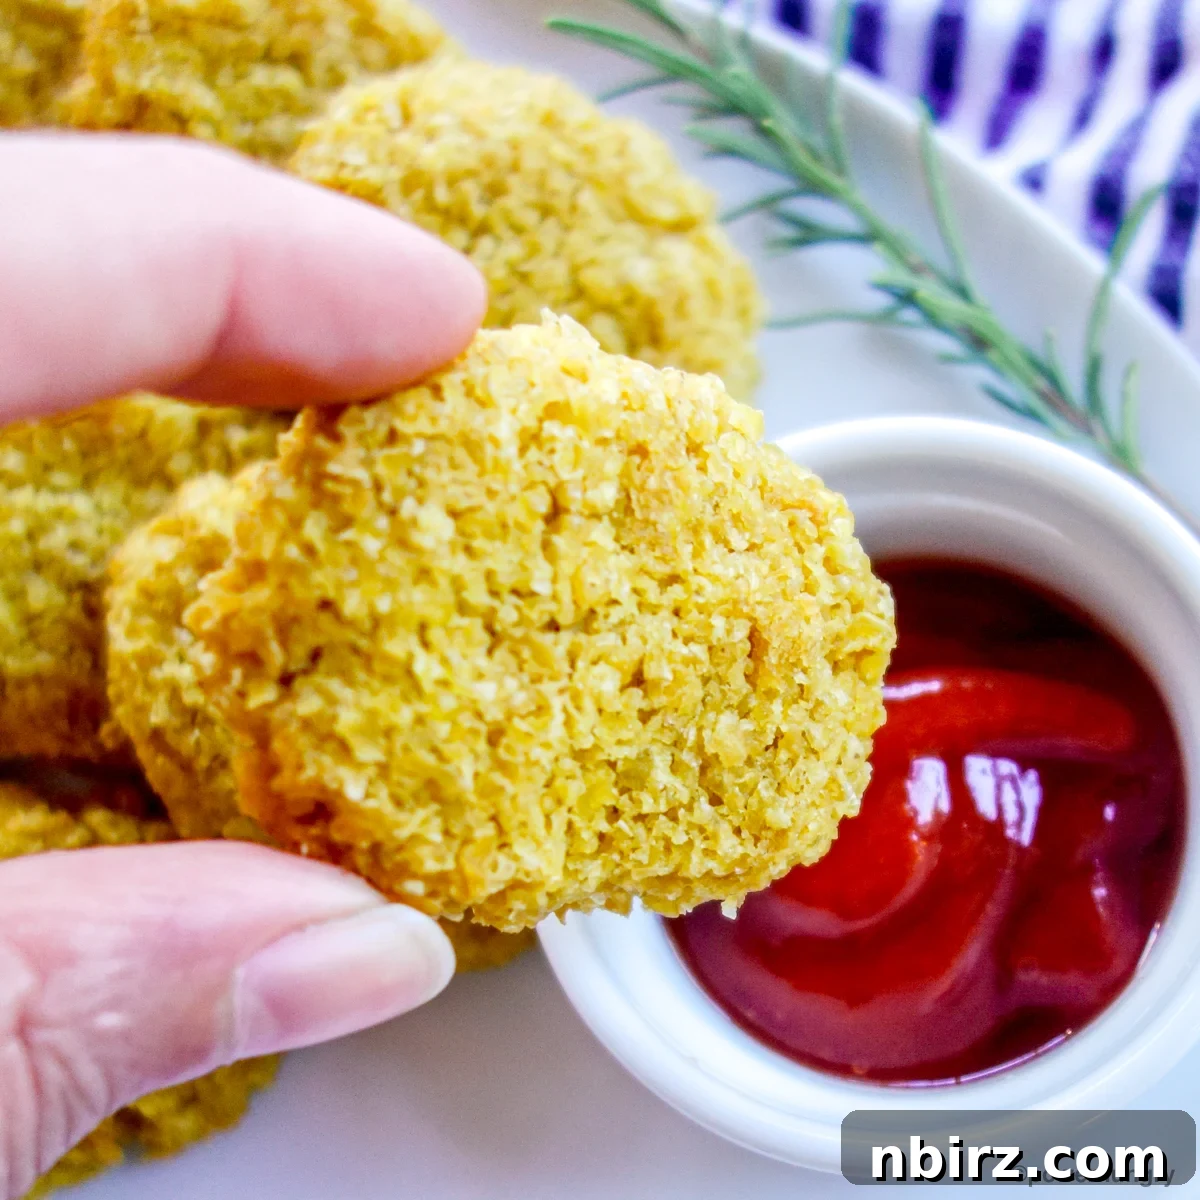
Bake the shaped nuggets in the 400°F (200°C) oven for 25 to 30 minutes. You’ll know they’re ready when they turn a beautiful golden brown and the exterior appears delightfully dry and crispy to the touch. Serve immediately, either plain for a wholesome bite or with your favorite dipping sauce for an extra burst of flavor. Enjoy!
Get Creative: Variations and Smart Substitutions
While delicious as is, these millet nuggets are incredibly versatile, allowing you to customize them to your taste and dietary needs. Here are some fantastic ways to switch things up:
Nutritional Yeast Alternatives for Tailored Taste and Texture
Nutritional yeast plays a dual role in this recipe, providing both a protein boost and a characteristic savory, “meaty” flavor. If you prefer to omit it, simply leave it out – no other recipe adjustments are strictly necessary. However, to compensate for the flavor and protein, consider these high-protein additions:
- Chia Seeds for Binding and Protein: Stir in 1 to 3 tablespoons of chia seeds along with the uncooked millet at the initial cooking stage. Increase the water by 1 to 3 tablespoons accordingly to ensure proper hydration for the chia seeds. They will help bind the mixture and add healthy omega-3s.
- Finely Chopped Nuts or Seeds for Texture and Nutrients: After the millet has cooked and you’re mashing it with a fork, stir in up to 1/2 cup of finely chopped nuts (such as almonds, pecans, or walnuts) or seeds (like hemp hearts or sunflower seed kernels). If the mixture seems too dry or less cohesive, add a small amount of extra water, a tablespoon at a time, until the desired sticky consistency is achieved.
- Unflavored Vegan Protein Powder for a Protein Power-Up: Incorporate up to 1/2 cup of unflavored vegan protein powder. This can be added either in place of the nutritional yeast during the initial millet cooking phase or after the millet is cooked and being mashed. As with nuts/seeds, add a splash of extra water if the mixture becomes too dry or less sticky.
Achieve Extra Crispy Perfection (Optional)
For those who consume oils and desire an even crispier exterior, lightly brush the formed nuggets with a small amount of your preferred cooking oil – such as olive oil, avocado oil, or melted coconut oil – just before baking. This will help them develop a deeper golden crust and added crunch.
Infuse Flavor: Spice Up Your Millet Nuggets
The neutral base of millet makes these nuggets a perfect canvas for a myriad of flavor profiles. Experiment with these additions to create your signature nuggets:
- Aromatic Herbs: For an earthy or fresh touch, add dried herbs like rosemary, basil, thyme, an Italian herb blend, or herbes de Provence before the initial baking of the millet. Alternatively, stir in fresh, chopped herbs such as parsley, cilantro, dill, or basil after the millet has cooked but before shaping the nuggets, to preserve their vibrant flavor.
- Bold Spices and Seasonings: Elevate the taste with a teaspoon or more of your favorite dried spices. Popular choices include onion powder, garlic powder, black pepper, ground turmeric (for color and health benefits), cumin, or chili powder for a slight kick.
- Dynamic Liquid Flavorings: Replace a small portion of the water (a few tablespoons) with other flavorful liquids. Try dill pickle brine for a tangy note, a tablespoon of liquid aminos or soy sauce for umami depth, or a small amount of liquid smoke or spicy mustard for a distinct profile.
- Savory Broths: Substitute some or all of the cooking water with vegetable broth or your choice of vegetable juice (e.g., tomato juice for a subtle tang) to infuse deeper savory flavors into the millet as it cooks.
- Finely Chopped Vegetables for Added Nutrition: Boost both flavor and nutritional content by adding 1/2 cup to 1 cup of finely chopped vegetables. Carrots, broccoli, onions, or shallots are excellent choices; stir them into the millet mixture before the initial baking process.
Convenience at Your Fingertips: Make-Ahead & Freezing Solutions
These millet nuggets are perfect for meal prepping, allowing you to enjoy healthy, homemade snacks and meals with minimal effort during the week. Here’s how to prepare them in advance:
- Refrigerating Uncooked Millet Nuggets: You can prepare the nuggets up to the point of shaping them. Once shaped, arrange them in single layers in an airtight container, separating each layer with parchment paper, wax paper, aluminum foil, or plastic wrap to prevent sticking. They can be refrigerated for up to three days. When you’re ready to cook, simply follow the baking instructions provided in the recipe (transfer them to a baking sheet before placing in the oven).
- Freezing Uncooked Millet Nuggets for Long-Term Storage: For even longer storage, prepare the nuggets through the shaping step. Place them in a single layer on a baking sheet lined with parchment paper and freeze until solid (this flash-freezing prevents them from sticking together). Once frozen, transfer the nuggets to an airtight freezer-safe container or bag, where they can be stored for up to six months. Important: Do not thaw the nuggets before reheating. Cook them directly from frozen in either an air fryer or oven, following the original cooking instructions. They may require only a few extra minutes of cooking time compared to fresh nuggets.
Frequently Asked Questions About Millet Nuggets
Here are answers to some common questions about making and enjoying these versatile vegan millet nuggets:
- Can I Make the Nuggets in an Air Fryer? Absolutely! The air fryer is an excellent tool for achieving extra crispiness. Arrange your millet nuggets in a single layer in your air fryer basket. Air fry at 350°F (180°C) for approximately 20 to 22 minutes, or until they are beautifully golden brown and crispy. Cooking times may vary slightly depending on your specific air fryer model, so keep an eye on them.
- How Do I Reheat the Nuggets for Best Results? For optimal crispness when reheating, use either an air fryer or a toaster oven. In an air fryer, about 5 minutes at 350°F (180°C) should be sufficient. If using a conventional oven, warm the nuggets at 350°F (180°C) for about 10 minutes. Stored in an airtight container in the refrigerator, they will remain fresh for up to a week.
- Can I Make Vegan Chicken Burgers or Patties Instead of Nuggets? Yes, you certainly can! This recipe is incredibly adaptable. Instead of shaping the cooked millet mixture into small nuggets, form it into larger veggie burgers or patties. Aim for a diameter of about 5 inches (12.5 cm) and a thickness of approximately 1/4 inch. Cook these larger patties using the exact same baking method and temperature as specified for the nuggets.
Creative Ways to Serve Your Millet Nuggets
These versatile millet nuggets aren’t just for dipping! They can be incorporated into a variety of meals, making them a fantastic staple in your plant-based kitchen. Here are some delicious serving ideas:
- Classic Dipping: Serve hot with your favorite sauces like ketchup, BBQ sauce, vegan ranch, sweet chili sauce, honey mustard, or a spicy sriracha mayo.
- On a Salad: Slice or crumble the nuggets over a fresh green salad for an added protein boost and satisfying crunch. Pair with a light vinaigrette or creamy vegan dressing.
- In Wraps or Pitas: Stuff warm nuggets into a whole-wheat wrap or pita pocket with shredded lettuce, diced tomatoes, cucumbers, and a dollop of hummus or tahini sauce for a quick and flavorful lunch.
- Nugget Bowl: Create a vibrant Buddha bowl with cooked quinoa or brown rice, roasted vegetables (like broccoli or sweet potatoes), avocado, and a generous portion of millet nuggets.
- With Veggies & Dip: Serve as a healthy snack alongside carrot sticks, celery, bell pepper strips, and a high-protein dip like edamame hummus.
- As a Main Dish: Pair with hearty sides like mashed potatoes, steamed green beans, or a simple side salad for a complete and satisfying dinner.
- Breakfast Hash: Roughly chop leftover nuggets and toss them into a breakfast hash with potatoes, onions, and bell peppers for a savory morning meal.
The Power of Millet: A Super Grain Explained
Millet, though often overlooked in Western diets, is a staple grain for billions worldwide and a nutritional powerhouse. This ancient grain has been cultivated for thousands of years and offers an impressive array of health benefits that make it an excellent choice for a healthy diet, particularly for these vegan nuggets.
Unlike many common grains, millet is naturally gluten-free, making it perfectly suited for individuals with celiac disease or gluten sensitivities. Its gentle nature also means it’s generally very easy to digest, a boon for those with sensitive digestive systems. Moreover, millet stands out for being one of the few grains that is alkalizing to the body, helping to balance pH levels. Nutritionally, millet is a rich source of essential minerals like magnesium, which is crucial for nerve and muscle function, blood sugar control, and blood pressure regulation. It also provides a good supply of phosphorus, copper, and manganese, vital for bone health and antioxidant defenses. Beyond minerals, millet is packed with B vitamins, including folate, and offers a significant amount of dietary fiber, promoting satiety, aiding digestion, and contributing to heart health. Its mild, slightly nutty flavor makes it a versatile ingredient, absorbing other flavors beautifully, which is why it’s such a fantastic base for these savory nuggets.
Explore More Plant-Based Delights
If you loved these 2-ingredient millet nuggets, be sure to check out these other innovative and delicious plant-based recipes:
- Easy Vegetable Nuggets (3 Ingredients)
- Wholesome 3-Ingredient Chia Millet Bread
- Delicious 100% Millet Pumpkin Bread (Vegan, GF, Oil-Free)
- Simple 3-Ingredient Millet Flax Bread
- Savory Vegan Millet Kale Quiches (Gluten-Free)
Millet Nuggets (2 Ingredients, High Protein)
10 minutes
1 hour
15 minutes
4
Equipment
-
1 Large Baking Sheet
-
1 9-inch (22.5 cm) square baking pan (or 9×5 inch (22.5×12.5 cm) loaf pan)
-
1 sheet parchment paper
Ingredients
- 1 cup millet
- 40 grams nutritional yeast (flakes, granules or powder), (volume will vary by brand; see notes below for substitutions)
- Optional: 1/2 teaspoon salt
- 4 cups water
Instructions
Part I: Cook the Millet
-
Preheat oven to 400F (200C).
-
In a 9 inch (22.5 cm) square baking pan, stir together the millet, nutritional yeast, and optional salt. Add the water and stir to combine.
-
Bake in the preheated oven for 45 to 50 minutes until the water has absorbed.
-
Cool the millet, in the baking pan, for 10 minutes on a cooling rack. Using a fork, fluff and stir the millet (should be like a stiff porridge), breaking it down and recombining the yeast (it may settle unevenly during baking). Be sure to scrape up all of the crusty bits on the sides and bottom, they add texture to the nuggets! Let cool about 10 minutes longer until cool enough to handle.
Part II: Shape and Bake the Millet Nuggets
-
Line a large baking sheet with parchment paper.
-
Using a medium cookie scoop or a heaping tablespoon, divide the millet into 24 equal portions on the prepared baking sheet.
-
Working with one portion at a time, compact and flatten into the shape of a chicken nugget (about 1/4 inch thick, 2 inches long). Return to baking sheet and repeat with the remaining portions.
-
Bake in the 400F (200C) oven for 25 to 30 minutes until golden brown and the outside of the nuggets appears dry and crispy.
-
Serve plain, or with your favorite dip(s).
Notes
- Nutritional Yeast Tips: I have provided the weight (40 grams) for the nutritional yeast since it is available in flakes, granules, and powder. You can use any of these varieties, but the volume measurement will be very different depending on the type and the manufacturer. 40 grams is always 40 grams, so either (1) weigh the nutritional yeast, or (2) look at the nutrition information on the package to see how volume measurement corresponds to weight for your particular brand.
- Nutritional Yeast Substitutions: Refer to the “Variations & Substitutions” section of this post for multiple options for omitting or substituting nutritional yeast.
- Cook the Nuggets in an Air Fryer: Arrange the millet nuggets in a single layer in an air fryer. Air fry at 350F (180C) for approximately 20 to 22 minutes until golden brown (may vary slightly, depending on air fryer).
- Reheating the Nuggets: Reheat the millet nuggets in the air fryer or toaster oven. In the air fryer, 5 minutes at 350F (180C) should do the trick. In the oven, warm the nuggets at 350F (180C) for 10 minutes. Store them in the fridge in an airtight container for up to a week.
- Freezing the Uncooked Millet Nuggets: Prepare the nuggets up to the point of shaping and placing in a single layer on a baking sheet lined with parchment paper. Freeze on the baking sheet, then place the frozen nuggets in an airtight container and freeze for up to six months. Do not allow the nuggets to thaw before reheating. Cook the frozen nuggets in the air fryer or the oven, following the original cooking instructions.
- Make Burgers/Patties Instead of Nuggets: Rather than shaping into nuggets, shape the cooked millet into veggie burgers/patties (about 5 inches/12.5 cm diameter, 1/4 inch thick). Cook using the same method as the nuggets.
- Flavor Variations: See the dedicated section in this post for inspiring ideas on how to vary the flavor of the nuggets with different spices, herbs, and other flavorings.
Nutrition Information
Calories: 227 kcal |
Carbohydrates: 41g |
Protein: 11g |
Fat: 3g |
Saturated Fat: 0.4g |
Polyunsaturated Fat: 1g |
Monounsaturated Fat: 0.4g |
Sodium: 14mg |
Potassium: 298mg |
Fiber: 7g |
Calcium: 11mg |
Iron: 2mg