
DIY Quinoa Flour: Your Complete Guide to Homemade, Gluten-Free, High-Protein Baking
Are you looking to elevate your baking, embrace a healthier lifestyle, or explore the world of gluten-free ingredients? Look no further than homemade quinoa flour! This high-protein, whole-grain flour is incredibly versatile and easy to prepare right in your own kitchen. Forget store-bought alternatives and the uncertainty of their freshness; by making your own, you unlock a superior ingredient that will transform your culinary creations. With just a few simple steps and common kitchen equipment like a high-speed blender or coffee grinder, you can create a batch of fresh, nutritious quinoa flour in no time.
This comprehensive guide will walk you through everything you need to know about quinoa flour – from its impressive nutritional benefits and diverse uses to a detailed, step-by-step process for making it at home. Discover the secrets to ensuring your homemade flour is perfectly smooth, free from bitterness, and ready to enhance your favorite recipes. Get ready to add a powerhouse ingredient to your pantry and experience the joy of baking with truly fresh, wholesome flour.
Quinoa Flour 101: A Nutritional Powerhouse for Healthy Living
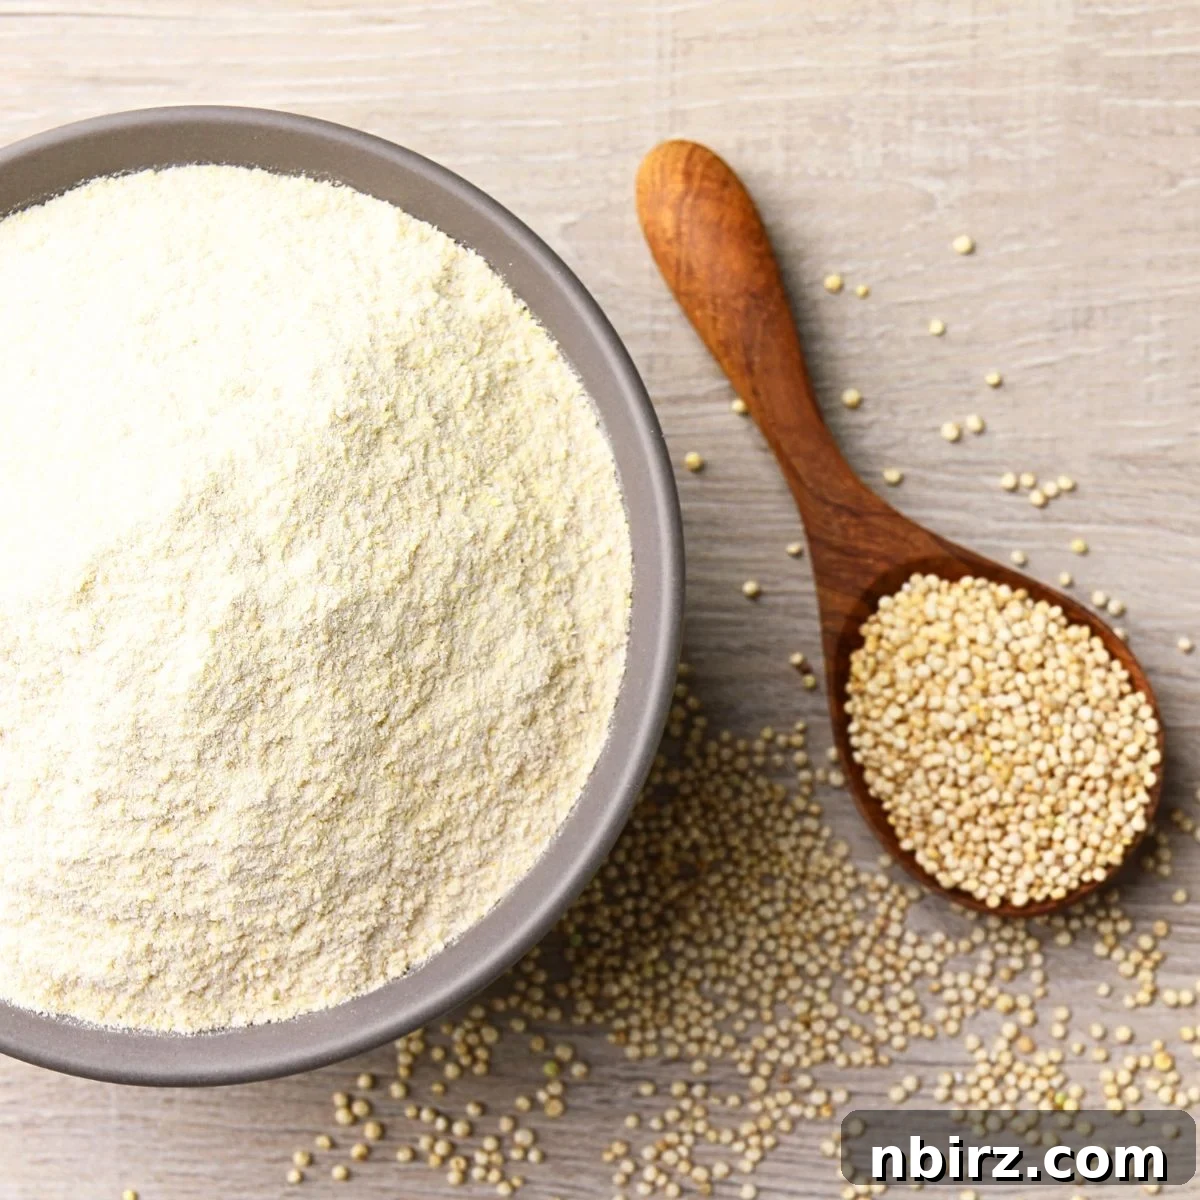
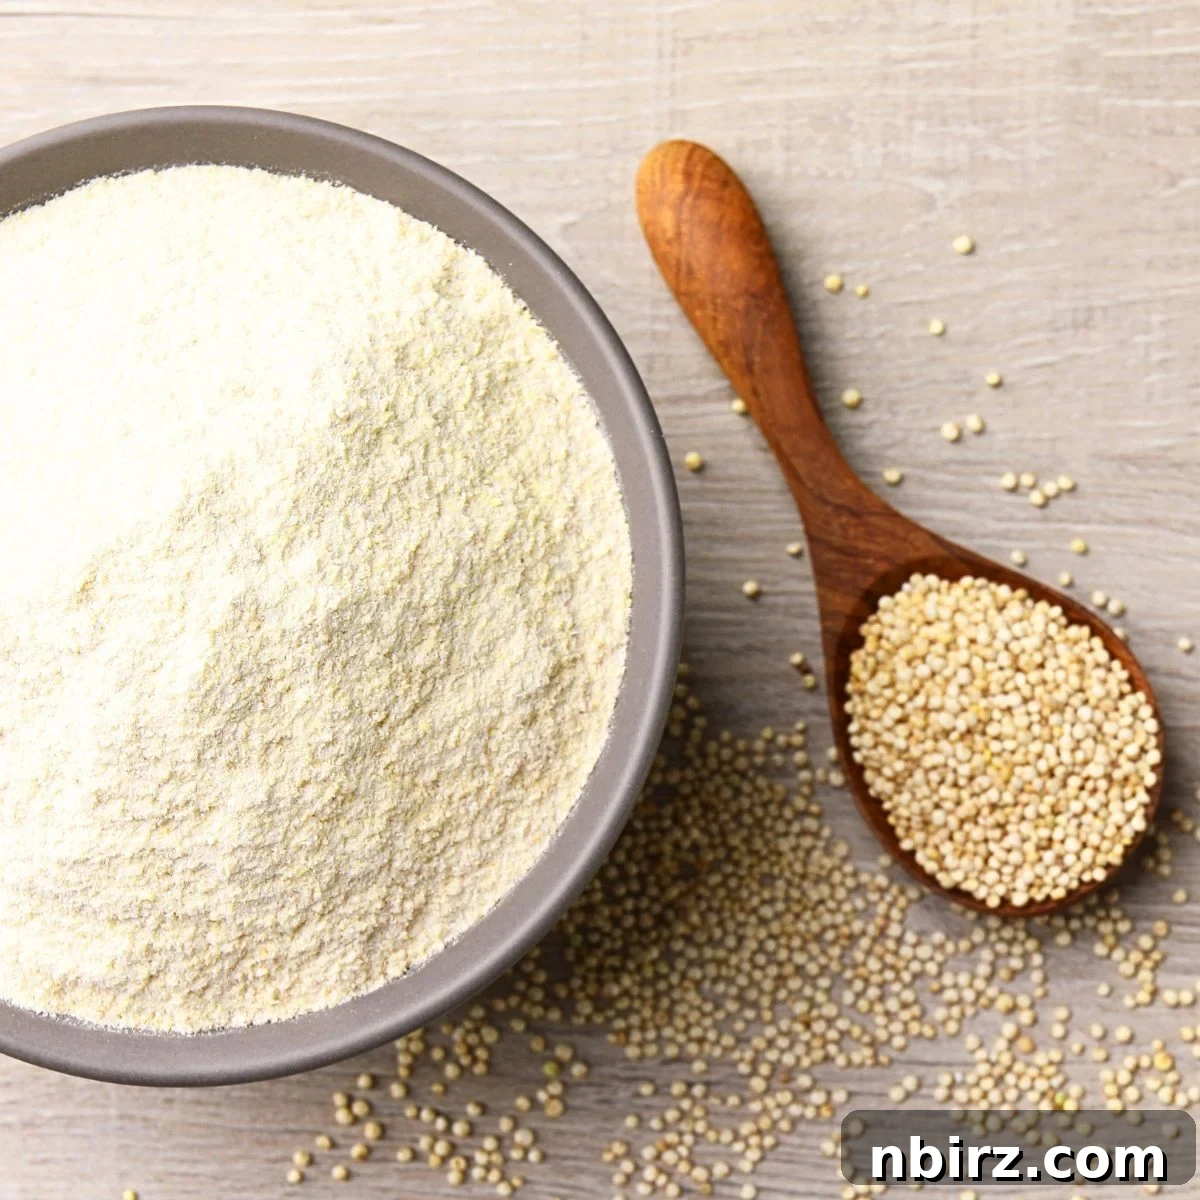
Quinoa flour is produced by grinding raw quinoa seeds into a fine, powdery consistency. Visually and texturally, it closely resembles conventional all-purpose wheat flour, making it an excellent substitute in countless recipes. However, its nutritional profile is where quinoa flour truly shines, earning its reputation as a “superfood.”
Quinoa stands out in the plant kingdom as a complete protein, meaning it contains all nine essential amino acids that the human body cannot produce on its own. This makes quinoa flour an invaluable staple for individuals following vegetarian or vegan diets, as well as anyone aiming to increase their protein intake through wholesome sources. Beyond protein, it’s packed with dietary fiber, crucial for digestive health and promoting a feeling of fullness, which can aid in weight management. Additionally, quinoa flour is a rich source of vital minerals including iron, magnesium, phosphorus, manganese, and zinc, alongside B vitamins and beneficial antioxidants. These nutrients contribute significantly to overall health, supporting everything from energy production to bone density.
Originating from the ancient Andean civilizations of South America, quinoa has been a dietary cornerstone for thousands of years. Its adaptability and robust nutritional benefits have led to its global recognition and integration into modern diets. As a flour, its applications are vast. It can be effortlessly incorporated into a wide array of baked goods, from light desserts and muffins to denser quick breads. While it behaves differently from wheat flour in yeast-leavened recipes due to its lack of gluten, it excels when combined with other flours or used in recipes designed for its unique properties. Beyond baking, quinoa flour also functions effectively as a natural thickening agent for savory dishes like soups and stews, or it can be a convenient addition to smoothies and shakes for an extra boost of plant-based protein.
Unlocking the Versatility of Quinoa Flour in Your Kitchen
For those embarking on a gluten-free baking journey, quinoa flour presents a particularly attractive option due to its unique characteristics. Unlike many other gluten-free flours or pre-mixed blends, quinoa flour often performs well in recipes without the need for additional gums such as xanthan gum or guar gum. This inherent binding quality simplifies your baking process and allows for a cleaner, more natural ingredient list, a significant advantage for health-conscious cooks and those with sensitivities to added gums.
Its robust nutritional makeup makes it an excellent choice for anyone looking to seamlessly integrate more whole grains into their diet or to craft baked goods that align with high-protein and low-carbohydrate eating plans. The versatility of quinoa flour allows it to be used in various culinary applications. You can use it as a standalone gluten-free flour in specific recipes, or as a partial substitute to enhance the nutritional value of your existing favorites. When first experimenting, a good strategy is to substitute a small portion (e.g., 1/4 to 1/3) of the total flour requirement with quinoa flour. This method helps you gradually become accustomed to its distinct flavor and textural contributions while still reaping its health benefits.
Quinoa flour boasts a distinctive earthy, slightly nutty flavor that can beautifully enrich a diverse range of dishes, both sweet and savory. If you’re new to baking with it, consider starting with recipes that feature other bold flavors, such as rich dark molasses, intense cocoa powder, fragrant spices like cinnamon, cardamom, or nutmeg, or even robust cheeses and herbs in savory preparations. These complementary flavors help to harmonize with quinoa’s natural taste profile. As you become more familiar with quinoa flour, you will undoubtedly grow to appreciate the depth and unique character it imparts to your recipes, transforming it from an experimental ingredient into a cherished staple in your pantry.
How to Craft Your Own Superior Quinoa Flour at Home
While high-quality quinoa flour is becoming increasingly accessible in health food stores and through online retailers, crafting your own at home offers several compelling advantages. The primary benefits include ensuring unparalleled freshness, often at a significantly lower cost per pound, and complete control over the quality of the raw quinoa seeds you use. The process itself is surprisingly straightforward and requires only a few common kitchen tools:
- A clean coffee or spice grinder
- A powerful high-speed blender (such as a Vitamix or BlendTec)
Preparing a batch of homemade quinoa flour is an excellent starting point for those looking to experiment with this nutritious ingredient without the upfront investment of a larger, store-bought package. By following these easy-to-understand steps, you’ll soon have fresh, vibrant quinoa flour ready for all your healthy baking and cooking adventures.
Step 1: Rinse & Drain the Quinoa Thoroughly for Optimal Flavor
The initial and perhaps most crucial step in making delicious quinoa flour is proper rinsing. Raw quinoa seeds are naturally coated with saponins, a bitter, soap-like compound that serves as a protective deterrent against pests. Although most commercially packaged quinoa is pre-rinsed, residual saponins can often remain, potentially imparting an undesirable bitter or soapy taste to your finished flour and, consequently, your baked goods. To guarantee the best possible flavor profile for your homemade flour, follow this rinsing protocol:
Place 2 cups of raw quinoa seeds into a fine-mesh sieve. Position the sieve under cold running water in your sink. Rinse the seeds continuously for at least 1 minute, actively stirring and agitating them with your hand or a spoon. You might observe a slight foamy residue developing, which is a clear indication that the saponins are effectively being washed away. Once rinsed, shake the sieve vigorously to remove as much excess water as possible. For even greater dryness, you can gently press the quinoa against the sieve with the back of a spoon. Ensuring the quinoa is as dry as possible at this stage is vital for the subsequent toasting process.
Step 2: Toast the Quinoa for Enhanced Aroma and Texture
Toasting the rinsed and drained quinoa is a pivotal step that serves two significant purposes, ultimately leading to a superior homemade flour. First, it ensures the quinoa seeds are completely dry, which is essential for achieving a very fine, consistent grind without clumping. Second, and perhaps even more importantly for culinary quality, toasting significantly enhances the flavor profile of the quinoa. This process deepens the natural nutty notes, mellows any subtle bitterness that might have lingered after rinsing, and develops a wonderfully fragrant, toasted aroma that will elevate your baked goods.
After rinsing and thoroughly draining, spread the quinoa in a single, even layer on a large, ungreased rimmed baking sheet. Preheat your oven to 325°F (160°C). Bake the quinoa for approximately 12 to 15 minutes. It’s important to monitor the quinoa closely during this time, as oven temperatures can vary. The goal is for the seeds to become visibly dry, acquire a light golden hue, and emit a distinct, appealing toasted fragrance. Once these characteristics are achieved, promptly remove the baking sheet from the oven. Allow the toasted quinoa to cool down completely to room temperature before proceeding to the grinding stage. This cooling step is critical; grinding warm or even slightly warm quinoa can cause moisture to condense, leading to a clumpy flour consistency.
Step 3: Grind the Toasted Quinoa into Perfectly Fine Flour
With your toasted quinoa cooled and ready, the final step is to transform it into fine flour. The method you choose will depend on the type of kitchen appliance you have available:
Using a High-Speed Blender:
For those with powerful high-speed blenders, such as a Vitamix or BlendTec, grinding quinoa is a remarkably efficient process, ideal for larger quantities. Carefully transfer all of the toasted, completely cooled quinoa into the blender container. Secure the lid firmly. Begin processing on a high-speed setting until the quinoa is ground into a very fine, powdery flour. This typically takes anywhere from 30 seconds to a minute, depending on the power of your specific blender model. If you notice any larger pieces or if the flour seems to be sticking to the sides, stop the blender, scrape down the sides with a spatula, and resume blending until you achieve a uniform, flour-like consistency. The aim is a powder as fine as commercially produced flours.
Using a Coffee Mill or Spice Grinder:
If you’re working with smaller amounts of quinoa or prefer not to use a large blender, a clean coffee or spice grinder is an excellent alternative. However, it’s essential to avoid overloading these smaller machines to ensure an effective grind. For best results, place no more than 1/4 cup of the toasted quinoa seeds into the grinder at a time. Overfilling can prevent the seeds from being ground evenly and finely, and may also put unnecessary strain on your appliance.
To grind, use short, intermittent “on/off” pulses. After every few pulses, gently shake the grinder. This action helps to redistribute the quinoa seeds, ensuring that they are all exposed to the grinding blades and allowing for a more uniform and consistent flour texture. Continue this pulsing and shaking motion until the seeds are transformed into a finely and evenly ground powder. Repeat this process with the remaining batches of toasted quinoa until you have processed all of your desired quantity of homemade flour.
As a useful conversion guideline for your baking and planning, approximately 1/4 cup of whole quinoa seeds will typically yield about 1/3 cup of fine quinoa flour. Keep this ratio in mind when preparing your homemade batches.
Frequently Asked Questions About Quinoa Flour
Do I need to rinse my quinoa before grinding?
Yes, absolutely. Rinsing your quinoa is a critical step that should never be skipped, even if your package states it’s “pre-rinsed.” Quinoa naturally contains saponins, a bitter, soap-like coating. While commercial processing removes most of this, traces can often remain. A thorough rinse under cold running water for at least one minute, ideally in a fine-mesh sieve, ensures that any residual saponins are washed away. This process is essential for preventing an unpleasant, bitter aftertaste in your homemade flour, which in turn guarantees a much more palatable and enjoyable outcome for your baking and cooking.
Why Should I Toast the Quinoa Before Grinding It?
Toasting the quinoa prior to grinding offers dual benefits that significantly enhance the quality of your homemade flour. Firstly, the toasting process ensures that the quinoa seeds are completely dry. This dryness is paramount for achieving a very fine, consistent, and clump-free flour when grinding. Any lingering moisture can result in a coarser, less uniform texture. Secondly, and perhaps more importantly from a flavor perspective, toasting helps to eliminate any remaining bitterness from saponins that may have survived the rinsing process. More delightfully, it actively develops a rich, deep, nutty flavor and a wonderful aroma in the quinoa, which translates into a superior taste in your baked goods and other culinary applications. This step is a game-changer for homemade quinoa flour.
How Should I Store Homemade Quinoa Flour?
Proper storage is vital for preserving the freshness and extending the shelf life of your homemade quinoa flour. Unlike conventional wheat flour, quinoa flour contains natural oils that can cause it to go rancid more quickly if not stored correctly. To maintain its optimal quality, freshness, and flavor, transfer the freshly ground quinoa flour to a completely airtight container immediately after grinding. Store this container in the refrigerator for a period of up to 6 months. For maximum longevity and to ensure its quality for even longer periods, you can freeze the flour for up to 1 year. When ready to use frozen flour, always remember to allow it to come to room temperature before incorporating it into your recipes.
Delicious Recipes Using Quinoa Flour
Now that you’ve successfully milled your own fresh quinoa flour, it’s time to put it to good use! Here are some fantastic recipes that showcase the versatility and deliciousness of quinoa flour, perfect for inspiring your gluten-free and high-protein baking adventures:
- Quinoa Flour Biscotti
- Double Quinoa Power Cookies
- Quinoa Soda Bread
- Quinoa Banana Bread
- Quinoa Flour Cheddar Scallion Drop Scones
DIY Quinoa Flour Recipe
By: Camilla
Making your own quinoa flour at home is a simple and rewarding process. This recipe guides you through rinsing, toasting, and grinding quinoa seeds into a fine, versatile flour perfect for gluten-free and high-protein baking. It’s a great way to save money and ensure freshness for your healthy kitchen.
Preparation Details
- Prep Time: 5 minutes
- Cook Time (Toasting): 12-15 minutes
- Total Time: Approximately 20 minutes (including cooling)
- Yields: Approximately 2 and 1/3 cups (376 g) flour from 2 cups whole quinoa
Ingredients
- 2 cups (376 grams) uncooked quinoa grain
Instructions
- Rinse Quinoa: Place 2 cups of quinoa in a fine-mesh sieve. Rinse thoroughly under cold running water for at least 1 minute, stirring with your hand, to remove any remaining saponins. Shake off as much water as possible.
- Toast Quinoa: Spread the rinsed and drained quinoa in a single layer on a large, ungreased rimmed baking sheet. Bake in a preheated oven at 325°F (160°C) for 12 to 15 minutes, or until the quinoa is completely dry, slightly golden, and fragrant. Remove from oven and let cool completely to room temperature.
- Grind Quinoa (High-Speed Blender): If using a high-speed blender, place all the toasted, cooled quinoa in the container. Process on high speed until very finely ground into a flour consistency.
- Grind Quinoa (Coffee/Spice Grinder): If using a coffee or spice grinder, work in small batches. Place no more than 1/4 cup of toasted quinoa seeds into the grinder at a time. Use on/off pulses, shaking the grinder every few pulses, to ensure an even and fine grind. Repeat until all quinoa is processed into flour.
- Store: Transfer the freshly ground quinoa flour to an airtight container. See notes for storage recommendations.
Notes
- Flavor Tip: Toasting the quinoa is essential! It removes any lingering bitterness and develops a rich, nutty flavor that greatly enhances your baked goods. Do not skip this step.
- Storage: Store homemade quinoa flour in an airtight container in the refrigerator for up to 6 months. For longer storage, freeze it for up to 1 year. Always bring to room temperature before use.
- Rinsing Importance: Always rinse your quinoa before grinding, even if it’s labeled “pre-rinsed.” This ensures the removal of any residual bitter saponins for a superior-tasting flour.
Nutrition Information (Approximate per 1/3 cup serving)
- Calories: 140 kcal
- Carbohydrates: 24 g
- Protein: 6 g
- Fat: 2 g
- Polyunsaturated Fat: 2 g
- Sodium: 8 mg
- Fiber: 4 g
- Sugar: 2 g
Embracing homemade quinoa flour opens up a world of healthy and delicious possibilities in your kitchen. With its impressive nutritional profile, versatile applications, and the satisfaction of a DIY project, it’s an ingredient truly worth making from scratch. Enjoy the process, the incredible flavor, and the fantastic results in all your cooking and baking endeavors!