
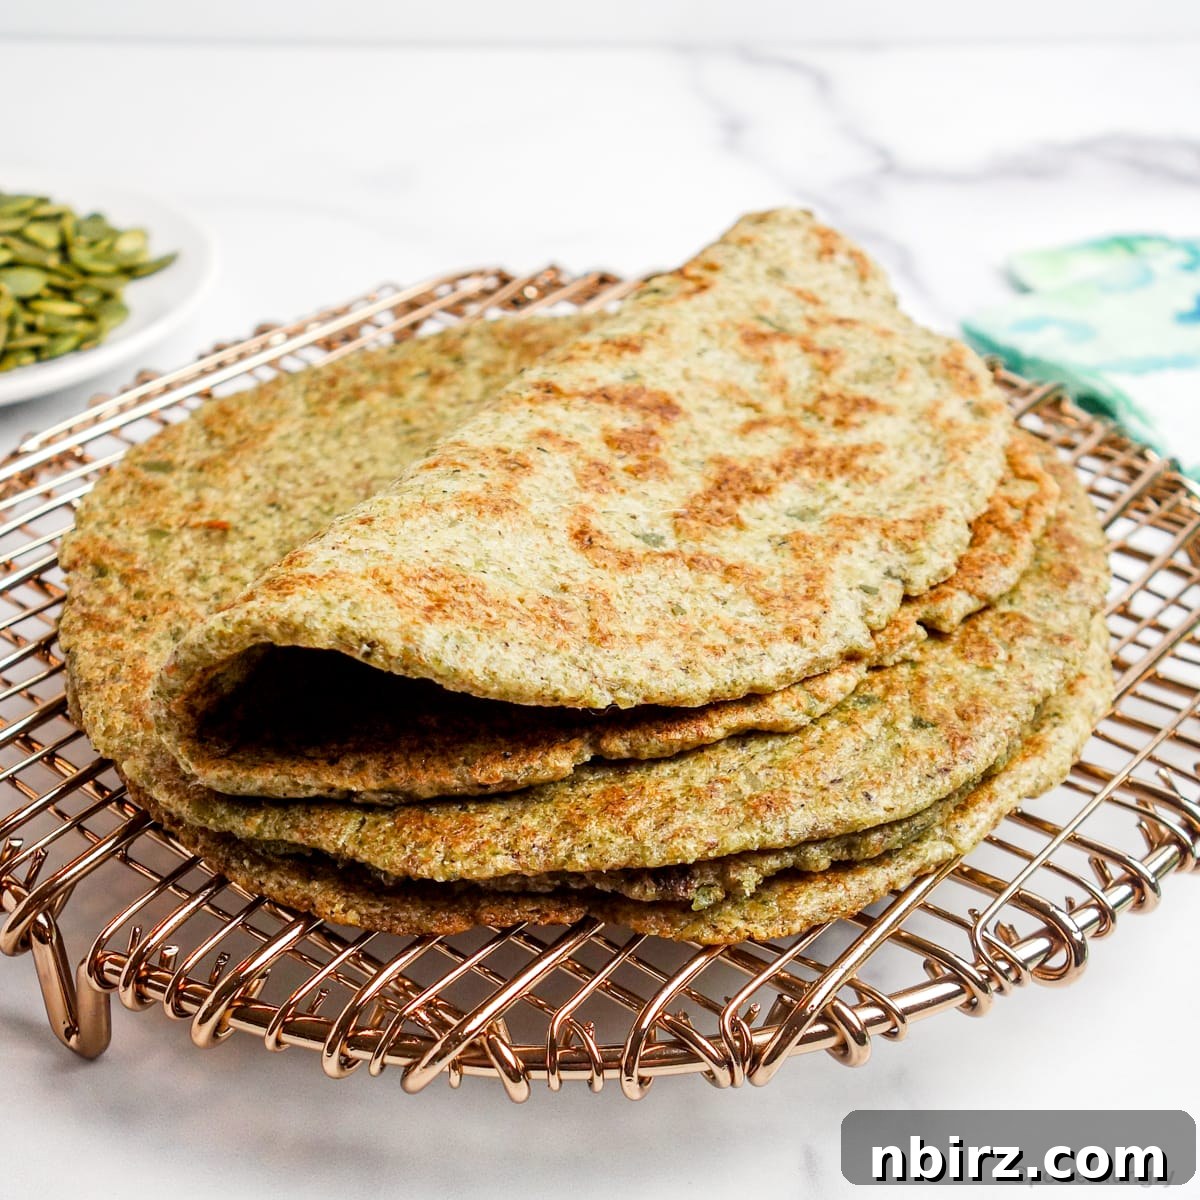
High Protein 2-Ingredient Pumpkin Seed Tortillas: Your New Grain-Free, Keto Essential
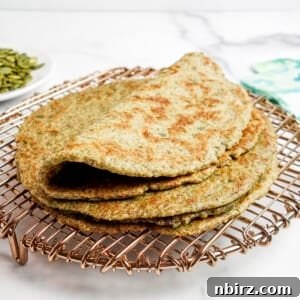
Are you searching for a versatile, healthy, and incredibly easy-to-make alternative to traditional flour or corn tortillas? Look no further! We’re thrilled to share our revolutionary recipe for 2-Ingredient Pumpkin Seed Tortillas. These tender, flexible, and utterly delicious tortillas are not only packed with protein but are also naturally vegan, grain-free, gluten-free, oil-free, nut-free, and perfectly suitable for a keto lifestyle.
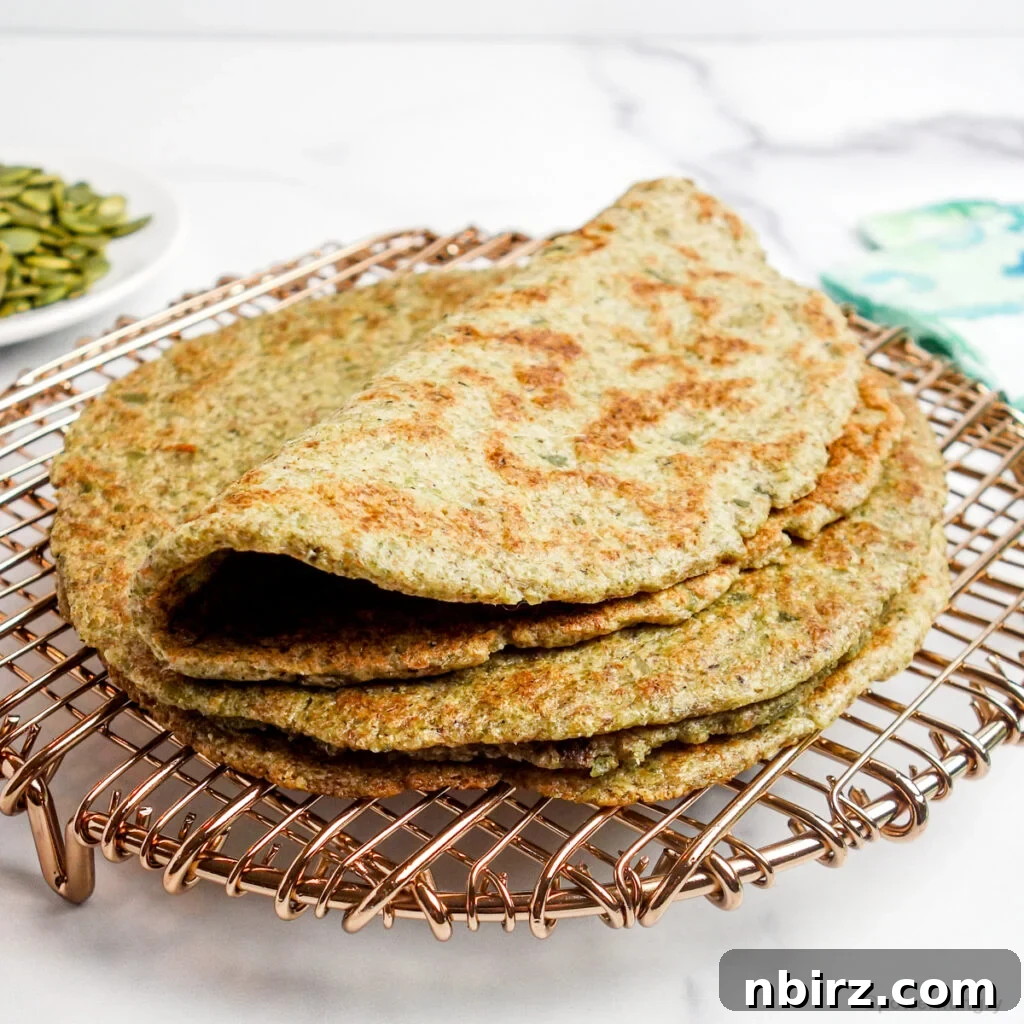
Imagine soft, pliable tortillas that you can whip up in minutes, so delectable you’ll want to savor them straight from the skillet. This recipe is a delightful variation of our popular 2-Ingredient Almond Flour Tortillas, but with a clever twist: we’ve swapped almond flour for nutrient-dense green pumpkin seeds, also known as pepitas. The slight modification, primarily involving grinding the pepitas into a fine flour, is minimal yet yields astonishingly delicious results. Prepare to be amazed by the simplicity and incredible flavor!
Discovering the Magic of Pepita Tortillas
Whether you’re managing dietary restrictions, seeking healthier meal options, or simply love experimenting with innovative recipes, these pumpkin seed tortillas are a game-changer. They offer a fantastic solution for those avoiding grains, nuts, or gluten, providing a robust and satisfying base for all your favorite fillings. Their neutral yet subtly nutty flavor profile makes them incredibly versatile, suitable for both savory and even sweet applications.
What Exactly Are Pepitas?
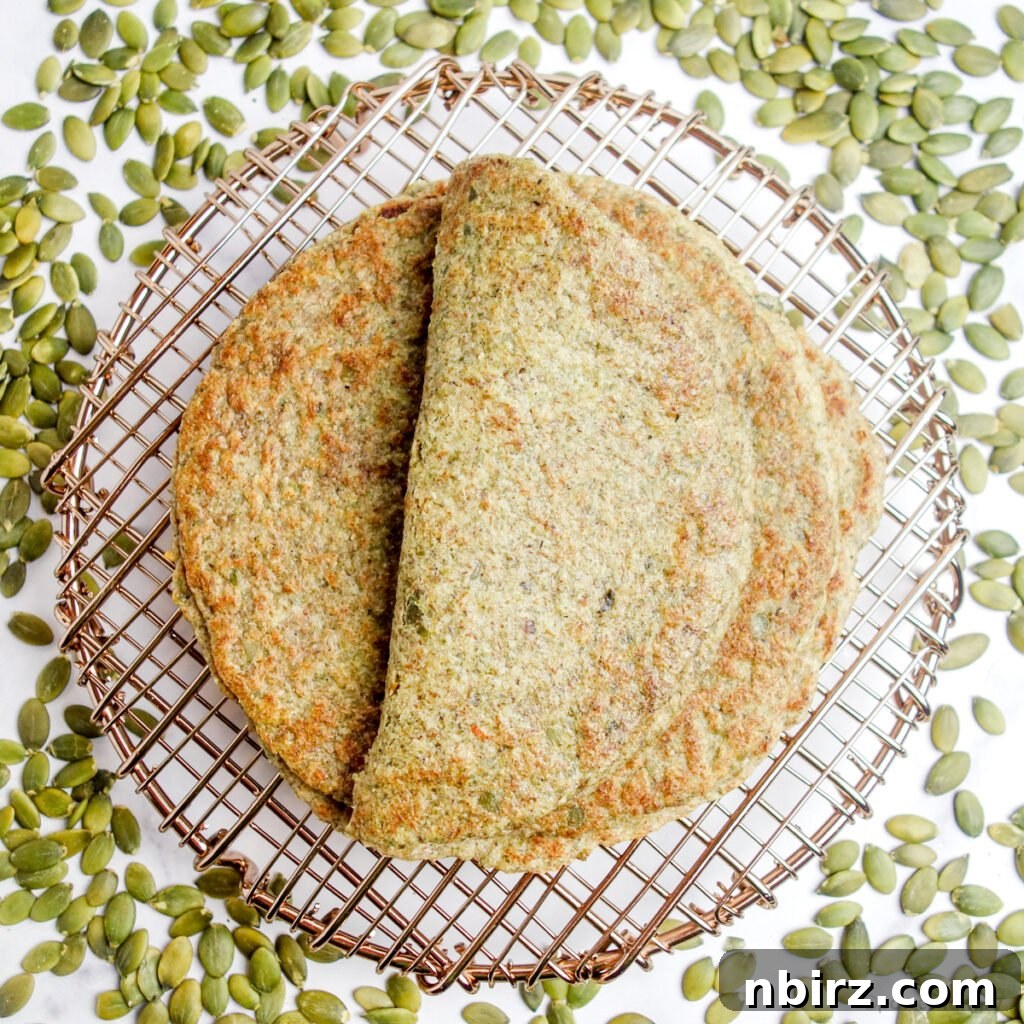
Pepitas are much more than just ordinary pumpkin seeds. These vibrant green powerhouses are typically harvested from specific varieties of hull-less pumpkins or gourds, meaning they don’t have the tough outer shell found on many other pumpkin seeds. This makes them wonderfully convenient to use and enjoy.
Nutritionally, pepitas are a true superfood. They are an exceptional source of healthy fats, particularly omega-6 fatty acids, and boast an impressive protein content. Furthermore, they are rich in dietary fiber, contributing to digestive health and prolonged satiety. Beyond these macronutrients, pepitas deliver essential minerals such as magnesium, zinc, iron, and phosphorus, playing crucial roles in various bodily functions, from bone health to immune support. Their slightly sweet, nutty flavor makes them incredibly appealing, whether enjoyed raw, toasted, or incorporated into recipes.
The versatility of pepitas extends far beyond tortillas. They can be used as a delicious substitute for nuts in baked goods like breads and cookies, or blended into creamy spreads like 1-Ingredient Pepita Butter, a fantastic nut-free alternative to peanut butter. They also shine in savory dishes, from Legume-Free Baked Falafel to innovative plant-based options like our Plant-Based Pepita Scramble, which ingeniously mimics eggs using pepitas! Given their incredible adaptability and nutritional benefits, it’s no surprise they make such exceptional, tender, and flexible tortillas.
Why You’ll Love This Recipe: Unpacking the Health Benefits
These wholesome pepita tortillas aren’t just easy and delicious; they’re also packed with a myriad of health advantages that make them a standout choice for any dietary preference. Each tortilla is a nutritional powerhouse, offering:
- High Protein (9 grams per tortilla!): A significant protein boost that helps keep you full, supports muscle maintenance and growth, and contributes to sustained energy throughout your day. This makes them ideal for active individuals or anyone looking to increase their plant-based protein intake.
- Vegan (No eggs, no dairy): Entirely plant-based, making them perfect for vegans, vegetarians, and those with dairy or egg allergies.
- Oil-Free: Prepared without any added oils, making them a heart-healthy choice and lighter on calories, while still achieving a perfect texture.
- Nut-Free: An excellent option for individuals with nut allergies, offering a safe and delicious alternative to many grain-free recipes that often rely on almond or cashew flours.
- Keto-Friendly: With a low net carbohydrate count, these tortillas fit perfectly into a ketogenic diet, allowing you to enjoy your favorite wraps and tacos without breaking ketosis.
- High Fiber (6.2 g per tortilla): Abundant in dietary fiber, which promotes digestive health, aids in blood sugar regulation, and contributes to feelings of fullness.
- Grain-Free: Suitable for those avoiding grains, whether due to sensitivities, dietary choices, or health goals.
- Gluten-Free: Naturally free from gluten, making them a safe and delicious option for individuals with celiac disease or gluten sensitivity.
- Sugar-Free: Contains no added sugars, keeping them wholesome and ideal for health-conscious eating.
The Dynamic Duo: Just Two Main Ingredients!
The beauty of this recipe lies in its incredible simplicity. Beyond water and an optional pinch of salt, you truly only need two core ingredients to create these remarkable tortillas:
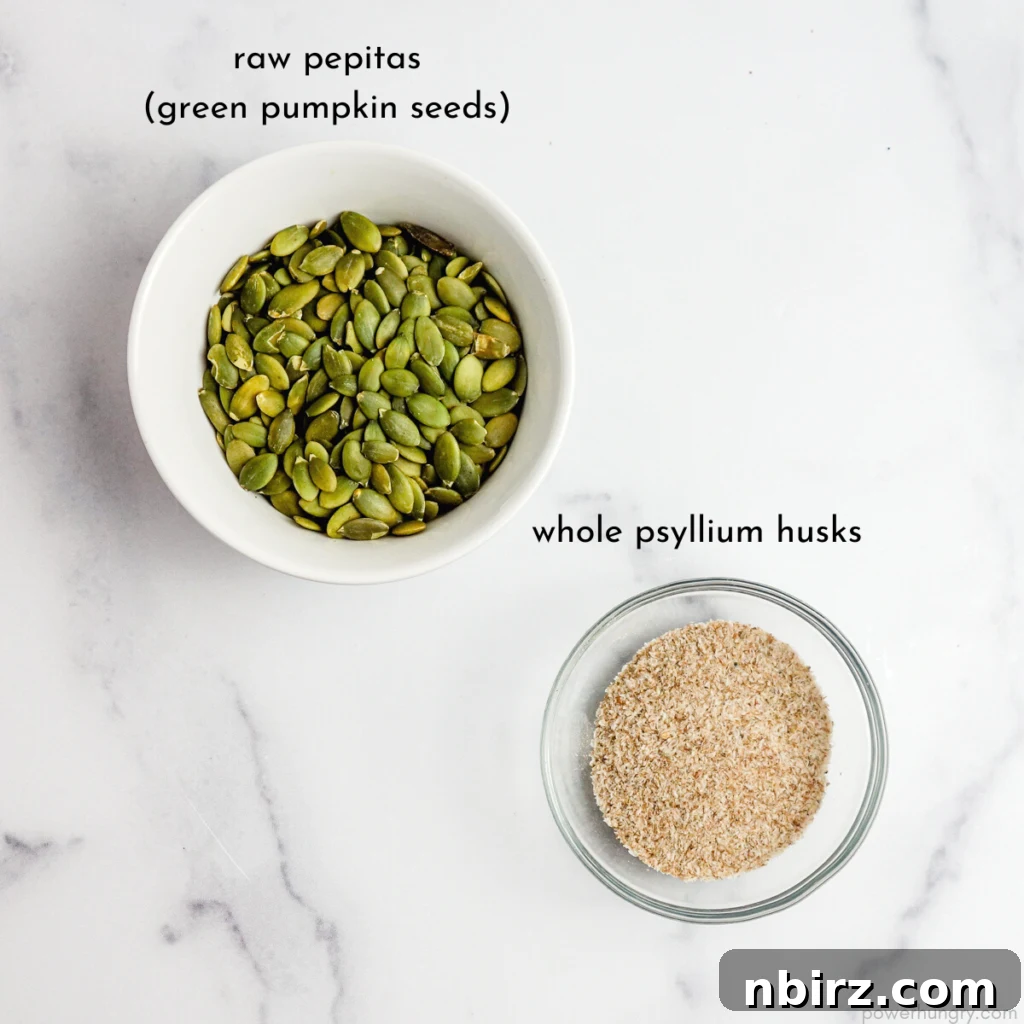
- Pepitas (Raw Green Pumpkin Seeds): The star of our recipe, providing the base flour, a rich, nutty flavor, and all the incredible nutritional benefits. For the best results, use raw, unsalted pepitas. Buying them in bulk can also make this a very frugal option.
- Whole Psyllium Husks: This is the secret ingredient that binds everything together. Psyllium husks are a soluble fiber derived from the seeds of the Plantago ovata plant. When mixed with liquid, they form a gel-like substance that acts as an excellent binder and thickener, giving these tortillas their tender, flexible, and sturdy texture. They also significantly boost the fiber content!
The exact amounts of each ingredient are indicated in the recipe card at the end of the post. For optimal accuracy, especially with alternative flours, we highly recommend using a kitchen scale and metric measurements.
Step-by-Step Guide to Perfect Pumpkin Seed Tortillas
For complete and precise directions, please refer to the detailed recipe card provided below.
Step 1: Crafting Pepita Flour
The first crucial step is transforming your whole green pumpkin seeds into a fine, consistent flour. This is best achieved using a high-speed blender or a clean coffee grinder. Process the pepitas, using a pulse function to prevent overheating, until they resemble a fine, powdery flour. Avoid over-processing, which can turn the seeds into butter due to their high oil content. A fine flour-like consistency is key for smooth, pliable tortillas.
Step 2: Mixing Your Dough to Perfection
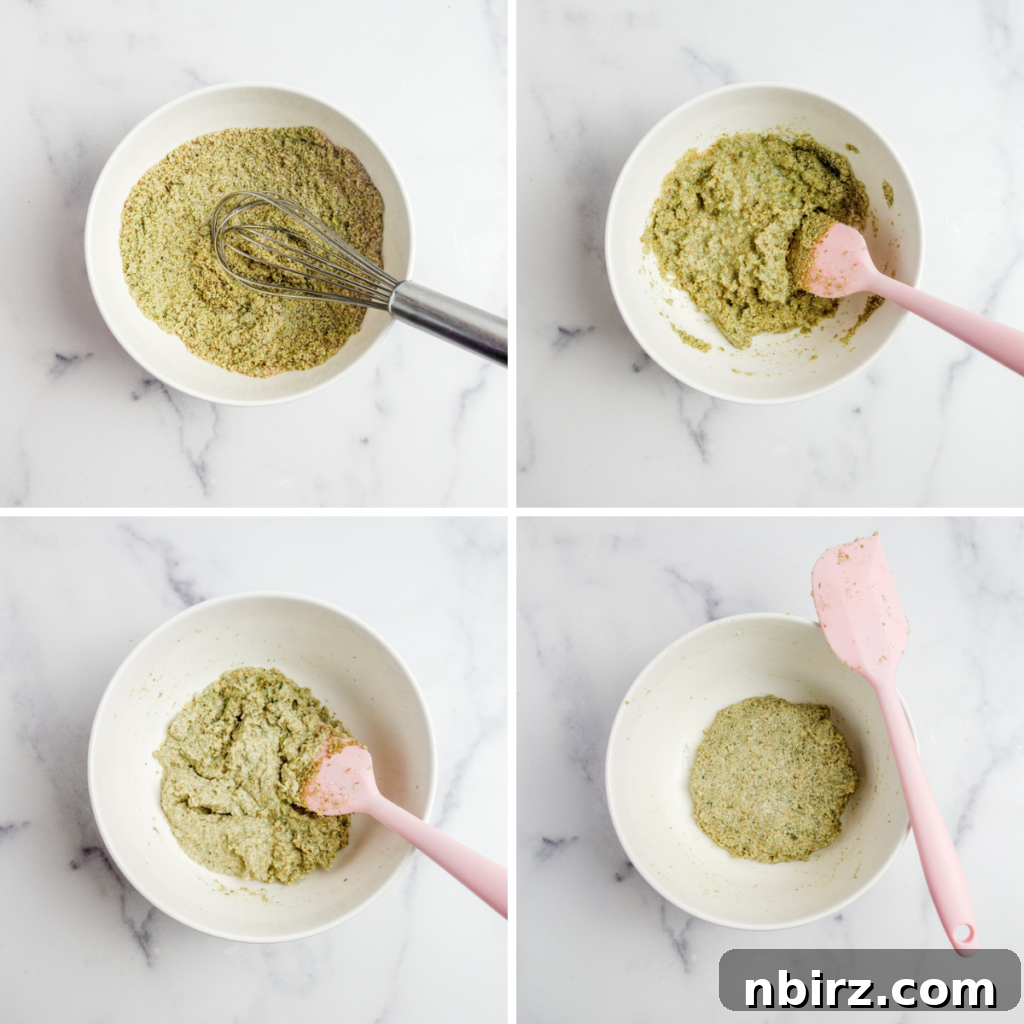
In a small mixing bowl, combine the freshly ground pepita flour, whole psyllium husks, and the optional pinch of salt. Whisk these dry ingredients together thoroughly to ensure even distribution. Next, gradually add the water, stirring continuously until all ingredients are completely blended. Initially, the mixture will appear wet and loose, almost like a thick batter. However, within seconds, the psyllium husks will begin their magic, rapidly absorbing the water and causing the dough to thicken considerably. We highly recommend letting the dough rest for a full five minutes. This resting period allows the psyllium to fully hydrate, resulting in a firm, cohesive, and easily manageable dough.
Step 3: Dividing and Preparing Your Dough Balls
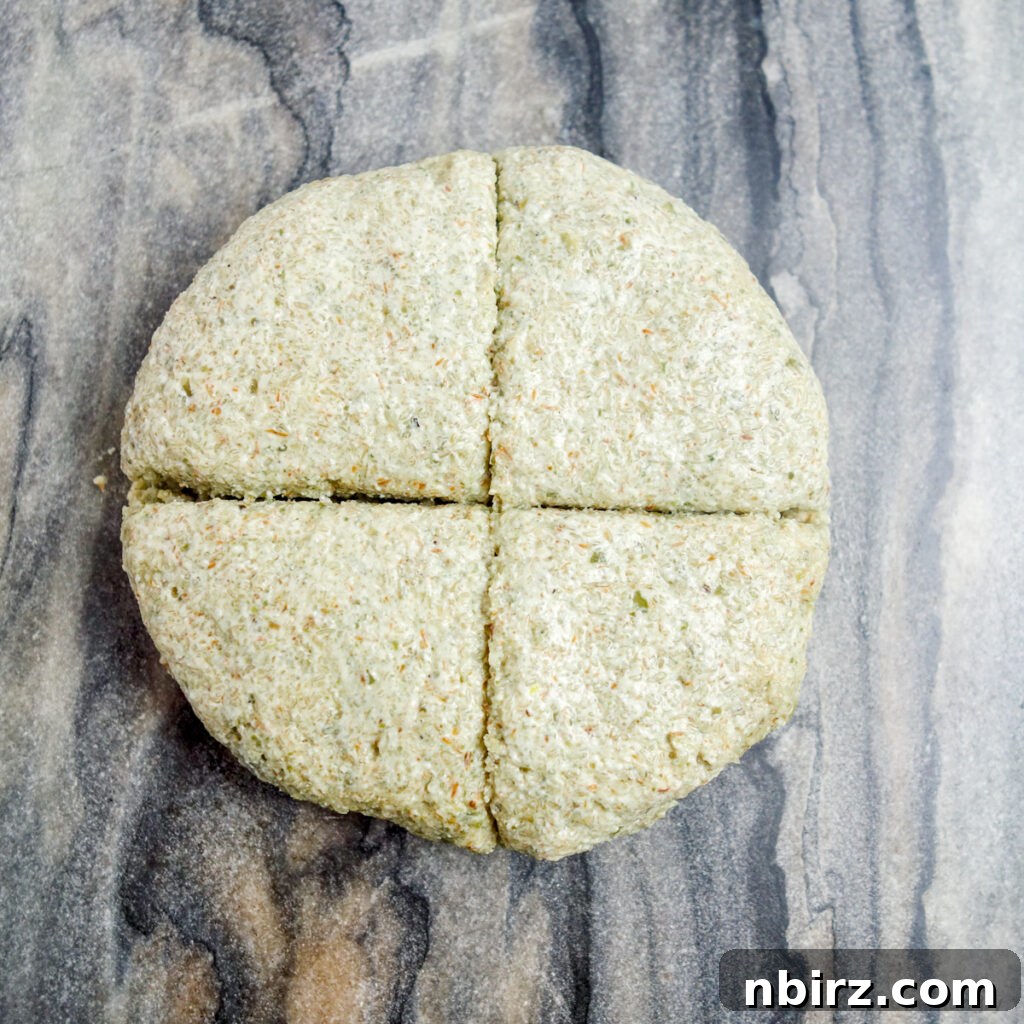
Once your dough has rested and firmed up, use damp hands to shape it into a uniform disk or ball. This prevents sticking and ensures easier handling. Transfer the dough ball onto a clean cutting board. For consistent tortilla sizes, carefully cut the dough into four equal pieces. If precision is your goal, using a kitchen scale to weigh each quarter will ensure perfectly uniform tortillas. Alternatively, if you’re comfortable with estimation, simply eyeball the dough into four roughly equal portions. Each piece will then be rolled into a smooth ball, ready for shaping.
Step 4: Shaping Your Tortillas Like a Pro
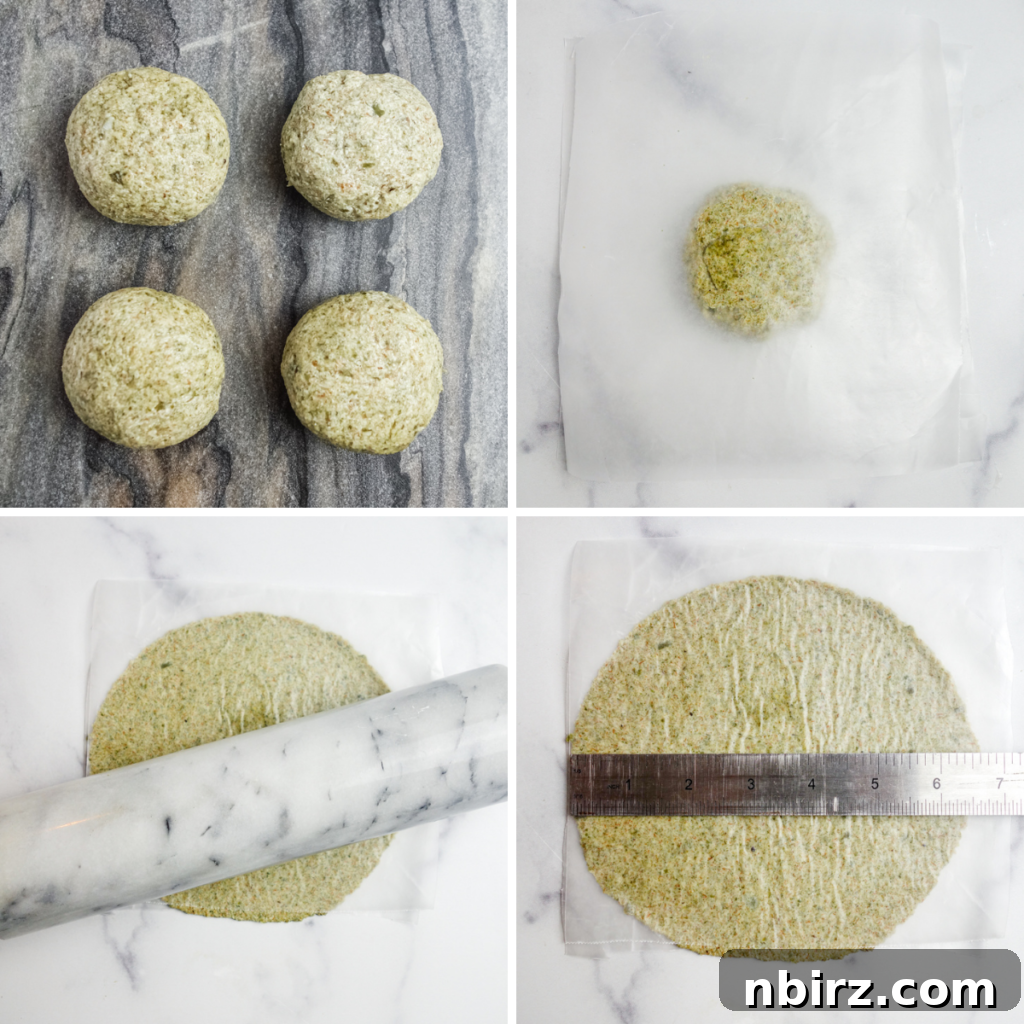
Take one of your prepared dough balls and place it between two sheets of plastic wrap. Plastic wrap is highly recommended as the dough adheres minimally, making removal incredibly simple. While parchment paper or wax paper can also be used, plastic wrap generally offers the smoothest release. Using a rolling pin, gently roll the dough into a circular shape, aiming for approximately 6 inches (15 cm) in diameter. Don’t worry about achieving a perfect circle initially; you can easily pinch off small pieces from thicker areas and press them into thinner spots to even out the edges.
It’s important not to roll the tortillas much larger than 6 inches, as extremely thin dough can become fragile and challenging to remove from the plastic wrap or paper, increasing the risk of tearing during handling or cooking. For those who desire larger tortillas, please see our notes in the FAQ section for specific tips and adjustments.
Alternative Shaping Methods: No Rolling Pin? No Problem!
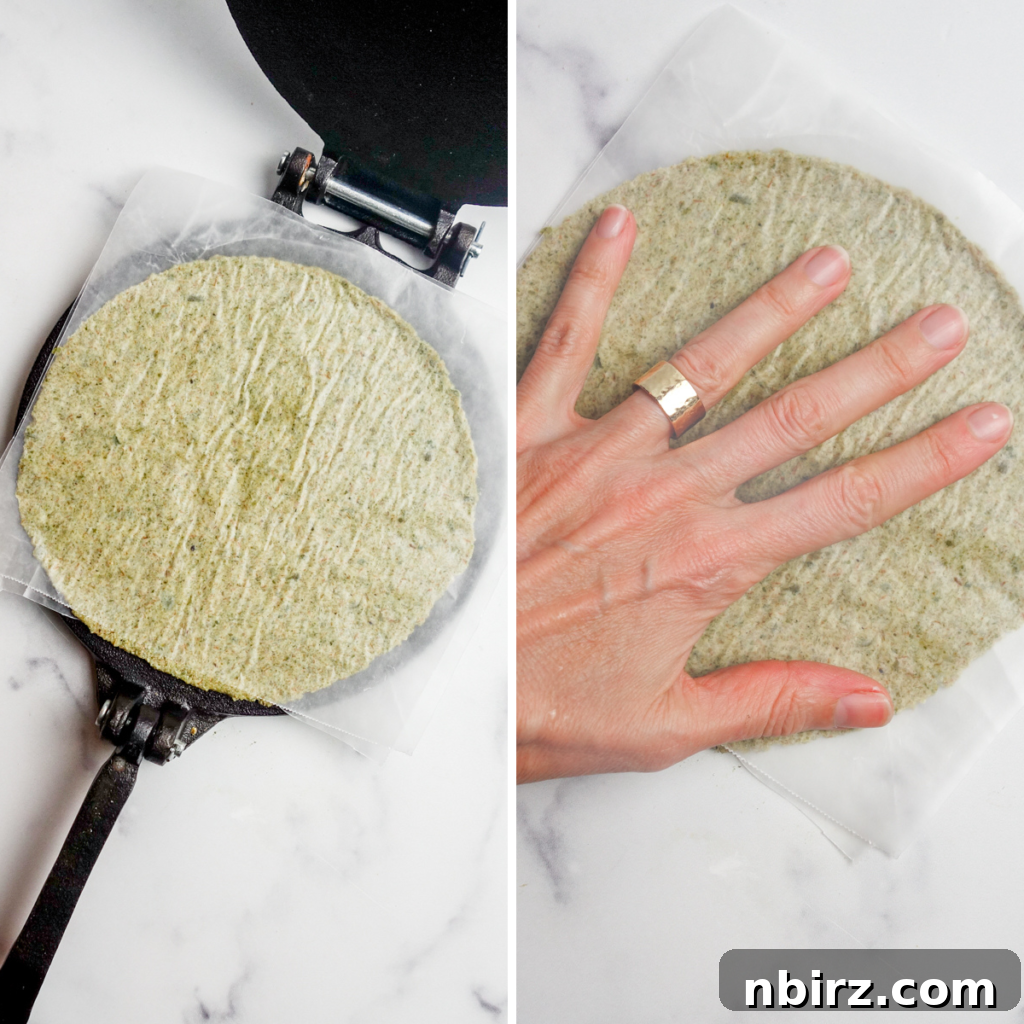
Don’t have a rolling pin? No need to fret! A large, heavy can (still full) or even a wine bottle can serve as an excellent substitute for flattening your dough. If you happen to own a tortilla press, this is the perfect opportunity to use it! Tortilla presses are incredibly efficient for creating uniform, thin tortillas with minimal effort. Remember to always place the dough between two sheets of plastic wrap (or wax/parchment paper) to prevent sticking, regardless of the method you choose.
For a truly hands-on approach, you can even use your fingers and the palm of your hand to press the dough into a rough circle. Simply ensure the dough is still sandwiched between two sheets of plastic wrap. As long as your tortilla is relatively thin and consistently shaped, you’re on your way to enjoying fantastic homemade tortillas!
Pro Tips for Easy Tortilla Removal After Rolling or Pressing
Through experience, we’ve found that plastic wrap is superior to parchment or wax paper for easily removing the tortillas. The dough releases cleanly from plastic, and the sheets can be reused multiple times. If you are using paper and find the dough is sticking, carefully peel off the top layer. Should a few small pieces of dough cling to the paper, simply press them back into the tortilla. If the dough becomes excessively sticky due to warmth, place the tortilla (still in its paper wrap) in the freezer for a brief 3 to 4 minutes—no longer! This quick chill will firm up the dough just enough for effortless removal.
Step 5: Cooking Your Golden Tortillas
For best results, we recommend using a well-seasoned cast iron skillet or a high-quality nonstick pan. If your skillet isn’t naturally nonstick, a light spritz of nonstick cooking spray or a thin swipe of oil will be necessary to prevent sticking. Place the skillet over medium-high heat and allow it to heat up thoroughly until it’s nice and hot. Carefully place your shaped tortilla, dough side down, into the hot skillet. Gently peel off the remaining piece of plastic wrap or paper.
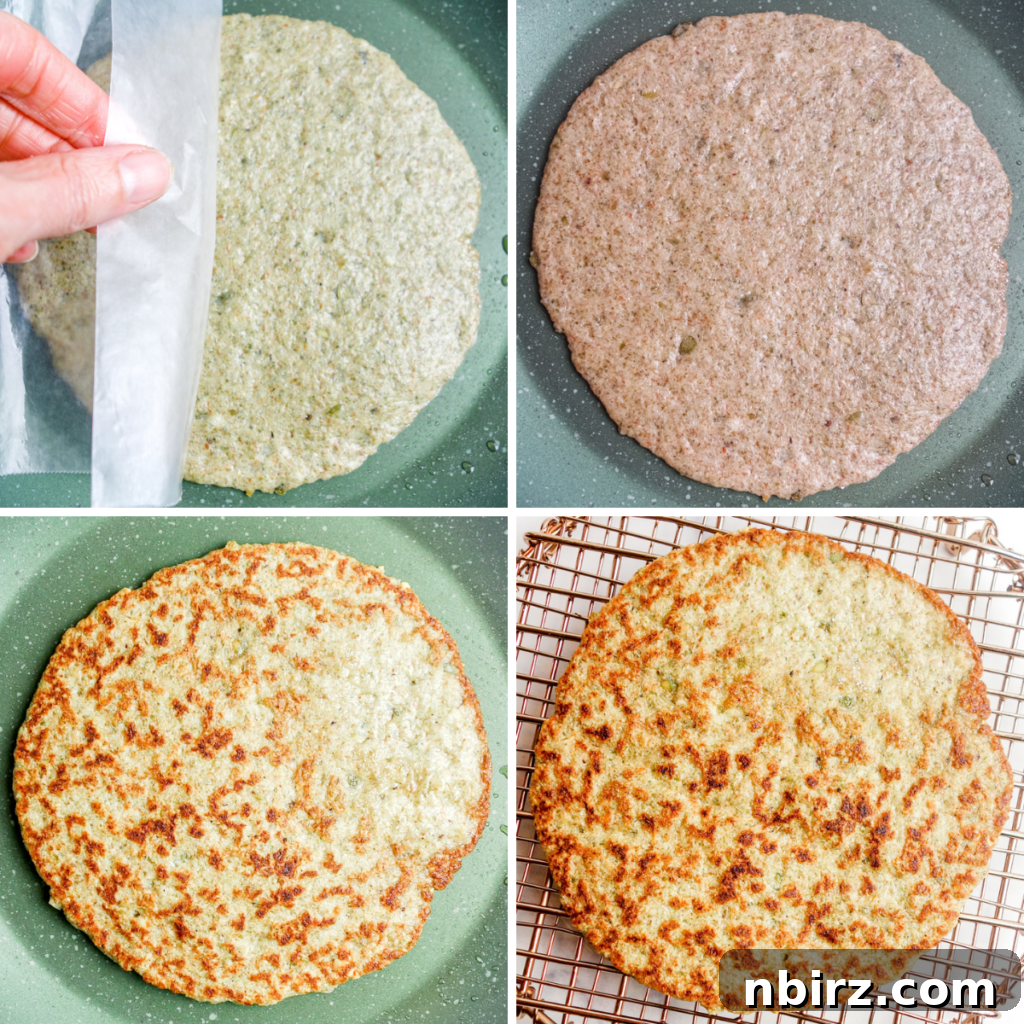
Cook the pumpkin seed tortilla for 1 to 2 minutes on the first side. You’ll observe small bubbles forming and the tortilla puffing up slightly in a few areas. Use a spatula to carefully lift the edge and check for browning; once you see several nicely browned spots, it’s time to flip it over. Cook the second side for another 1 to 2 minutes until it also develops golden-brown spots. Transfer the cooked tortilla to a cooling rack to cool slightly and repeat the process with the remaining dough portions. These tortillas are tender, flexible, and ready to be enjoyed!
The Irresistible Taste and Texture
The flavor profile of these pumpkin seed tortillas (or pepita tortillas) is delightfully neutral with a subtle, earthy nuttiness from the pepitas. This makes them an ideal canvas for a wide array of fillings and flavors, allowing the other ingredients in your meal to truly shine. They are, in a word, utterly delectable.
Beyond taste, their texture is a marvel. They strike a perfect balance, being equal parts sturdy, flexible, and soft. When warm or at room temperature, they are wonderfully pliable, making them easy to roll, fold, or tear without crumbling, a common challenge with many grain-free alternatives. This robust yet tender consistency ensures a satisfying bite every time.
Endless Culinary Possibilities: How to Serve Your Pepita Tortillas
The versatility of these high-protein pepita tortillas is truly impressive! They can be used in virtually any way you would use a traditional flour or corn tortilla, opening up a world of culinary possibilities. Here are just a few ideas to inspire you:
- Classic Mexican Dishes: Perfect for creating delicious tacos, burritos, and quesadillas. Their sturdiness holds up beautifully to generous fillings.
- Dips & Spreads: Their robust texture makes them excellent for scooping up hearty beans, fresh salsa, creamy guacamole, and a medley of roasted or raw vegetables.
- Sandwiches & Wraps: Forget traditional bread! Use these tortillas as a healthy, grain-free base for your favorite sandwiches and wraps, packed with fresh ingredients.
- Creative Desserts: Don’t limit them to savory! These tortillas can be a delightful substitute for crepes in sweet applications. Fill them with fruit, a drizzle of maple syrup, or a dollop of coconut cream for a unique dessert experience.
- Snacks: Cut them into wedges and bake or air fry them until crispy for homemade chips, perfect with dips.
Unlike many flour and corn tortillas that are best enjoyed warm, these pumpkin seed tortillas are equally delicious when eaten cold or at room temperature, making them fantastic for meal prep or on-the-go snacks. Their exceptional flexibility, especially when warm, allows for easy manipulation:
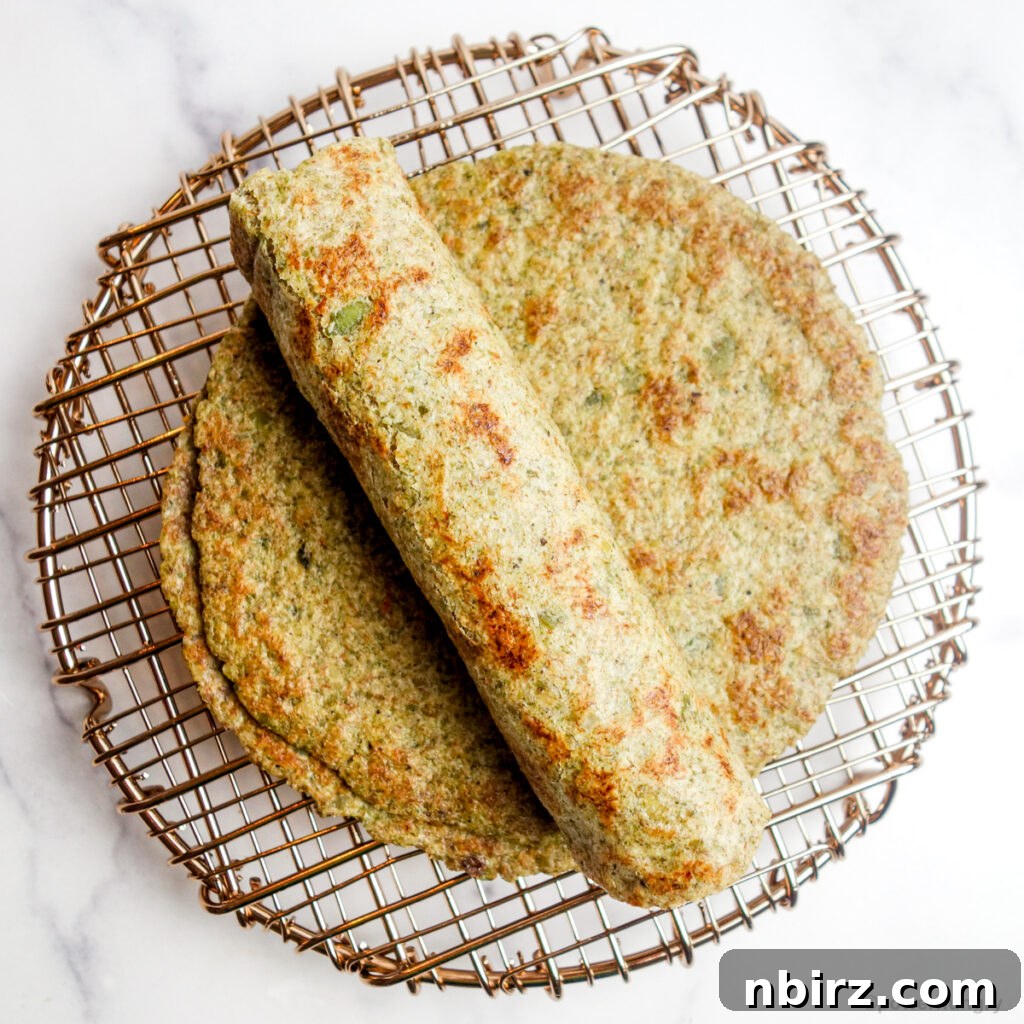
You can effortlessly roll them for burritos or wraps.
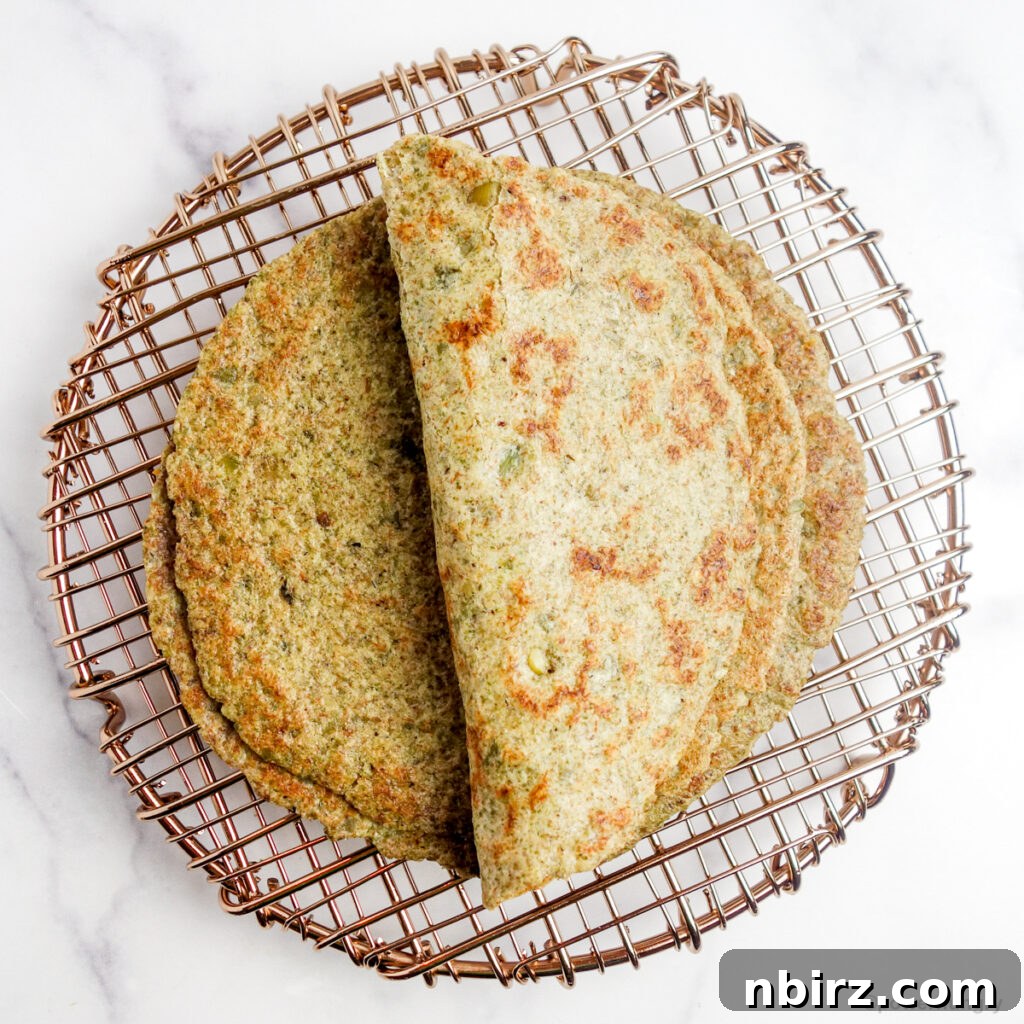
Fold them in half for quick tacos or quesadillas.
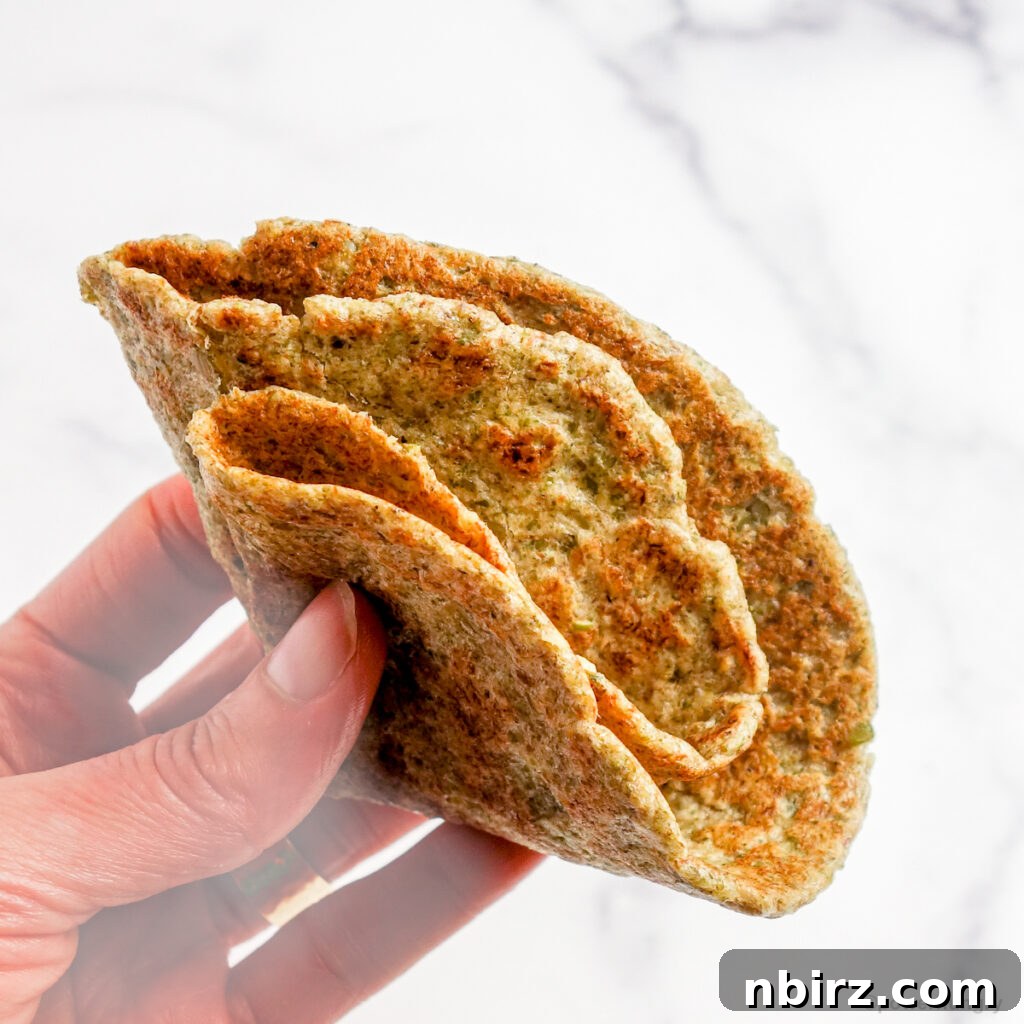
Or quarter them for dipping or as a side with your favorite meals. Happy eating!
Frequently Asked Questions (FAQ)
- How should I store these pumpkin seed tortillas?
Once cooled completely, store your homemade pumpkin seed tortillas in an airtight container. They will keep well at cool room temperature for up to 2 days, in the refrigerator for up to 2 weeks, or in the freezer for an impressive 6 months. For freezing, place parchment paper between each tortilla to prevent sticking, then wrap them tightly or store them in a freezer-safe bag.
- Can I use psyllium powder instead of whole psyllium husks?
While whole psyllium husks are highly recommended for the best texture and consistency, psyllium powder can often be used as a substitute. Psyllium powder is more concentrated than husks. If you’re substituting, use approximately 2 and 1/2 teaspoons plus a pinch (roughly 13 grams total) of psyllium husk powder in place of 2 and 1/2 tablespoons of whole psyllium husks. However, please note that this recipe has primarily been tested with whole psyllium husks, and results with powder may vary slightly in texture and absorbency.
- Why is my dough too dry or too moist?
The most common reason for dough consistency issues is inaccurate measurement, especially when working with alternative flours and binding agents like psyllium. For the most precise and consistent results, we strongly advise using a digital kitchen scale to measure ingredients, particularly the pepitas (110 grams) and psyllium husks. Volume measurements (cups, tablespoons) can be less consistent due to variations in how ingredients are packed. If your dough is too dry, gradually add a very small amount of water (1/2 teaspoon at a time) until it reaches the desired pliable consistency. If it’s too moist or sticky, add a small amount of extra ground pepita flour (1/2 teaspoon at a time) until it’s firm and workable.
- Can I make larger tortillas with this recipe?
Absolutely! The recipe as written yields four 6-inch tortillas. If you prefer larger tortillas, you can divide the dough into two portions to create two 10-inch tortillas, or into three portions for three 8-inch tortillas. When making larger tortillas, ensure you use a correspondingly larger skillet and handle them with extra care, as they will be thinner and more delicate when flipping.
- Can the tortilla dough be prepared ahead of time?
Yes, for your convenience, the dough can be prepared in advance! Once mixed, store the dough in an airtight container in the refrigerator for up to 1 week. When you’re ready to make tortillas, simply take the dough out, allow it to come to room temperature for a few minutes if it’s too stiff, and proceed with shaping and cooking as directed.
- Are there any substitutions for the pumpkin seeds?
This particular recipe has been specifically developed and tested using pumpkin seeds (pepitas). Substituting with other whole seeds or nuts may yield different results due to variations in oil content, absorbency, and binding properties. If you wish to experiment with other nuts or seeds, we recommend using the same weight measurement as the pepitas as a starting point. If you have almond flour on hand and are looking for a similar grain-free option, we highly recommend trying our 2-Ingredient Almond Flour Tortillas recipe, which is very similar in method and equally delicious.
- Why are my tortillas falling apart or tearing?
Several factors can cause tortillas to tear. They might be rolled too thin, especially if they are larger than 6 inches. The dough might also be too dry, lacking sufficient moisture for flexibility. Ensure you’ve followed the ingredient measurements accurately, particularly for water and psyllium husks. Lastly, make sure your skillet isn’t too hot, which can cause them to cook too quickly and become brittle, or too cold, making them stick. If the dough feels too dry, add a tiny bit more water; if it’s too delicate, try rolling them slightly thicker.
Explore More Grain-Free & Vegan Tortilla Recipes to Love:
If you’ve enjoyed these incredible pumpkin seed tortillas, you’ll be thrilled to discover our other innovative grain-free and vegan tortilla recipes, perfect for expanding your healthy kitchen repertoire:
- 1-Ingredient Flax Tortillas
- 2-Ingredient Coconut Flour Tortillas
- 2 Ingredient Almond Flour Tortillas
- 1-Ingredient Red Lentil Tortillas
- 2-Ingredient Chickpea Flour Tortillas
- 3-Ingredient Sweet Potato Tortillas
- 1-Ingredient Black Bean Tortillas
- Grain-Free Spinach Tortillas {2 ingredients}
- 1-Ingredient Split Pea Tortillas
2-Ingredient Pumpkin Seed Tortillas (High Protein) – The Recipe
Print Recipe
2 Ingredient Pumpkin Seed Tortillas (High Protein)
By: Camilla
Quick and easy 2-ingredient pumpkin seed tortillas that are high in protein (9 grams per tortilla!), vegan, oil-free, and keto! Tender & flexible, they are also frugal (especially if you buy the pepitas in bulk).
Prep Time: 15 minutes
Cook Time: 5 minutes
Total Time: 20 minutes
Servings: 4 (6-inch) tortillas
Equipment
- Tortilla press (optional, but recommended)
- Rolling Pin
- Large nonstick ceramic skillet (or cast iron)
- High-speed blender or coffee grinder
Ingredients
- 3.9 ounces pepitas (green pumpkin seeds), (roughly 3/4 cup)
- 2 1/2 tablespoons whole psyllium husks
- Optional: 1/8 teaspoon salt
- 1/2 cup water
Instructions
- Place the pepitas (green pumpkin seeds) in a clean coffee grinder or high-speed blender. Process, using a pulse function, until ground into a fine flour.
- In a small mixing bowl, whisk the pumpkin seed flour, whole psyllium husks, and (optional) salt.
- Add the water to the bowl, stirring until completely combined. Let stand for 5 minutes to allow the psyllium to thicken the dough. The dough will become firm and moist, but not wet.
- Cut or otherwise divide the dough into 4 equal pieces. Shape each piece of dough into a ball.
- Place one dough ball between two large pieces of plastic wrap. Using a rolling pin or tortilla press, roll or press into a 6-inch (15 cm) circle. Carefully peel off the top layer of plastic wrap.
- Heat a medium skillet over medium-high heat until hot. If not using a seasoned cast iron or nonstick pan, lightly spritz with nonstick cooking spray. Place the tortilla, dough side down, into the hot skillet and carefully peel off the second piece of plastic wrap.
- Cook the tortilla for 1 to 2 minutes until it puffs slightly in areas and the bottom is browned in spots. Flip the tortilla and cook the other side for 1 to 2 minutes longer until golden brown in spots.
- Transfer the cooked tortilla to a metal cooling rack and repeat with the remaining dough pieces.
- The tortillas are delicious served warm, at room temperature, or cold.
Notes
Storage: Store the cooled tortillas in an airtight container at cool room temperature for 2 days, in the refrigerator for 2 weeks, or in the freezer for up to 6 months.
Psyllium Powder Option: It is best to use whole psyllium husks for optimal results. If psyllium powder is what you have on hand, use approximately 2 1/2 teaspoons, plus a pinch (13g total) of psyllium husk powder in place of the 2 1/2 tablespoons of whole psyllium husks. Please note: This recipe has not been extensively tested with psyllium powder, so exact results cannot be guaranteed.
Tip for Removing Tortillas after Pressing/Rolling: While older photos may show wax paper, we now strongly recommend using plastic wrap to avoid any sticking. The tortilla will come right off. If using paper and it’s sticking, place the tortilla (still in its paper) in the freezer for 3-4 minutes (do not exceed this time). The tortilla will then peel off with ease!
Nutrition
Serving: 1 tortilla
Calories: 161 kcal
Carbohydrates: 6g
Protein: 9g
Fat: 14g
Saturated Fat: 2g
Polyunsaturated Fat: 10g
Sodium: 5mg
Fiber: 3g