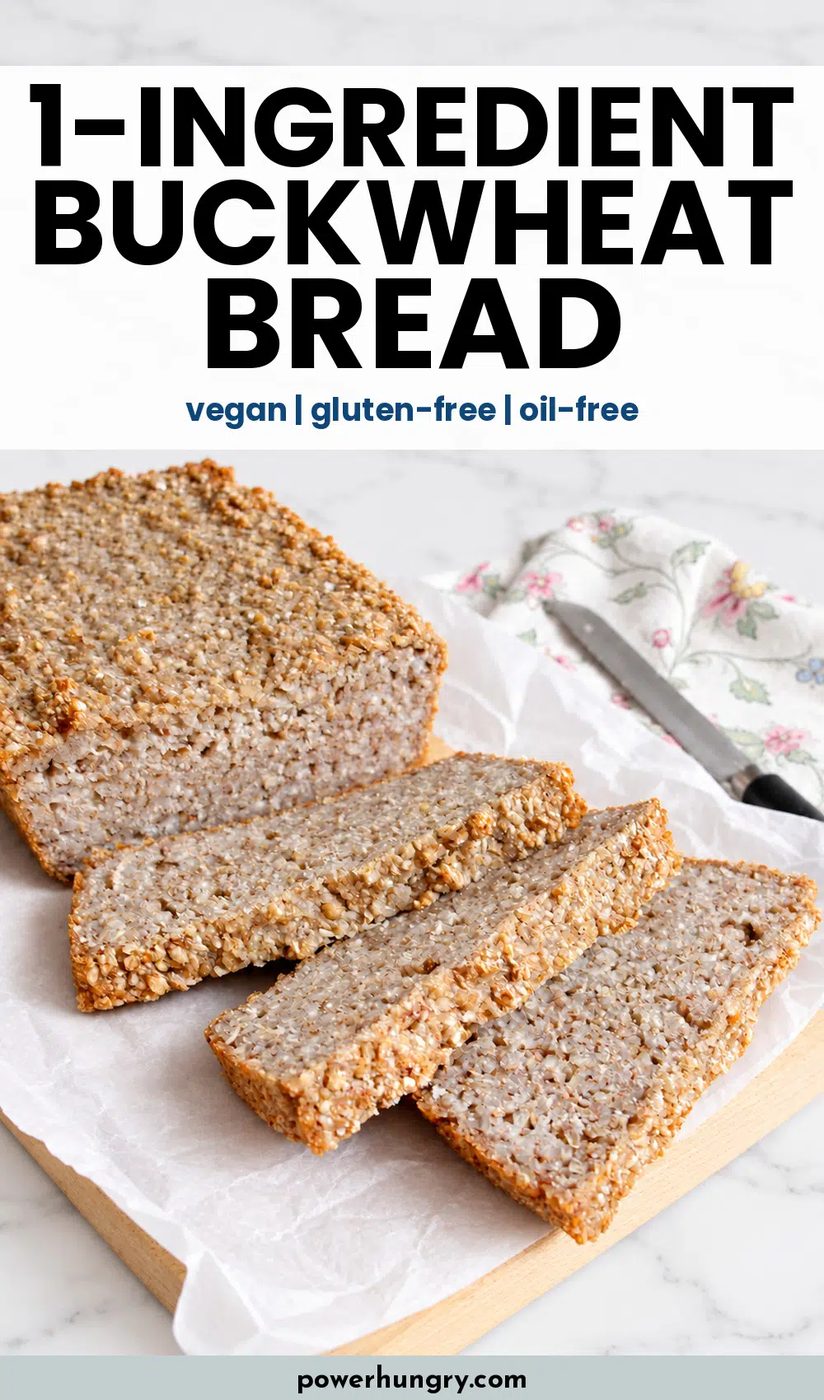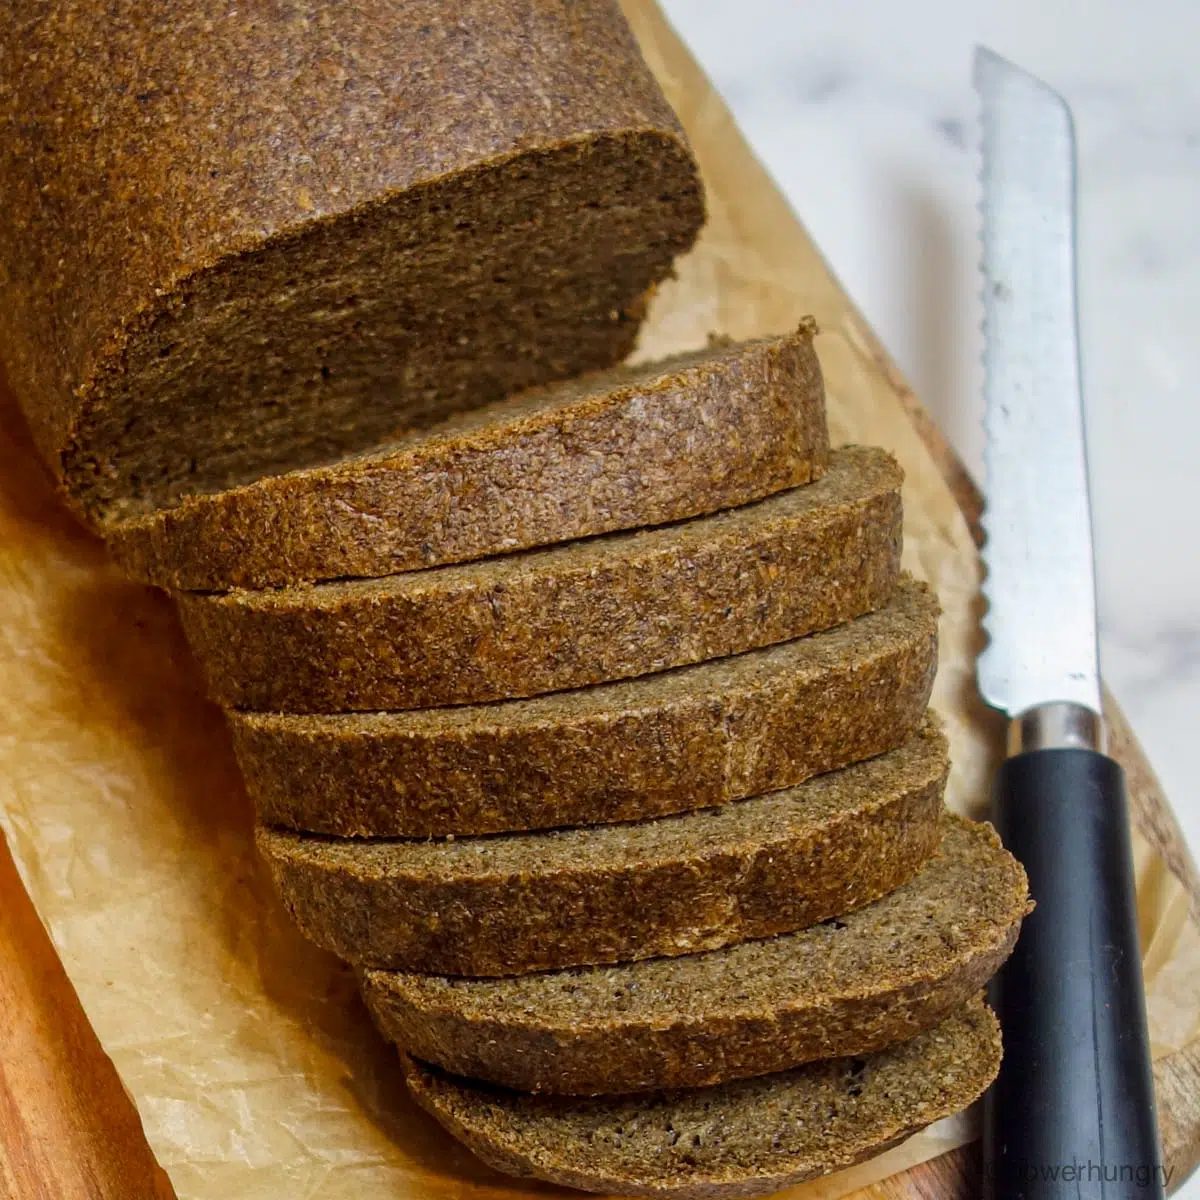
A satisfying loaf of kitchen-made bread can be wonderfully plain. My 1-ingredient buckwheat bread recipe uses whole buckwheat groats, plus water and optional salt, to make a dense, flourless loaf that is especially satisfying toasted. It is vegan, gluten-free, grain-free, and oil-free, with your choice of a refrigerated or fermented batter.
Introduction
A slice of hearty buckwheat bread, toasted and topped with some jam, is one of my go-to reminders that kitchen-made bread does not need a long ingredient list. Whole buckwheat groats, water, and a little optional salt are enough to make a satisfying, and all around remarkable, loaf.
I first tasted a bread like it during graduate school, when a friend shared half of a loaf she called sourdough buckwheat bread. I loved it, but my baking at the time was mostly quick breads and muffins, and I never asked for the recipe. Years later, I developed a version of my own.
Making it is straightforward: soak the groats, drain them, blend with fresh water, and let the batter rest before baking. You can refrigerate the batter or let it ferment for a slightly tangy loaf. Neither method requires kneading, added yeast, or a sourdough starter.
Plan ahead for the soaking and resting time, and expect a dense, German-style bread with modest height. I especially love eating it toasted, although very thin slices are also satisfying with sweet or savory toppings.
Why You’ll Love This Recipe
- One main ingredient:Whole buckwheat groats, plus water and optional salt.
- Vegan:Naturally egg-free and dairy-free (good for anyone with sensitivity to eggs)
- Gluten-free and grain-free:Buckwheat is a seed, despite the “wheat” in its name.
- Flourless and oil-free:No flour or added oil is needed to make the bread.
- No added sugar:A savory loaf that works with sweet toppings, too.
- Plain preparation:No kneading, added yeast, or sourdough starter.
- Two methods:Choose (1) a refrigerated batter or (2) an optional fermented version.
- Wonderful for toast:Dense slices make a satisfying base for spreads and toppings.
- Protein and high fiber.4.3 grams protein and 3.6 grams fiber per slice
Ingredients
The exact amounts of each ingredient are indicated in the recipe card at the end of the post.Toggle betweenUS Customary(volume) andMetric(weights) for preferred measurement option.
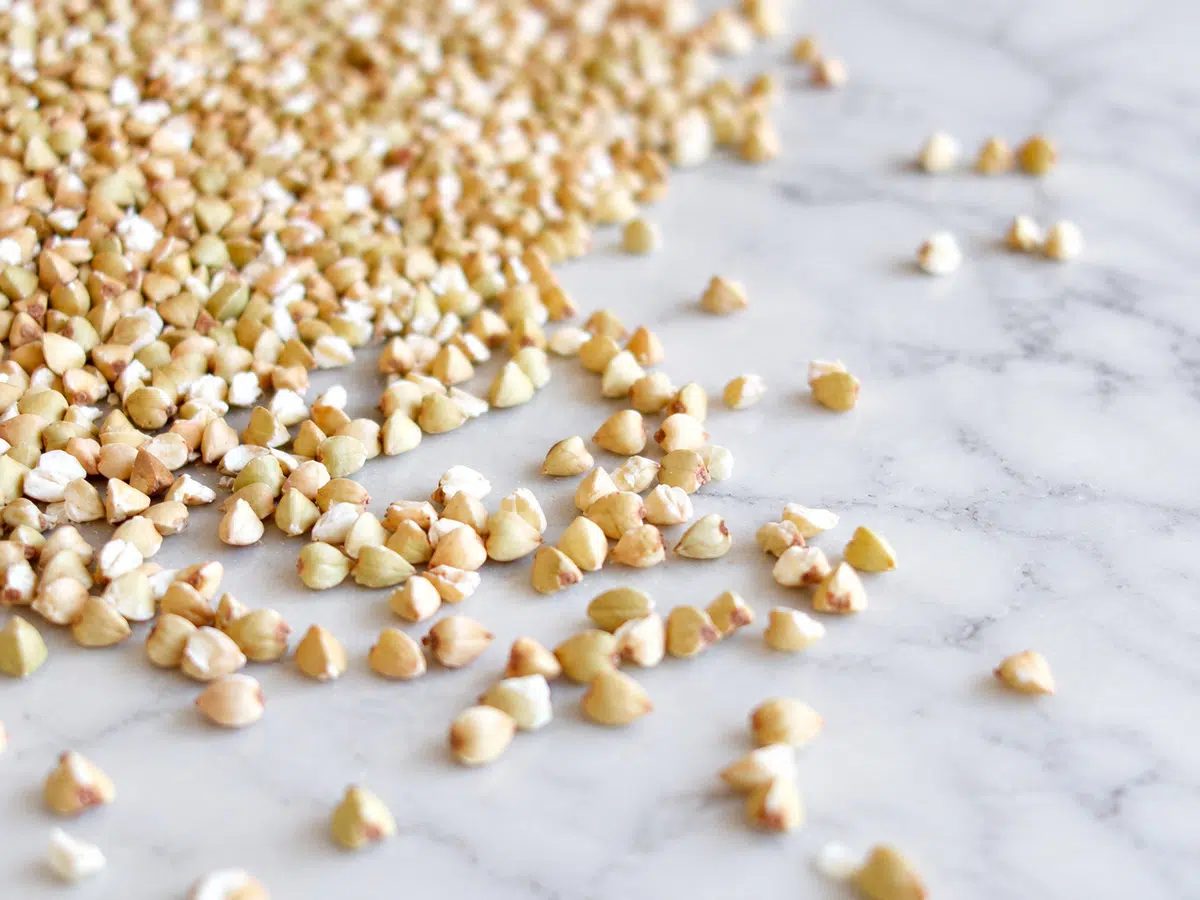
- Buckwheat groats:Use whole, hulled buckwheat—the kernels often sold as buckwheat groats. I usually use raw groats, but I have also made the bread with groats I toasted myself. Buckwheat flour is not a direct substitute for the whole groats in this recipe. If you need to avoid gluten, choose groats labeled gluten-free.
- Water:You will use water twice: first to soak the groats, then a measured amount of fresh water to blend the batter. Discard the soaking water.
- Fine sea salt, optional:I suggest adding salt for flavor, but you can leave it out.
How to Make Buckwheat Bread
Note that the complete instructions are also in the recipe card below.
Note:Allow time for two separate rests: the groats soak first, then the blended batter rests before baking.
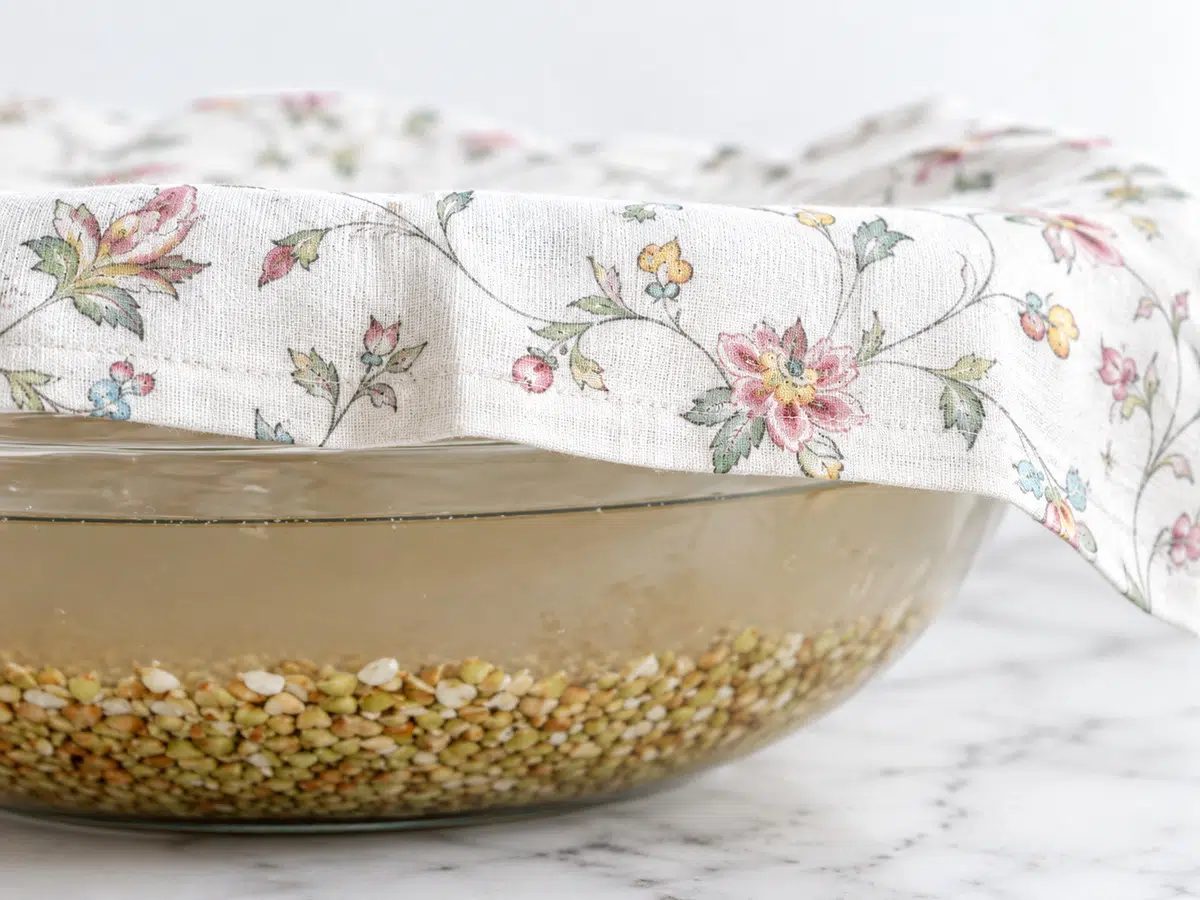
- Soak the groats.Rinse the buckwheat and place it in a large glass bowl. Add multiple cups of water, enough to cover it by about 2 inches. Loosely cover with a kitchen towel and refrigerate for at least 2 hours or up to 24 hours.
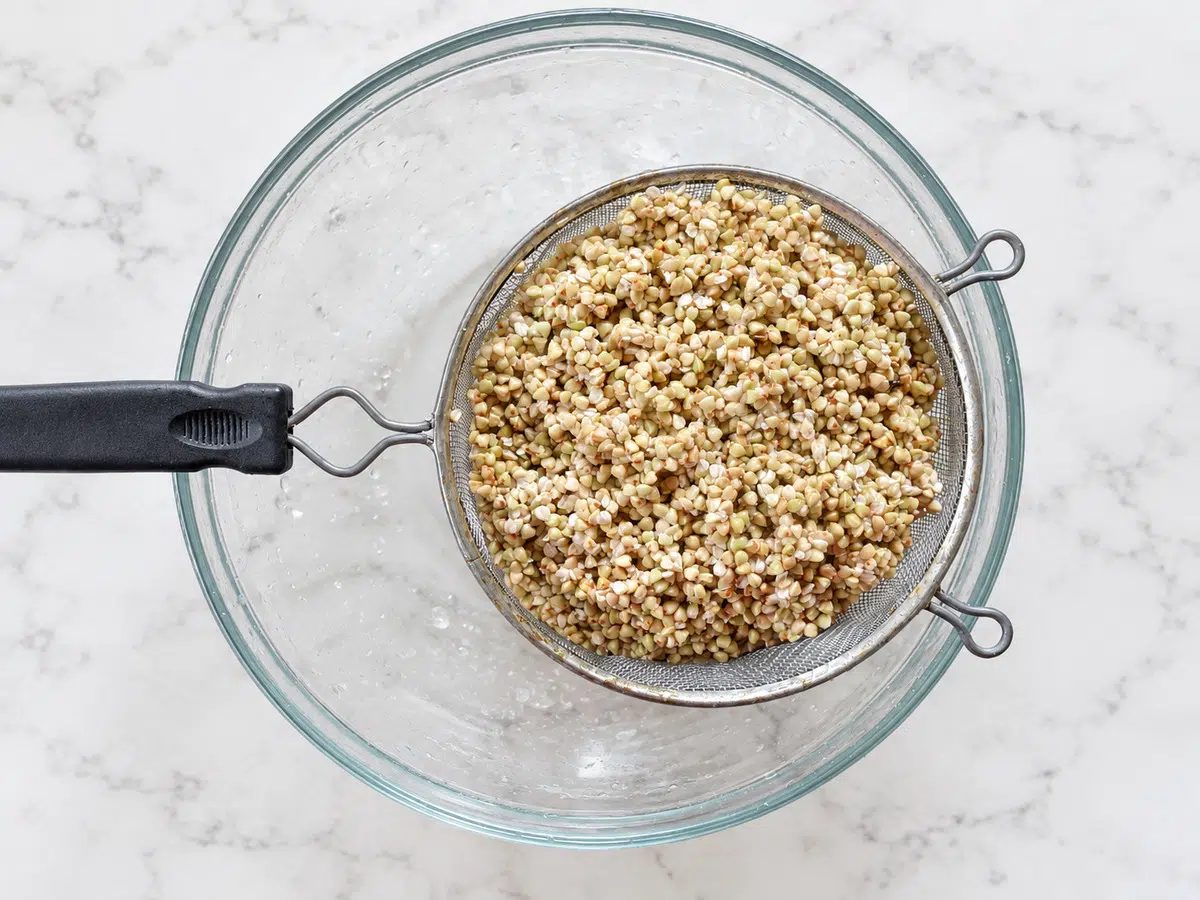
- Drain without rinsing.Drain through a mesh strainer, then let the groats drain for another minute. The liquid will be sticky; leave the coating on the groats, but discard all the drained soaking water.
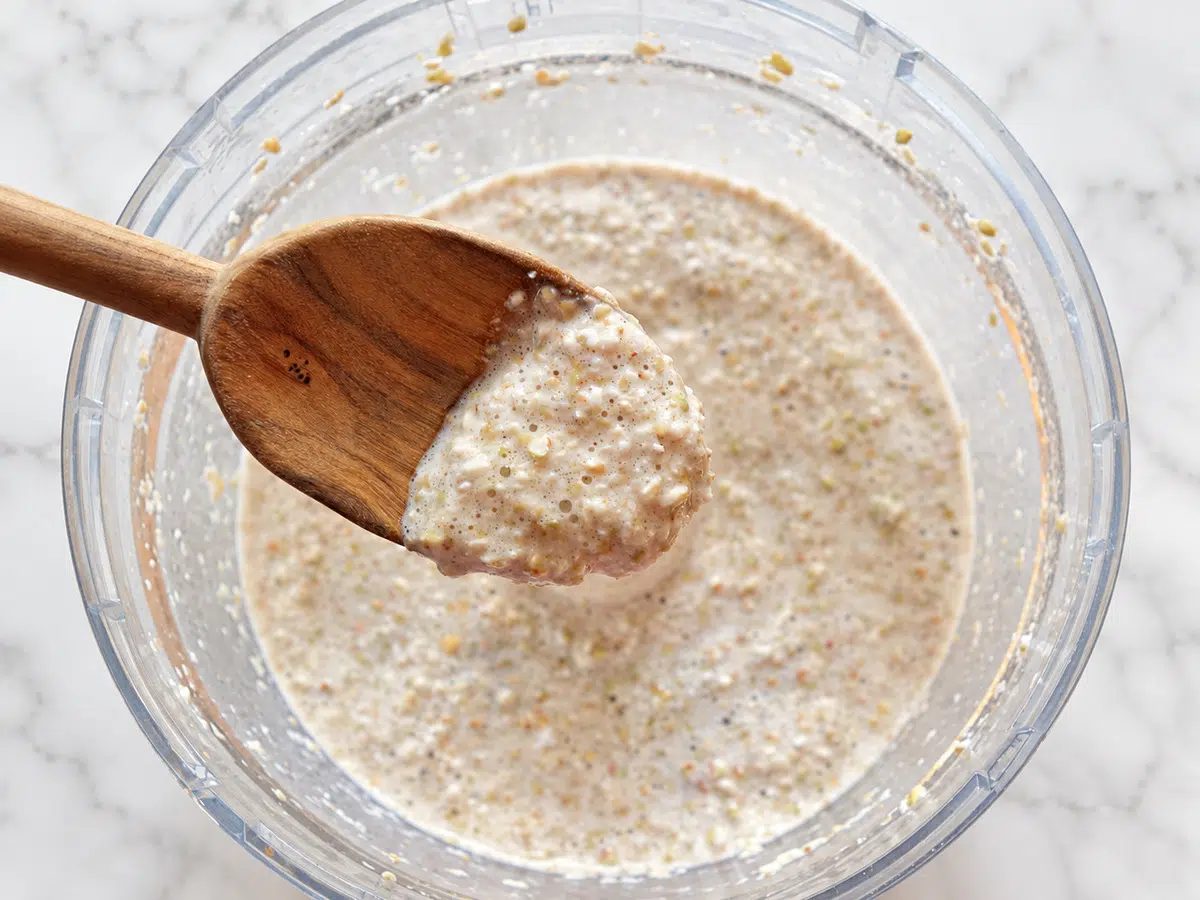
- Blend the batter.Transfer the drained groats to a food processor or blender. Add the measured fresh water and optional salt. Process until you have a cohesive batter that still has some texture.
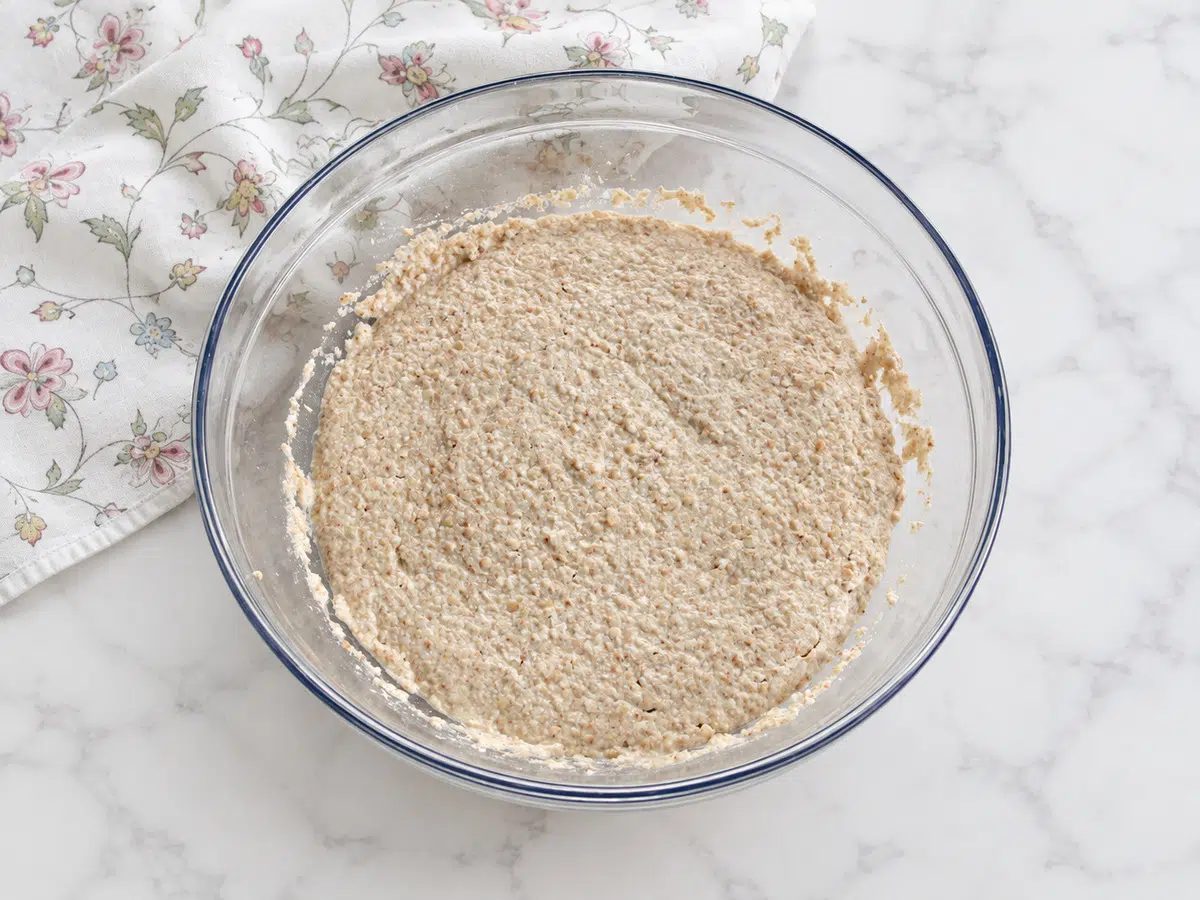
- Choose your resting method.Transfer the batter to a large glass bowl and cover with a kitchen towel. Refrigerate for 2 to 24 hours, or let it ferment in a cool, dark place for 8 to 24 hours. The fermented batter will develop some surface bubbles and a slightly sour aroma.
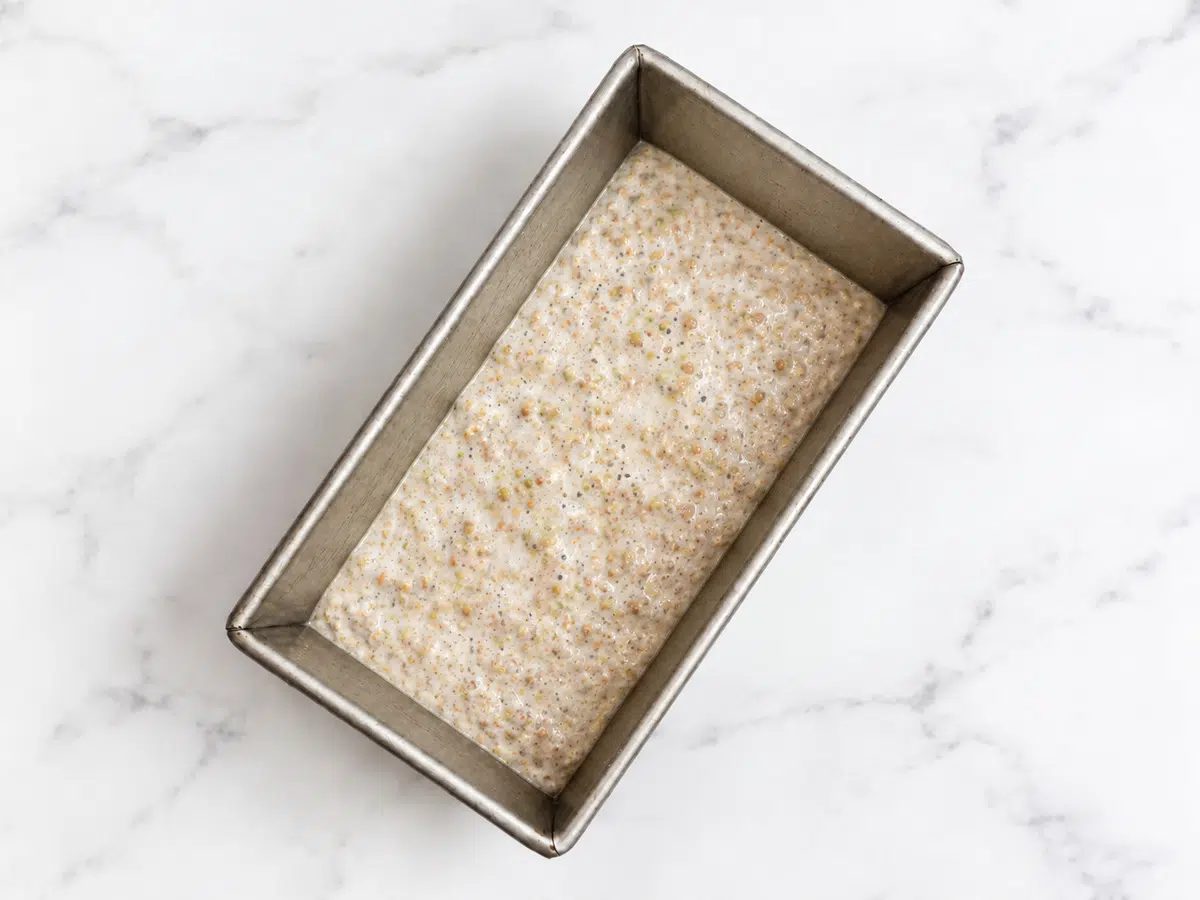
- Prepare to bake.Preheat the oven to 425°F (215°C). Grease or spray a 9×5-inch loaf pan or tin. Pour in the batter gently, taking care to preserve any fermentation bubbles.
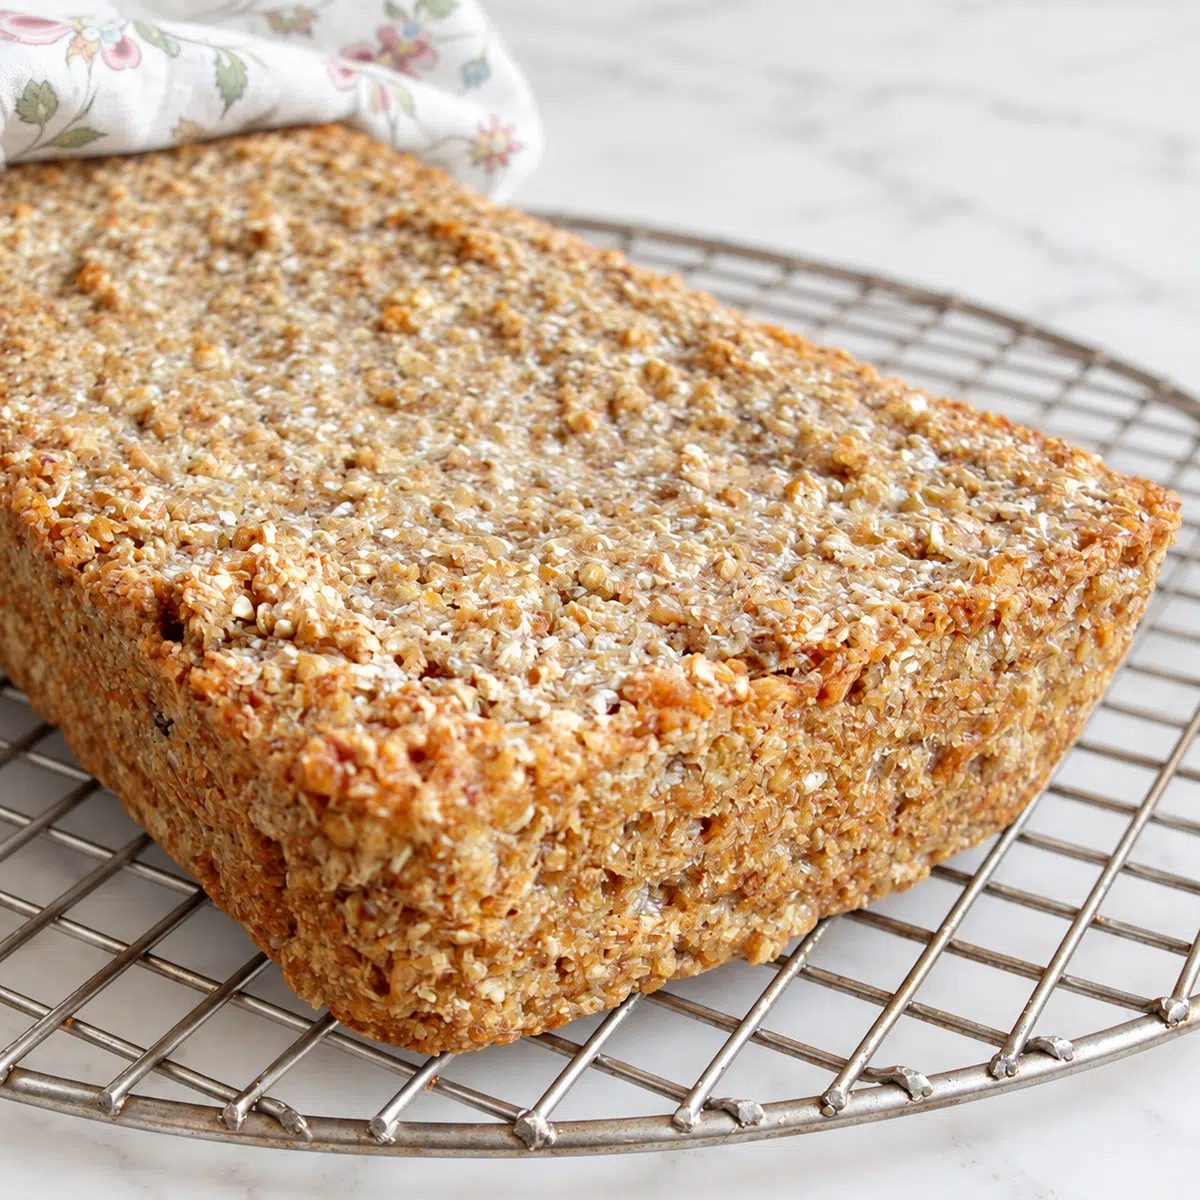
- Bake and cool.Bake for 35 to 40 minutes, until browned, particularly around the edges, and completely firm and set in the center. Cool completely in the pan on a cooling rack before removing and slicing.
Taste and Texture
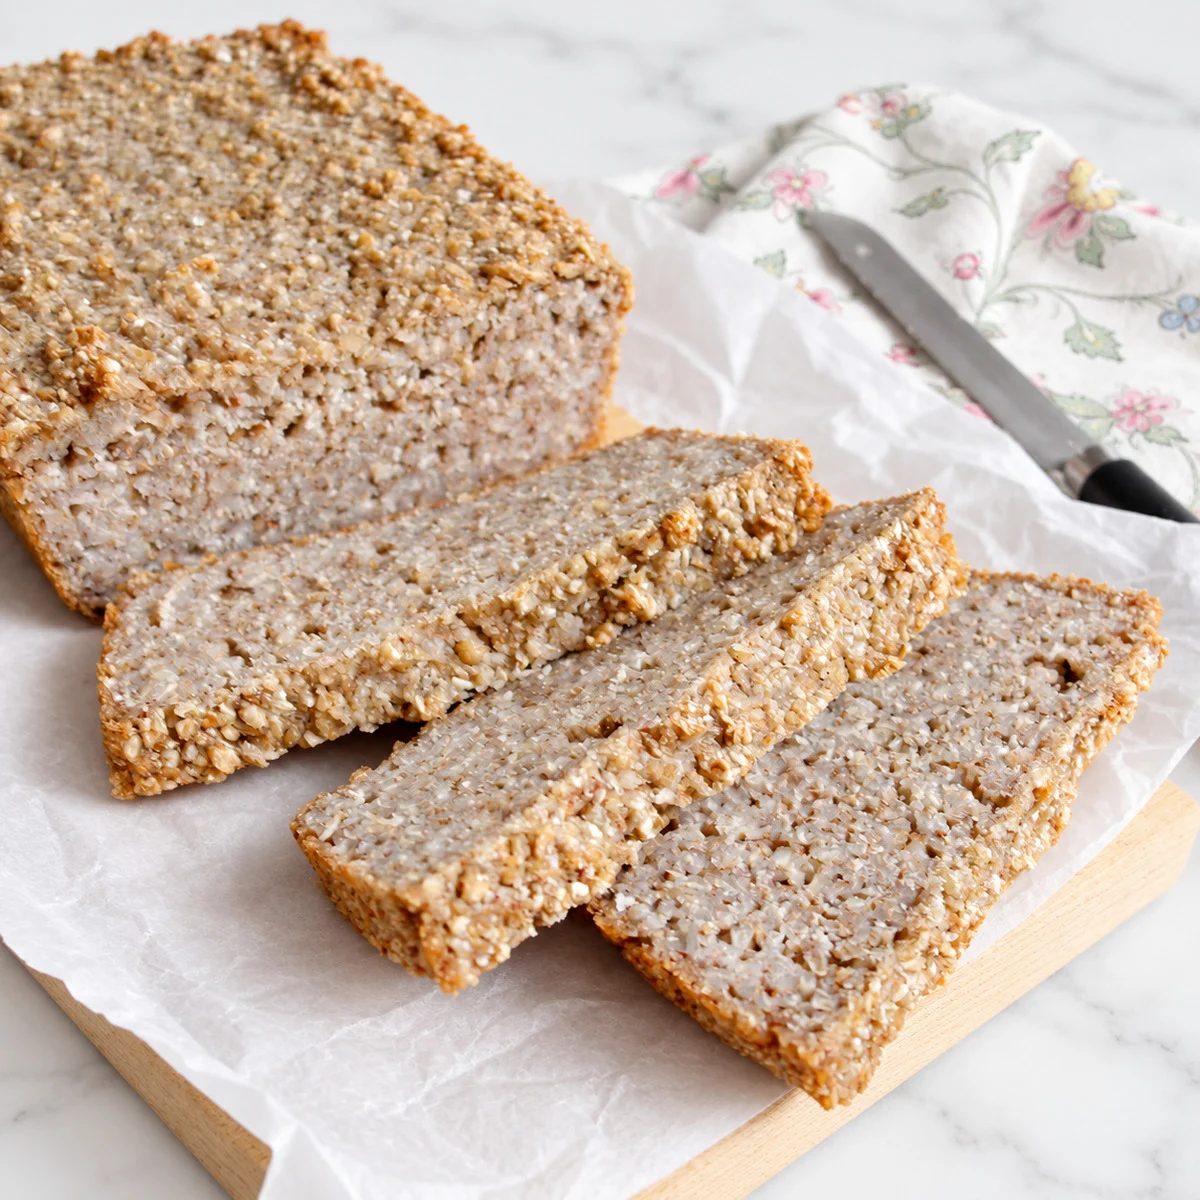
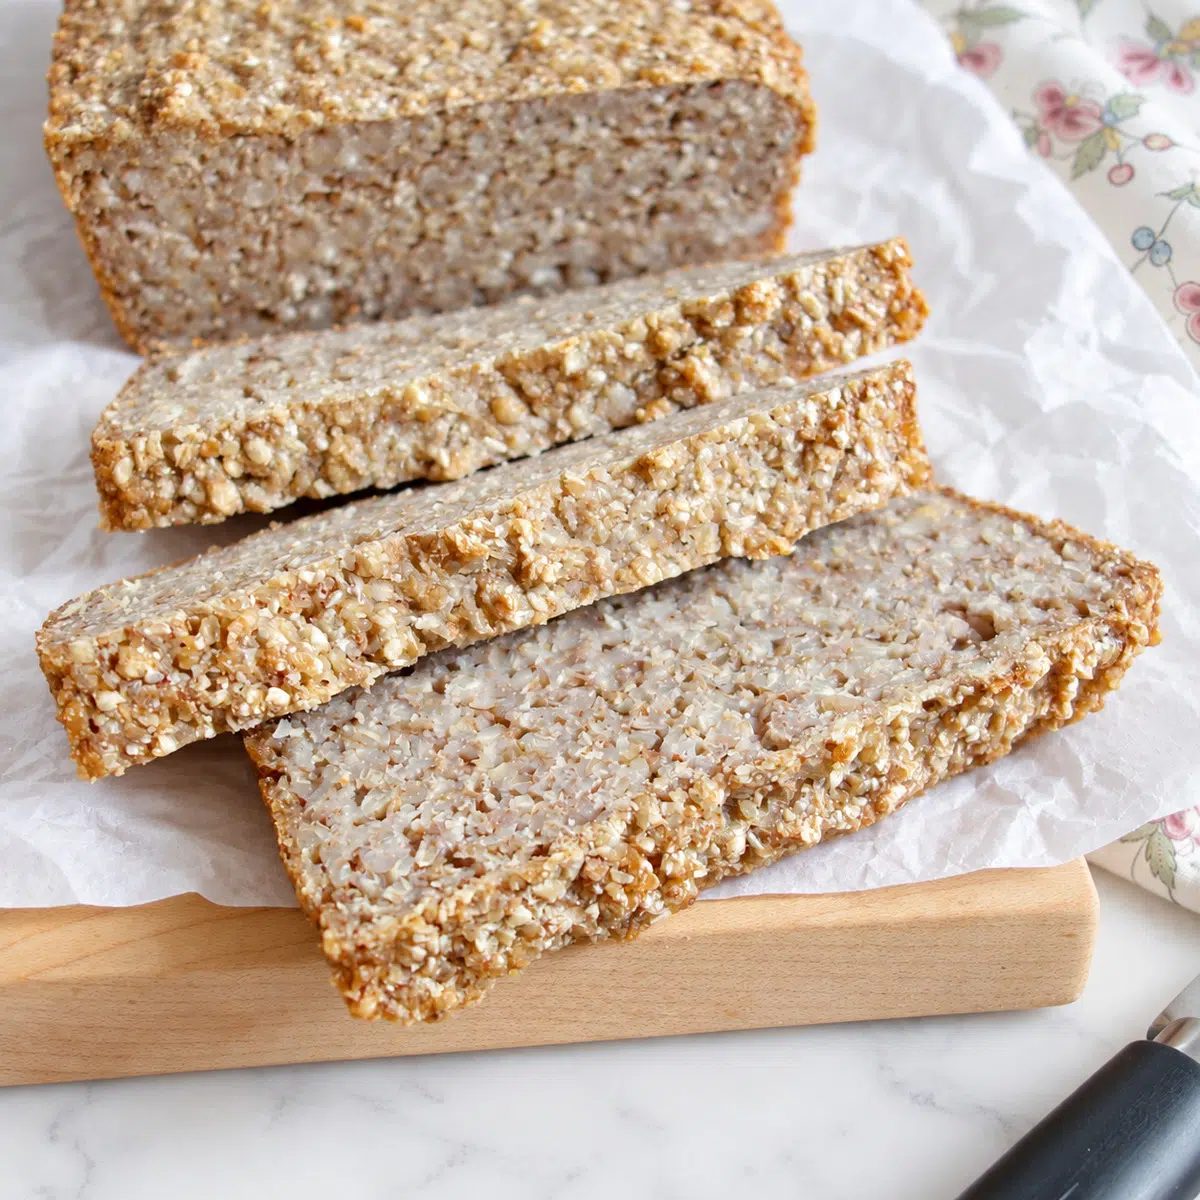
Expect a dense, hearty, German-style loaf with a moist interior and browned edges. The fermented version has a slight tang; the refrigerated version is a good choice if you prefer to skip that flavor.
The bread does not rise much, so the slices are smaller than those of a tall sandwich loaf. I like slicing it thinly and toasting it, or slicing lengthwise when I want a longer piece for toppings.
Storage
Let the bread cool completely before storing.
- Room Temperature:Wrap in a cloth and keep at cool room temperature for up to 2 days.
- Refrigerator:Store in an airtight container for up to 2 weeks.
- Freezer:Store in an airtight container for up to 6 months.
- Rewarm:Toast individual slices before adding your go-to toppings.
Serving Suggestions
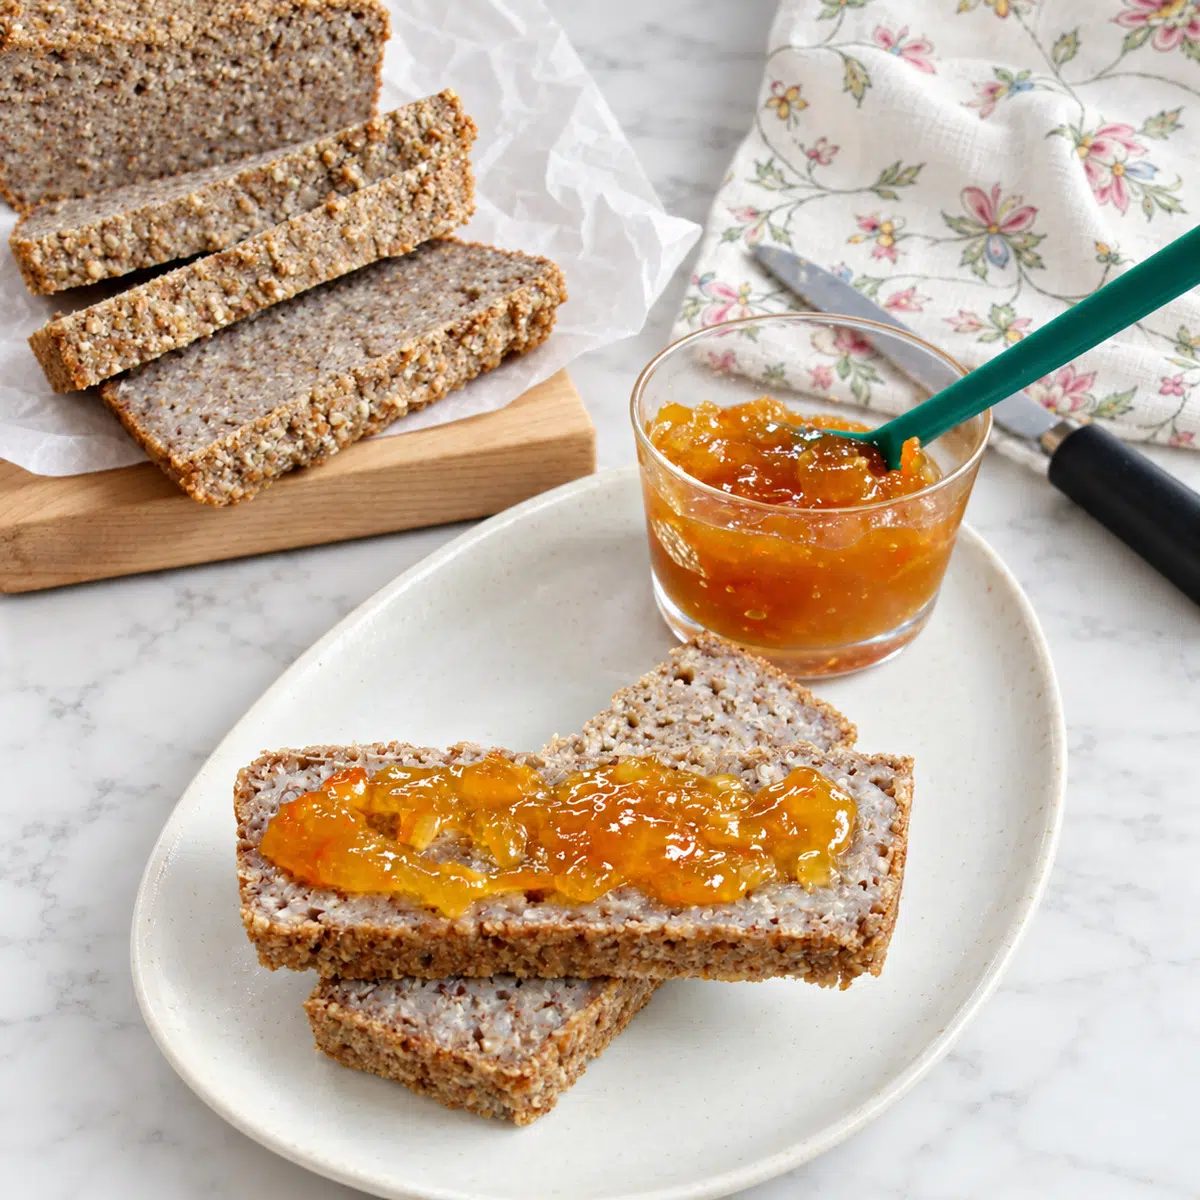
This bread goes with just about anything and everything. For example, slice it thin to make open-face-sandwiches, or serve alongside soup, chili, or salads. I love it reliable toasted, at breakfast, with a generous spread of jam and/ or sunflower seed butter, pumpkin seed butter, roasted flaxseed butter, or peanut butter. Here are some more ideas:
- Almond butter or sunflower seed butter and sliced banana.
- Mashed avocado and a little salt and pepper (especially good on toasted slices)
- Hummus and sliced cucumber or tomato.
- Sautéed mushrooms and onions.
- Marmalade, jam or fruit preserves.
Flavor Variations
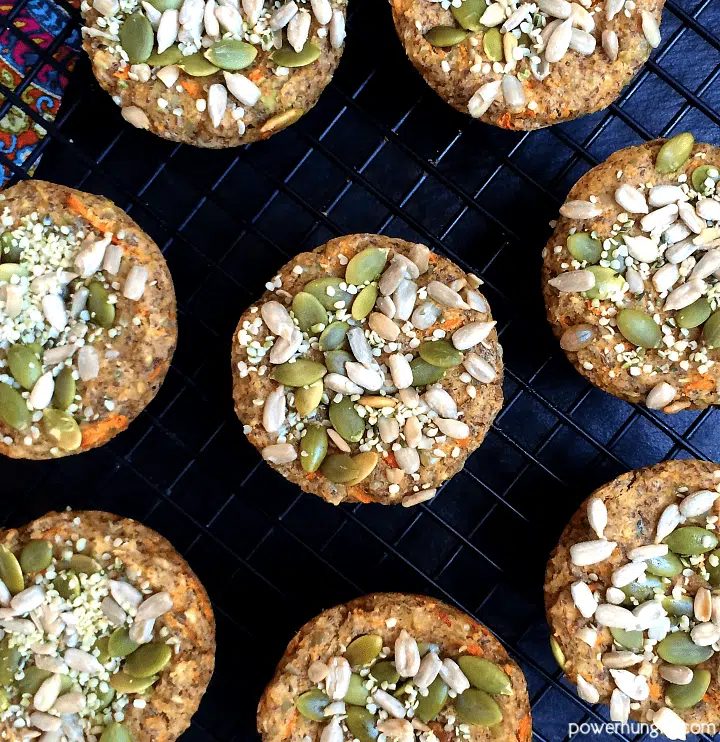
Nuts and SeedsAdd up to 1 cup total of nuts and/or seeds. For example, chopped walnuts, pecans, almonds, sunflower seeds, pumpkin seeds or chia seeds.For smaller pieces throughout the loaf, add them while blending. For more texture, stir them into the blended batter before its resting period. Keep the loaf nut-free by choosing seeds only.
Herbs and SpicesAdd herbs or spices (e.g., herbes de Provence, Italian her blends, ground black pepper, onion powder or garlic powder) to the batter before its resting period. They are an straightforward way to give the bread a savory flavor without changing the basic method. Avoid stirring additions into the batter after fermentation, which can deflate the bubbles. Also avoid adding too many dry ingredients, such as nutritional yeast, as they can alter the structure of the bread. You can swap the 1/2 teaspoons salt for seasoned salts, too.
A Sweet Buckwheat LoafFor a sweet loaf, try myVegan Cinnamon Buckwheat Breadfor guidance and inspiration. It is a separate recipe designed for a sweetened, spiced version. You can swap the cinnamon for other spices, such as cardamom or ground ginger.
Tips for Success
My Tips for a Good Loaf- Plan for both rests.Soaking the groats and resting the blended batter are separate steps. Even the shortest refrigerated method requires at least 4 hours of resting time before baking.
- Rinse once, before soaking.After soaking, drain the groats without rinsing away their sticky coating.
- Discard the soaking water.Blend the drained groats with the measured fresh water. Do not pour the drained liquid back into the batter.
- Leave some texture.Blend until the groats form a cohesive batter, rather than aiming for a completely smooth mixture.
- Add extras before resting.Stir in nuts, seeds, herbs, or spices before the batter rests. Stirring after fermentation can deflate its bubbles.
- Check the center.Browning alone does not mean the bread is done. The center should be completely firm and set.
- Cool completely.Leave the loaf in its pan on a cooling rack until completely cool before removing and slicing.
Ingredient Substitutions
What You Can Change- Toasted buckwheat groats:I usually use raw groats, but I have toasted groats myself and used them successfully in the bread. Whole toasted groats, also called kasha, are an option.
- Buckwheat flour:I suggest sticking with whole groats for this recipe. I have not tested a dependable flour substitution.
- Salt:Leave it out if you prefer. It is optional, although I recommend it for flavor.
- Other seeds or grains:I do not recommend replacing all the buckwheat with another ingredient. I tried an all-millet version and it did not work.
Frequently Asked Questions
Do I have to ferment the batter?No. You can refrigerate the blended batter for at least 2 hours or up to 24 hours instead. Both methods begin with soaking the whole groats in the refrigerator. The optional fermentation happens after blending.
How do I know when the fermented batter is ready?After 8 to 24 hours in a cool, dark place, the batter should have some froth or bubbles near the surface and a slightly sour aroma. It does not need to rise dramatically.
Why is my buckwheat bread dense?A dense texture is expected. The bread is a German-style loaf that does not rise much, rather than a tall, fluffy sandwich bread. I enjoy thin slices, especially toasted. Before taking it out of the oven, make sure the center is completely firm and set.
Why should I drain the groats without rinsing them?The sticky coating on the soaked groats is important for the bread’s success. Let the soaking water drain away, but leave that coating on the groats. Discard the drained liquid and use fresh, measured water for blending.
Can I use an immersion blender?Yes! I have used an immersion blender to make the batter, and it worked well. A food processor or regular blender also works. The batter does not need to be perfectly smooth.
Do I need a glass bowl?No. Glass is convenient, but a nonreactive stainless steel or ceramic bowl also works.
Can I make a smaller batch?Yes. For example, if you use 2 cups of groats instead of 2½ cups, reduce the fresh blending water to 1 cup. I suggest using a smaller pan because you will have less batter. The baking time may change; check that the center is firm and set.
Is buckwheat gluten-free?Yes. Buckwheat is naturally gluten-free and is not related to wheat. It is a seed, rather than a cereal grain, hence this is a gluten free bread. If you need to avoid gluten, choose groats labeled gluten-free to address possible cross-contact during processing.
Don’t forget to rate and leave a comment, or tag me on Instagram or Facebook.
1-Ingredient Buckwheat Bread
- Prep Time: 10 minutes
- Cook Time: 40 minutes
- Total Time: 4 hours
- Servings: 14 slices (1 loaf)
Ingredients
- 2 1/2 cup buckwheat groats rinsed (460 g )
- water for soaking and blending
- Optional: fine sea salt I recommend 1/2 teaspoon
Method
- Soak the buckwheat. Place the rinsed groats in a large glass bowl. Add enough water to cover them by 2 inches (5 cm). Loosely cover with a kitchen towel and soak in the refrigerator for at least 2 hours or up to 24 hours.
- Drain without rinsing. Drain through a mesh strainer . Set the strainer over a bowl and let the groats drain for another minute. The liquid will be sticky. Do not rinse the groats, and discard all the drained soaking water.
- Blend the batter. Place the drained groats, 1¼ cups (296 mL) fresh water, and optional salt in a food processor or blender. Process until blended into a cohesive batter that still has some texture.
- Transfer to a bowl. Pour the batter into a large glass bowl and cover with a kitchen towel.
- Rest the batter. For the refrigerated method, refrigerate for at least 2 hours or up to 24 hours. For the fermented method, let stand in a cool, dark place for at least 8 hours or up to 24 hours. The fermented batter will be slightly frothy or bubbly near the surface and have a slightly sour aroma.
- Prepare the oven and pan. Preheat the oven to 425°F (215°C). Spray or grease a 9×5-inch (22.5×12.5 cm) loaf pan . Gently pour in the batter, taking care not to deflate any bubbles.
- Bake the bread. Bake for 35 to 40 minutes, until browned, particularly at the edges, and completely firm and set in the center.
- Cool completely. Place the pan on a cooling rack and let the bread cool completely in the pan before removing and slicing.
Notes
Planning Ahead: The 10-minute preparation time is hands-on time. Allow an additional 2 to 24 hours for soaking the groats, followed by 2 to 24 hours of refrigerated resting or 8 to 24 hours of fermentation. Cooling time is additional. Buckwheat Groats : I usually use raw, whole hulled groats. I have also made the bread successfully with groats I toasted myself. I suggest using whole groats rather than substituting buckwheat flour . Draining: Rinse the groats before soaking, but not afterward. Keep the sticky coating on the drained groats; discard the soaking water and blend with the measured fresh water. Add-Ins: Add up to 1 cup total of nuts and/or seeds, or add herbs and spices. Blend nuts and seeds with the groats for smaller pieces, or stir additions into the blended batter before it rests. Do not stir additions into the batter after fermentation, which can deflate it. Texture: Expect a dense loaf with modest rise. I especially enjoy thin slices toasted. Storage: Room Temperature: Store completely cooled bread wrapped in a cloth at cool room temperature for up to 2 days. Refrigerator: Store in an airtight container for up to 2 weeks. Freezer: Store in an airtight container for up to 6 months. Rewarm: Toast slices before serving, if desired.