
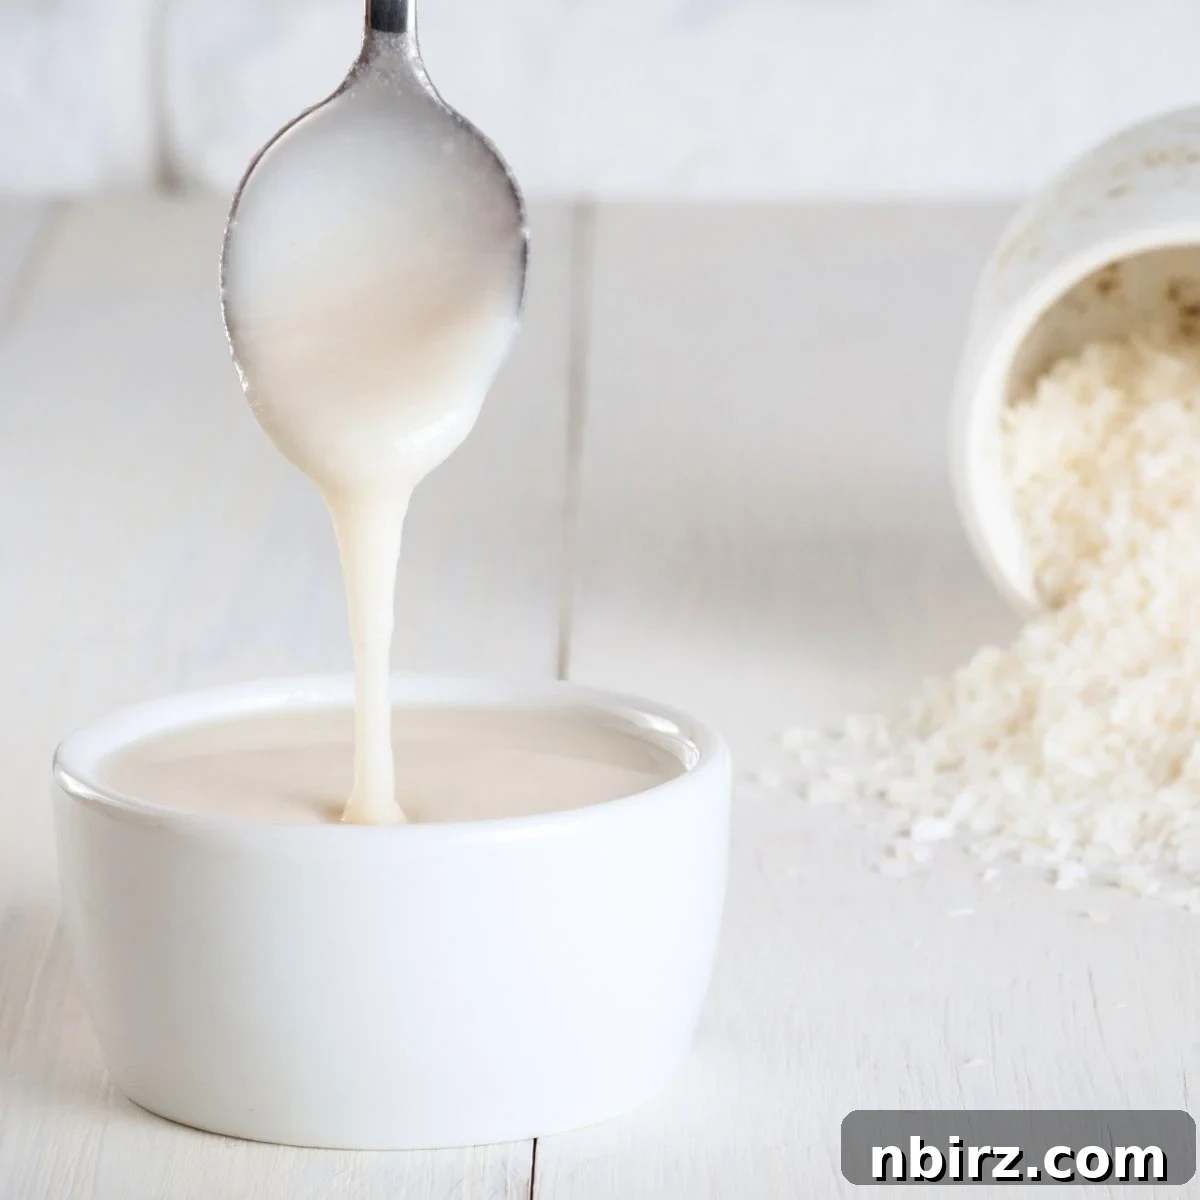
Homemade coconut butter is a marvel of simplicity and nutrition, offering a delightful alternative to traditional nut and seed butters. This incredibly healthy, effortlessly easy-to-make, and wonderfully frugal spread can transform your pantry staples into a gourmet delight. Naturally vegan, keto-friendly, paleo-approved, and entirely sugar-free, it’s a versatile ingredient that caters to a wide range of dietary preferences without compromising on flavor or luxurious texture. Prepare to indulge in its rich, velvety goodness and elevate your culinary creations!
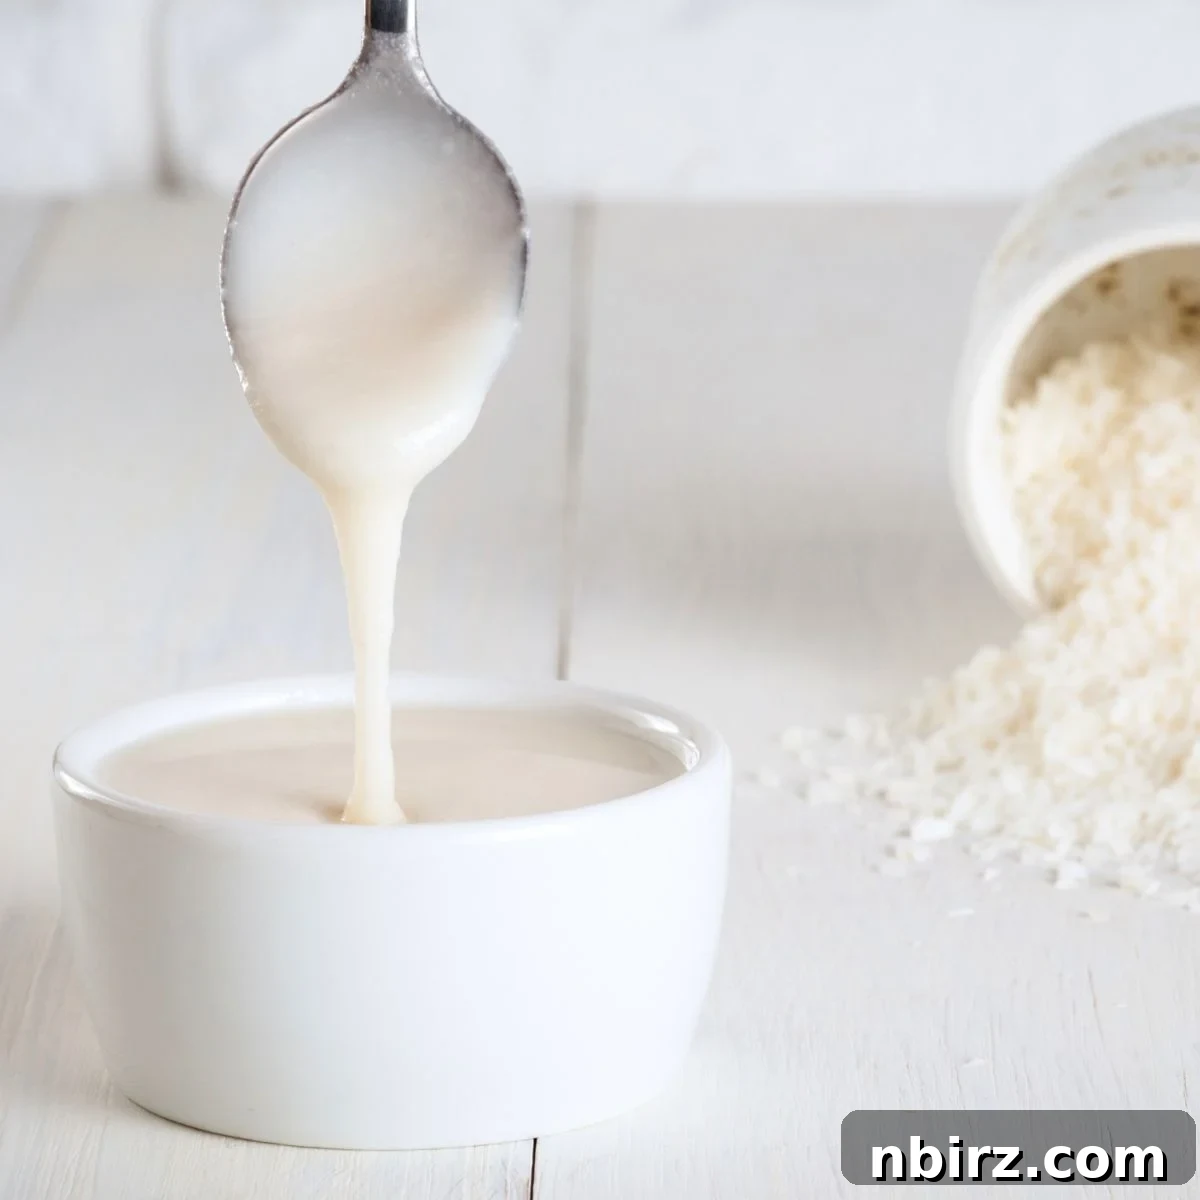
If the irresistible aroma and delicate sweetness of coconut captivate your senses, then creating your own batch of coconut butter is an absolute must. Trust us, the sooner you try this simple recipe, the sooner you’ll be spreading this delectable creation on virtually everything – from your morning toast and fresh fruit slices to incorporating it into various recipes, and yes, even enjoying it straight from the spoon (no judgment here, it’s that good!). The experience of making and tasting your own fresh coconut butter is truly rewarding.
What is Coconut Butter and Why is It So Good for You?
At its core, coconut butter is a luscious, creamy spread crafted solely from the pure, dried meat of coconuts. The process is similar to how the purest form of peanut butter is made from simply grinding peanuts: whole coconut flesh is processed until its natural oils are released, transforming it into a smooth, velvety, and irresistible paste. It naturally possesses a delicate, inherent sweetness that can be subtly enhanced with a touch of your preferred natural sweetener if desired, though many find it perfectly balanced and delicious as is.
What truly distinguishes coconut butter, and makes it a nutritional powerhouse, is its comprehensive composition. Unlike coconut oil, which is purely the extracted fat, coconut butter incorporates the entire coconut meat. This means you not only benefit from all the incredible properties of coconut oil – most notably its abundance of medium-chain fatty acids (MCTs) which provide a fantastic, readily available energy source for both body and brain – but also receive a significant boost of dietary fiber. This fiber content is crucial for digestive health, promoting regularity, supporting a thriving gut microbiome, and helping to regulate blood sugar levels. Furthermore, the fiber contributes to a prolonged feeling of fullness, making coconut butter a more satiating and nutrient-dense option than coconut oil alone. It’s an ideal ingredient for those seeking healthy fats and fiber in their diet, supporting everything from cognitive function to metabolic health and overall well-being.
Make Your Own Coconut Butter: Frugal, Flavorful, and Fresh
While jars of gourmet coconut butter can be found on store shelves, their premium price tags often make them an expensive indulgence. Why spend a small fortune when you can effortlessly create a superior product in your own kitchen for a fraction of the cost? Making your own coconut butter is not just incredibly frugal; it’s also, in our humble opinion, far more delicious and satisfying. When you prepare it yourself, you gain complete control over the ingredients, ensuring no unwanted sugars, unhealthy oils, preservatives, or artificial additives find their way into your wholesome spread. The freshness of homemade butter is simply unmatched.
The beauty of homemade coconut butter lies in its remarkable simplicity, requiring only a few basic ingredients, most of which you might already have on hand:
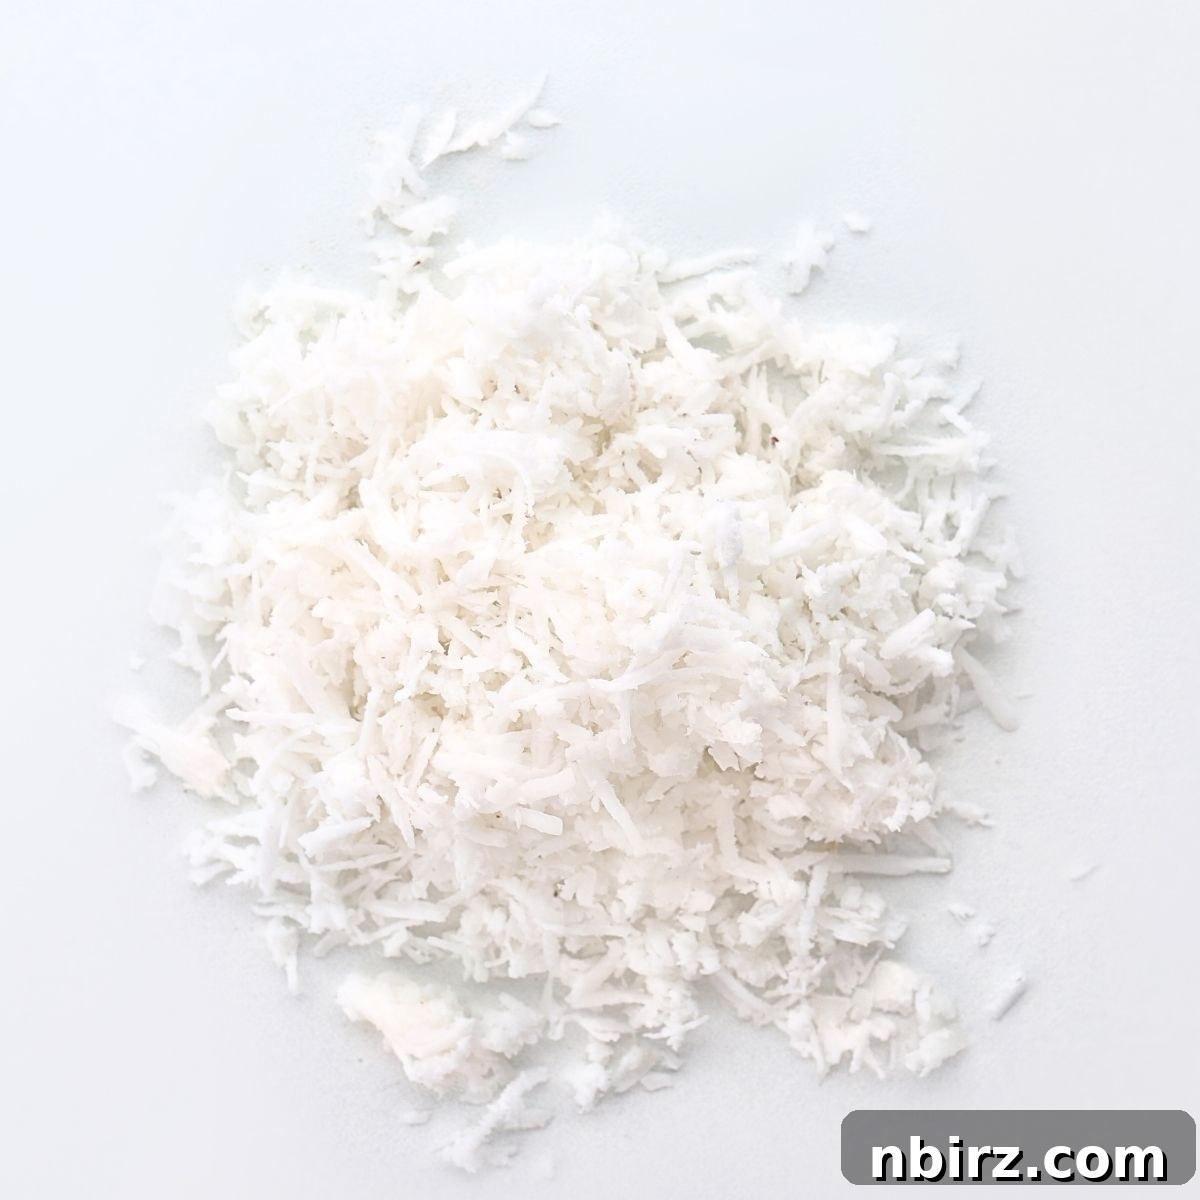
- Unsweetened, Dried Flaked or Shredded Coconut: This is the absolute star of our recipe. It is crucial to use unsweetened coconut to avoid any hidden sugars and to allow you to precisely control the sweetness level yourself (or enjoy it naturally). Both flakes and shreds work equally well; choose based on what’s available, your preference, and what offers the best value. Make sure it’s fresh and not stale for the best flavor.
- A Bit of Coconut Oil (or another neutral vegetable oil): While technically optional, adding a small amount of extra coconut oil can significantly aid the blending process. This is especially true if your initial coconut flakes are very dry, or if your blender isn’t a super high-powered model. The added oil acts as a lubricant, helping to kickstart the emulsification and resulting in a smoother, quicker transformation from dry flakes to creamy butter. High-quality refined coconut oil is ideal here, or you could opt for a neutral vegetable oil like avocado oil or even a tiny amount of MCT oil if preferred, though coconut oil maintains the pure coconut flavor.
- (Optional) A Pinch of Fine Sea Salt: A tiny dash of fine sea salt can dramatically elevate the flavor profile of your coconut butter. It beautifully balances the natural sweetness of the coconut, making it even more complex and undeniably addictive. Start with a small amount and adjust to your taste.
How to Make Your Own Coconut Butter: A Detailed Step-by-Step Guide
The transformation of dry coconut flakes into rich, creamy butter is a fascinating process that feels like pure kitchen magic. It primarily requires patience and the right equipment. You’ll need either a high-speed blender or a robust food processor to achieve that perfect, smooth, and spreadable consistency. Many home cooks find that a powerful bullet-sized blender, while compact, can be surprisingly efficient for this task due to its concentrated blending power and ability to create a strong vortex.
Step-by-Step Instructions for Perfect Coconut Butter:
- Prepare Your Coconut: Begin by placing the unsweetened coconut (whether flakes or shreds) into the container of your high-speed blender or food processor. For optimal blending, especially with blenders, it’s often more effective to make a larger batch rather than a very small one. A greater volume of coconut helps create the necessary friction and vortex for continuous processing, ensuring all the coconut makes contact with the blades.
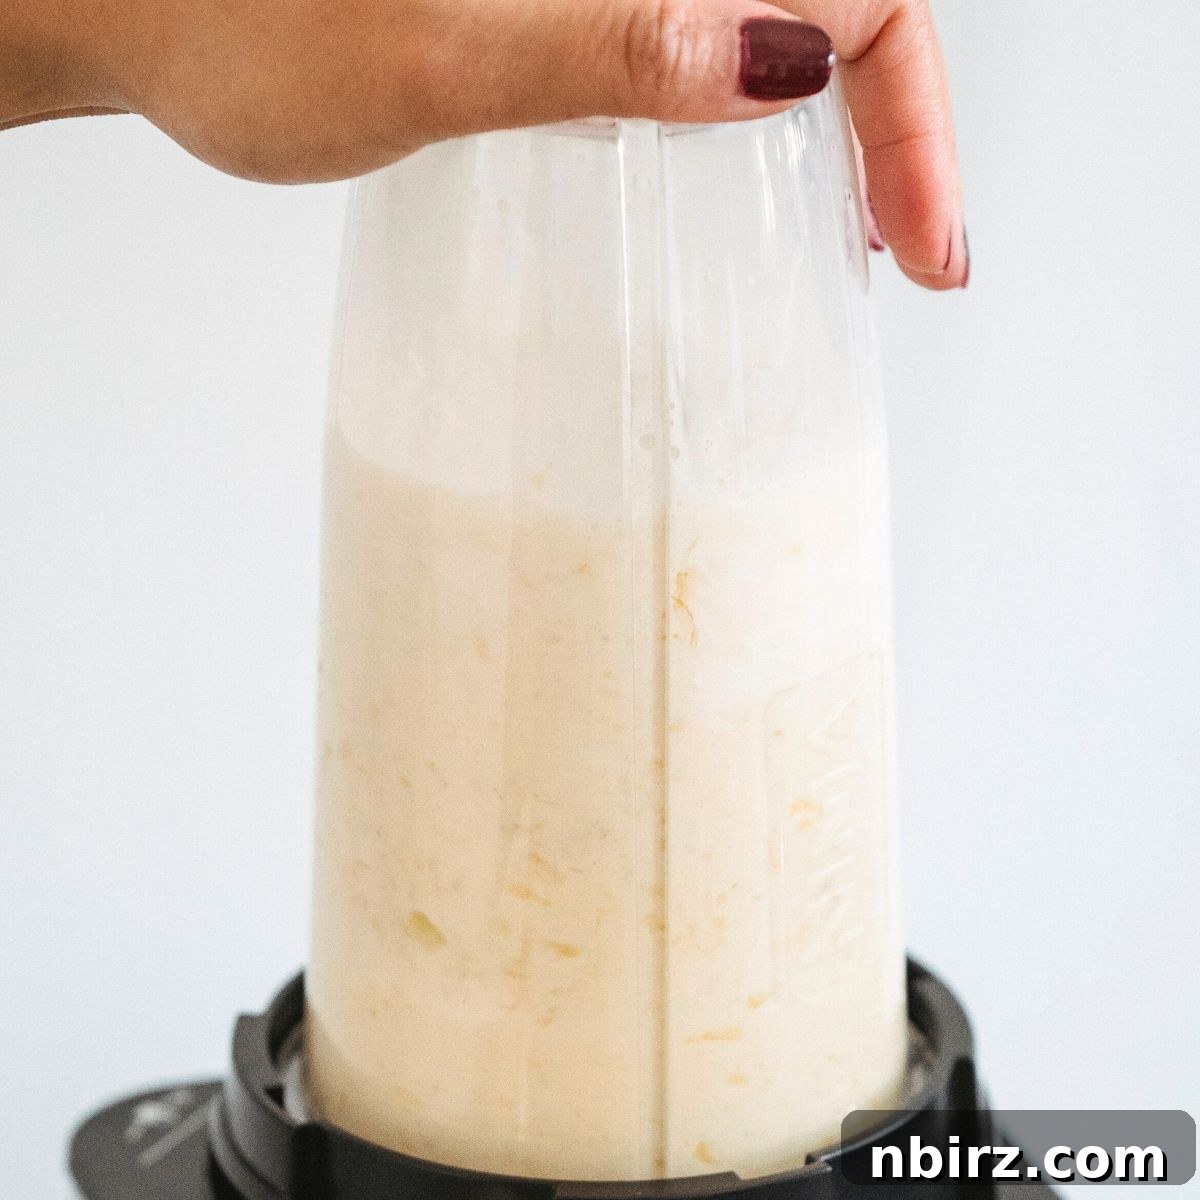
- Initial Processing: Start blending on a low setting, gradually increasing the speed to medium-high. The coconut will first break down into a fine, powdery flour. As you continue, it will transform into a slightly damp, coarse meal. This initial stage, where the dry coconut starts to fragment, might take a few minutes.
- Crucial Scraping Intervals: During the entire blending process, it’s absolutely crucial to stop and scrape down the sides of the blender or food processor at regular intervals (typically every 30-60 seconds). Coconut, being dry and fibrous, tends to stick to the sides of the container, preventing it from fully engaging with the blades. Scraping ensures even processing and helps the entire mixture come together uniformly, preventing dry pockets.
- Observe the Transformation: As you continue blending and scraping, you’ll begin to notice the coconut meal starting to clump together. This is an exciting sign that the natural oils within the coconut are starting to release. The texture will transition from a dry meal to something resembling wet sand or a very thick, somewhat crumbly paste.
- Introduce Liquids (If Using): Once the coconut is finely processed and has clearly started to clump, this is the ideal moment to add your extra coconut oil (if you’ve chosen to use it) and the optional pinch of salt. The added oil acts as a powerful lubricant, making it significantly easier for your machine to continue breaking down the coconut fibers and emulsifying the mixture into a cohesive butter.
- Blend Until Velvety Smooth: Continue blending diligently, always remembering to scrape down the sides as needed. The mixture will undergo another significant transition: from a thick, pasty consistency to a looser, more liquid, and ultimately, wonderfully smooth and creamy butter. This is where the magic happens as the oils fully integrate. Keep blending until it reaches a wonderfully glossy, pourable, and utterly smooth texture – much like a thick, perfectly blended nut butter. This final stage can take anywhere from 5 to 15 minutes, or even longer, depending on the power of your equipment and the dryness of your coconut. Do not rush this step; patience is the ultimate key to achieving that luxurious, velvety texture.
- Prevent Overheating: If you are using a food processor, especially for extended periods, it’s wise to periodically stop the machine (every few minutes) to prevent it from overheating. High-speed blenders are generally designed for longer continuous runs, but it’s always good practice to be mindful of your machine’s temperature. If it feels hot to the touch, give it a break.
You’ll know your coconut butter is truly ready when the fat has completely released from the coconut shreds and the mixture visibly transforms into that loose, pourable, and exquisitely creamy appearance. It should flow smoothly off the spoon without any grittiness. As a practical tip for efficiency, if your blender has the capacity, it’s often beneficial to make a larger batch. A greater volume of coconut tends to create better friction and heat within the appliance, which facilitates the blending process and generally makes it easier to achieve that perfect, ultra-smooth consistency compared to trying to process a very small portion.
How Long Can I Store DIY Coconut Butter? Managing Consistency
One of the many fantastic advantages of homemade coconut butter is its impressive shelf life, thanks to its high fat content which acts as a natural preservative. Once your delicious spread is prepared, transfer it to a clean, airtight jar. It can be stored at a cool room temperature (like in a pantry) for an impressive period of up to 6 months. For an even longer duration of freshness, you can refrigerate it for up to 1 year.
However, it’s important to understand that, due to its naturally high oil content, the consistency of your coconut butter will be highly dependent on the ambient temperature. This is a normal characteristic of coconut products:
- Hard and Solid: When exposed to very cold temperatures (such as a cool pantry during winter or, especially, refrigeration), the coconut butter will solidify and become quite hard, similar to a solid block of coconut oil.
- Soft and Runny: Conversely, in warmer environments or hot climates, it will soften considerably, becoming smooth and runny, almost like a thick syrup or melted butter.
This temperature-dependent consistency is completely normal and incredibly easy to manage. If you need a softer, more spreadable consistency from a solid block, simply microwave a portion for 5 to 10 seconds (without the lid), or place the sealed jar in a bowl of warm water for a few minutes until it reaches your desired texture. Stir it well to ensure an even consistency. If you prefer a firmer butter for certain recipes, such as making truffles or energy bites, simply refrigerating it for 15 minutes or more will do the trick. You can even store it in an ice cube tray for convenient, pre-portioned solid servings that are easy to melt as needed.
Creative Ways to Serve and Enjoy Your Homemade Coconut Butter
Homemade coconut butter is incredibly versatile, making it a fantastic and healthy addition to both sweet and savory dishes. Its unique flavor profile and adaptable texture open up a world of culinary possibilities, allowing you to get creative in the kitchen.
As a Wholesome, Delicious Spread
Think of coconut butter as your new go-to spread, a delightful, nutrient-rich, and healthy alternative to peanut butter, almond butter, or any other nut and seed butters you typically use. Its naturally smooth texture and subtle sweetness make it an ideal companion for a variety of everyday foods:
- Toast, Bagels & English Muffins: A simple yet profoundly satisfying breakfast or snack. Spread it generously for a delightful start to your day.
- Fresh Fruit Slices: Pair it with crisp apple slices, sweet banana, juicy berries, or mango for a nutritious and naturally sweet treat that provides healthy fats.
- Crackers & Rice Cakes: A quick and easy snack option, offering a burst of flavor and sustained energy.
- The Ultimate Coconut Butter & Jelly Sandwich: Yes, seriously! It’s a delectable, tropical twist on a classic comfort food that you simply have to try to believe.
- In Sandwiches & Wraps: Add a thin layer to your favorite savory or sweet sandwiches and wraps for an extra dimension of flavor, creaminess, and healthy fats.
As a Smart Substitute in Culinary Recipes
Coconut butter truly shines as a fantastic substitute for peanut butter or other nut butters in a wide array of recipes, particularly those that are no-bake, where its ability to firm up when chilled can be a huge asset. Its binding properties and creamy texture make it excellent for:
- Energy Balls & Bars: It binds ingredients beautifully, adding healthy fats and a wonderful coconut flavor to your homemade energy boosters.
- No-Bake Cookies & Bites: Provides excellent structure and a creamy, satisfying texture to these quick and easy desserts.
- Dessert Frostings & Glazes: When gently melted and then chilled, it creates a wonderfully smooth, rich, and naturally sweet topping for cakes, cupcakes, or brownies.
- Raw Vegan Desserts: An essential ingredient for creating rich and firm bases or creamy fillings for raw cheesecakes, tarts, and other innovative no-bake creations.
- Savory Sauces: Used sparingly, it can add creaminess and a subtle hint of exotic flavor to various savory dishes, such as mild curry sauces, salad dressings, or even stir-fries, offering a unique depth (be mindful if you’re not looking for a prominent coconut flavor).
As a Nutrient-Rich Topping or Boost Ingredient
Beyond being a primary spread or a versatile substitute, coconut butter is a fantastic, nutrient-rich addition to enhance many dishes and beverages, instantly boosting their flavor, texture, and nutritional value:
- Smoothies: Add a generous spoonful to your favorite smoothie recipes for an extra layer of creaminess, a boost of healthy fats (MCTs!), and a delightful tropical coconut flavor. It helps keep you feeling fuller and more energized for longer.
- Oatmeal & Porridge: Stir it into your warm bowl of oatmeal, grits, or porridge, or simply drizzle a melted spoonful on top for a luxurious texture and added nutrients.
- Yogurt & Chia Puddings: Swirl a dollop into your preferred dairy or non-dairy yogurt, or mix it into chia seed puddings for an instant tropical twist and enhanced creaminess.
- Coffee & Tea: Blend a small amount (about a tablespoon) into your hot coffee or tea for a rich, creamy, and dairy-free alternative to traditional creamer. This is a popular way to enjoy “bulletproof” style beverages, adding healthy fats and a boost of energy.
- Baked Goods: Gently melt and drizzle it over freshly baked muffins, warm pancakes, waffles, or French toast for a lovely finish that adds both flavor and healthy fats.
It truly is pretty great stuff, offering both incredible culinary delight and a wealth of nutritional benefits, making it a staple in any health-conscious kitchen!
Troubleshooting Common Coconut Butter Making Issues
While making coconut butter is generally straightforward, you might encounter a few common hiccups during the process. Don’t worry, these issues are usually easy to address with a little patience and the right adjustments. Here’s how to troubleshoot them:
- My Coconut Butter Isn’t Getting Creamy: This is by far the most frequent issue. The primary reason is almost always insufficient blending time or using a machine that isn’t quite powerful enough. Remember, it takes patience for the natural oils to fully release and emulsify. Keep blending! Ensure you’re scraping down the sides of the container regularly to get all the coconut into contact with the blades. As a last resort, adding an extra tablespoon or two of coconut oil can often help kickstart the process and reduce the friction, allowing your machine to work more effectively.
- The Texture is Gritty, Not Smooth: This problem also points to inadequate blending. The goal is to break down every single fiber of the coconut meat until it’s imperceptible. Continue processing until the mixture is completely smooth, without any noticeable granular or gritty texture. High-speed blenders generally yield a smoother result faster than most food processors, so if using a food processor, be prepared for longer blending times.
- My Blender/Food Processor is Overheating: If your appliance feels hot to the touch, starts making a strained noise, or emits a burning smell, turn it off immediately. Let it cool down completely for at least 10-15 minutes before attempting to resume blending. This issue is more common with food processors or lower-wattage blenders. To prevent this, blend in short pulses or take intentional breaks every few minutes during the process.
- Oil Separation After Storage: This is an entirely normal and natural phenomenon, much like with natural peanut butter. After sitting for a while, especially if stored at variable temperatures, coconut butter can separate into a solid, firmer coconut layer at the bottom and a layer of oil on top. To recombine, simply stir it vigorously with a sturdy knife or spoon until it’s smooth again. If it’s very hard, gently warm the jar in a bowl of warm water or briefly microwave it (without the lid) for a few seconds until it softens enough to stir easily.
The Health Benefits of Coconut Butter: A Nutritional Powerhouse
Beyond its delightful taste and remarkable versatility in the kitchen, homemade coconut butter offers an impressive array of health benefits, making it far more than just a tasty spread. Incorporating it into your diet is a simple and delicious way to boost your nutritional intake.
- Rich in MCTs (Medium-Chain Triglycerides): Coconut butter is an exceptional source of MCTs, particularly lauric acid. Unlike long-chain fatty acids, MCTs are rapidly absorbed and metabolized by the liver, providing a quick, efficient, and readily available source of energy. This can be incredibly beneficial for sustained energy levels throughout the day, enhancing athletic performance, and even supporting cognitive function, as MCTs can be converted into ketones, which serve as an alternative and efficient fuel for the brain.
- High in Dietary Fiber: Since coconut butter is crafted from the entire coconut meat, it retains all the valuable dietary fiber. Fiber is absolutely essential for optimal digestive health, promoting regularity, nurturing a healthy gut microbiome, and aiding in the stabilization of blood sugar levels. Furthermore, the fiber content significantly contributes to feelings of satiety, which can be immensely helpful for managing appetite and supporting healthy weight management.
- Promotes Satiety and Supports Weight Management: The powerful combination of healthy fats (MCTs) and dietary fiber in coconut butter makes it incredibly satisfying and filling. Including a serving of coconut butter in your meals or snacks can help reduce overall calorie intake by keeping you feeling full for longer periods, effectively curbing cravings, and preventing overeating.
- Naturally Vegan, Keto, and Paleo-Friendly: For individuals adhering to specific dietary lifestyles, coconut butter is a true culinary gem. It’s naturally dairy-free and entirely plant-based, making it perfectly suitable for vegans. Its high fat and low carbohydrate content make it an ideal staple for those following ketogenic diets, helping to maintain ketosis. And, as a whole, minimally processed food, it aligns seamlessly with paleo principles, promoting clean eating.
- Contains Essential Micronutrients: While primarily celebrated for its healthy fats and fiber, coconut butter also provides small but meaningful amounts of essential minerals such as iron, magnesium, potassium, and zinc. These micronutrients play vital roles in various bodily functions, contributing significantly to overall health and well-being.
- Supports Immune Function: Lauric acid, a predominant MCT found in coconut, has been extensively studied for its powerful antimicrobial and antiviral properties. Regularly consuming coconut butter may therefore contribute to strengthening the immune system, helping your body defend against various pathogens.
Embracing this wonderful, homemade spread into your daily diet is a simple, delicious, and highly effective way to tap into these numerous health advantages and elevate your healthful eating journey.
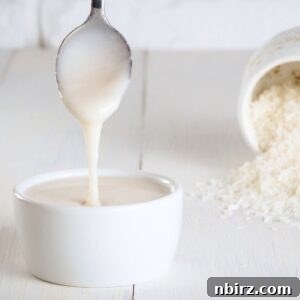
DIY Coconut Butter (Easy, 2 Ingredients)
Ingredients
- 8 ounces shredded or flaked coconut, (about 2 cups, lightly packed)
- 2 tablespoons coconut oil
- Optional: 1/8 teaspoon fine sea salt
Instructions
-
In a food processor or high-speed blender, process coconut for 1 minute; scrape down sides of bowl. Continue to process in 30-second intervals until mixture begins to clump together. Add coconut oil and salt. Process in 30-second intervals for about 10 minutes until mixture is smooth and creamy.
Notes
Nutrition
SERVING: 1tablespoon
|
CALORIES: 87kcal
|
CARBOHYDRATES: 3g
|
PROTEIN: 1g
|
FAT: 9g
|
SATURATED FAT: 8g
|
POLYUNSATURATED FAT: 1g
|
SODIUM: 4mg
|
FIBER: 2g
|
SUGAR: 1g
More Delicious DIY Vegan Spreads: Expand Your Pantry!
If you’ve enjoyed the process of making your own healthy and delicious coconut butter, you’ll undoubtedly love exploring other fantastic homemade vegan spreads. Crafting your own spreads at home is not only cost-effective but also allows for complete control over ingredients, ensuring fresh and wholesome results every time. Here are some more inspiring recipes to ignite your culinary adventures and further expand your pantry of homemade delights:
- 1-Ingredient Pepita Butter (Keto-Friendly)
- Oil-Free Olive Tapenade
- DIY Almond Butter
- 4-Ingredient Chickpea Flour Mayonnaise
- Easy Cashew Mayonnaise
- Vegan Cashew Boursin Cheese
- Creamy Broccoli Hummus
- Green Pea & Basil Spread
Happy culinary exploration and enjoy your healthy, homemade eats! Your kitchen is now a powerhouse of delicious, wholesome spreads.