
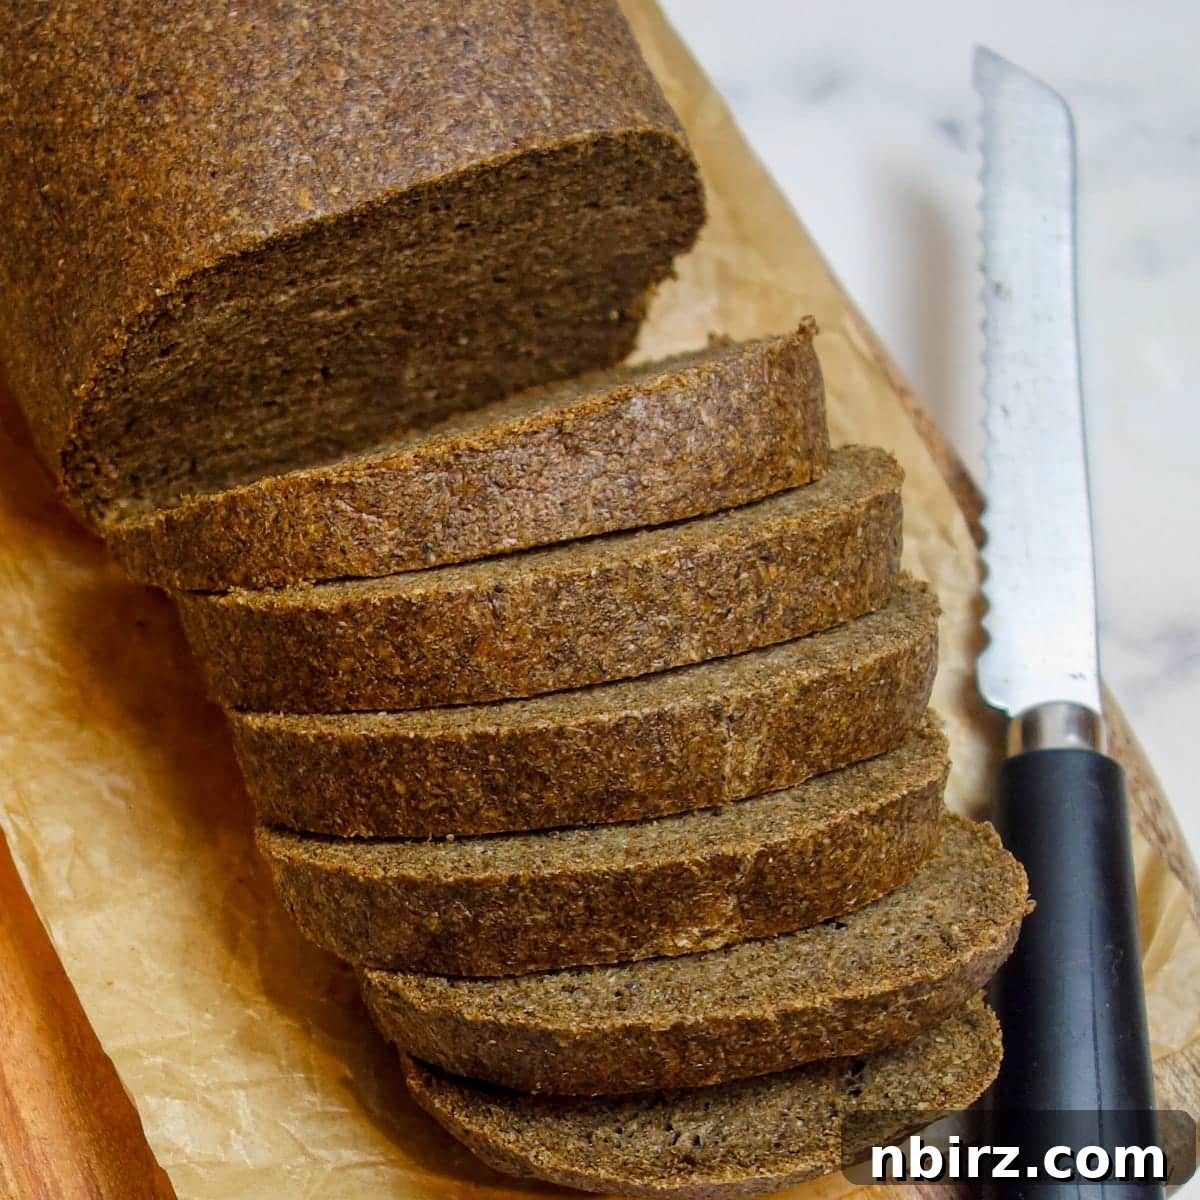
100% Chia Firm Sandwich Bread: A Healthy & Delicious Recipe
Looking for a bread recipe that aligns with your dietary needs and taste preferences? This 100% Chia Firm Sandwich Bread is your answer! It’s a hearty, full-bodied loaf perfect for sandwiches, toast, or simply enjoying on its own. What’s more, it’s vegan, gluten-free, and oil-free, making it suitable for a wide range of diets.
This recipe is inspired by the simplicity of a 2-Ingredient Chia Bread. Many readers requested a larger, sandwich-style loaf that maintains the ease of the original. After careful consideration and numerous test batches, we’ve perfected a recipe that delivers on both flavor and convenience.
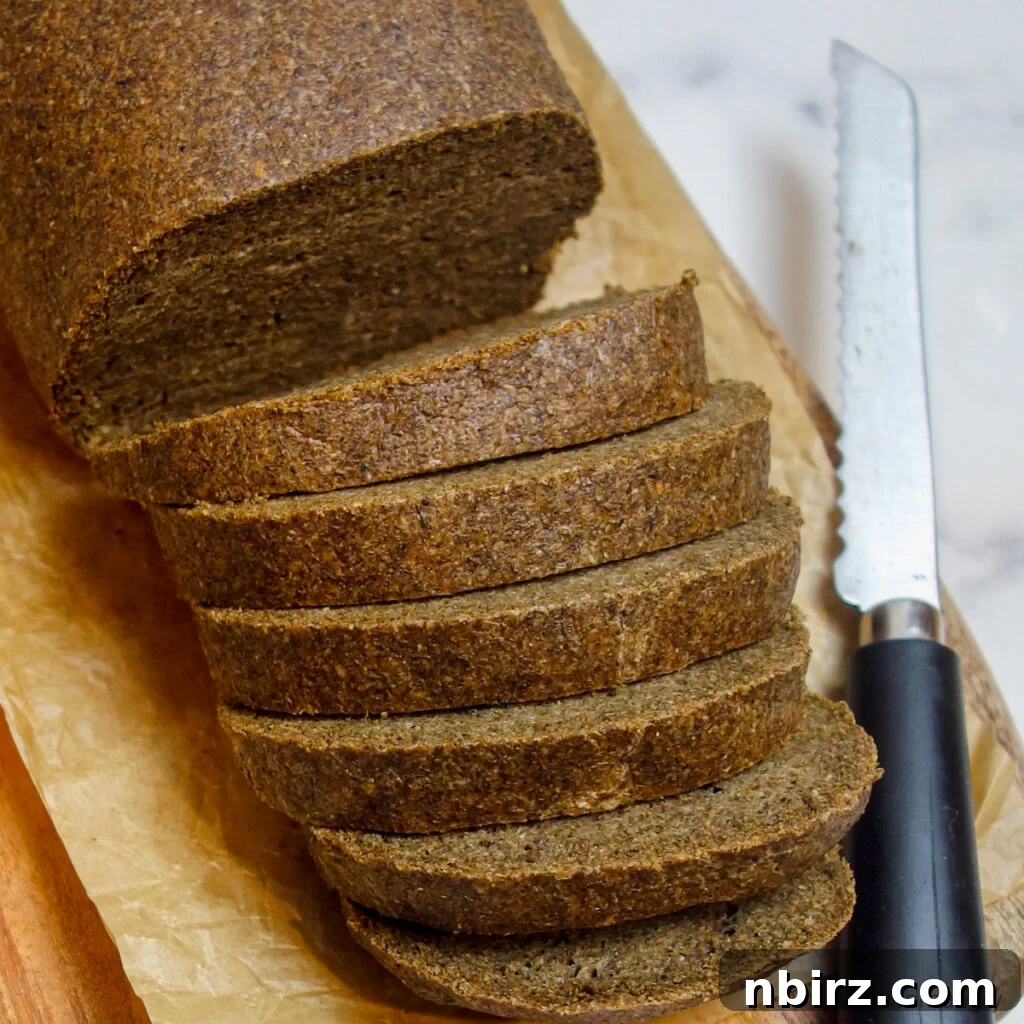
What Makes This Chia Bread Special?
This bread is named for its simple composition: it’s made entirely from chia! Specifically, we use chia flour (finely ground chia seeds), whole psyllium husks, and baking powder, along with water and optional salt. The result is a delicious loaf that’s perfect for spreading with jams, marmalades, or your favorite vegan cheese spreads (like a Vegan Boursin Cheese Spread).
Even if you’ve never baked bread before, you’ll find this recipe incredibly easy to follow. Let’s explore the benefits and ingredients that make this bread a standout.
The Benefits of This Recipe
- Vegan: Free from eggs and dairy.
- Gluten-Free: Made without wheat, barley, or rye.
- Grain-Free: Suitable for those avoiding grains.
- Yeast-Free: No active or instant yeast needed.
- Oil-Free: A healthier option without added oils.
- High Fiber: Contains approximately 8 grams of fiber per slice.
- Good Source of Protein: Provides about 4 grams of protein per slice.
- Sugar-Free: Zero added sugars.
- Paleo-Friendly: Aligns with paleo dietary guidelines.
- Keto-Friendly: Low in carbohydrates for keto diets.
- Easy to Make: Simple instructions for beginner bakers.
- Minimal Ingredients: Only 3 main ingredients (plus water and optional salt).
Key Ingredients for Delicious Chia Bread
Important Note: The precise quantities of each ingredient are provided in the recipe card below. You can switch between US Customary (volume) and Metric (weights) measurements based on your preference.
- Chia Seeds (or Chia Flour): The foundation of this bread, providing nutrients and structure.
- Whole Psyllium Husks: Essential for creating a sturdy, sandwich-style texture.
- Baking Powder: Helps the bread rise and achieve a light texture.
You’ll also need regular tap water. Adding salt is optional, allowing you to adjust the flavor according to your needs. Omitting salt won’t affect the bread’s overall success.
No added fats are necessary because chia seeds are naturally rich in omega-3 fatty acids. These fats contribute to both your health and the bread’s soft, tender texture.
Understanding Whole Psyllium Husks
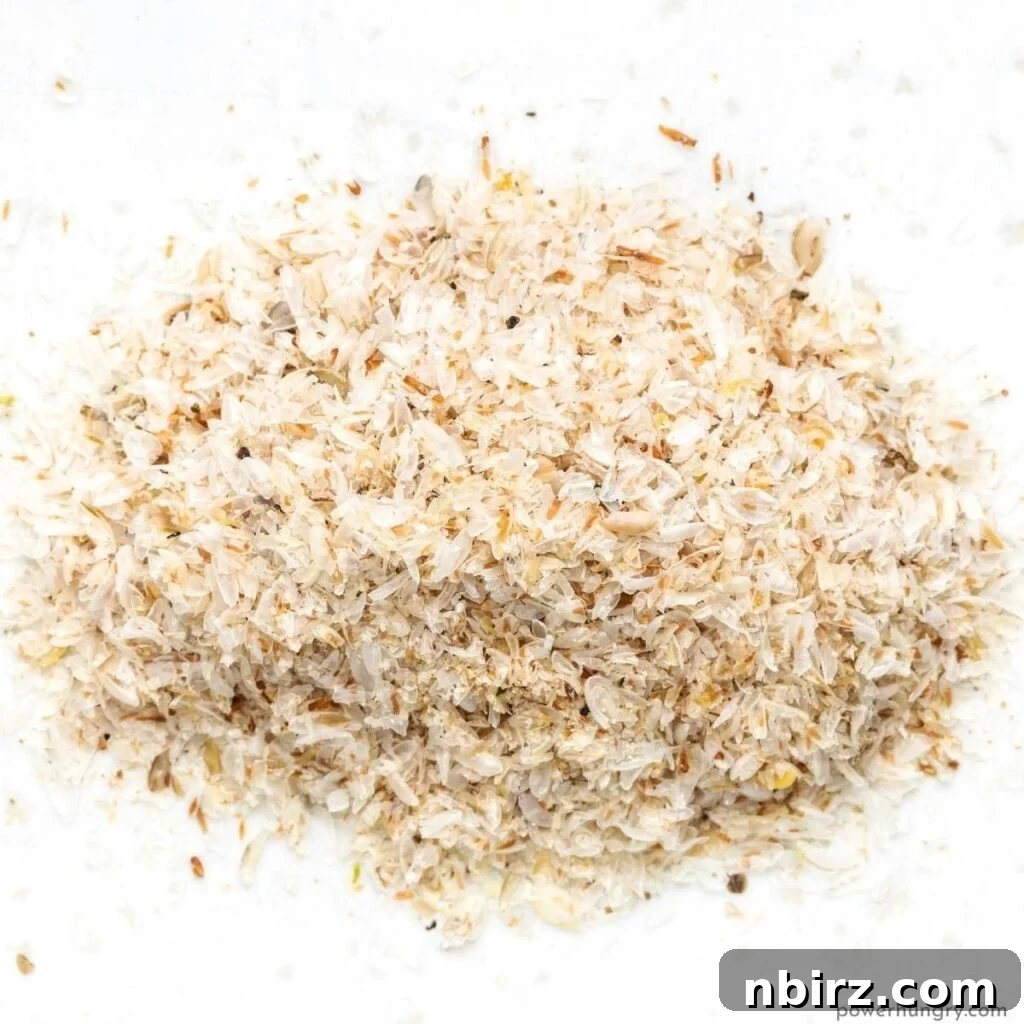
Psyllium husk is a crucial ingredient in this recipe, enhancing the bread’s texture and allowing for a larger loaf. Unlike simpler chia bread recipes that require smaller loaves, psyllium husk provides the necessary structure for a satisfying sandwich bread.
Psyllium is derived from the husks of seeds from the Plantago ovata plant. When combined with liquid, the husks swell and form a gel. This gel acts similarly to eggs and gluten, providing structure in gluten-free and grain-free baking.
Whole psyllium husks can be easily found online or in well-stocked natural food stores. Storing them in an airtight container ensures they last for years, making them a worthwhile investment for your gluten-free baking adventures. Once you have psyllium husks, you can explore other amazing gluten-free and vegan bread recipes, such as:
- 100% Millet Sandwich Bread
- Easy Multigrain Sandwich Bread
- Coconut Flour Sandwich Bread
- 100% Millet Banana Bread
- Buckwheat Sandwich Bread
- Oat Sandwich Bread
- 4-Ingredient Power Bread
- And many more!
Tips for Using Chia Flour
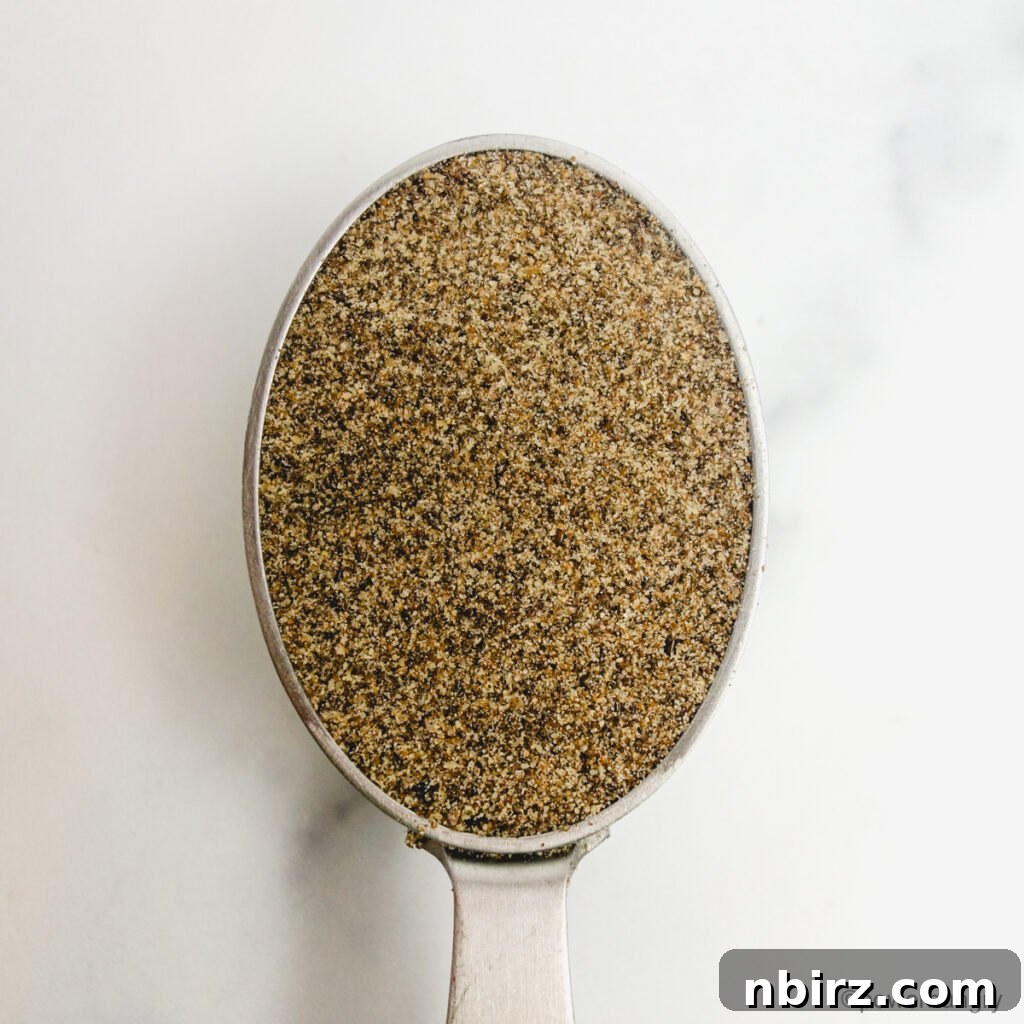
This recipe calls for grinding chia seeds into a fine flour. This can be easily done using a blender (high speed or regular) or a small coffee mill.
If you prefer, you can use ready-made chia flour. Simply replace the chia seeds with an equal weight of chia flour.
It’s important to ensure that the chia is finely ground, with a flour-like consistency, rather than a coarse chia meal. The fine texture is crucial for the bread’s structure and performance.
If you have chia meal instead of flour, simply pulse it in a blender until it reaches a fine flour consistency.
Step-by-Step Guide to Making 100% Chia Firm Sandwich Bread
Note: Detailed instructions are also available in the recipe card below.
Step One: Preheat the Oven and Prepare the Baking Pan
Preheat your oven to 375°F (190°C). Line a large baking sheet with parchment paper to prevent sticking.
Step Two: Grind the Chia Seeds into Fine Flour
This is a crucial step! Use a blender or coffee mill to grind the chia seeds into a fine flour. The flour’s consistency is critical for the bread’s texture and rise.
Step Three: Combine Dry Ingredients in a Bowl
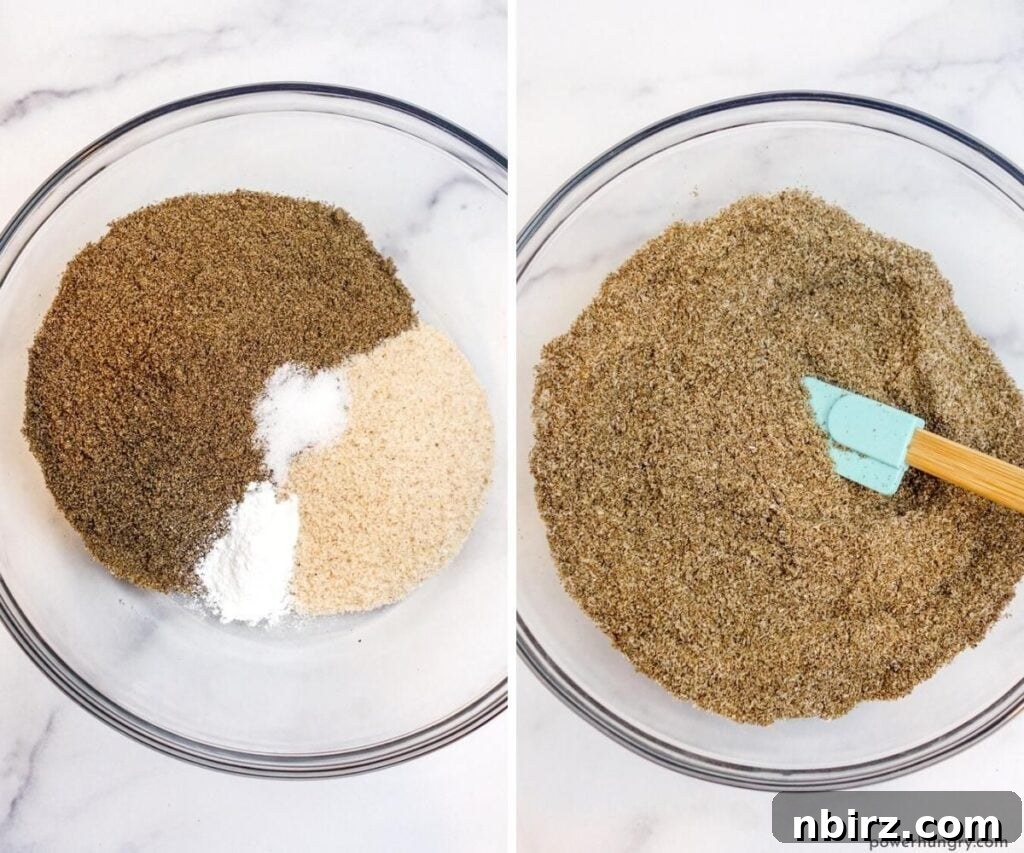
In a large mixing bowl, whisk together the finely ground chia seeds (chia flour), whole psyllium husks, baking powder, and optional salt to ensure even distribution.
Step Four: Add Water
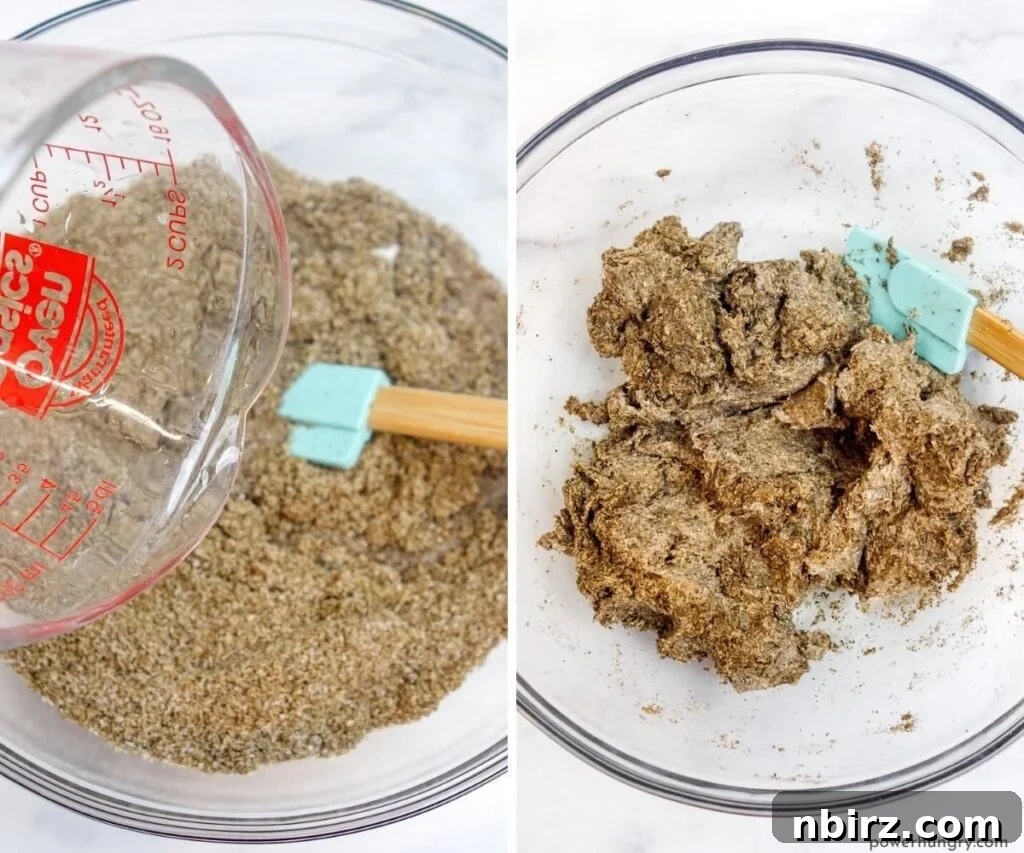
Pour the warm water into the bowl. Use a silicone or rubber spatula to stir, scraping the sides, until the ingredients form a rough dough. The dough will be thick and sticky.
Step Five: Shape the Loaf
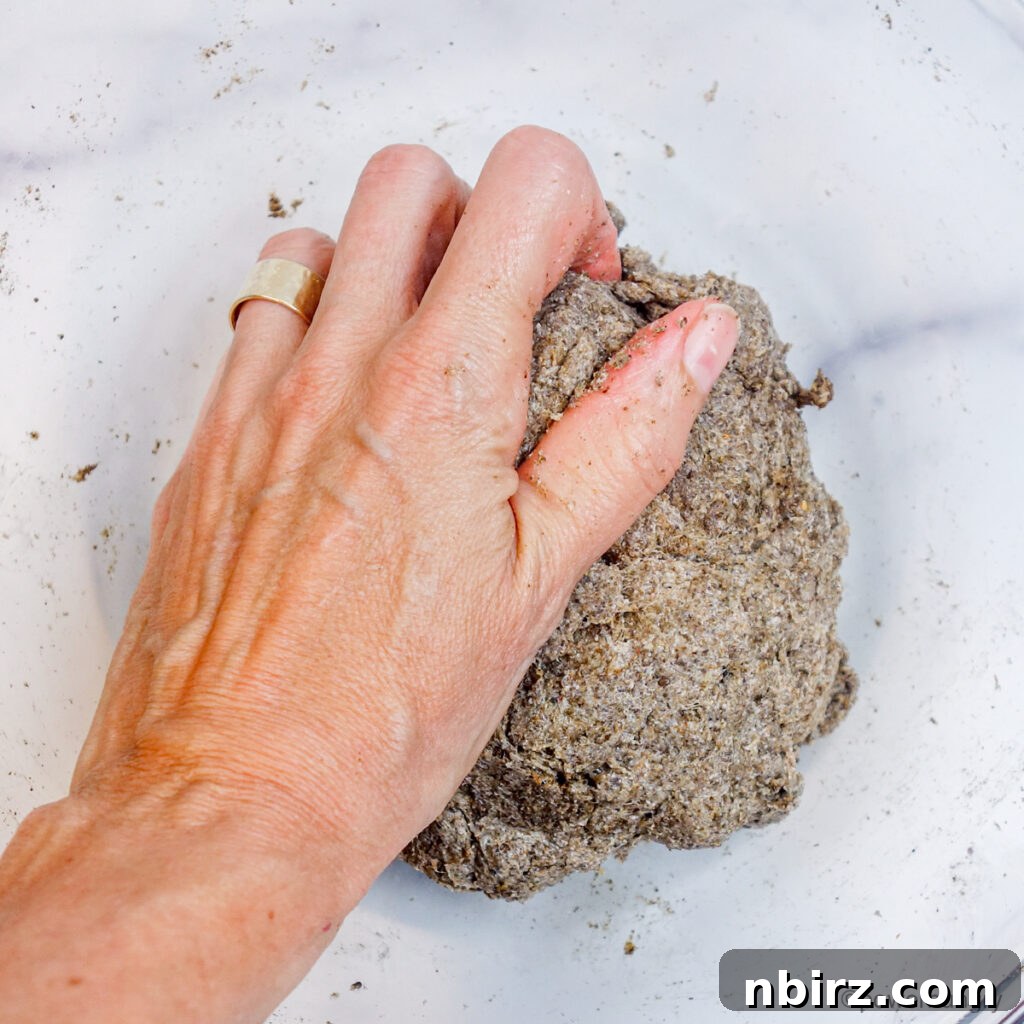
Wet your hands with water to prevent the dough from sticking. Gather and squeeze the dough into a cohesive ball using your damp hands.
Transfer the dough ball to the lined baking sheet and shape it (again with wet hands) into an 8×4-inch (20×10 cm) loaf. Smoothing the top and rounding the ends will give it an even shape.
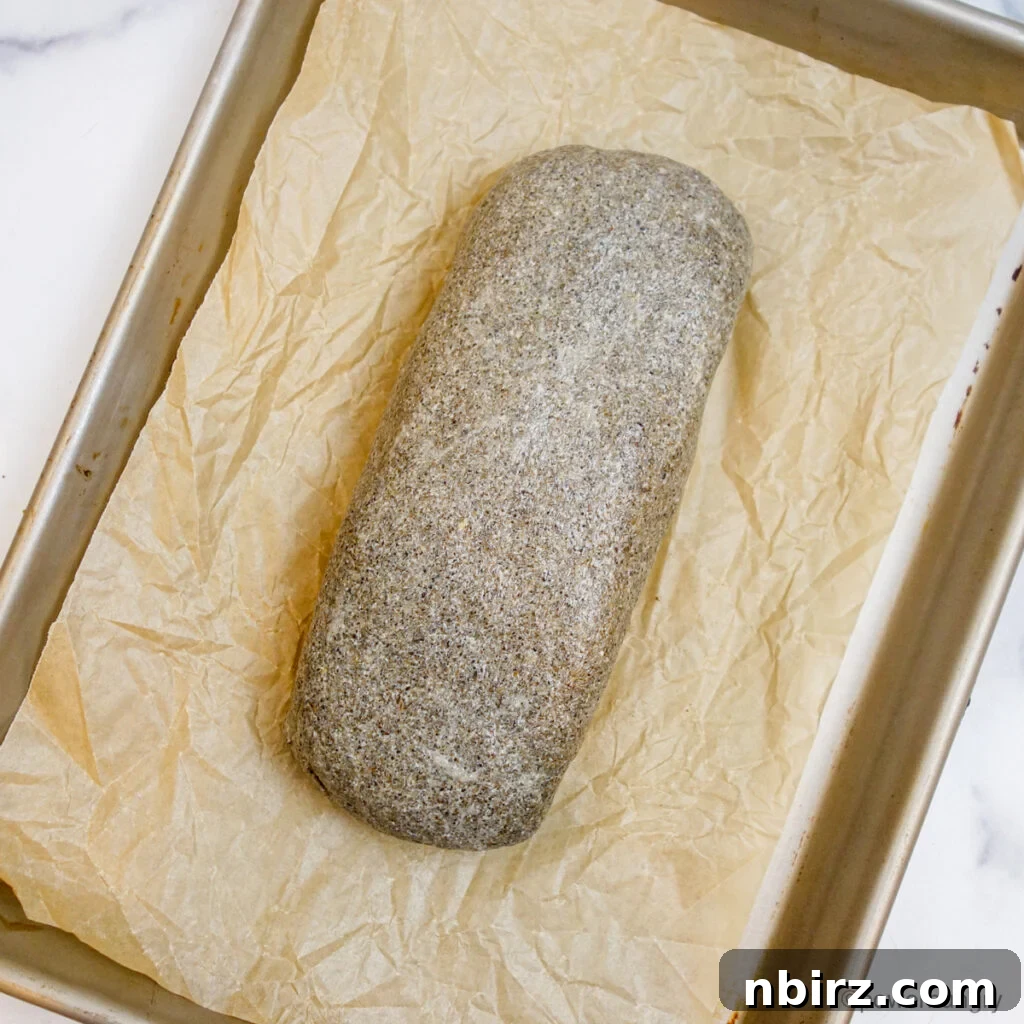
Step Six: Bake
Bake the loaf in the preheated oven for 50 to 55 minutes, or until it has risen and the surface appears dry. The loaf should be dark golden brown with a firm crust.
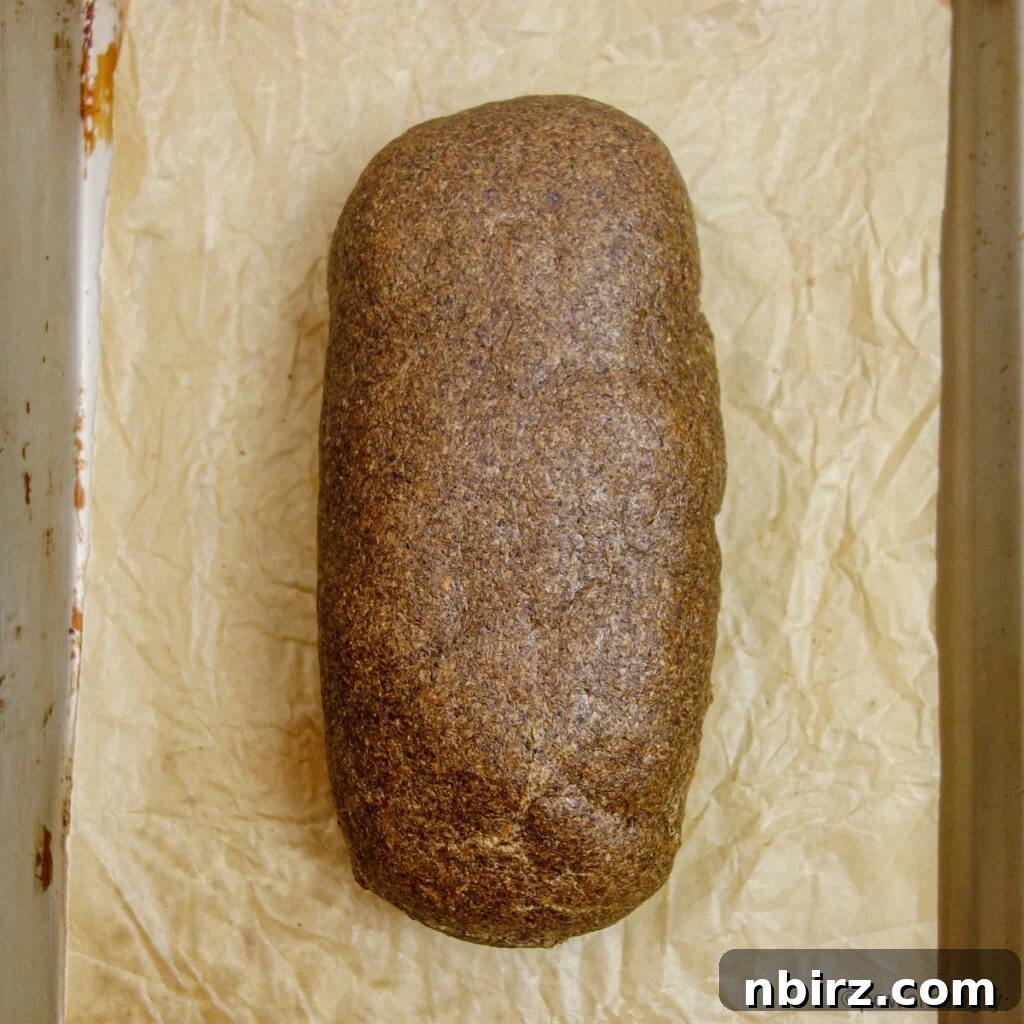
Step Seven: Cool the Bread
Transfer the baked loaf to a cooling rack and allow it to cool completely before slicing. This step is essential for the bread to set properly.
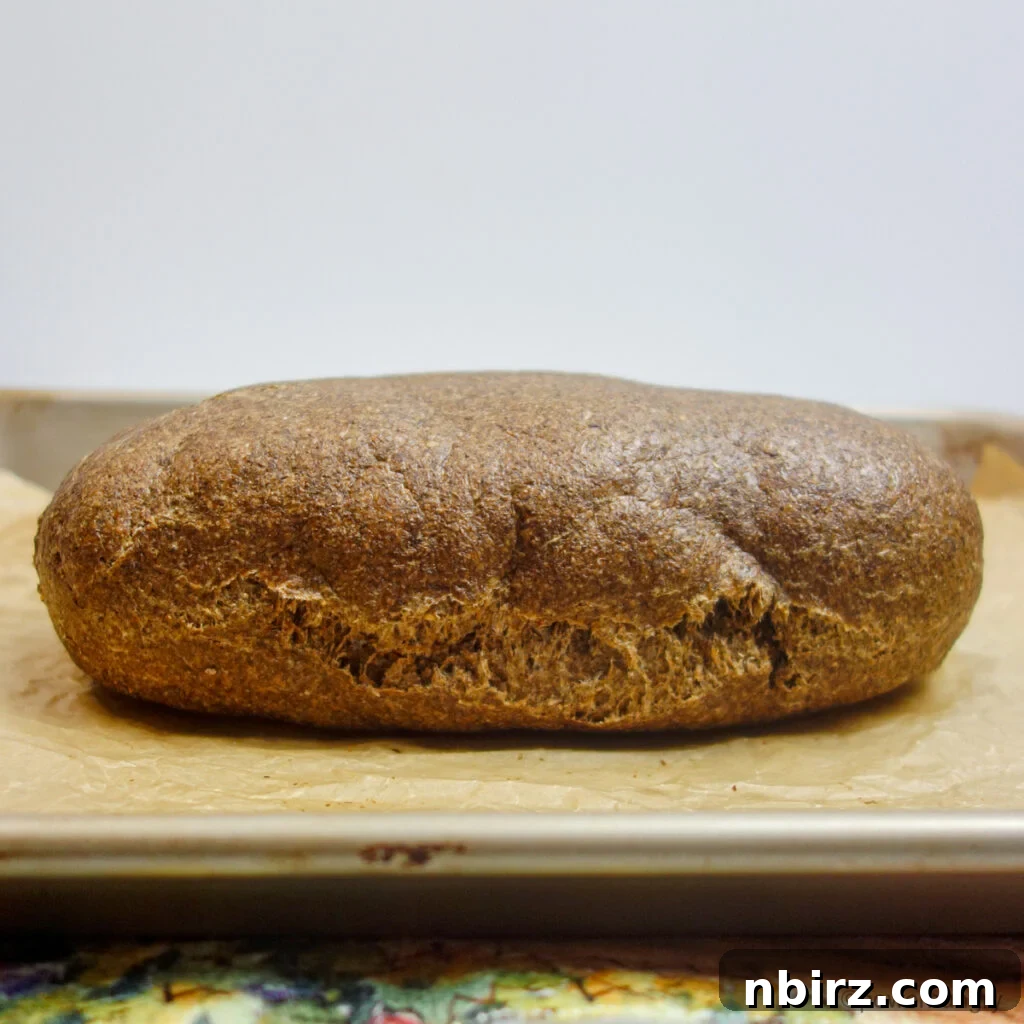
Enjoy your nutritious and delicious loaf!
Frequently Asked Questions (FAQ)
- How should I store the bread?
Store the cooled bread in an airtight container at room temperature for one day, in the refrigerator for up to two weeks, or in the freezer for up to six months. Due to the high fat content of chia seeds, refrigeration or freezing after the first day is recommended to prevent spoilage.
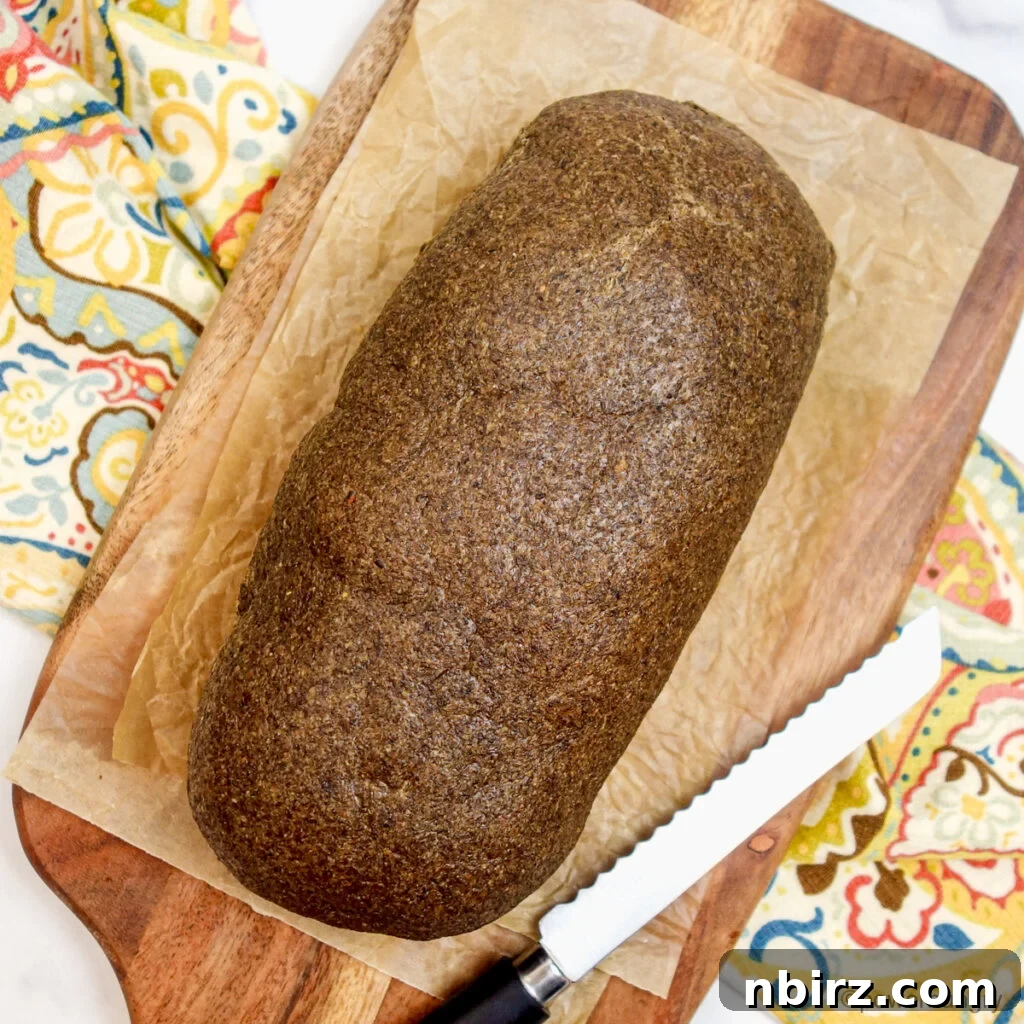
- What is the taste and texture of the bread?
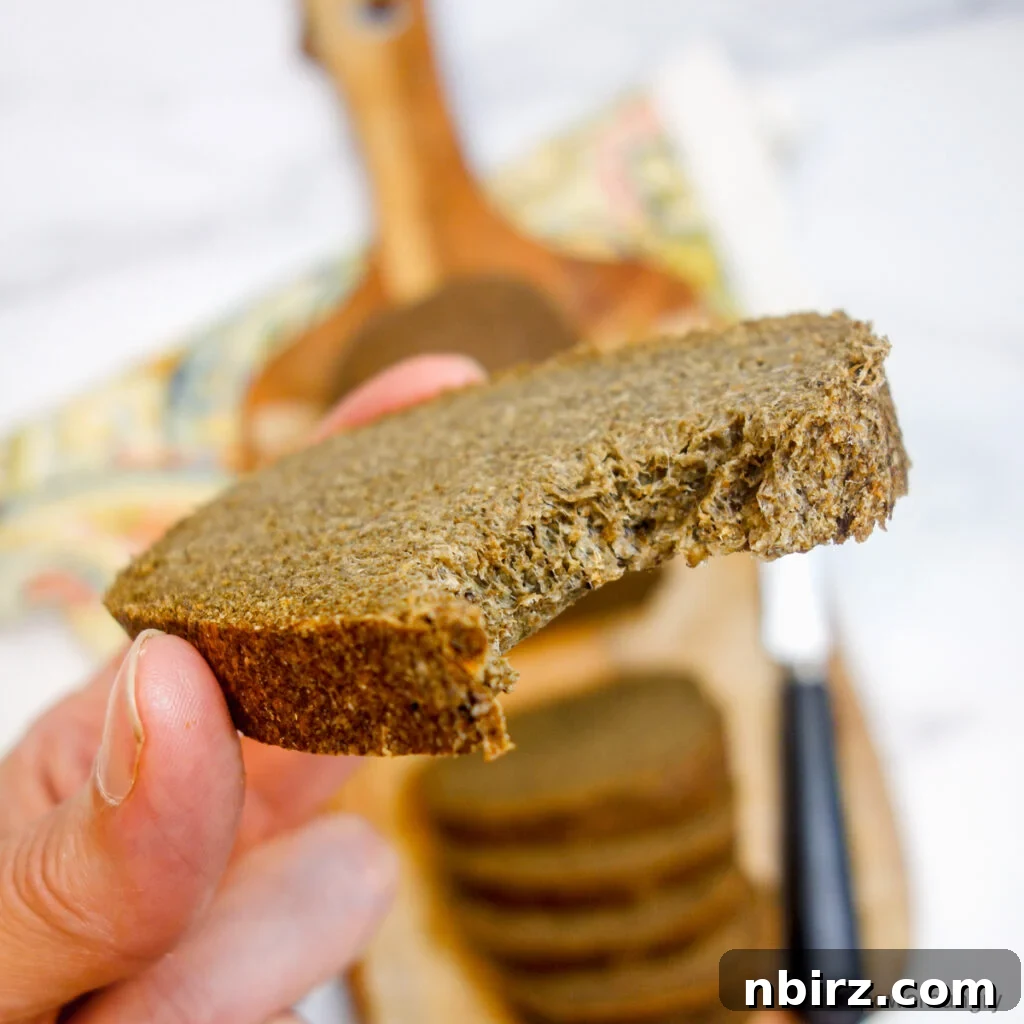
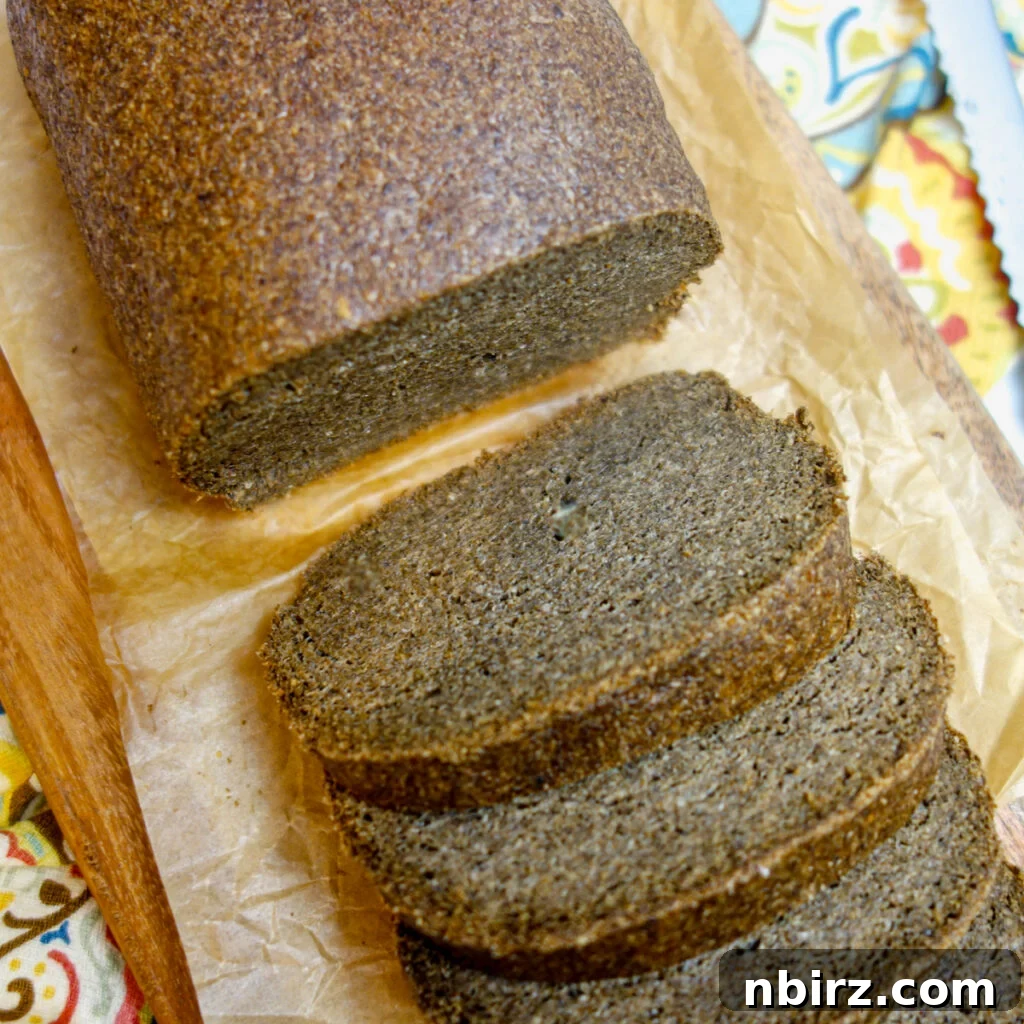
The 100% chia firm sandwich bread has a pleasant, dark golden-brown crust and a firm texture. Its nutty flavor is reminiscent of whole wheat bread. It’s also very filling; a small slice provides a satisfying amount of nutrition.
- Is this a crusty loaf?
No, it has a consistent texture throughout and is not particularly crusty.
- How do I use this healthy bread for sandwiches?
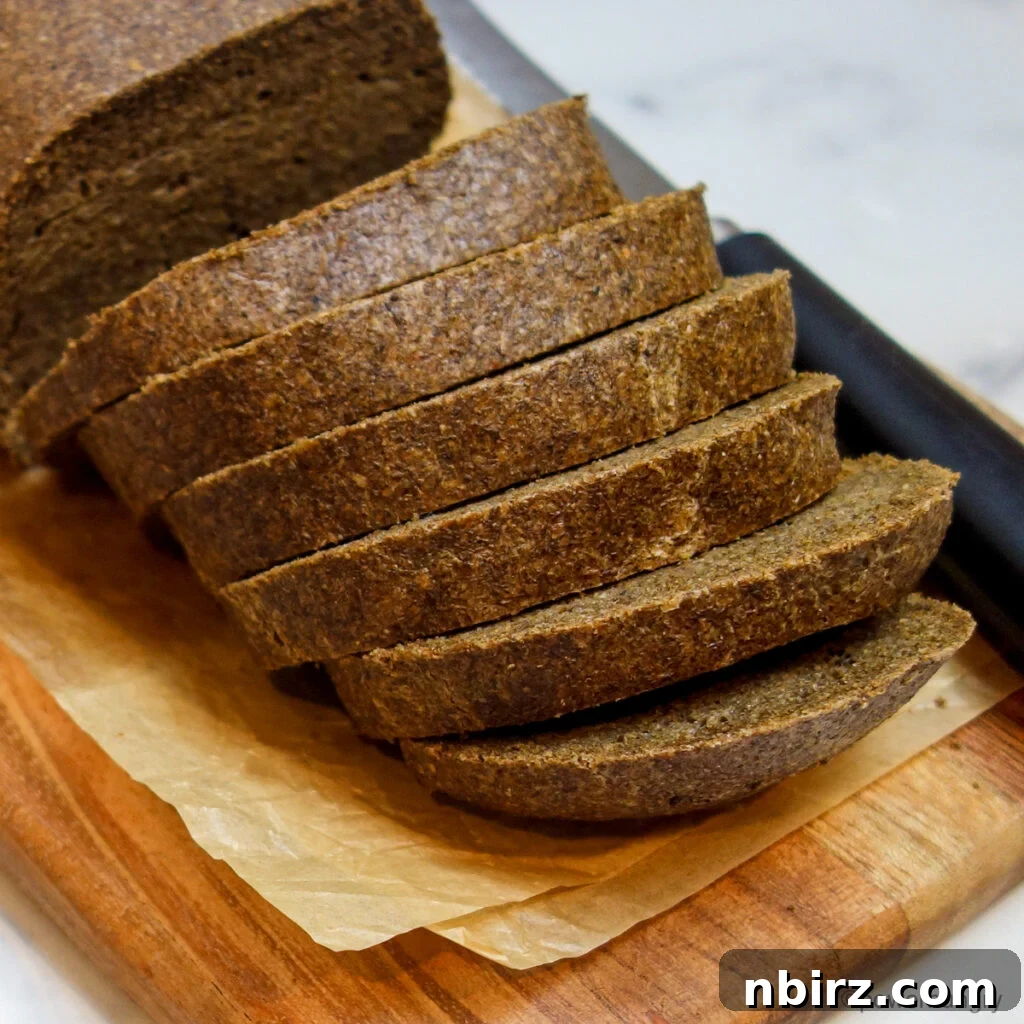
Its firm texture allows you to cut slices as thick or thin as you desire for your sandwich fillings. Thinner slices are recommended for closed sandwiches, while thicker slices are great for open-face sandwiches.
- My bread is gooey inside. Why?
If your bread comes out gooey, it’s likely due to one or more of the following reasons:
- Inaccurate oven temperature: Use an oven thermometer to regularly check your oven’s accuracy.
- Insufficient baking time: Ensure you bake the bread for the entire recommended time.
- Slicing before cooling: The bread must cool completely before slicing.
- Inaccurate ingredient measurements: Use a kitchen scale for precise measurements, especially for chia seeds and psyllium husk.
- Can I use different flours instead of ground chia seeds (chia flour)?
No, this recipe will not work as written with other flours such as buckwheat flour, almond flour, or wheat flour.
- Can I replace ground chia seeds with flaxseed meal?
Yes, most likely. Use an equal weight of flaxseed meal (finely ground into a very fine flour, or an equal weight of whole flax seeds that have been ground into a fine flour). Keep the other ingredients and bake time the same. While not tested, it should work well!
- Can I make this bread in a bread maker (bread machine)?
This hasn’t been tested, so specific recommendations can’t be made.
- Can I bake this homemade sandwich bread in a loaf pan?
Yes! Shape the loaf as directed and place it into a parchment paper-lined or greased 8-inch loaf pan (8×4 inches/20×10 cm). It may need a few minutes less baking time compared to baking on a baking sheet.
- Can I sprinkle seeds on top of the bread before baking?
Yes! Sesame seeds, green pumpkin seeds (pepitas), poppy seeds, shelled sunflower seeds, or hemp hearts (shelled hemp seeds) are all great options.
- Can I use psyllium powder instead of whole psyllium husks?
Possibly. While not tested, it should theoretically work. Use an equal weight (40 grams) of psyllium powder to replace the whole psyllium husks.
Serving Suggestions
This chia bread is versatile and pairs well with many toppings. Here are a few suggestions:
- Peanut butter (or other nut or seed butters)
- Sliced or mashed avocado
- Sliced or mashed bananas
- Vegan cream cheese
- Dairy-free Greek yogurt with a drizzle of maple syrup
Happy Baking!
Related Recipes
- 2-Ingredient Chia Bread (V, GF, K, Oil-Free)
- 100% Chia Breakfast Cookies (V, GF, Oil-Free)
- Vegan Maple Chickpea Flour Banana Breads {grain-free, oil-free}
- 3-Ingredient Chia Millet Bread (V, GF, Oil-Free)
- 4-Ingredient Vegan Power Bread {oil-free, GF}
100% Chia Firm Sandwich Bread (vegan, gluten-free, oil-free)
Camilla
10
55
1
5
1
loaf (12 slices)
Ingredients
-
8
ounces
chia seeds -
1/2
cup
whole psyllium husks -
2
teaspoons
baking powder,
(certified GF, as needed) - Optional: 1/2 teaspoon salt
-
1.5
cups
water,
(I use filtered tap water)
Metric
Instructions
-
Preheat the oven to 375 F (190C) degrees. Line a large baking sheet with parchment paper.
-
Using a blender or a clean coffee mill, grind the chia seeds into a fine flour.
-
In a large mixing bowl, whisk together the finely ground chia seeds (chia flour), whole psyllium husks, baking powder, and the (optional) salt.
-
Add the warm water to the bowl. Stir with a silicone or rubber spatula, scraping the sides of the bowl, until the ingredients are combined into a rough dough (it will be very thick and sticky).
-
Use some water to wet your hands (I place of small bowl of water in my work area for this purpose).
-
Use damp hands to gather and squeeze the dough into a cohesive ball.
-
Transfer the ball to the lined baking sheet and shape (again, with moistened hands) into an 8×4-inch (20×10 cm) loaf.
-
Re-wet your hands. Smooth the top and round off the ends of the dough into an even loaf.
-
Bake the loaf in the preheated oven for 50 to 55 minutes until risen and the surface of the loaf appears dry. The loaf will be dark golden brown in color, and crust of the bread should be firm.
-
Transfer the loaf to a cooling rack. Let the bread cool completely before slicing.
Notes
Flaxseed Meal Option: I have not tested it, but you can likely subsitute an equal weight of finely ground (into a flour) flax seeds for the chia seeds.
Loaf Pan Option: Shape the loaf as directed and place into a parchment paper-lined (or greased) 8-inch loaf pan (8×4 inches/ 20×10 cm). The bread will need less time to bake on a baking sheet.
Psyllium Powder in Place of Whole Psyllum Husks: I have not tested the bread with psyllium powder, but theoretically it should work. Be sure to use an equal weight (40 grams) of psyllium powder to replace the whole psyllium husks (not volume).