
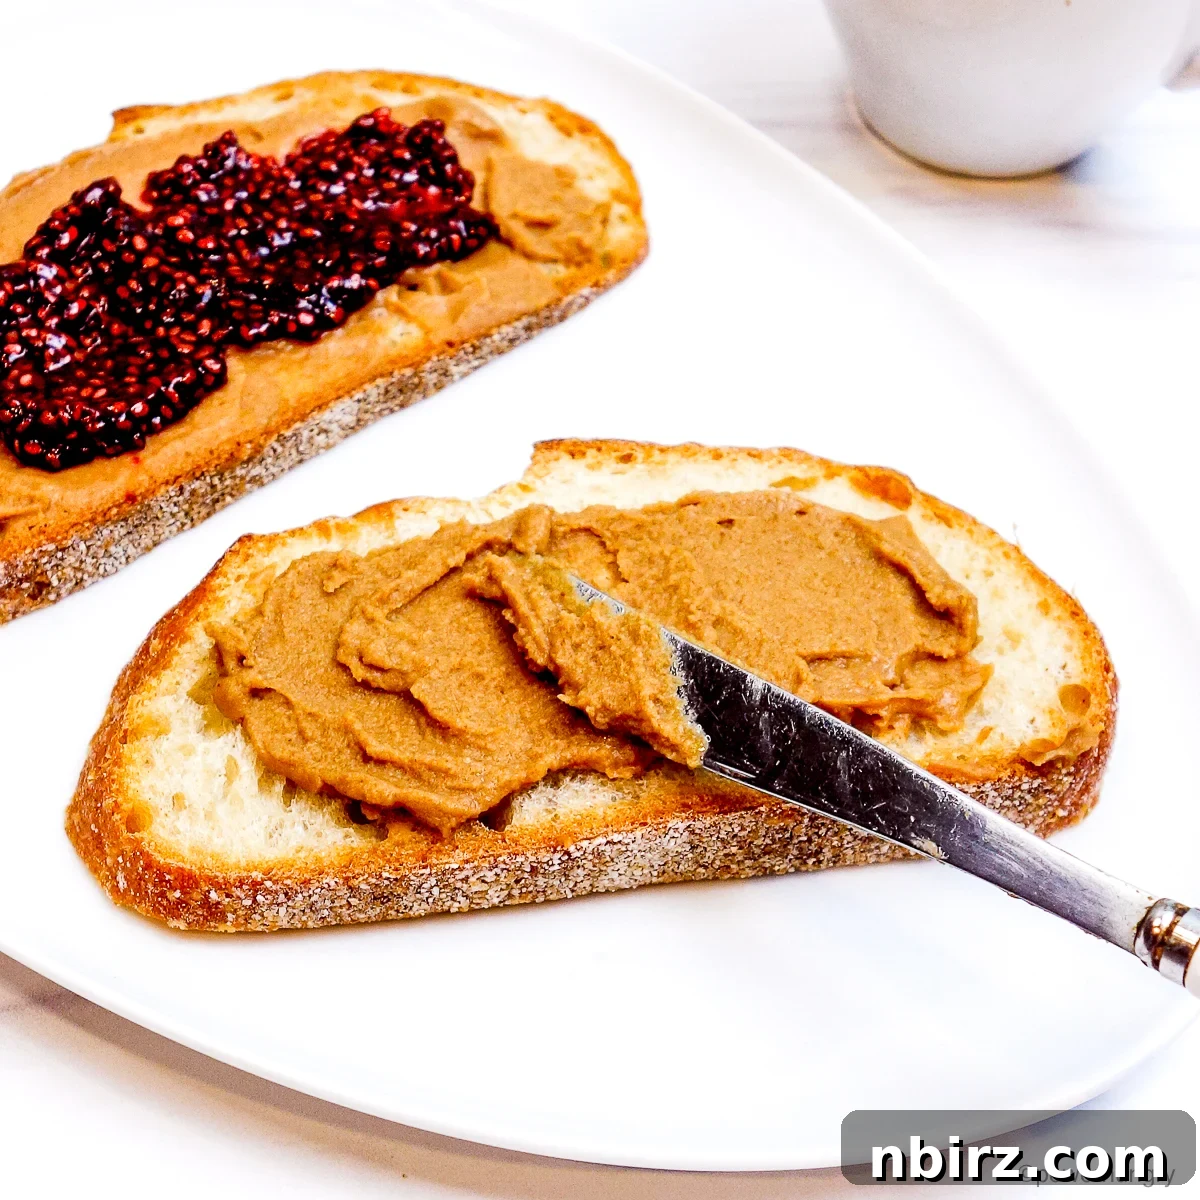
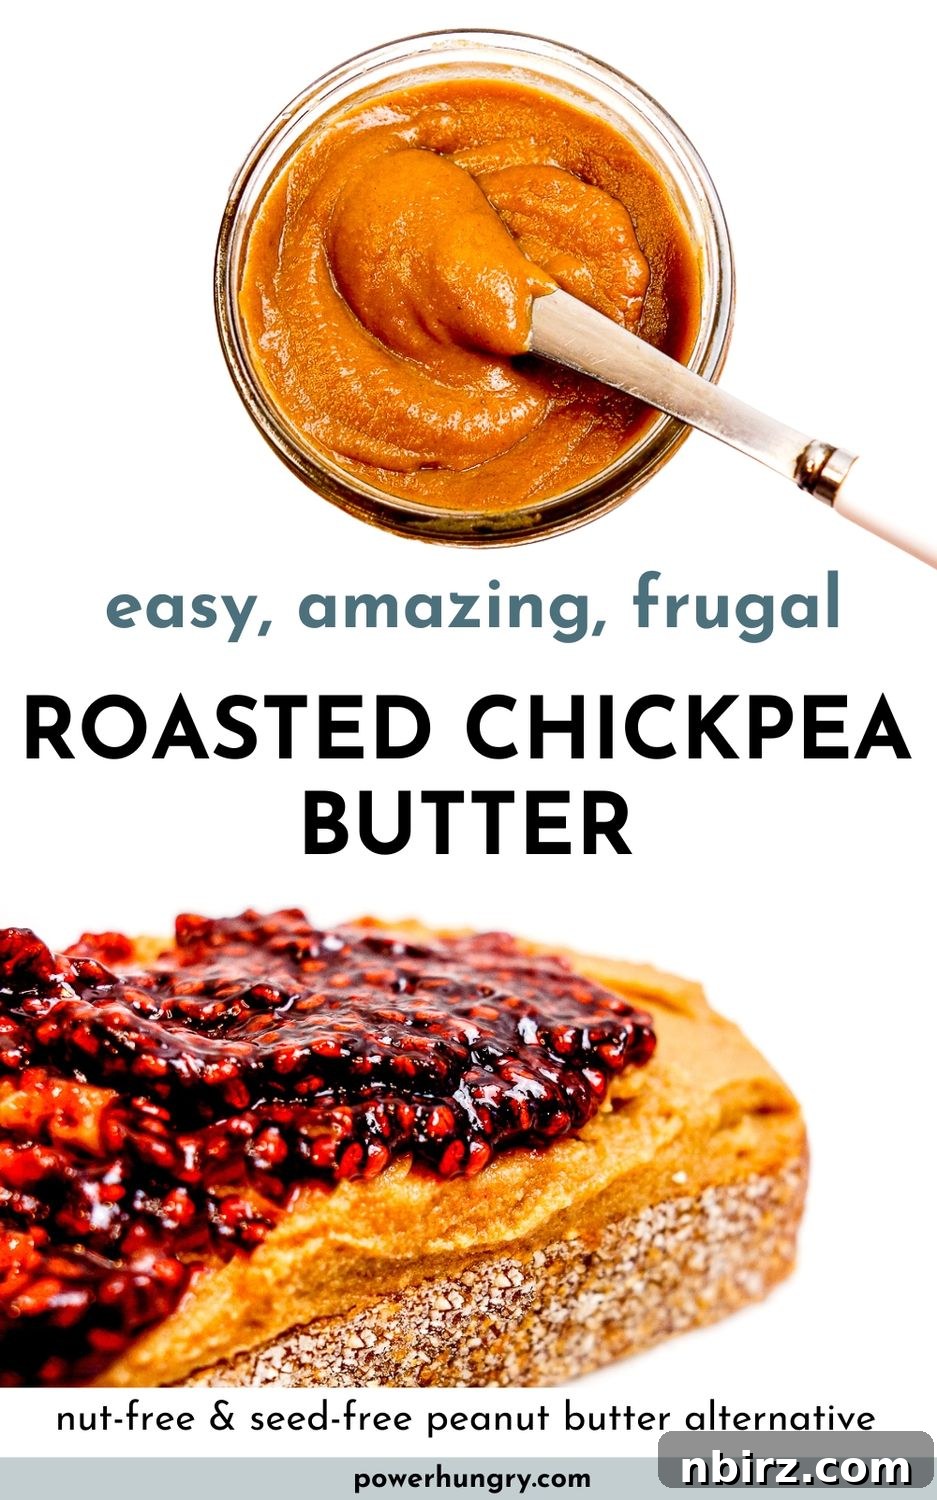
Prepare to absolutely ❤️ love ❤️ this exceptionally smooth and deeply flavorful roasted chickpea butter! It stands out as the perfect nut-free and seed-free alternative to traditional peanut butter, ideal for anyone navigating food allergies or simply seeking a delicious new spread. Crafted right on your stovetop, it develops a rich, nutty taste that you’ll be eager to spread on everything from toast to smoothies.
Roasted Chickpea Butter: Your Go-To Nut-Free Spread
For many, peanut butter alternatives are not just a preference but a necessity. The journey of finding safe and delicious spreads for those with allergies, especially peanut and tree nut allergies, can often be challenging. My own family history, with a sister who suffered from severe peanut and hazelnut allergies decades ago, deeply rooted my commitment to creating safe and satisfying food options. I recall countless instances where well-meaning but misinformed adults disregarded her allergy, believing “a little bit” wouldn’t hurt. Thankfully, food allergy awareness has vastly improved since then, but the need for reliable alternatives remains.
That’s precisely why I am so excited to share this roasted chickpea butter recipe. It’s more than just a spread; it’s a comforting solution for individuals with peanut, tree nut, and even seed allergies, as well as for the dedicated food preparers and shoppers in their lives. This recipe eliminates common allergens without sacrificing taste or texture, offering a safe indulgence that everyone can enjoy.
Beyond its allergy-friendly attributes, the primary reason I adore this roasted chickpea butter is its simply incredible flavor. It’s so good, you’ll want to make it even if you regularly enjoy peanut butter (like me!). The roasting process of the chickpea flour brings out an unexpected depth, mimicking the rich, roasted notes found in nuts. Moreover, it’s remarkably frugal and straightforward to prepare at home, making it a win-win for your taste buds and your wallet. Hooray for homemade deliciousness!
Exceptional Benefits of This Chickpea Butter Recipe
This unique legume-based spread offers an array of benefits, making it an outstanding choice for diverse dietary needs and preferences. It’s more than just a substitute; it’s a culinary star in its own right:
- Nut-Free: Completely free from peanuts, almonds, cashews, and all other tree nuts, making it safe for individuals with severe nut allergies.
- Seed-Free: Developed without sunflower seeds, pumpkin seeds (pepitas), or other common seeds, catering to those with specific seed sensitivities.
- Vegan: Prepared entirely from plant-based ingredients, it’s naturally egg-free and dairy-free, perfect for vegan lifestyles.
- Grain-Free & Gluten-Free: Made from chickpea flour, which is a legume, not a grain, it naturally avoids gluten and other grains. This makes it suitable for celiac disease and other gluten-sensitive diets.
- Easy to Make: The preparation process is surprisingly simple, requiring minimal equipment and straightforward steps. You don’t need to be a gourmet chef to achieve perfect results.
- Frugal: Chickpea flour is an economical ingredient, making this homemade butter a cost-effective alternative to expensive store-bought allergy-friendly spreads.
- Soy-Free: No soybeans, soy nut butter, or tofu are used, addressing another common allergen and dietary concern.
With such an impressive list of attributes, this roasted chickpea butter is not only safe for many but also aligns with a variety of healthy and conscious eating patterns.
Essential Ingredients for Your Homemade Chickpea Butter
You’ll find the precise measurements for each ingredient detailed in the recipe card at the conclusion of this post. Feel free to switch between US Customary (volume) and Metric (weights) for your preferred measurement system.
Crafting this delicious peanut butter substitute requires just a handful of simple ingredients, most of which you might already have in your pantry. Each plays a crucial role in achieving the desired nutty flavor and creamy texture:
- Chickpea Flour: Also widely known as garbanzo bean flour or besan. This is the star ingredient, providing the foundational flavor and protein. Roasting it is key to developing its deep, nutty profile.
- Coconut Oil: This adds richness and helps create that wonderful smooth, spreadable consistency. It also aids in the roasting process of the chickpea flour. (Refer to the notes section or FAQ for alternative oils.)
- Coconut Sugar: Contributes a subtle, caramel-like sweetness that perfectly balances the savory notes of the chickpeas, mimicking the natural sweetness found in roasted peanuts. (See notes for other sweetener options.)
- Vanilla Extract: A touch of vanilla enhances the overall flavor, adding a warm, aromatic dimension that elevates the spread.
- Salt: Essential for bringing out all the flavors and providing a balanced taste. Use table salt or kosher salt according to your preference.
Additionally, you will need some boiling water to achieve the ideal smooth consistency during blending. I recommend using filtered tap water for the best results.
Detailed Step-by-Step Directions for Perfect Roasted Chickpea Butter
For your convenience, the complete, detailed directions are also provided in the comprehensive recipe card below.
Making this delightful chickpea butter is a straightforward process, primarily done on the stovetop. Follow these steps carefully for the best results:
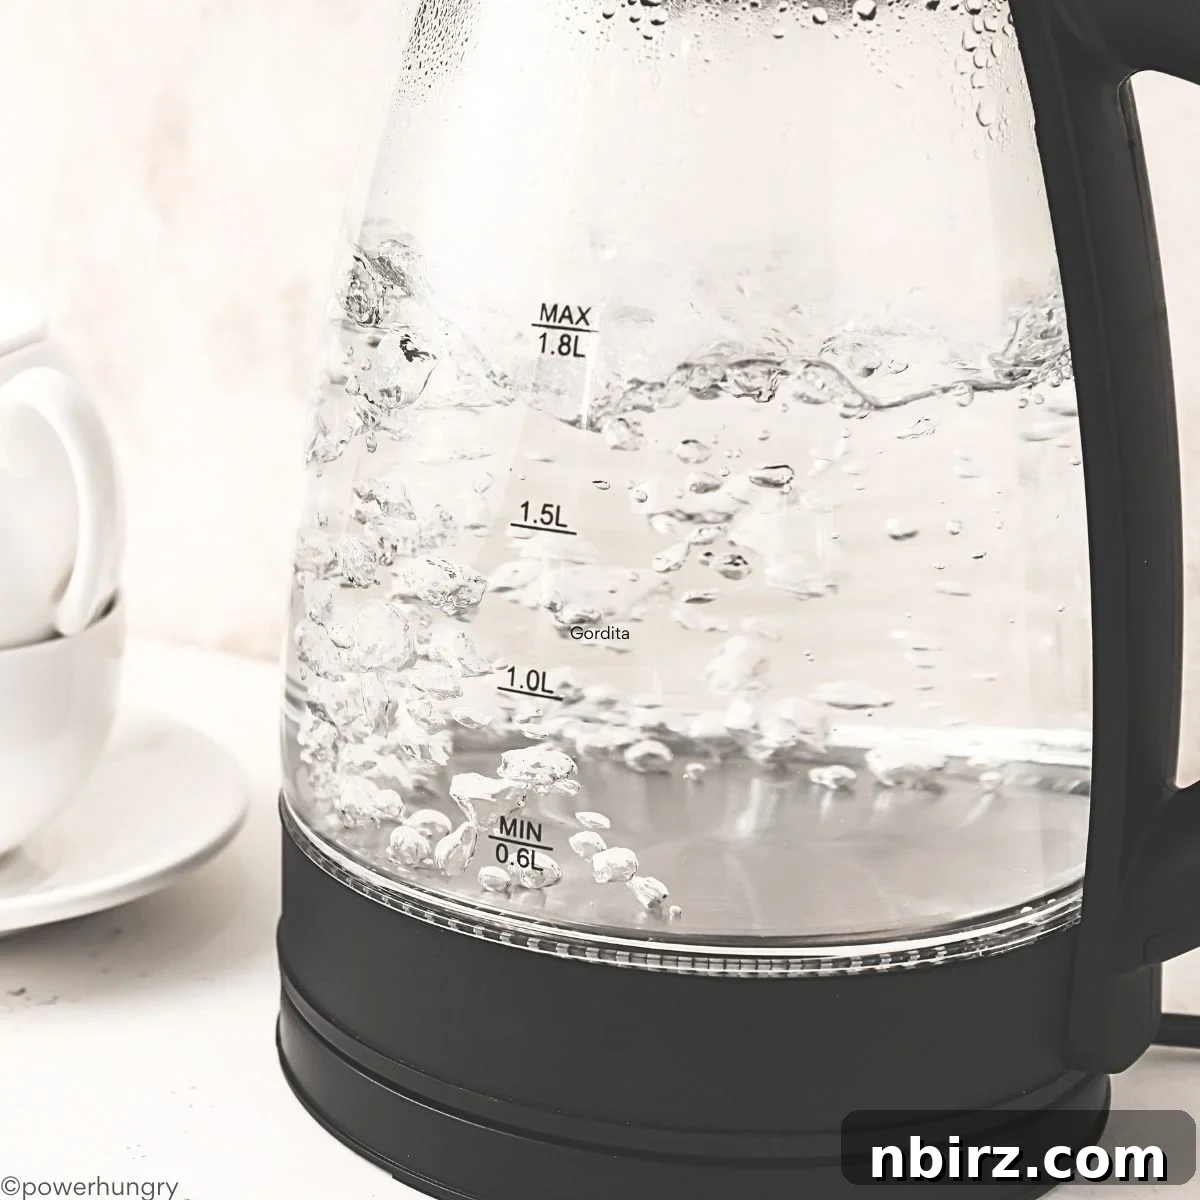
Step One: Prepare Boiling Water in Advance
It’s crucial to have your boiling water ready when you need it. Begin by bringing about 2 cups of water to a boil in a small saucepan or an electric kettle. It’s wise to boil slightly more than 2 cups to account for any evaporation during the process. This water will be needed immediately after the chickpea flour is browned, so start it well in advance – do not wait until the flour is roasted!
Step Two: Gently Melt the Coconut Oil
In a large nonstick skillet (or a spacious pot, if preferred), add the coconut oil. Place the skillet over medium heat and allow the coconut oil to melt completely, becoming a clear liquid. Ensure it’s evenly distributed across the pan, creating a perfect base for roasting the flour.
Step Three: Incorporate Chickpea Flour and Salt
Once the coconut oil is fully melted and shimmering, add the chickpea flour and salt directly into the skillet. Using a spoon or spatula, stir diligently to combine the dry ingredients thoroughly with the melted coconut oil. The mixture will form a thick paste or crumbly texture.
Step Four: Roast the Chickpea Flour to Perfection
Continue to cook and stir the chickpea flour mixture over medium heat (or reduce to medium-low if it seems to be browning too quickly). This roasting step is crucial for developing the deep, nutty flavor. Stir constantly for approximately 5 to 6 minutes, until the mixture transforms into a rich, dark golden brown color. Don’t rush this process; the color change is your indicator of readiness and flavor development.
Step Five: Add Boiling Water and Coconut Sugar
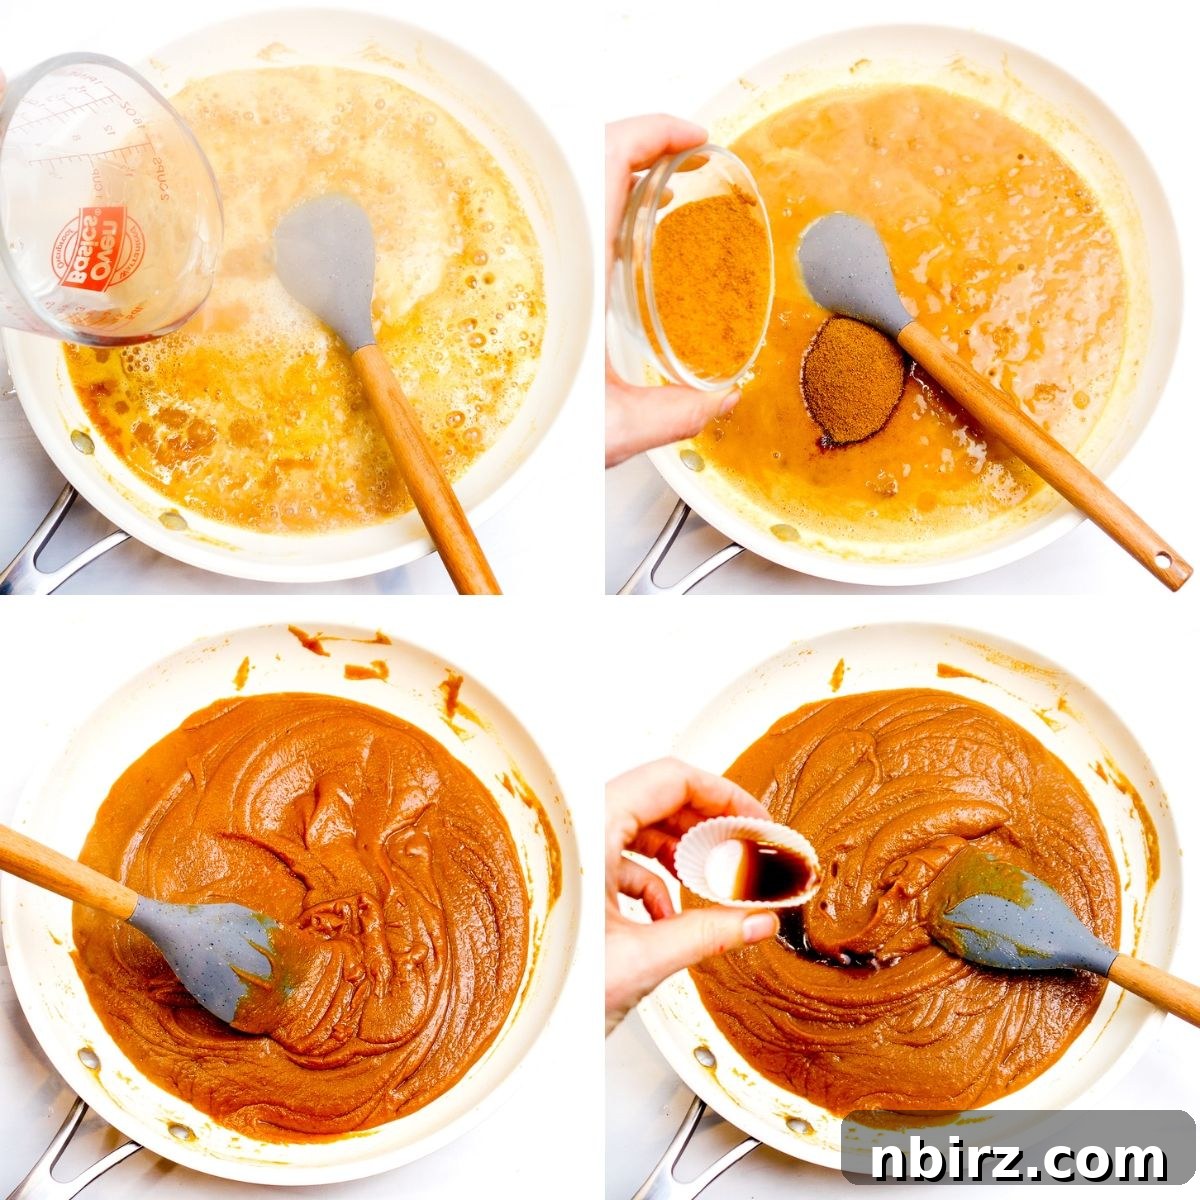
Reduce the heat to low. Carefully and slowly pour the 2 cups of boiling water into the skillet. The mixture will bubble up quite vigorously at first, so add it gradually. Once it settles, it will transform into a simmering, thick mixture. Now, add the coconut sugar to the skillet and stir well to combine. Continue to cook and stir the mixture for another 6 to 7 minutes. During this time, it will become an even richer, very dark golden brown color. It will appear darker than the final blended product, which will lighten slightly. Finally, remove the skillet from the heat and stir in the vanilla extract, ensuring it’s thoroughly mixed.
Step Six: Allow the Mixture to Cool Thoroughly
This cooling step is essential for achieving the perfect consistency in your finished chickpea butter. Set the skillet aside and let the mixture cool down completely at room temperature. Alternatively, for faster cooling, scrape the warm mixture into a heatproof bowl, allow it to cool, and then refrigerate it until it’s thoroughly chilled and firm. Do not proceed to blending until it’s completely cool.
Step Seven: Blend to Silky Smoothness
Once the chickpea butter mixture is completely cooled, transfer it to a high-speed blender or food processor. Process the mixture, stopping frequently to scrape down the sides of the container with a spatula. Continue blending until the butter is exceptionally smooth, free of any graininess, and has lightened slightly in color. Patience here pays off for that luxurious texture.
Important Note: If you find the butter to be too thick during blending, add more water, one tablespoon at a time, and continue processing. Repeat until you achieve your desired, perfectly spreadable consistency.
Step Eight: Chill for Firmness and Optimal Texture
Transfer your freshly blended roasted chickpea butter into an airtight container (or several smaller containers, if you prefer). Recycled jam jars work wonderfully for this purpose. Refrigerate the butter for a minimum of two hours, or until it is thoroughly cold and firm. During this chilling period, the butter will thicken considerably, reaching a consistency that is delightfully similar to natural peanut butter – firm enough to hold its shape, yet still perfectly spreadable.
Storage Guidelines for Roasted Chickpea Butter
Proper storage ensures your homemade roasted chickpea butter stays fresh and delicious for longer. Store it in an airtight container, such as clean, recycled jam jars, in the refrigerator. It will maintain its quality for up to 1 month. Always use clean utensils to scoop out the butter to prevent contamination.
- Can I Freeze Roasted Chickpea Butter? Absolutely! For extended storage, transfer the chickpea butter into an airtight, freezer-safe container. It can be kept in the freezer for up to 6 months. When you’re ready to use it, simply defrost it in the refrigerator. I highly recommend re-blending the butter after defrosting to restore its original smooth and creamy texture.
Understanding the Taste & Texture of Roasted Chickpea Butter
In essence, this roasted chickpea butter offers a taste and texture remarkably similar to a smooth, natural peanut butter. The secret lies in the careful roasting of the chickpea flour, which develops a deep, earthy, and distinctly nutty flavor profile without any actual nuts. The addition of coconut sugar and vanilla extract delivers a light, appealing sweetness that beautifully mirrors the subtle natural sweetness found in roasted peanuts, ensuring the butter is flavorful without being overly sugary. You’ll find it incredibly satisfying, with a richness that truly stands out.
Versatile Serving Suggestions for Your Chickpea Butter
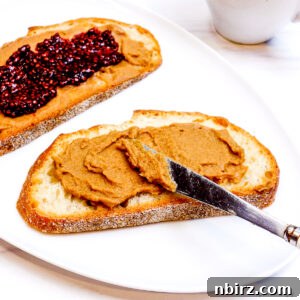
My absolute favorite way to enjoy this delicious spread? Forget the classic PB&J it’s time to embrace the CB&J – Chickpea Butter and Jam sandwiches! This is just the beginning of its potential.
You will absolutely ❤️ love ❤️ spreading this creamy, subtly toasted butter on almost anything you’d typically use nut butter for. Imagine it generously slathered on warm bagels, freshly toasted bread, fluffy English muffins, or crisp crackers. The possibilities are truly endless!
- Versatile Substitutions: Feel free to use roasted chickpea butter as a direct substitute for peanut butter, tahini, sunflower seed butter, almond butter, or cashew butter in a wide array of recipes. It works beautifully in creamy smoothies, rich dips, savory sauces, hearty soups, tangy salad dressings, and vibrant stir-fries. Its robust flavor holds up well and adds a unique depth to your dishes.
- Baking Adventures: To date, I haven’t extensively tested roasted chickpea butter as a direct replacement for peanut butter in baking recipes (such as cakes, cookies, muffins, and breads). However, this is next on my culinary agenda! I will begin testing soon and promise to post exciting updates as I discover its potential in baked goods. Stay tuned for delicious new ideas!
Frequently Asked Questions About Roasted Chickpea Butter
- Can I Use Canned Chickpeas Instead of Chickpea Flour for This Recipe?
No, this particular recipe is specifically formulated for chickpea flour and will not work with canned or cooked chickpeas. The protein structure and moisture content of cooked chickpeas are entirely different from uncooked chickpea flour (think of the difference between a cooked egg and a raw egg). In most cooking applications, these two forms of chickpeas are not interchangeable. - Could I Experiment with Other White Bean Flours?
It’s possible, but I have only tested this recipe with chickpea flour, which offers a unique flavor and texture. You are welcome to experiment with grinding other white bean flours, such as ground lima beans, ground fava beans, or ground cannellini beans. If you choose to do so, use the same measurements and follow the instructions precisely, but be aware that the final taste and consistency may vary. - Is it Possible to Omit the Sugar Entirely?
While you can technically leave out the coconut sugar, I strongly advise against it for this recipe. The small amount of coconut sugar used is critical; it imparts a very light sweetness that is essential for mirroring the natural sweetness found in roasted nuts and peanut butter. Without it, the spread tends to have a more savory, almost hummus-like flavor profile, which, while delicious, diverges significantly from the intended peanut butter alternative experience. - Are There Any Other Flavorings I Could Add to the Chickpea Butter?
Absolutely! This recipe is a fantastic base for customization. Consider adding a generous pinch to 1 teaspoon of ground cinnamon, ginger, cardamom, allspice, or pumpkin pie spice for a warm, aromatic twist. For a delightful chocolate version, stir in several tablespoons of cocoa powder, or add some cacao nibs for an enjoyable chocolatey crunch. - What are Some Good Substitutes for Coconut Sugar?
You can easily swap coconut sugar with an equal amount of brown sugar, natural cane sugar, maple syrup, date syrup, or agave nectar. If you prefer a sugar-free alternative, options like monk fruit or xylitol can be used; however, these should be added off the heat, to taste, just before the final blending step. - What Alternatives Can I Use for Coconut Oil?
For the coconut oil, you can use an equal amount of melted plant-based butter (ensure it’s a solid vegan butter, not a tub-style spread), a mild olive oil, or avocado oil. It’s important to note that if you use mild olive oil or avocado oil, the chickpea butter will not set as firmly in the refrigerator compared to versions made with coconut oil or melted plant butter. - Can I Make This Recipe Completely Oil-Free?
I haven’t tested an entirely oil-free version of this recipe. However, you might achieve a similarly creamy spread by replacing a significant portion of the water with full-fat coconut milk or coconut cream. This could potentially provide the richness and texture without added oil. Further experimentation would be needed to confirm the best ratios and results.
Happy Cooking! Enjoy your delicious, versatile, and allergy-friendly roasted chickpea butter!
Related Peanut Butter Inspired Recipes
If you love the concept of versatile spreads or peanut butter flavors, explore these other delicious recipes:
- Vegan Grain-Free Peanut Butter Muffins (Oil-free)
- 2-Ingredient Peanut Butter Banana Cookies (V, GF, oil-free)
- Chocolate Chip Peanut Butter Banana Oat Bars (4 ingredients)
- 4-Ingredient Peanut Butter Energy Balls (V, GF, No Oats)
- 3-Ingredient Oil-Free Peanut Butter Granola (V, GF)
Print Recipe
Roasted Chickpea Butter (Nut-Free Peanut Butter)
15
12
28 tablespoons
Equipment
-
1 large nonstick skillet (or other large skillet or large saucepan)
Ingredients
- 2 cups boiling water
- 1 cup chickpea flour, (aka, garbanzo bean flour or besan)
- 1/4 cup coconut sugar, (see notes for options)
- 1/2 cup coconut oil, (see notes for options)
- 1/2 teaspoon salt
- 2 teaspoons vanilla extract
Instructions
-
Begin to boil just over 2 cups of water in a saucepan or a kettle (this is more than you will need to allow for evaporation). You will need this immediately after browning the chickpea flour (do not wait until the chickpea flour is brown before starting to boil the water!).
-
In a large nonstick skillet (or use a large pot), melt the coconut oil over medium heat.
-
Add the chickpea flour and salt to the skillet. Stir to combine with the coconut oil.
-
Cook and stir the chickpea flour mixture over medium heat (or medium-low heat) for 5 to 6 minutes until it is a dark golden brown.
-
Turn the heat to low. Slowly add the boiling water to the large skillet. It will bubble up quickly, then settle back down to a simmer. Add the coconut sugar to the skillet.
-
Cook and stir for 6 to 7 minutes longer until the chickpea flour mixture is a very rich, dark golden brown color. (Note that the chickpea butter will be lighter in the end, after it is blended).
-
Remove the skillet from the heat and stir in the vanilla.
-
Set the skillet aside and cool completely. Alternatively, scrape the mixture into a heatproof bowl, cool, and refrigerate until ready for the last step (blending).
-
Place the completely cooled chickpea butter mixture into a blender. Process, stopping to scrape down the sides of the container several times, until completely smooth (no graininess) and a slightly lighter in color.
Note: add more water, a tablespoon at a time, if the butter is too thick. Add enough to achieve your desired consistency.
-
Transfer the roasted chickpea butter to an airtight container (or containers) and refrigerate for at least two hours until cold and firm. The butter will thicken to a consistency akin to peanut butter (set, but still spreadable).
Notes
Coconut Sugar Alternatives: An equal amount of brown sugar, natural cane sugar, maple syrup, date syrup, or agave nectar. You can also use a sugar-free alternative (e.g., monk fruit or xylitol)–add these off of the heat, to taste, before blending.
Coconut Oil Alternatives: Use an equal amount of melted plant butter (vegan butter; not tub style spread), mild olive oil, or avocado oil. The latter two options will not set up firmly as chickpea butter made from coconut oil or melted plant butter.
Flavor Additions: Consider adding anywhere from a generous pinch to 1 teaspoon of ground cinnamon, ginger, cardamom, allspice, or pumpkin pie spice. Or consider adding several tablespoons of cocoa powder, cacao nibs (for some chocolate crunch).
Nutrition Information
Serving: 1tablespoon
|
Calories: 54kcal
|
Carbohydrates: 4g
|
Protein: 1g
|
Fat: 4g
|
Saturated Fat: 3g
|
Polyunsaturated Fat: 0.2g
|
Monounsaturated Fat: 0.3g
|
Sodium: 47mg
|
Potassium: 37mg
|
Fiber: 0.5g
|
Sugar: 1g
|
Vitamin A: 2IU
|
Calcium: 2mg
|
Iron: 0.2mg
Love this recipe? Rate and comment below!