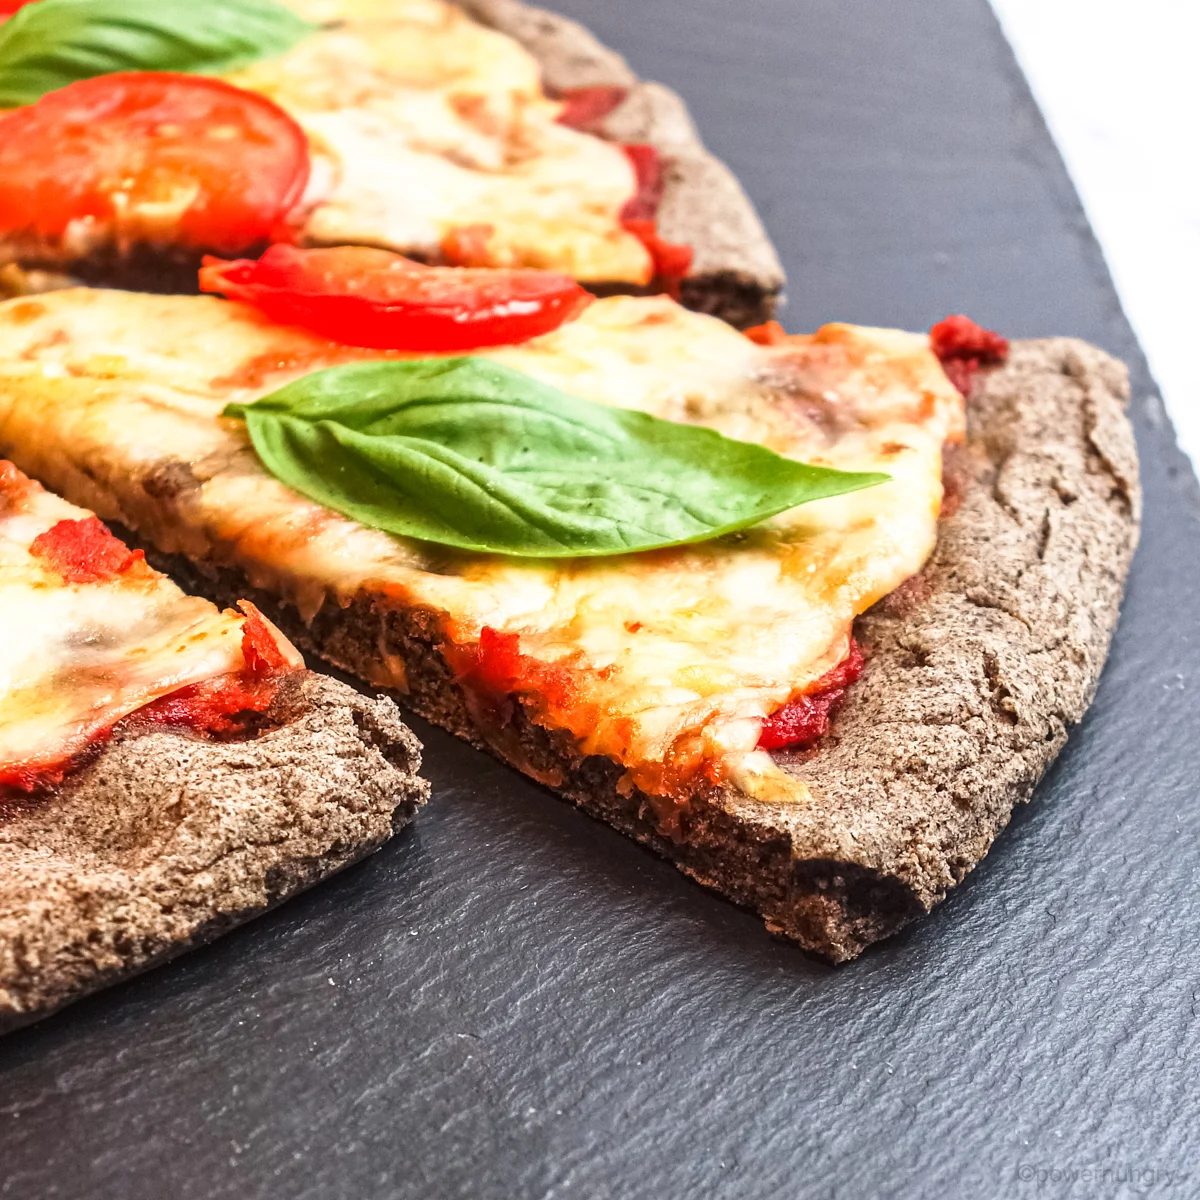
My 2-ingredient buckwheat pizza crust is the vegan, gluten-free recipe you’ve been waiting for! It is also oil-free, yeast-free. sugar-free,and ready in about 25 minutes (start to finish).
Why Make This Recipe
Umm, do you like pizza? If no, I am not sure that we can still be friends.
Just kidding. Sort of :).
If you do, indeed, like or LOVE pizza, then you will love everything about this buckwheat flour crust. It is:
- Made with 2 ingredients (plus water)
- Vegan (no eggs, no dairy)
- Gluten-free (buckwheat, despite the name, is not related to wheat; it is a gluten-free grain)
- Oil-free
- Nut-free
- Yeast-free
- Quick & straightforward (one bowl and about 3 to 4 minutes prep time)
- Reliable with any and all of your go-to pizza toppings!
Ingredients for the Crust
The exact amounts of each ingredient are indicated in the recipe card at the end of the post.Toggle betweenUS Customary(volume) andMetric(weights) for preferred measurement option.
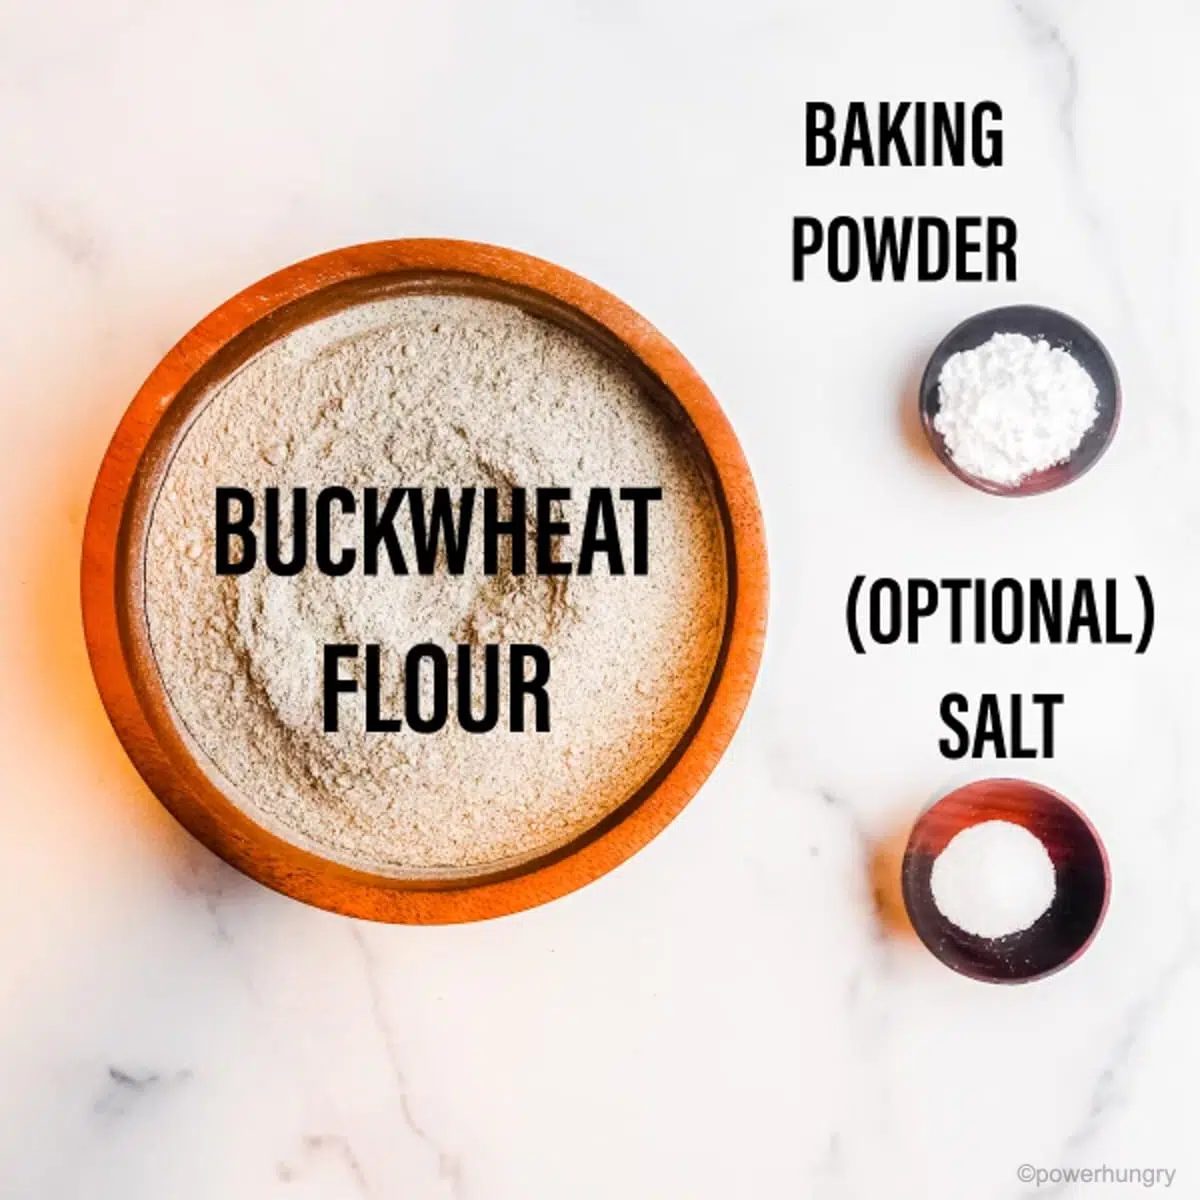
The ingredient list is short and sweet. Here is what you will need:
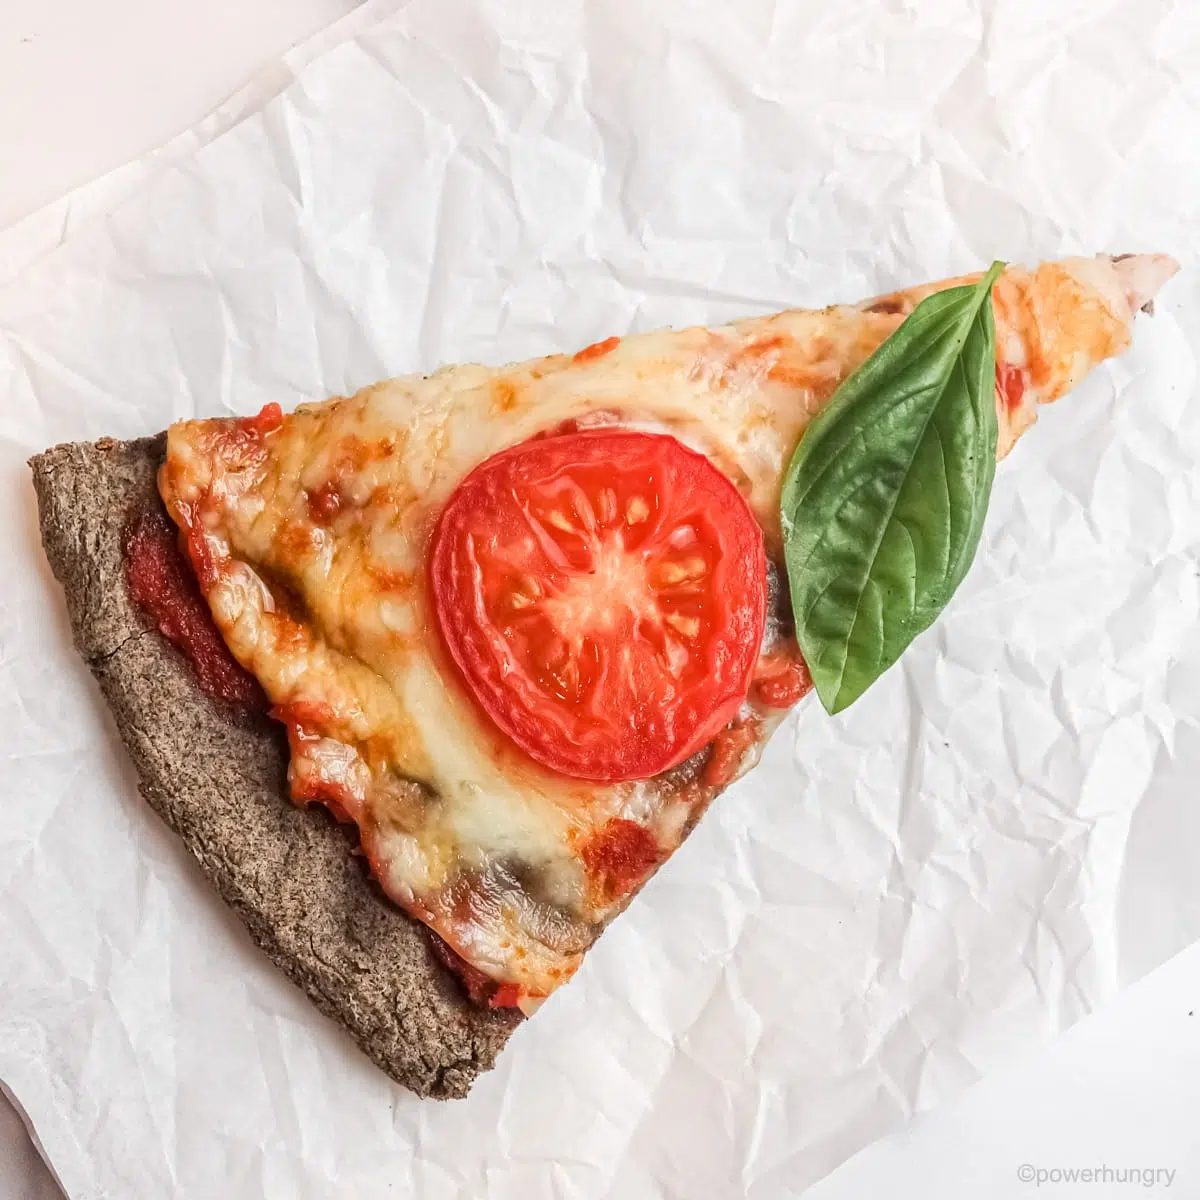
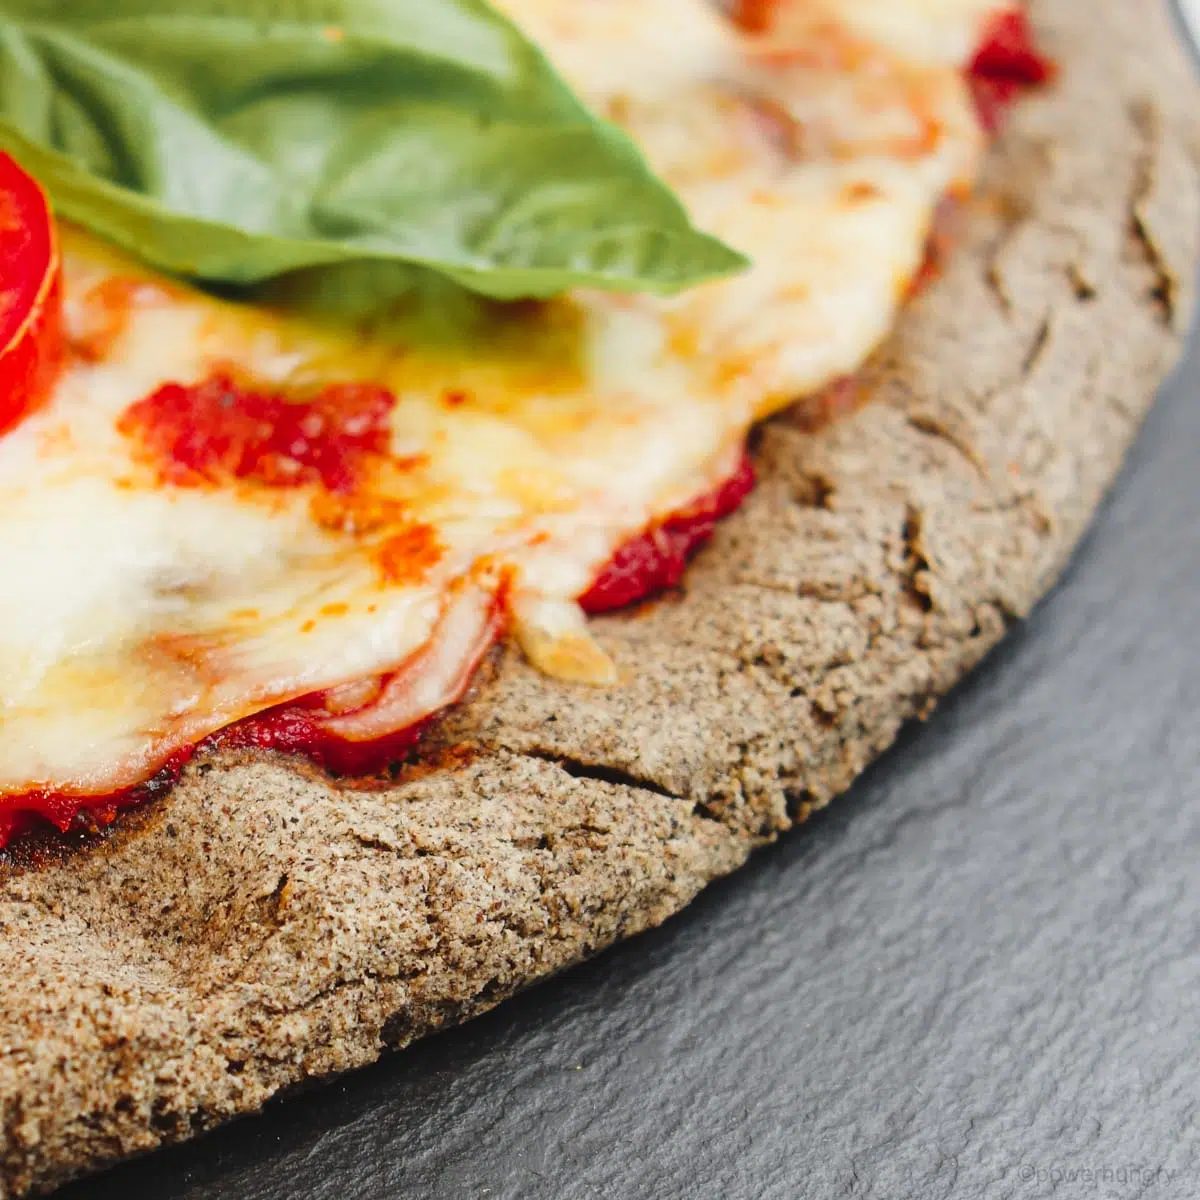
- Buckwheat Flour:I used regular (dark) buckwheat flour, which produces a dark brown crust. I am 100% fine with the rich color, but if you suspect that others might rebel (especially wee ones and/or skeptical partners) simply opt for light buckwheat flour. It has a lighter flavor, too.
- Baking Powder:Make sure to use baking powder, not baking soda (they have very different strengths; the crust will taste truly dreadful with an equal amount of baking soda). If you need the crust to be 100% gluten-free, check the label to make sure that the baking powder is certified gluten-free.
You will also need some regular tap water. I like to add salt to the dough (1/2 teaspoon is just right for me), but it is optional (and/or adjustable to your needs and tastes).
Since this is a pizza dough, you can choose whichever toppings your heart desires to top the crust. Think marinara sauce, a cashew cream sauce, dairy-free cheese (or dairy cheese, if you are not vegan), sliced vegetables, olives, you name it. The crust goes well with everything!
Step by Step Instructions
Note that the complete instructions are also in the recipe card below.
Step One: Prep the Oven & Baking Pan
Before mixing the dough, preheat the oven to 350F (180C). Lightly spray a 12-inch (30 cm) metal baking pan with nonstick spray. A large baking sheet will also work in place of a pizza pan.
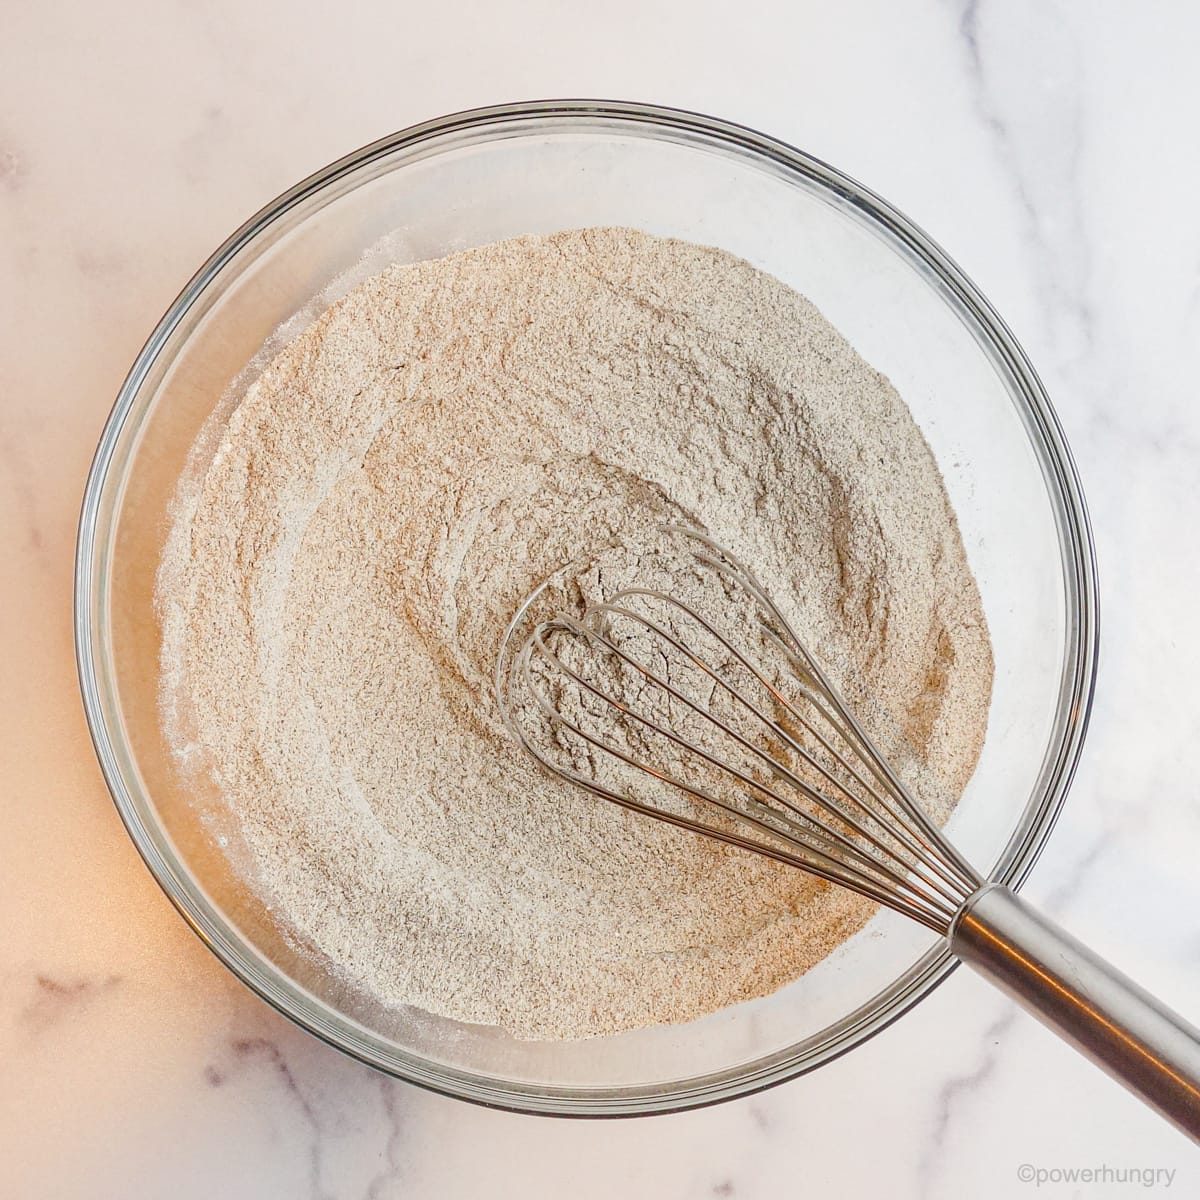
Step Two: Whisk the Dry Ingredients
In a medium or large mixing bowl, whisk the buckwheat flour and baking powder until blended. If using salt, whisk it in as well.
Step Three: Mix in the Water
Set aside your whisk; it is the wrong tool for this step (unless cleaning sticky blobs of dough is your thing).
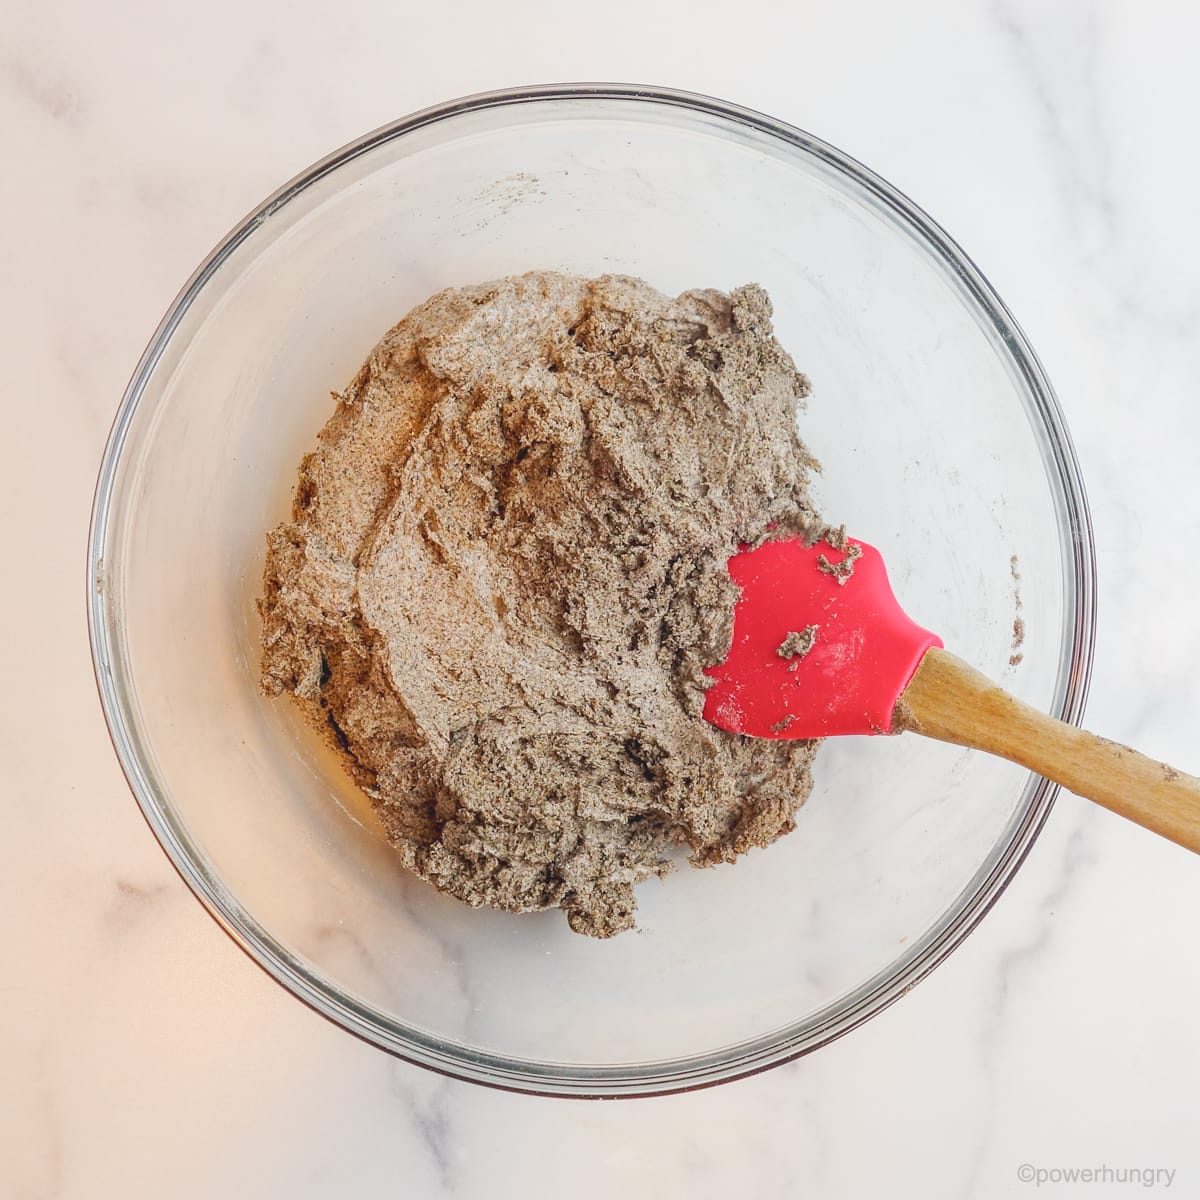
Add the water to the dry ingredients in the bowl. Using a rubber/silicone spatula, a wooden spoon, or even your hands (that would be me; I love the squish), mix until the dough is completely combined.
The dough will be thick and sticky. If it seems a bit dry, add a splash or two more water until the dough is moistened.
You’ve got dough!
Step Four: Press Out the Dough
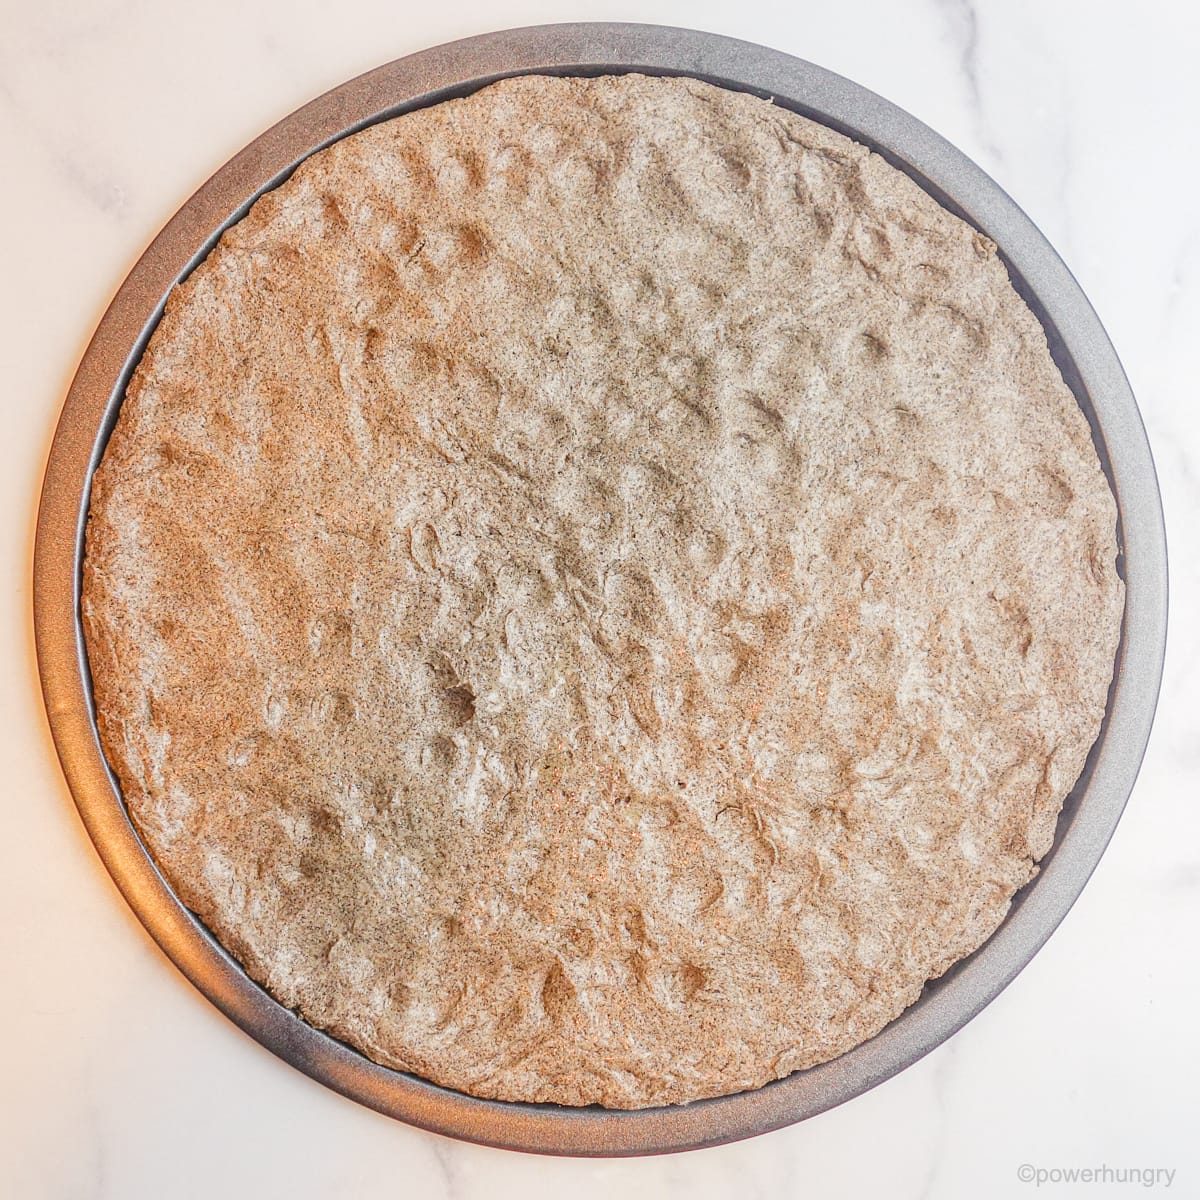
Plop the dough onto the prepared pan and use your fingers and palm to press it out into an even layer. Cover all of the prepared pizza pan, right out to the rim of the pan. Lightly moistened hands make this a lot easier.
Plenty of dimples are a good thing.
Step Five: Pre-Bake the Crust
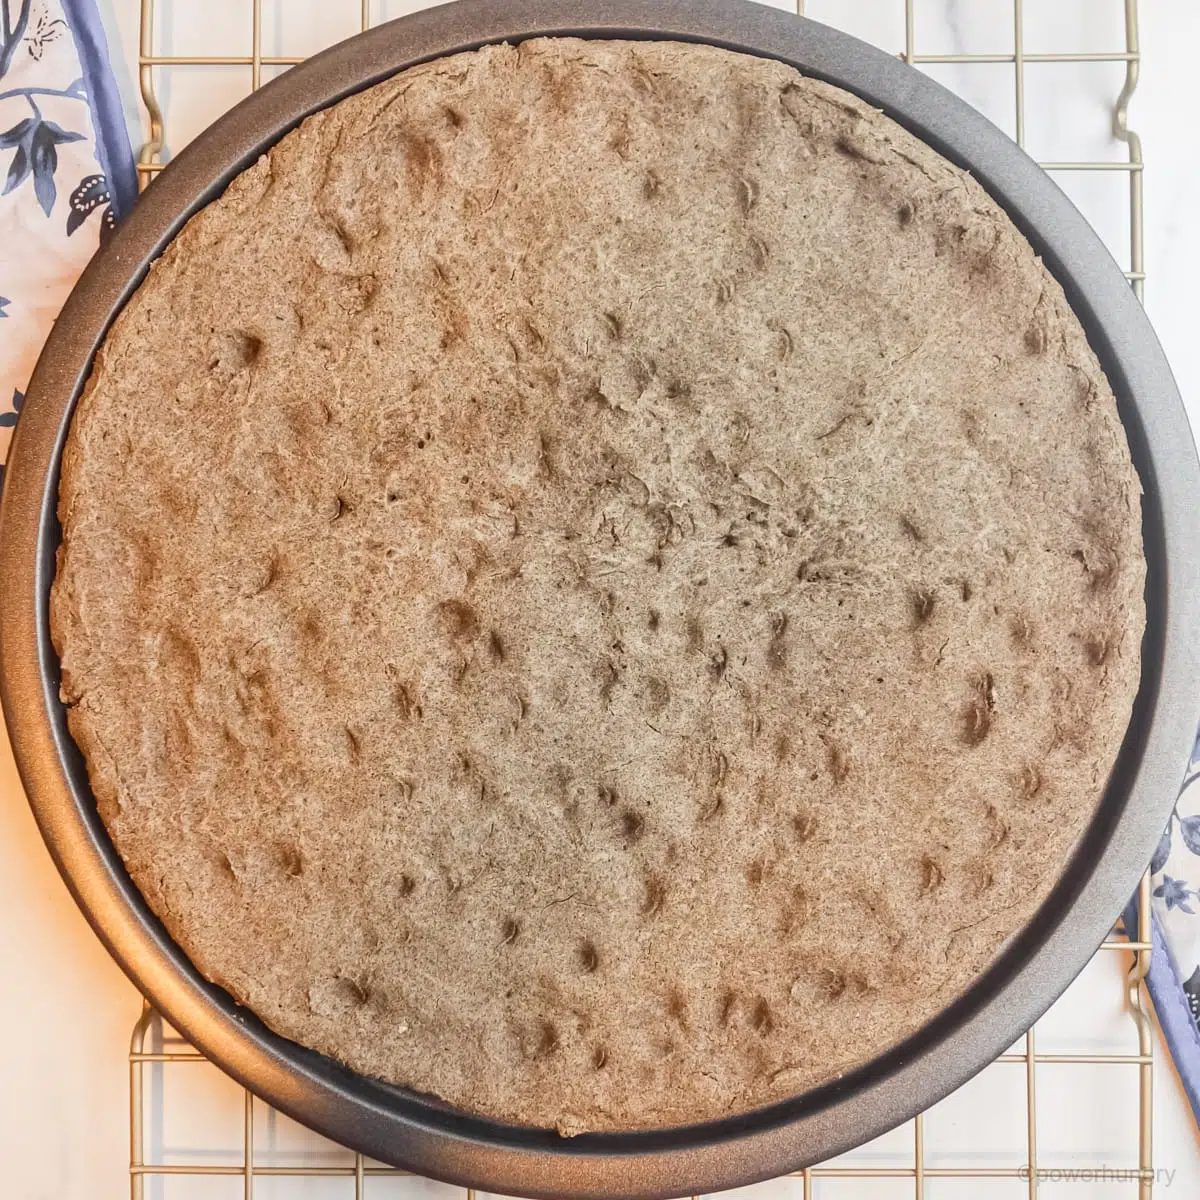
Bake the dough–without any toppings–for five to seven minutes until the surface of the dough looks dry and is darker in color. This is an important step for crisping the dough to prevent sogginess from any subsequent toppings.
Remove the crust from the oven for the next step (keep the oven on).
Step Six: Add Toppings & Finish Baking
Add the toppings of your choice–for example, sauces, vegan cheeses (be sure to look at my straightforward5-Ingredient Vegan Mozzarella), vegetables, olives, artichoke hearts, etc.–to the partially bake crust. For reliable results, spread a thin layer of sauce (to avoid sogginess).
Return the pizza to the oven and bake eight to eleven minutes longer until the toppings are melted/cooked to your liking and the crust edge appears crispy.
Hello, yum!

Slice & Enjoy
Transfer the pizza to a cutting board and cut into slices. One 12-inch (30 cm) pizza will yield eight generous slices.
FAQ & Tips
- Do Not Bother Adding Oil:I made several test batches of this crust with oil added, and…it was either (1) not as good (a little bit limp and less crispy) or (2) made no difference at all. All water made for the reliable crust!
- Preheat the Oven:Make sure that the oven is completely preheated to 350F (180C) before mixing up the crust. It will take 10 to 15 minutes to preheat your oven, but only 3 or 4 minutes to mix and press the crust dough.
- Measure the Flour with Care:The reliable way to measure flour is to lightly spoon it into measuring cups (do not pack the flour). For the greatest accuracy, using a digital kitchen scale to measure (I have the weight, in grams, in the recipe card below).
- Use Your Judgment:If the dough looks too dry, add a bit more water; if it looks too wet, add a small amount of additional flour. It is a forgiving dough!
- Make Your Own Flour:If you have whole buckwheat groats, and a high speed blender, you can make your own flour in seconds! Add the groats to the blender, cover, and blend on high speed until the groats turn into a fine flour. Buckwheat is a relatively soft grain, so it blends to a flour with ease.
Can I Use Other Flours?
With the exception of light buckwheat flour, I have not tried this with any other flours. As such, I cannot recommend any other substitutes. Gluten-free flours have individual idiosyncrasies, so it is reliable to stay with the flour specified in this, or any, given recipe.
Can I Make the Dough in Advance?
I do not recommend it. The baking powder will lose its potency if the dough is made too far in advance. The dough comes together very quickly (literally 2 to 3 minutes), so there really is no advantage to making the dough ahead of time.
How Should I Store Leftover Pizza?
Completely cool any leftover pizza to room temperature. Store in an airtight container (easier if you slice the pieces) in the refrigerator for up to 2 days. Rewarm in the oven, toaster oven or air fryer.
Happy Baking!
- Cauliflower Pizza Crust {Grain-Free, Gluten-Free}
- Parsnip Chickpea Flour Pizza Crust {grain-free, vegan, 3 ingredients}
- Vegan Eggplant Pizza Slices {Gluten-Free, Fast, Straightforward}
- Coconut Flour Almond Flour Pie Crust {keto, vegan, no rolling}
- Buckwheat Flour Carrot Muffins (Vegan, Oil-Free, GF)
2-Ingredient Buckwheat Pizza Crust (V, GF, oil-free)
- Prep Time: 5 minutes
- Cook Time: 18 minutes
- Total Time: 23 minutes
- Servings: 1 12-inch (30 cm) pizza crust
Ingredients
- 2 cups buckwheat flour (light or dark)
- 1 1/2 teaspoons baking powder (gluten-free, as needed)
- Optional/Adjustable: 1/2 teaspoon salt
- 3/4 cup water (more, as needed)
- Desired toppings e.g., tomato sauce, dairy-free cheese (see note, vegetables, etc.)
Method
- Preheat the oven to 350F (180 C). Lightly spray a 12 inch (30 cm) pizza pan (or a baking sheet ) with nonstick cooking spray (alternatively, use a piece of parchment paper , cut to fit)
- In a large bowl , whisk the buckwheat flour , baking powder and salt. Mix in the water until completely blended (use your hands to mix, as needed). If the dough is too dry, add a splash or two more water.
- Evenly press the dough onto the prepared baking pan, pressing to the edges of the pizza pan (if using a baking sheet , press out to 10.5 inch square).
- Bake the crust in the preheated oven for 5 to 7 minutes until surface appears dry.
- Top with desired toppings. Return pizza to oven and bake for 8-11 minutes longer or until toppings are melted/browned and edge of crust is browned and crispy.
- Transfer pizza to a cutting board and cut into slices.
Notes
Storage: Completely cool any leftover pizza slices to room temperature. Store in an airtight container in the refrigerator for up to 2 days. Rewarm in the oven, toaster oven or air fryer. Cheese Tip: For the reliable, metly pizza cheese, look at my 5-Ingredient Vegan Mozzarella . Buckwheat Flour Tip: I used regular (dark) buckwheat flour for this recipe. However, an equal amount of light buckwheat flour can be used in its place (the crust will be lighter in color and have a lighter flavor).