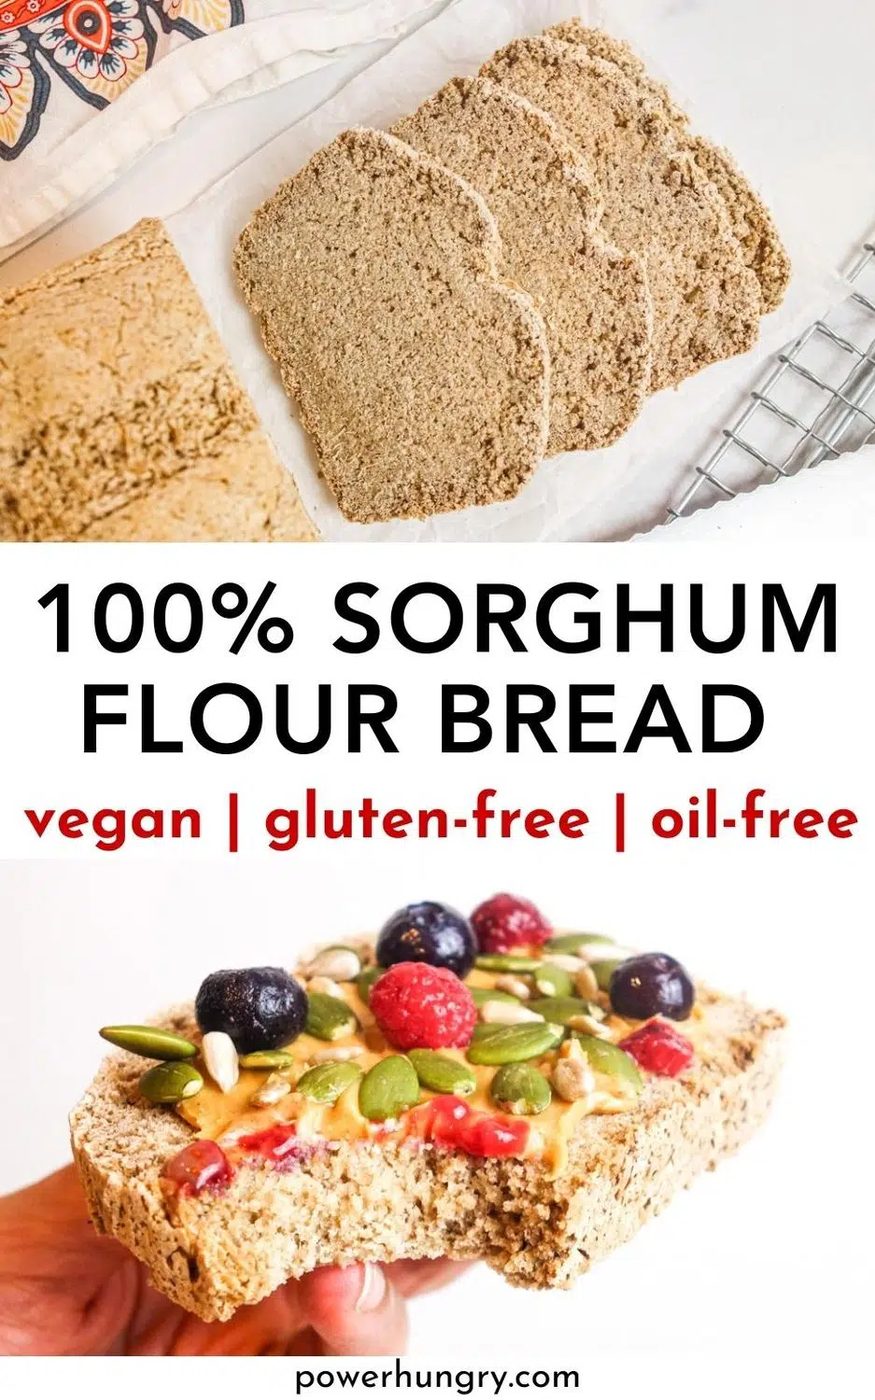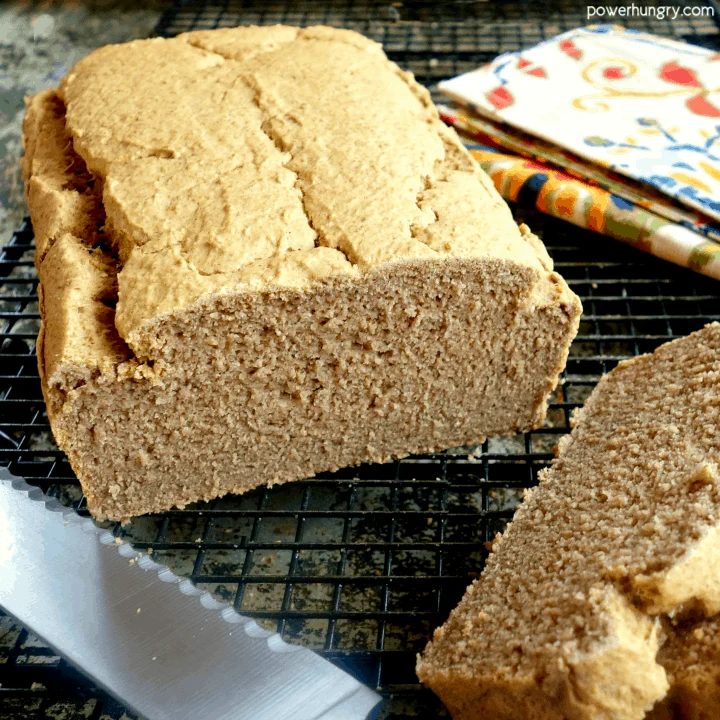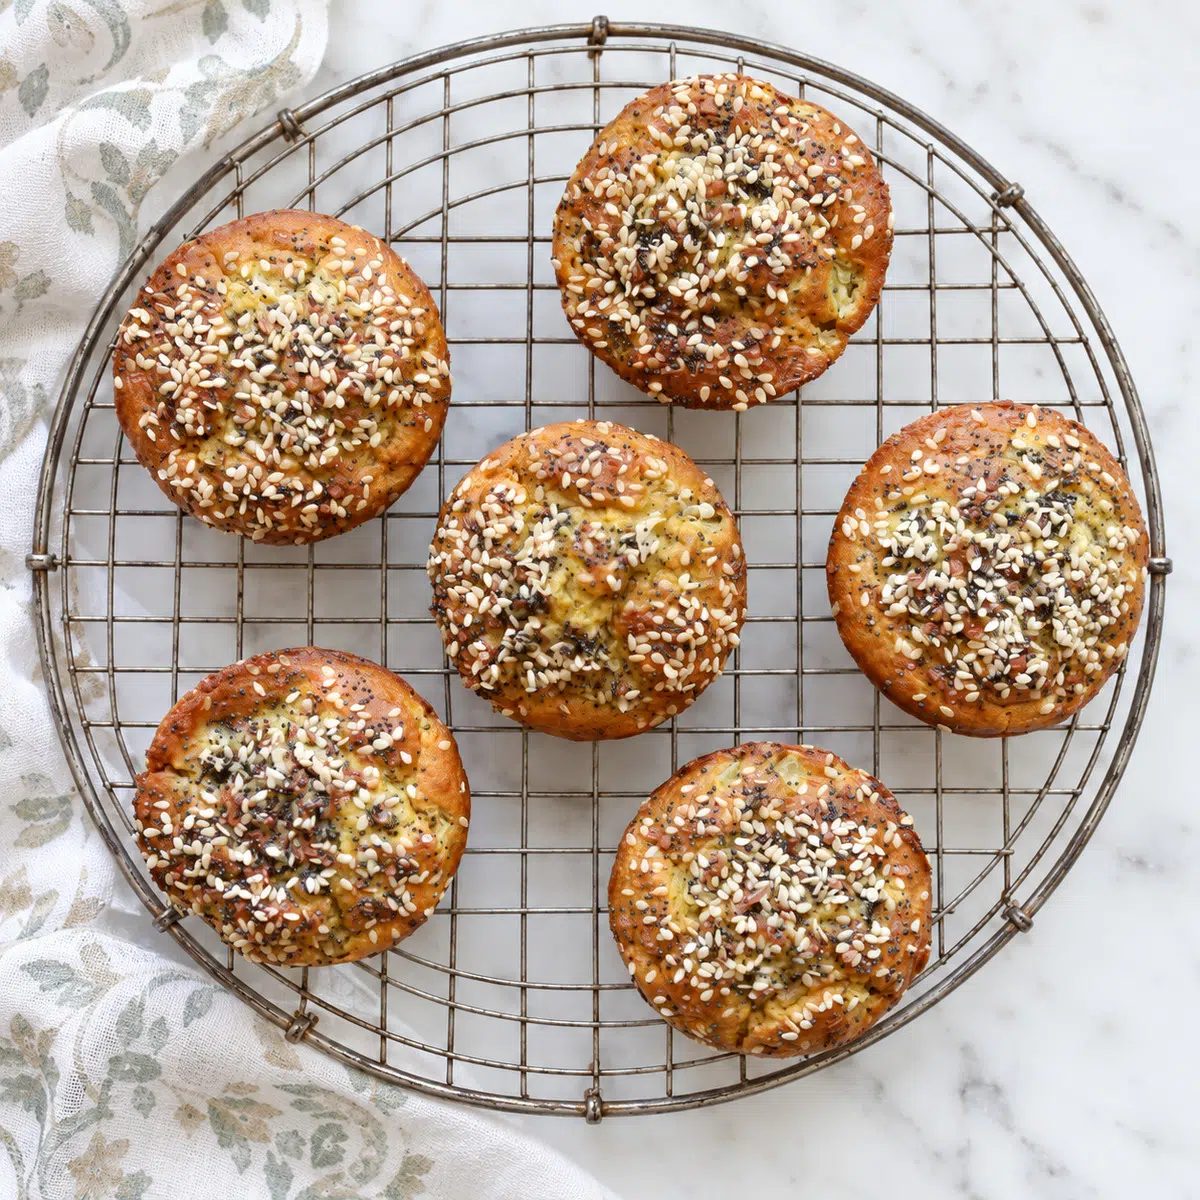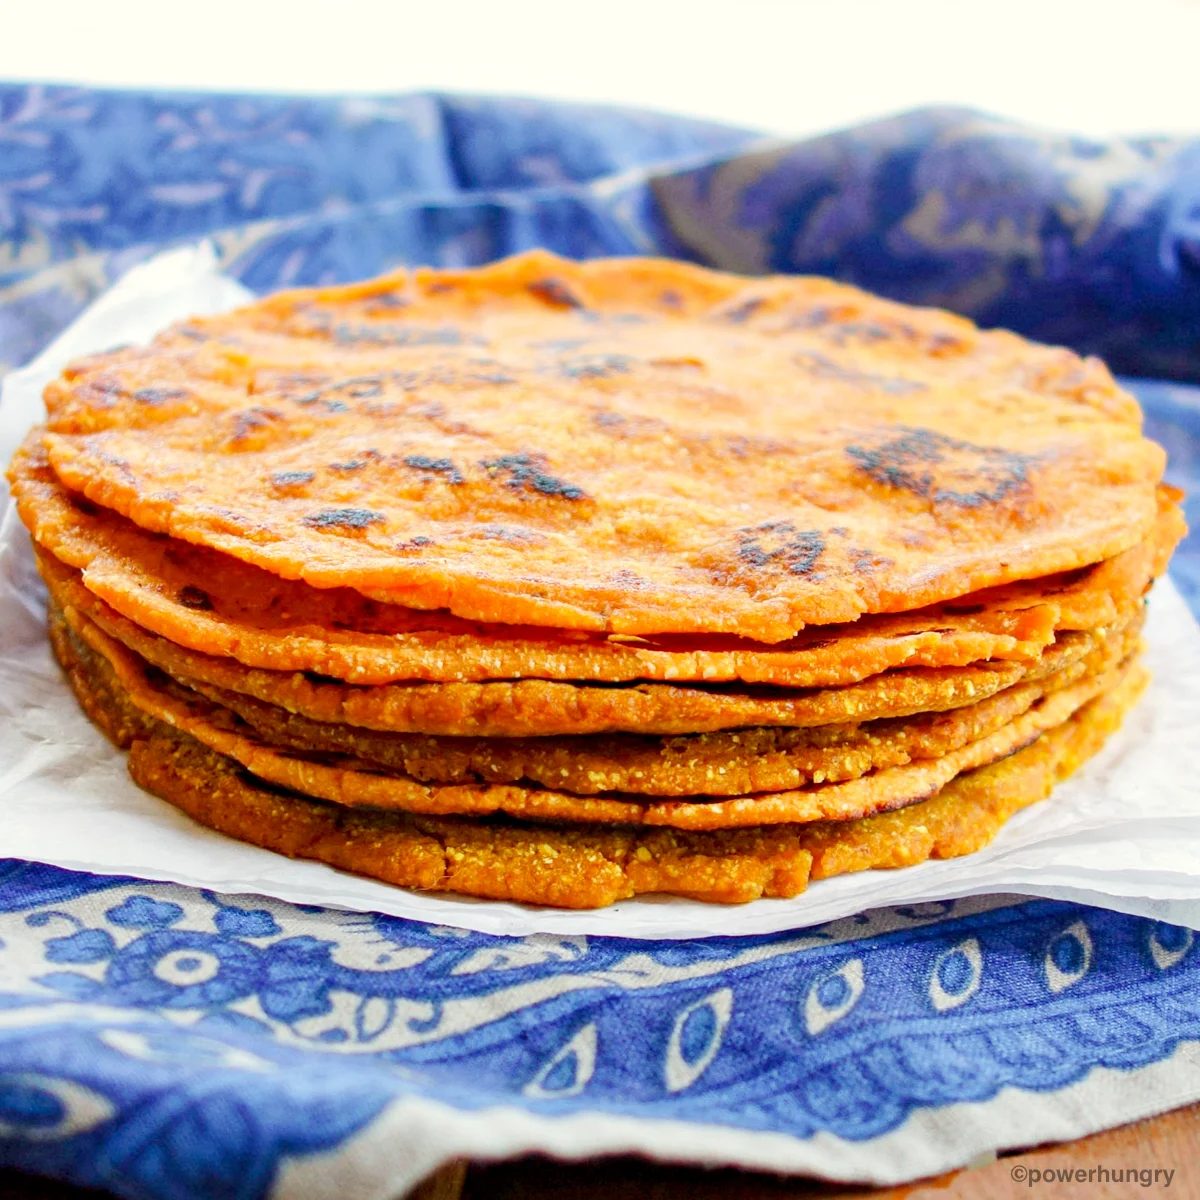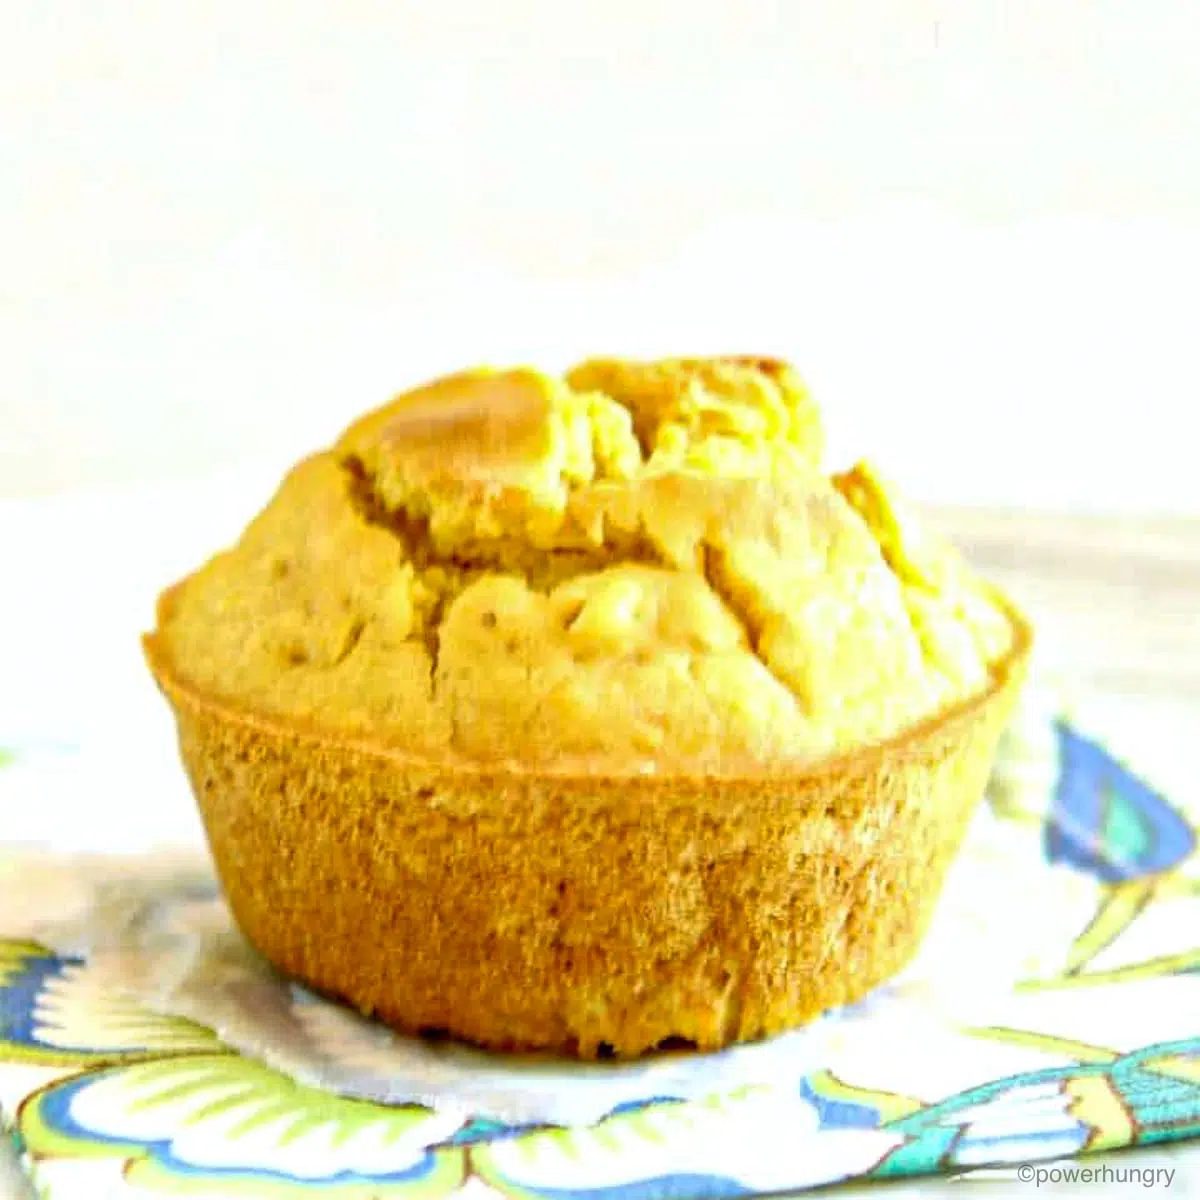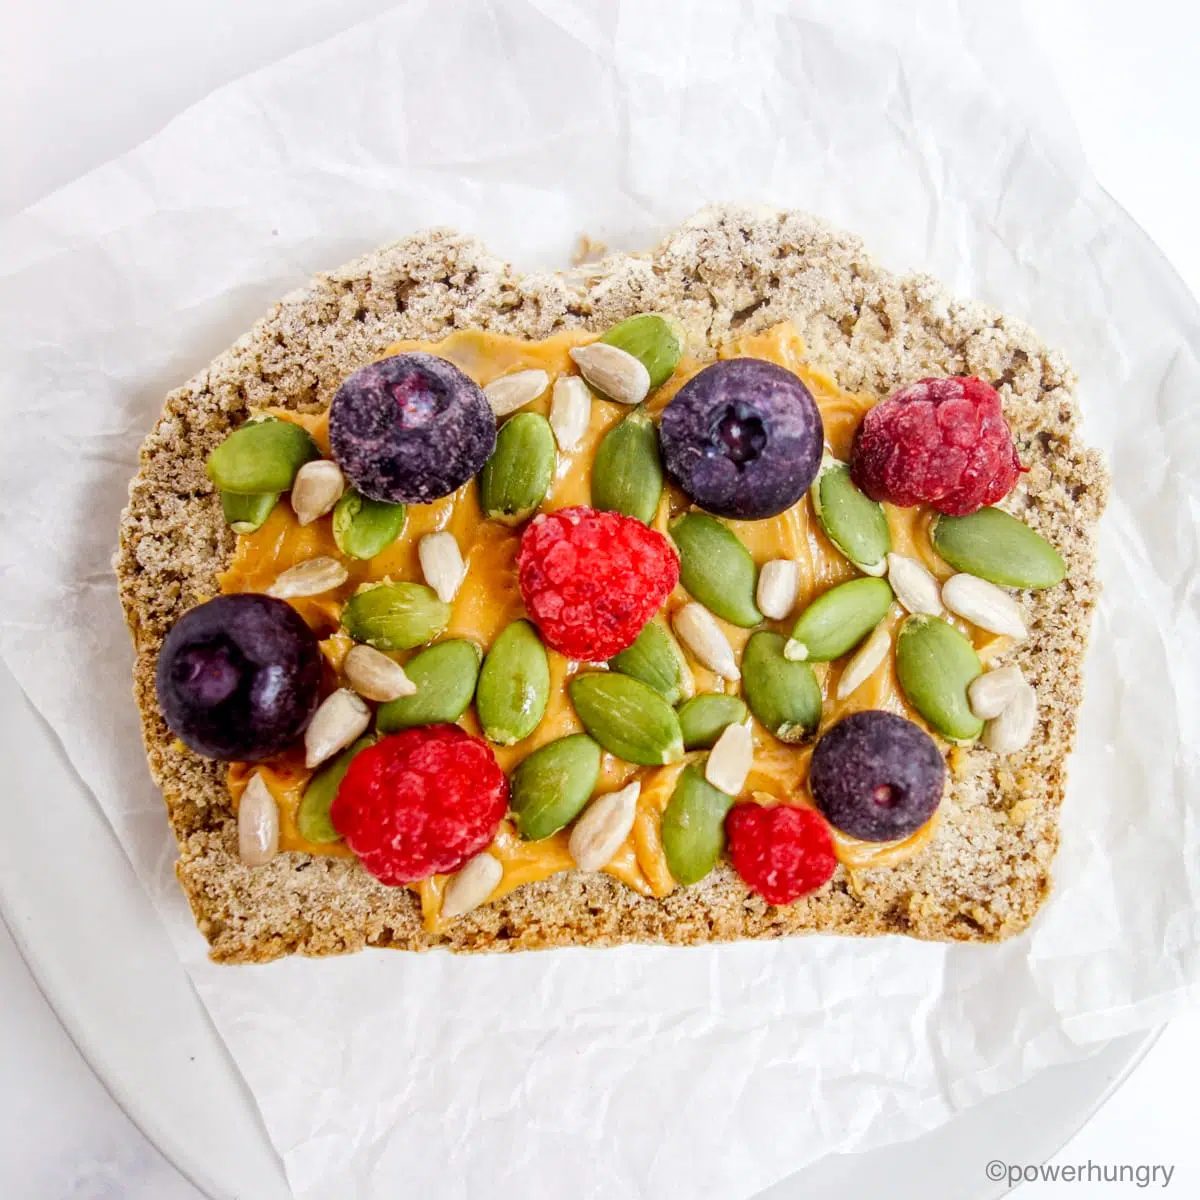
Vegan gluten-free 100% sorghum flour bread is the quick and straightforward sandwich bread you are craving! This versatile bread is also oil-free, sugar-free, xanthan gum free, and yeast-free.
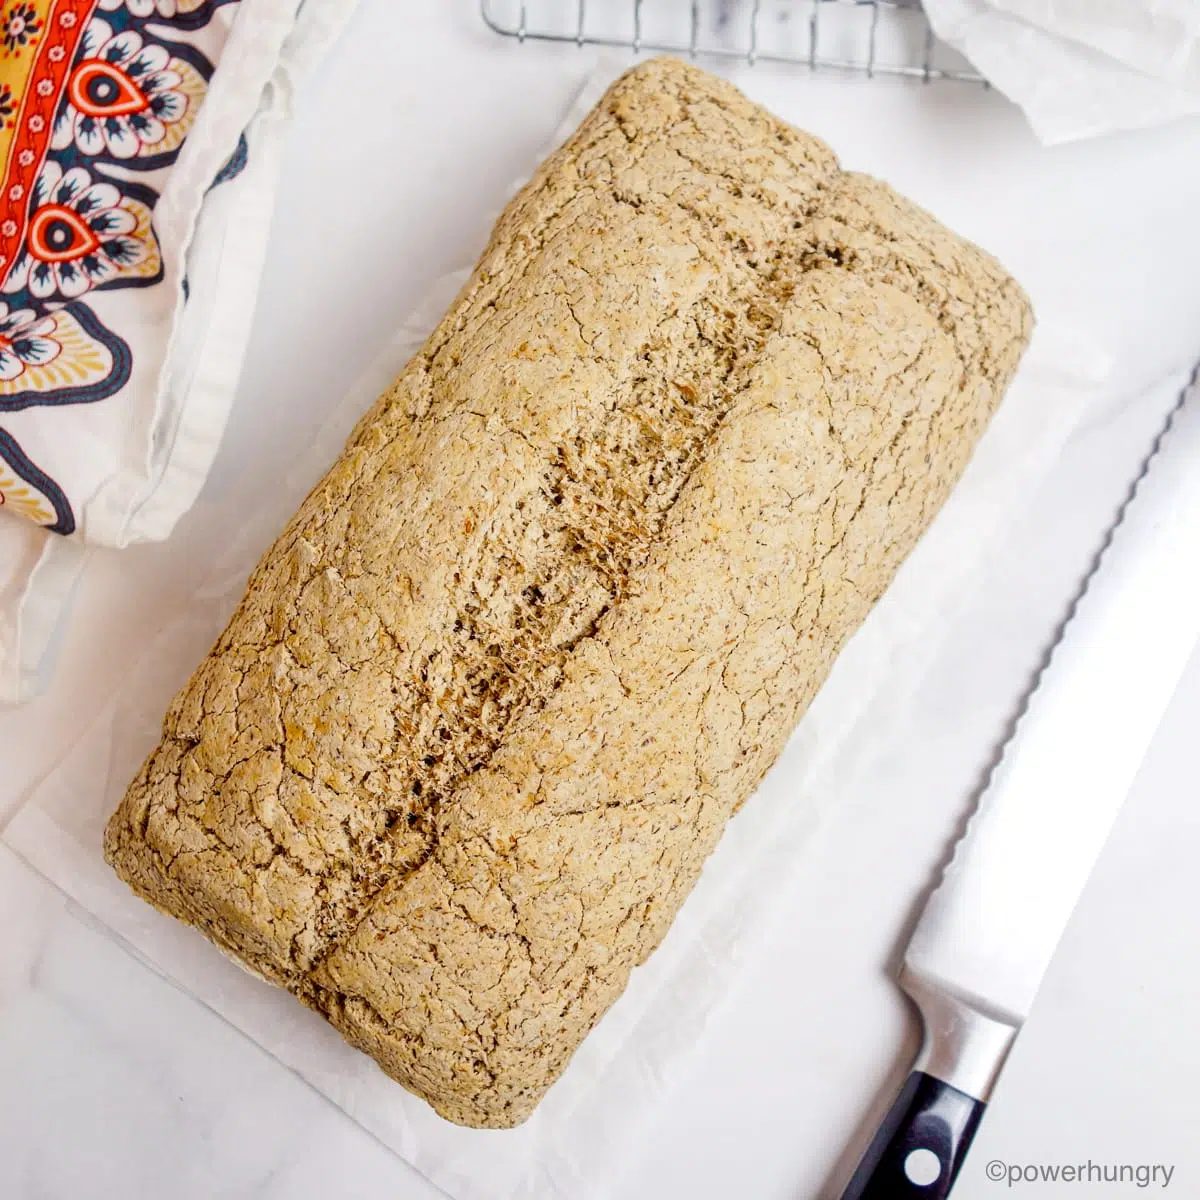
Vegan & Gluten-Free Sorghum Bread (no other flours!)
You are going to make somenotabletoast (plain, or topped with avocado, jam, or nut butter) and sandwiches with this satisfying bread. Serve it with your go-to soups and salad and get ready for praise to follow. Go ahead, enjoy every minute of it!
Please set aside any and all negative thoughts, such as “I cannot bake my own bread,” and “gluten-free bread is extremely difficult” or “”gluten-free bread baking requires a laundry list of ingredients.”
Friends, you’ve got this. My straightforward, single-flour (sorghum!) bread is straightforward as can be and requires no kneading, no rising, and no patience, either. Mix the dough in five minutes, send it to the oven, and in short order, you have a hearty loaf of whole grain bread.
What Is Sorghum?
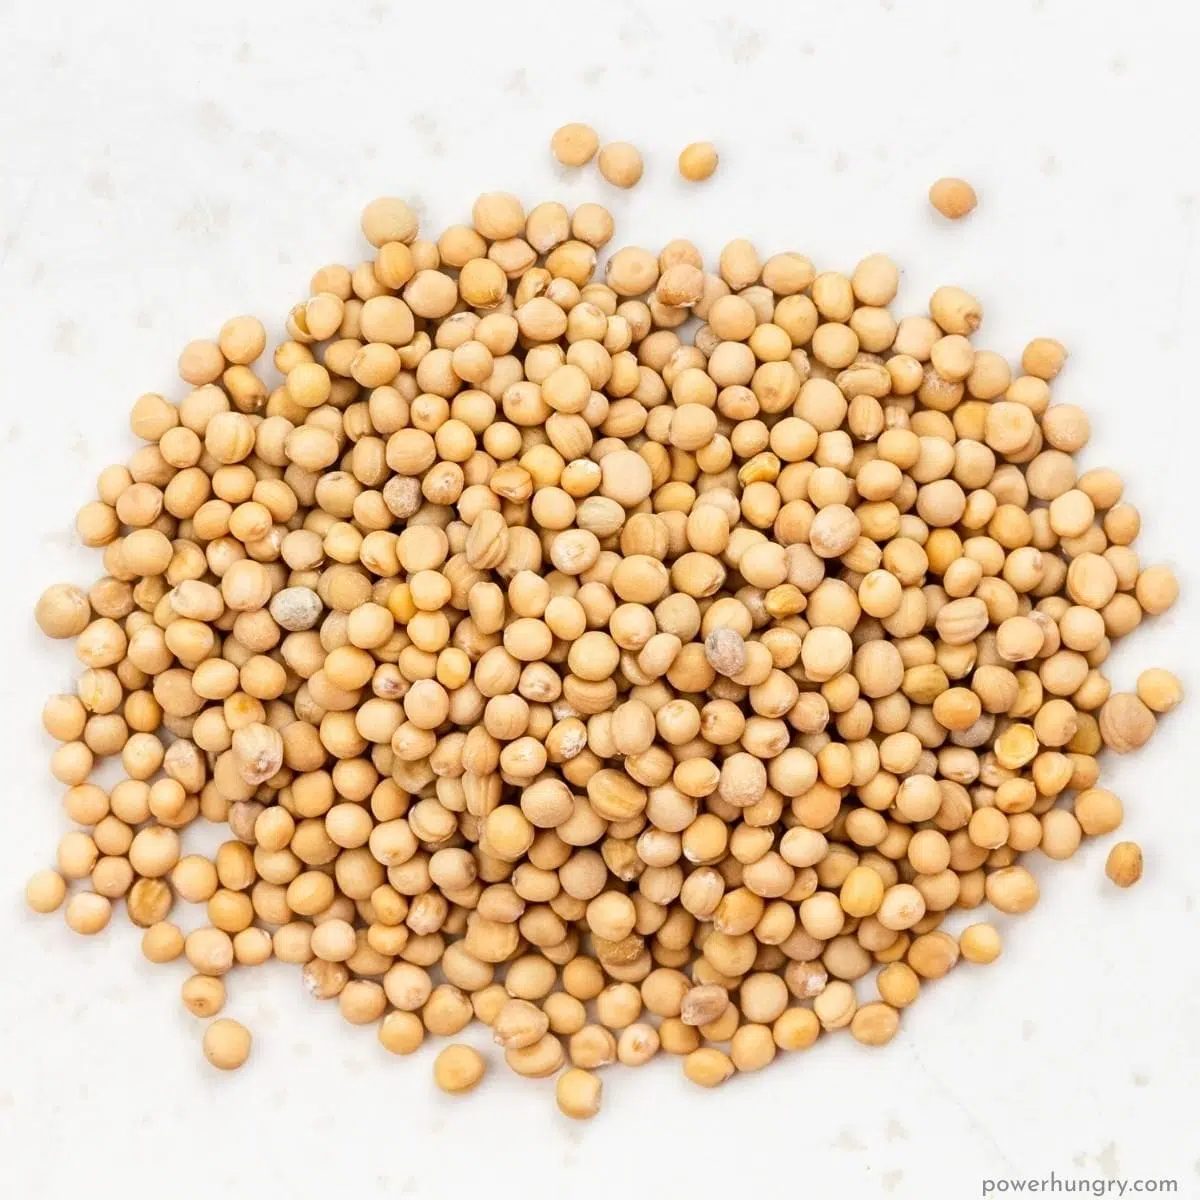
You may not be familiar with sorghum, but it has been a staple grain for many cultures over the centuries. It is the fifth most produced cereal crop in the world and is affordable, sustainable, and multi-purpose in its uses.
Sorghum is naturally gluten-free, and rich in both macro- and micro-nutrients. In particular, it is high in fiber and protein and a host of minerals, including iron, magnesium and copper.
Sorghum grains can be cooked in the same way as rice, millet or quinoa, ground into a fine flour, and also popped, like popcorn.
Recipe Benefits
Sorghum flour is a popular gluten-free flour, but it is most often used in combination with other flours for gluten-free baking. This quick sandwich bread relies on sorghum flour alone (no other flours or starches). The bread is all of the following, and more:
- Gluten-free
- Vegan (egg-free & dairy-free}
- Yeast-free
- Xanthan gum-free
- Starch-free (e.g., no tapioca starch, potato starch, corn starch or arrowroot starch)
- No addtional gluten-free flours (e.g., no brown rice flour, almond flour, or gluten-free flour blends)
- Oil-free
- Sugar-free
- Nut-free
- High in fiber (3.9 g per slice)
- Minimal ingredients
- Straightforward
Ingredients for Vegan Gluten-Free 100% Sorghum Bread
The exact amounts of each ingredient are indicated in the recipe card at the end of the post.Toggle betweenUS Customary(volume) andMetric(weights) for preferred measurement option.
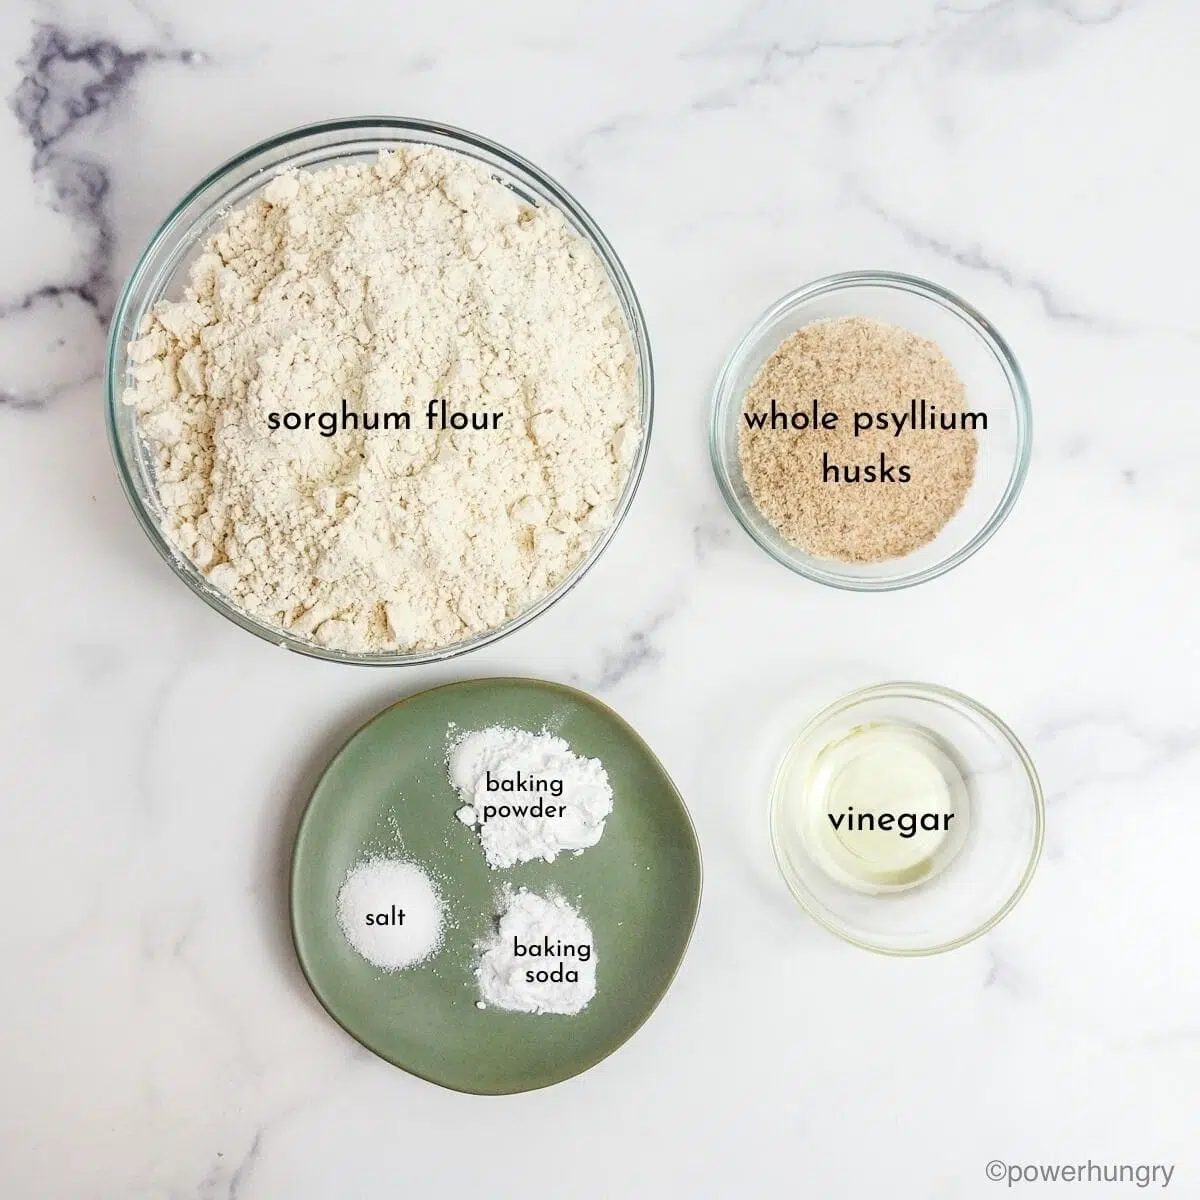
You will only need the following humble ingredients to make this loaf:
- Sorghum flour
- Whole psyllium husks (not psyllium powder)
- Baking powder
- Baking soda
- Salt (always optional/adjustable)
- Water
- Apple cider vinegar (or lemon juice, or any other vinegar you have on hand, or prefer)
Tip: Grind Your Own Flour
If you have a high-speed blender, or a small electric coffee grinder, you can grind your own flour from whole sorghum in little time.
For reliable results, use a high speed blender or grain mill to process the grains into flour. It will only take about a minute, total. You can also use a coffee grinder. However, you will need to grind about 1/4 cup at a time (it goes quickly). Place any extra flour in an airtight bag or container and freeze until next time.
Food processors do not work well for grinding whole sorghum into fine flour. At reliable, the processor will produce a rough meal.
Vinegar Options
Any other vinegar–light or dark–can be used in place of the cider vinegar. If you do not have vinegar, or do not use it for dietary reasons, substitute an equal amount of lemon or lime juice.
How to Make Gluten-Free Vegan Bread with Sorghum Flour
Note that the complete instructions are also in the recipe card below.
Good news: this is more than a great recipe, it is an straightforward recipe!
Step One: Preheat the Oven and Prepare Baking Pan
Preheat the oven to 350F (180C). Grease or spray (with nonstick coking spray) a 9×5-inch (22.5 x 12.5 cm) loaf baking pan.
If you would like to keep the bread 100% oil-free, line the pan with parchment paper (preferably nonstick parchment paper), leaving an overhang on opposite sides for straightforward removal of the bread loaf after baking.
Important Preheating Tip
It is important to have the oven fully preheated, and the pan prepped and ready to go, as soon as the bread dough is mixed. The baking soda and baking powder are activated as soon as wet and dry ingredients are combined. If the dough is left to sit, even for a few minutes, the bread will not rise properly. So get the dough in the pan, and then the pan in the oven, immediately after mixing.
Important Tip About Convection Ovens
If your oven has a convection option, I recommend that youdo not use it for this bread. This bread needs to be baked using the regular (conventional, radiant) heat setting. More about this in the FAQS at the end of the post.
Step Two: Combine the Dry Ingredients.
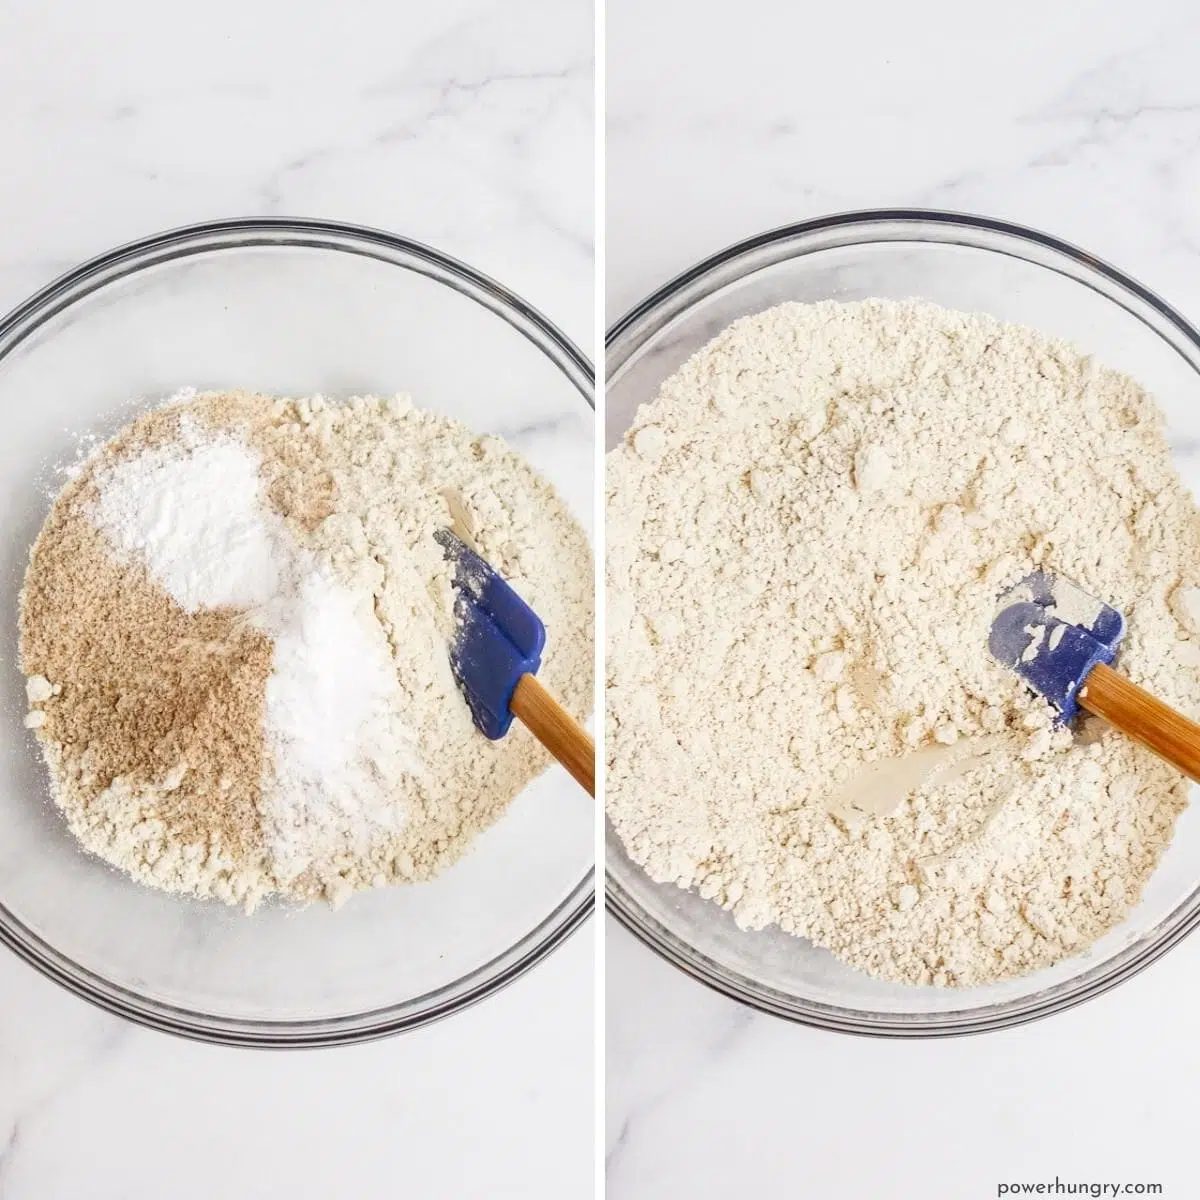
In a large bowl, whisk the sorghum flour, whole psyllium husks, baking powder, baking soda and salt until blended.
Step Three: Add the Wet Ingredients
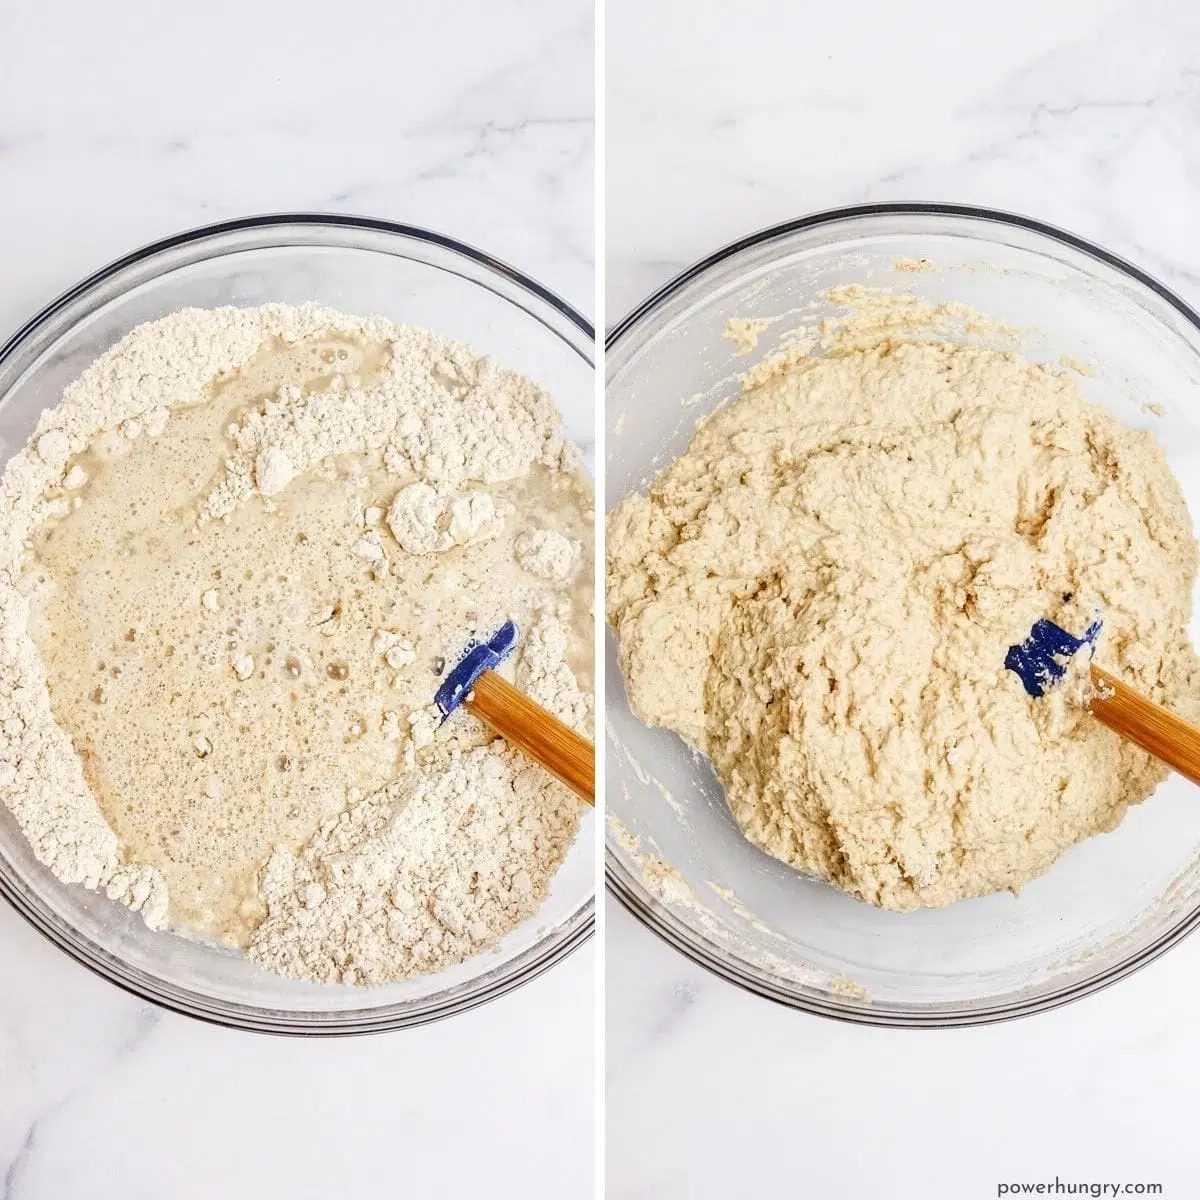
Add the water and vinegar directly to the bowl with the whisked dry ingredients. Stir until completely combined and no dry ingredients are visible in the bowl.
The psyllium husks will activate very quickly, soaking up some of the added liquid, and thickening the dough.
Step Four: Transfer Dough to Prepared Pan
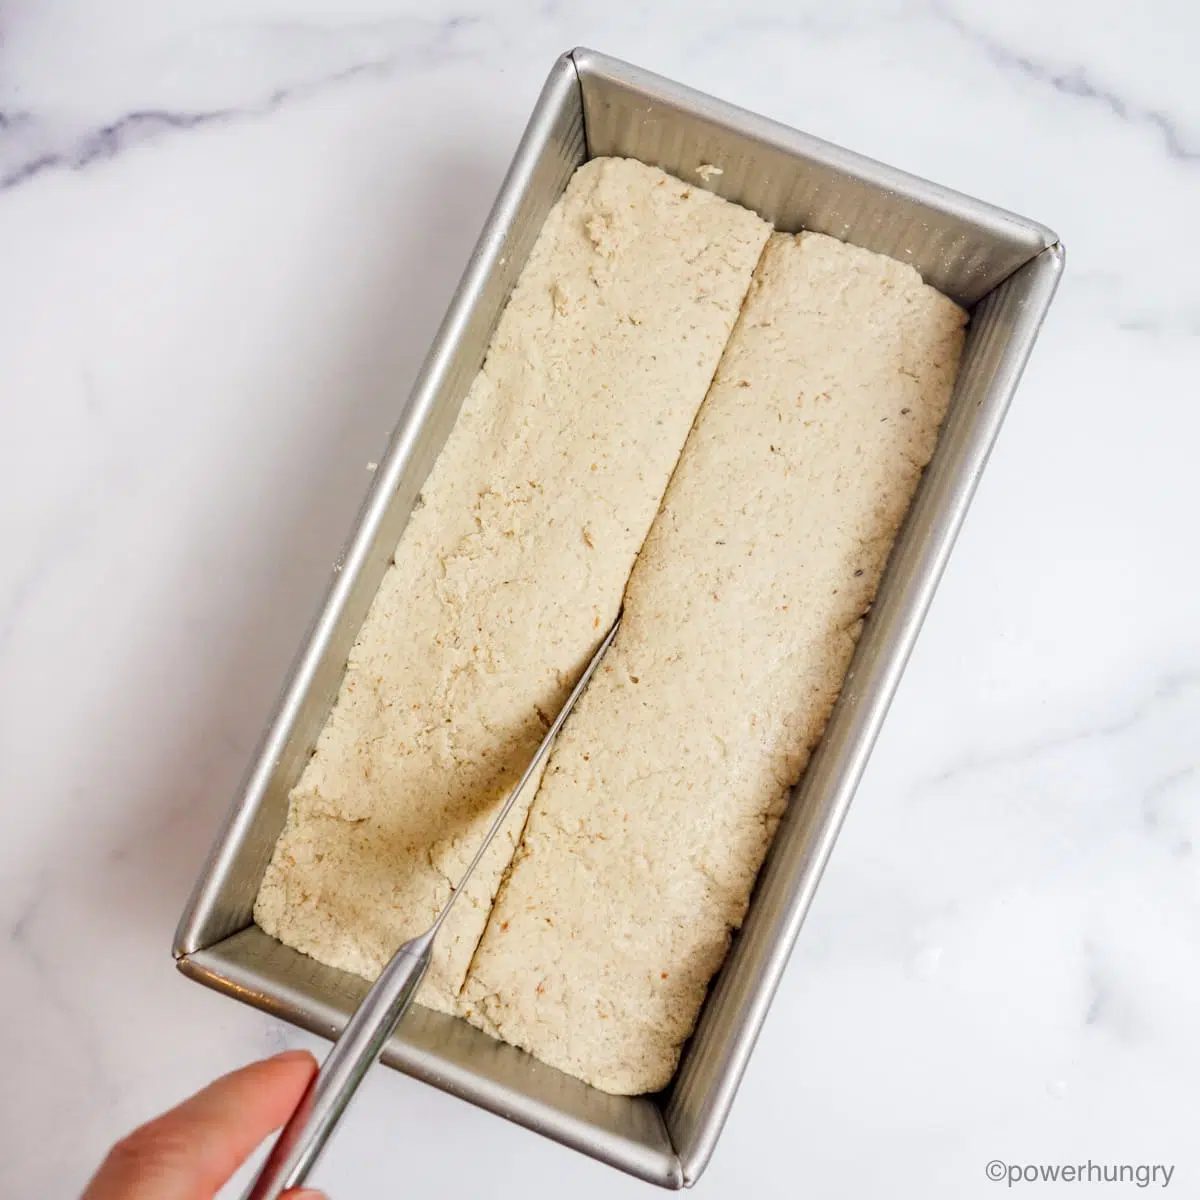
Scoop the bread dough into the prepared baking pan. Use a spoon or silicone spatula to smooth and even out the top of the dough.
Using a sharp knife, cut a lengthwise slash (about 1/4-inch deep) across the top of the loaf.
Step Five: Bake the Bread.
Bake the bread in the preheated 350F (180C) oven for 85 to 90 minutes until risen and the surface of the bread is a pale golden brown, dry, and crusty.
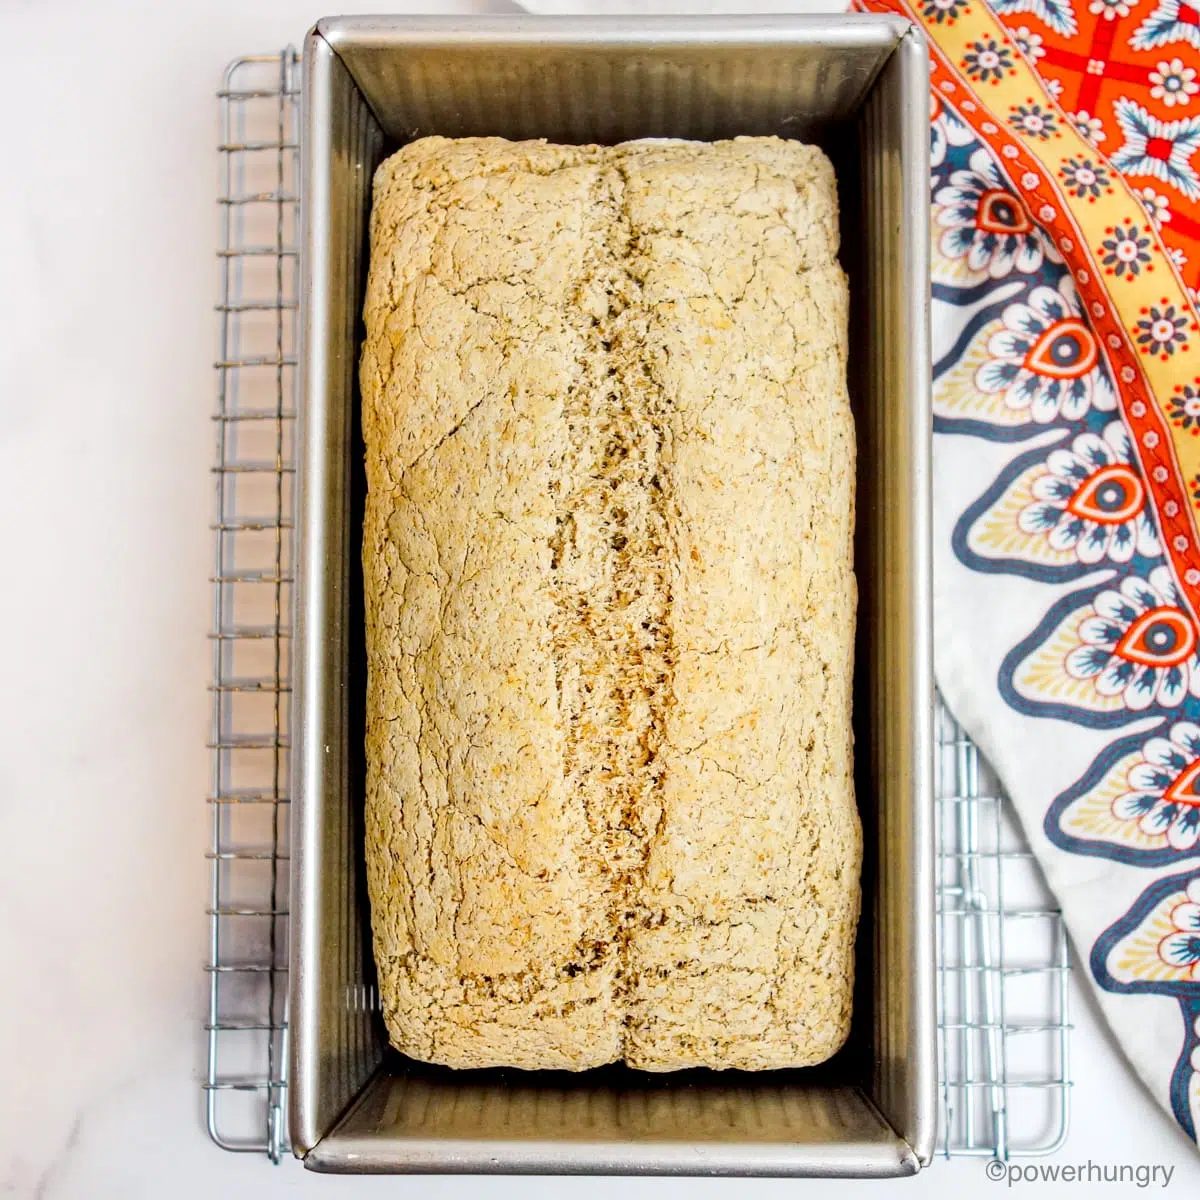
Let the bread cool, in the pan, on a cooling rack for 15 minutes.
Remove the bread from the pan and cool the loaf completely on a cooling rack.
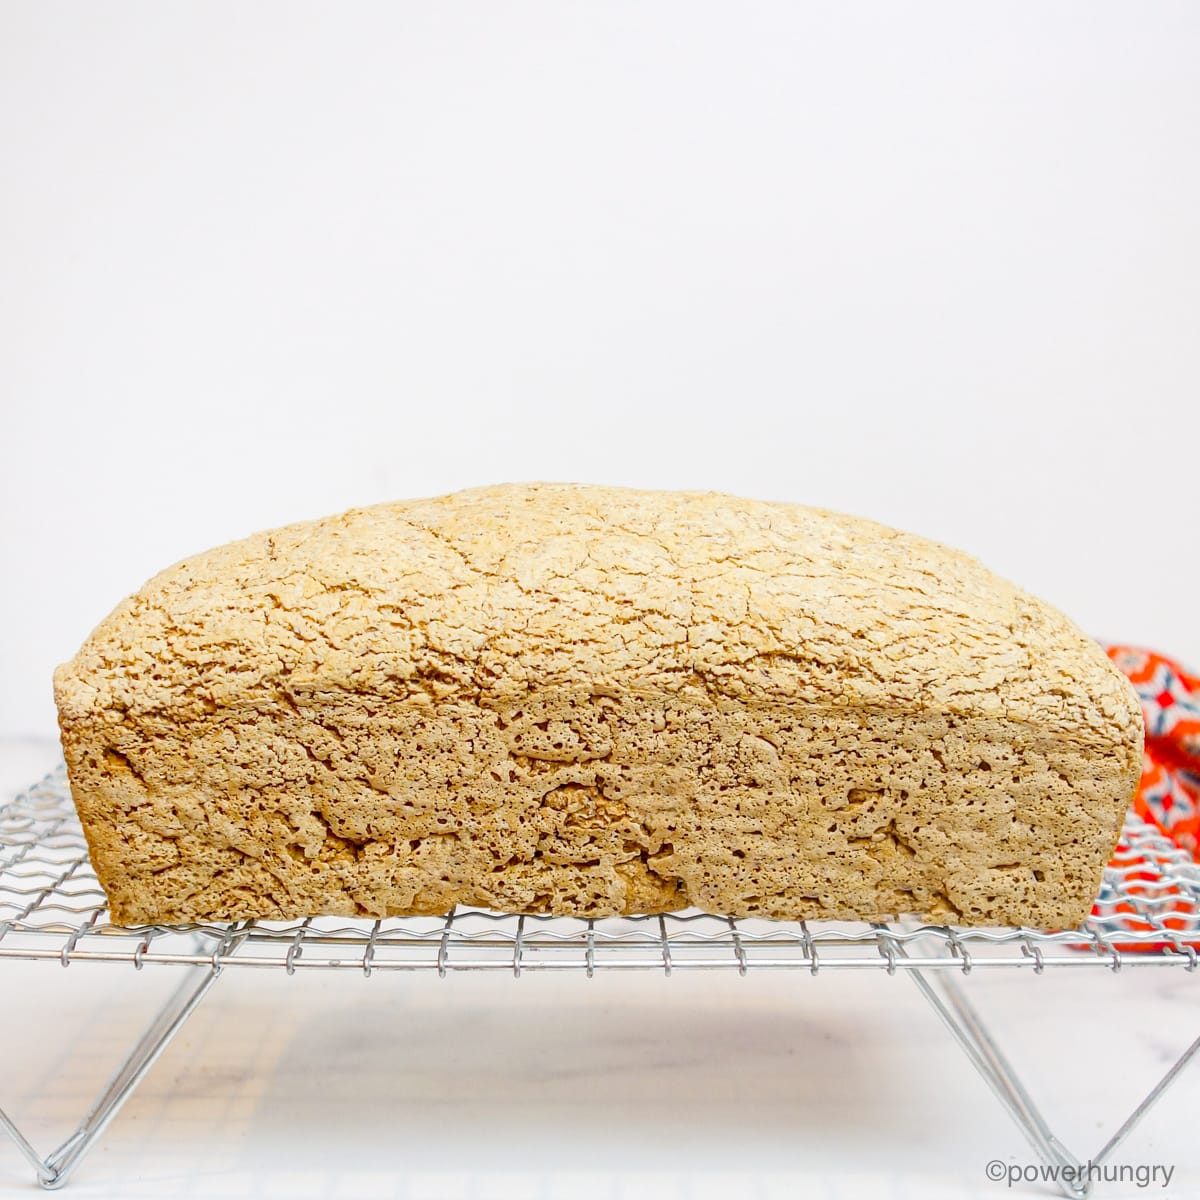
You did it! You have a beautiful loaf of vegan gluten-free bread, ready and waiting for toast, sandwiches, and all-around gnoshing.
Slice the Bread
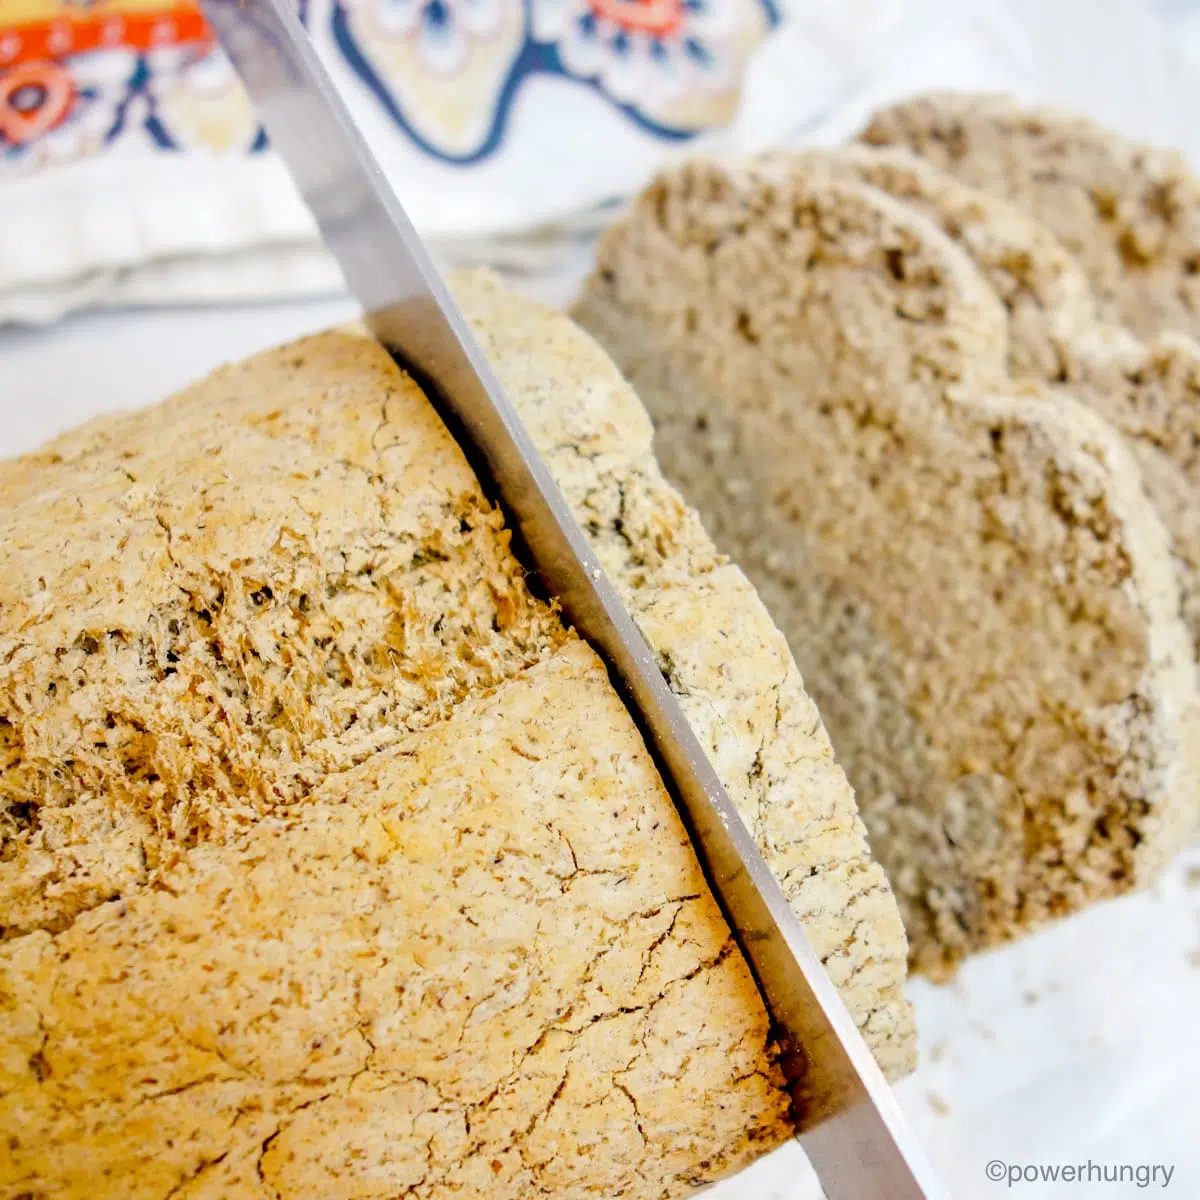
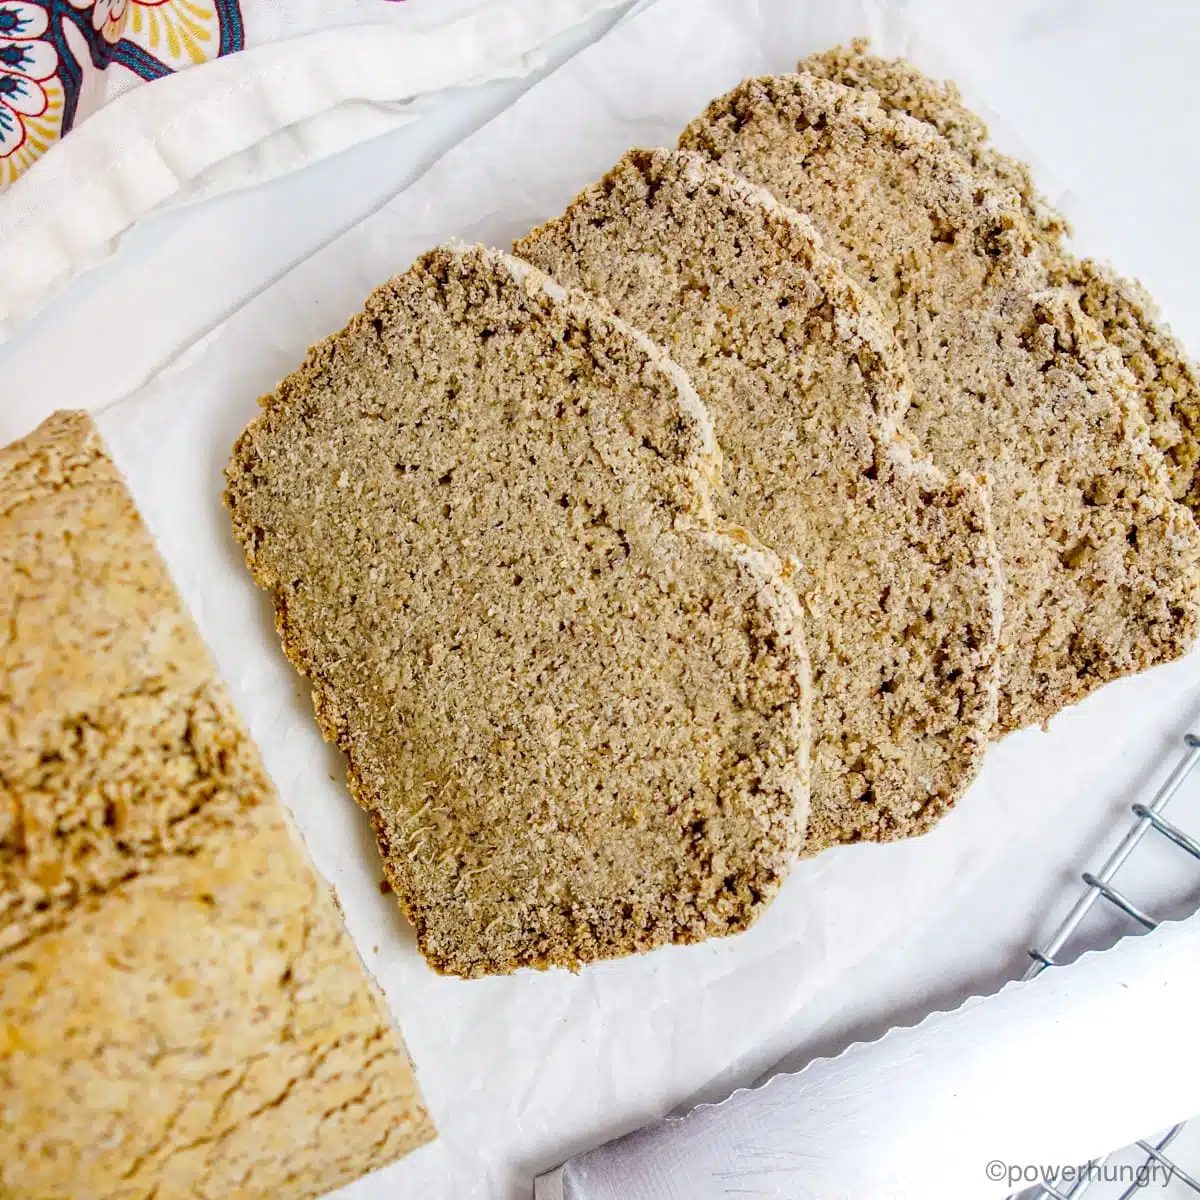
This is a sturdy bread, with minimal crumbs. You can slice it thick or thin, as you desire.
What is the Texture & Taste?
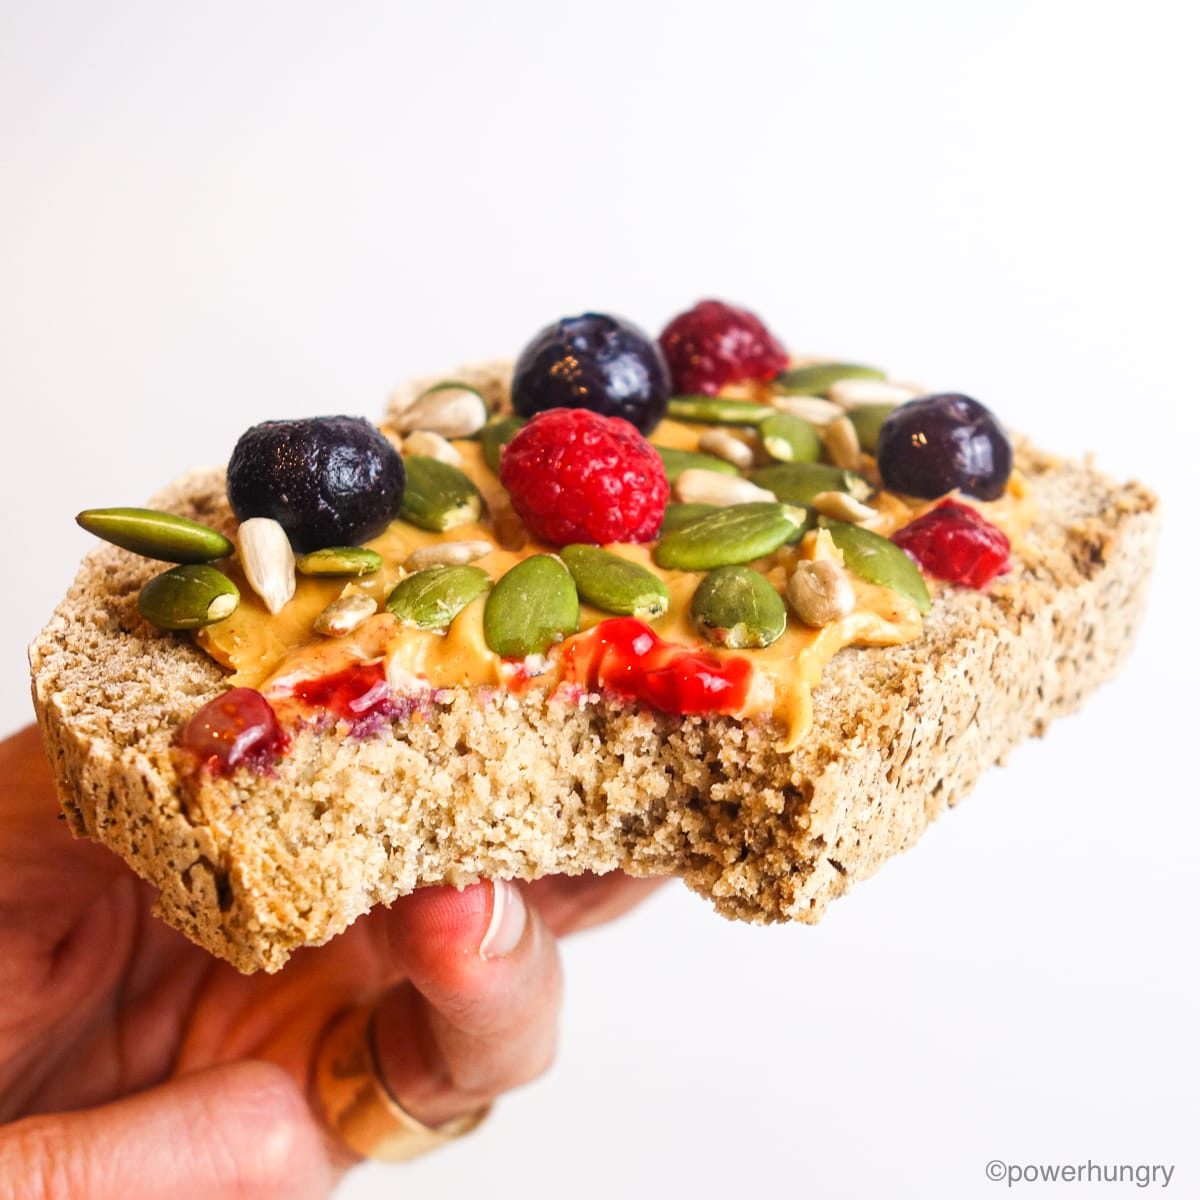
First, texture:This is a hearty, firm bread with a crisp crust. It reminds me of a light whole wheat bread.
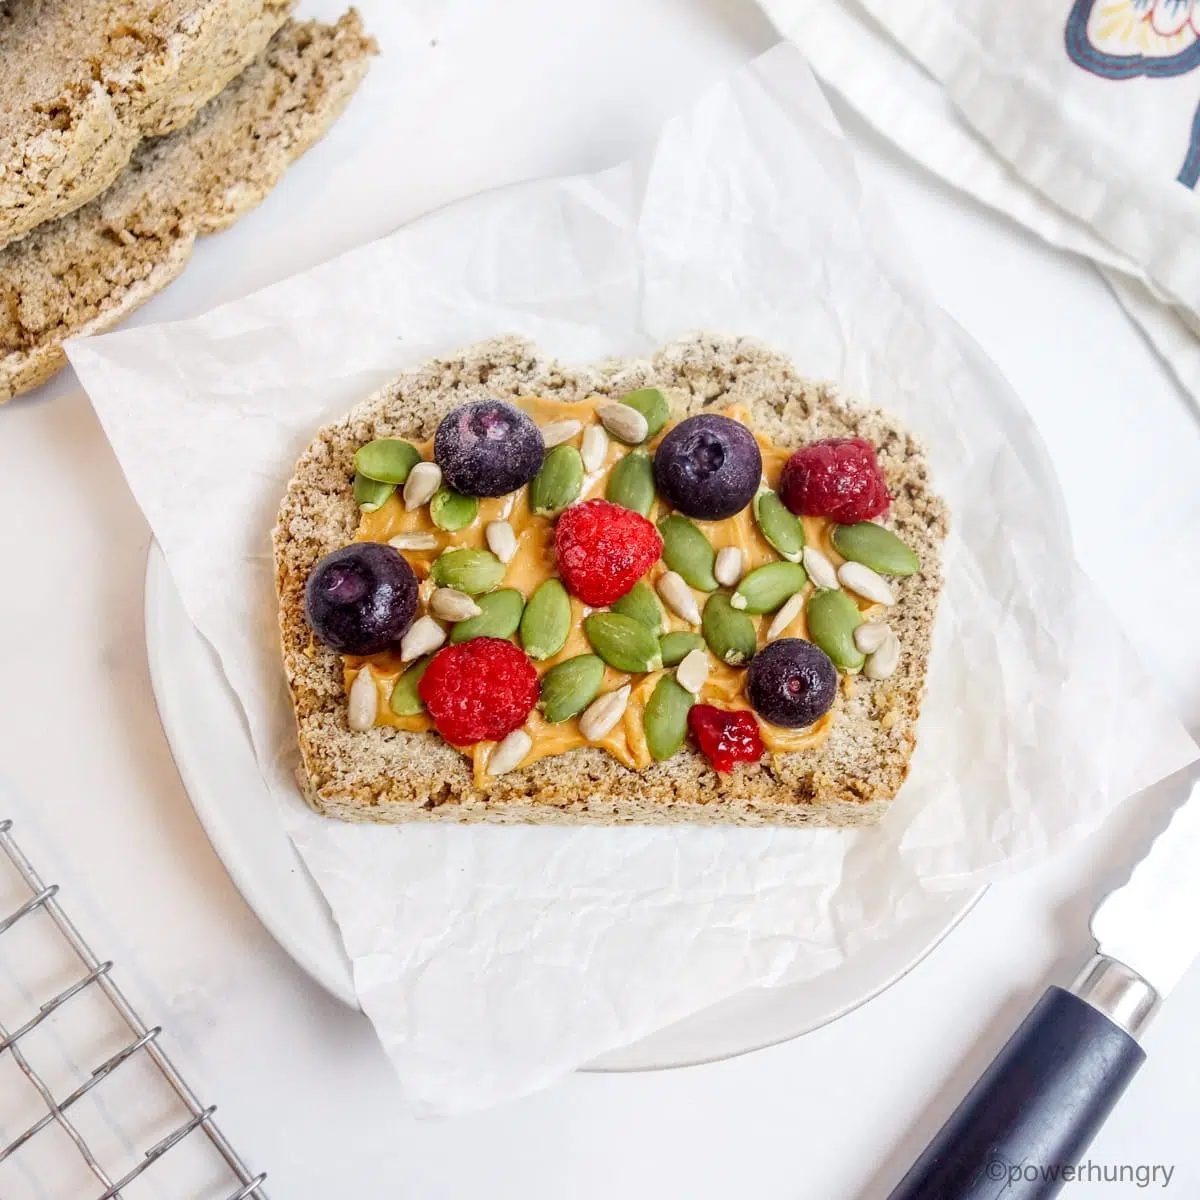
Taste:The flavor of the bread is mild and toasty. The flavor, like the texture, reminds me of wheat bread. The bread is great with sandwiches of all kinds (sweet and savory). I love the bread toasted, with nut or seed butters, hummus, vegan cream cheese, jam…you name it.
The bread is a great accompaniment to dinners and lunches, too. It is wonderful with soups, stews and salads.
FAQ
How should I store the bread?
Store the cooled bread in an airtight container at cool room temperature for 2 days, the refrigerator for 1 week, and the freezer for up to 6 months.
Can I use different flours (in place of the sorghum flour)?
I do not recommend using any other flours besides sorghum flour in this particular recipe. The proportion of wet and dry ingredients, as well as the quantity of whole psyllium husks, is particular to the sorghum flour.
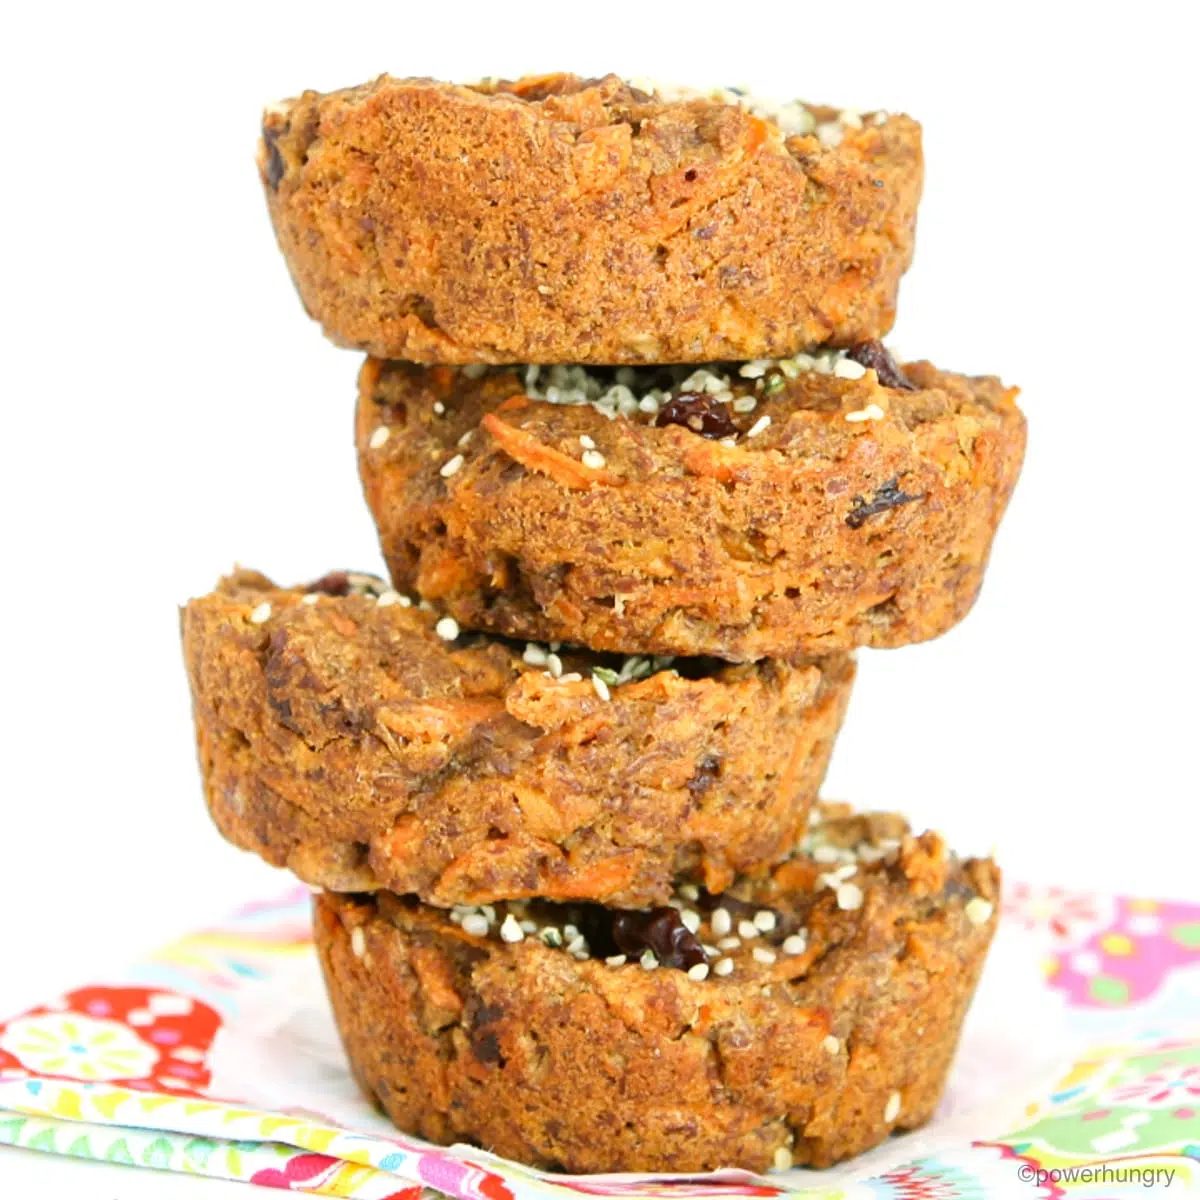
However, I have many other sandwich bread recipes that are similar to this one that use different flours. Below are links to a few of them. The breads are made with buckwheat flour, oat flour, millet flour. I even have a high protein sandwich bread that has no grains at all (it is made with sunflower seeds and red lentils!).
- Gluten-Free Buckwheat Sandwich Bread {vegan, no yeast}
- Vegan Gluten-Free Oat Sandwich Bread {oil-free, yeast-free}
- 100% Millet Sandwich Bread
- Straightforward High Protein Sandwich Bread (4 ingredients, V, GF, Oil-Free)
What kind of Sorghum Flour do you use?
I bring this up for my international readers. In the U.S. and Canada, there is only one type of sorghum flour available. It is simply labeled “sorghum flour.” It is pale in color and looks like all-purpose flour.
If you live in a country where multiple varieties of sorghum flour are available, I suggest choosing an option that is light in color.
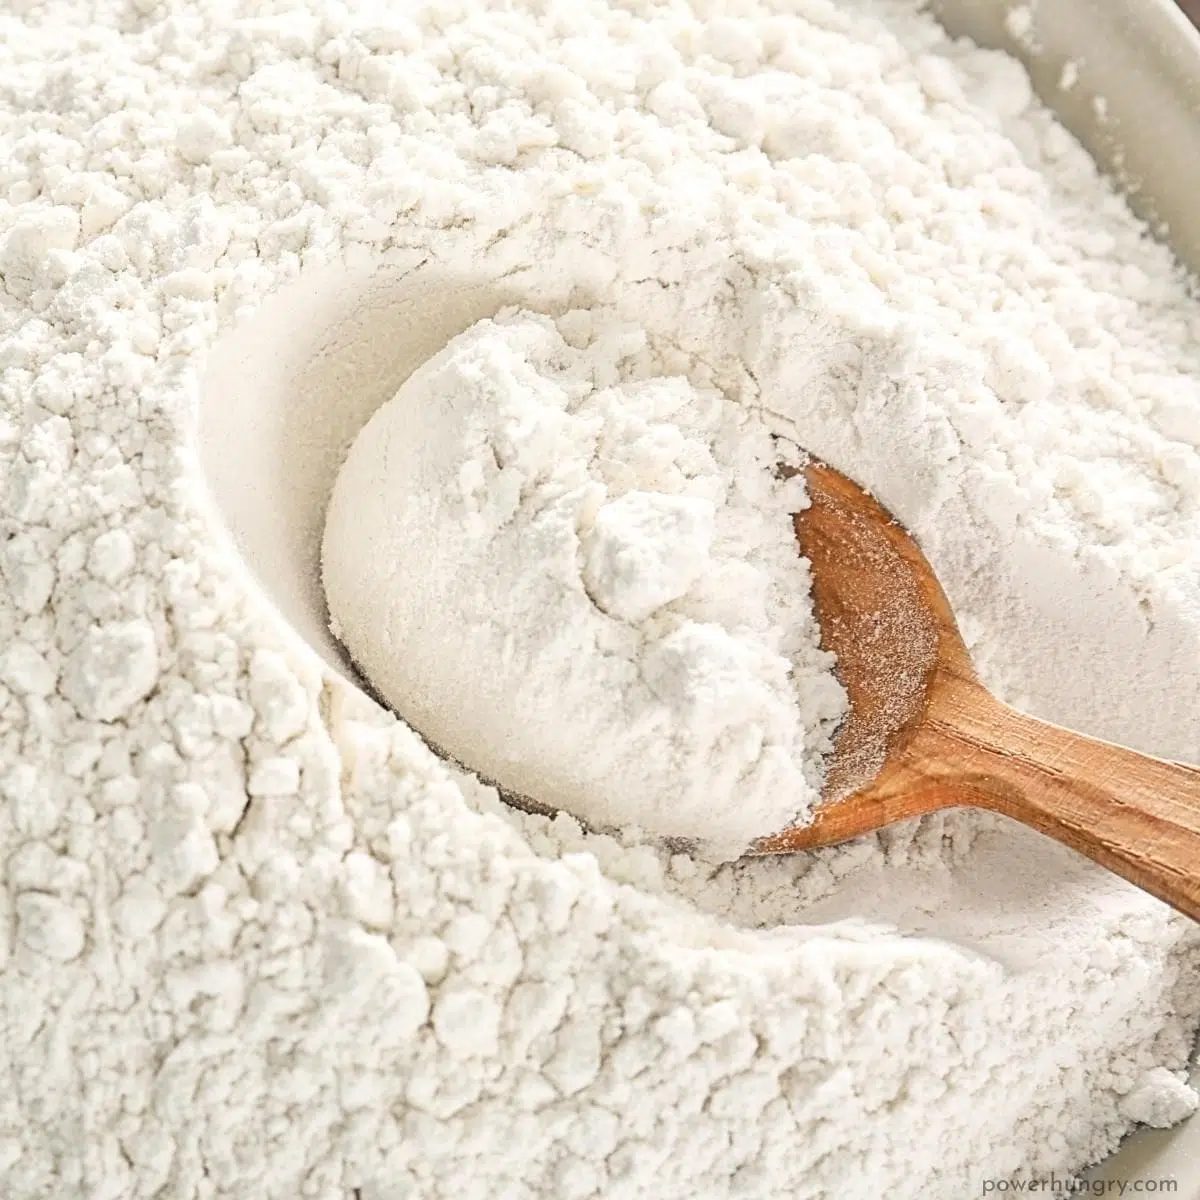
Do Not Use Amaranth Flour.Also note, in particular, that some countries categorize sorghum and other grains broadly as “millet,” even though they are not, in botanical terms, millet. For reliable results, opt for flour that is specifically labeled as sorghum flour.
My oven has a convection setting. Should I use it for this bread?
No, definitely not.Convection ovens are wonderful for many types of recipes, but not every recipe. Convection ovens excel at quick, crisp cooking. They are not the right choice for long slow baking, and that is definitely the case for this bread.
Convection ovens (or the convection oven setting) can force the outer layer of this bread to rise and separate from the inside of the bread. This will lead to some, or all, of the following results: (1) a big bubble under the surface of the loaf; (2) a gooey middle and bottom; and (3) a very hard outer crust.
This bread needs the low, slow radiant heat of a conventional oven.
My bread came out gooey in the middle. Why?
The most likely reasons are the following:
- Baking in a a convection oven instead of conventional oven. See the section above explaining why this makes a huge difference.
- Ingredient measurements are off.For reliable results, weigh the ingredients. It is very straightforward to mis-measure flour, in particular, with cup measurements.
- Oven temperature is off.I regularly check my oven temperature setting using an inexpensive oven thermometer. Check to make sure the oven is accurate before baking. If the oven is too hot, it can force a faster rise to the bread, leading to a bubble under the top of the loaf.
Can I Use Something Other than Whole Psyllium Husks?
Alas, no, it must be whole psyllium husks. Other gelling agents, such as flaxseed meal or chia seeds, will not work as direct substitutes (they might work, but it would involve some experimenting to determine their efficacy).
You should be able to use an equal amount (by weight, not volume) of psyllium powder.I have not tested the bread with psyllium powder.
How Can I Vary the Flavor of the Bread?
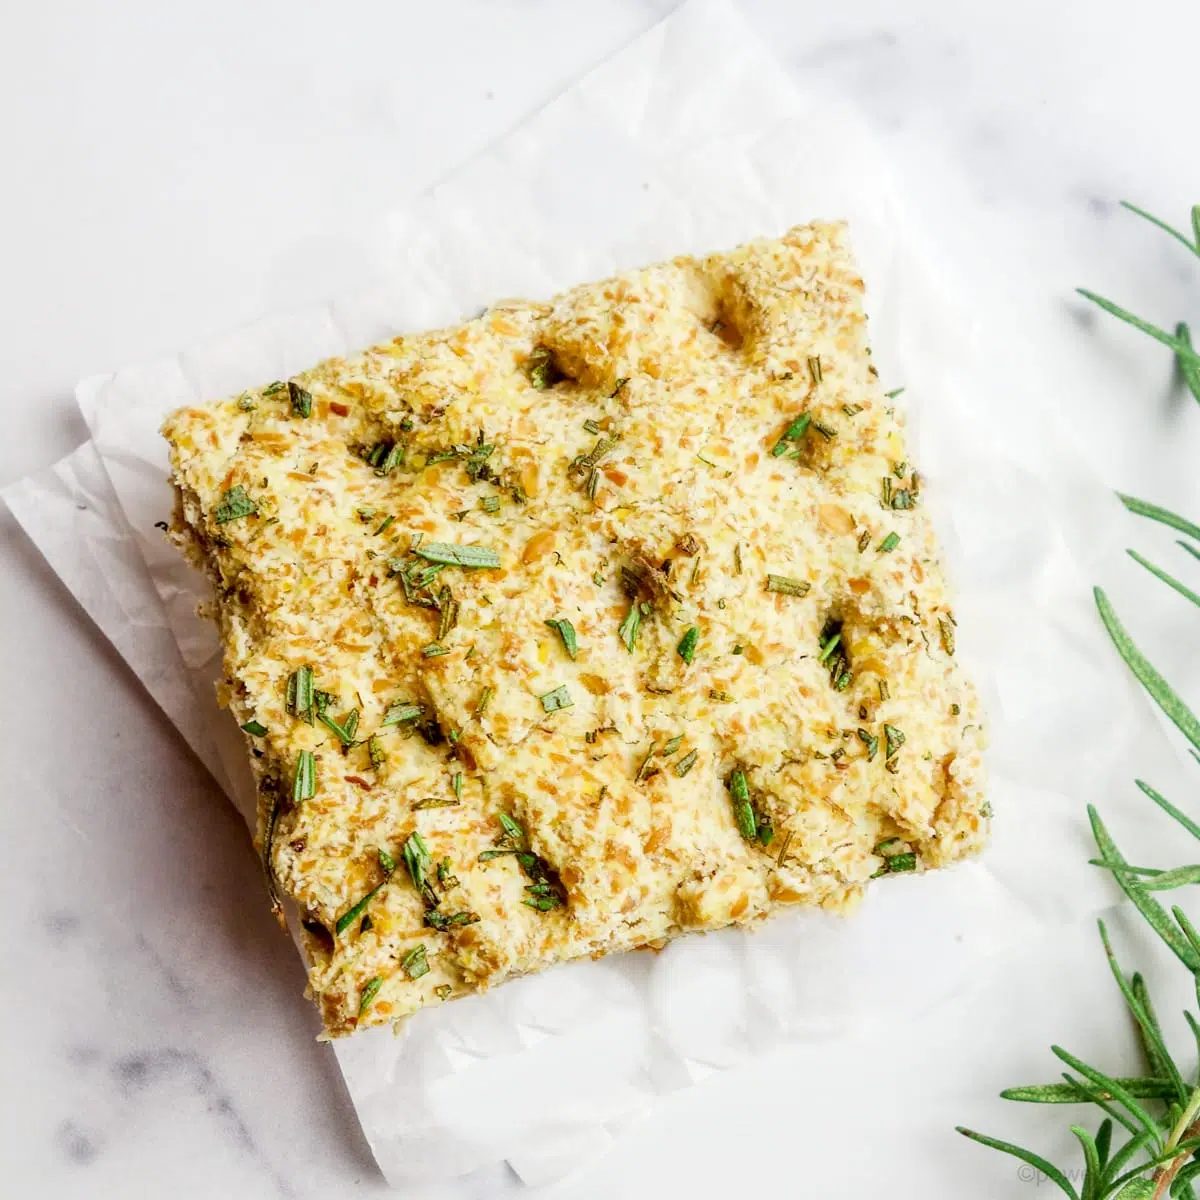
Consider adding dried herbs or spices to the bread to vary the flavor. For example, 1 to 2 tablespoons of dried Italian herbs or herbes de Provence or 2 to 3 teaspoons of ground cumin, curry powder, garlic powder, or onion power.
You can also add:
- chopped nuts or seeds (up to about 2/3 cup, total)
- sweetener, such as maple syrup or coconut sugar (up to 1/4 cup)
- Sweet spices (such as cinnamon, cardamom, or ginger)
Happy baking!
100% Sorghum Flour Bread (vegan, oil-free, GF)
- Prep Time: 5 minutes
- Cook Time: 1 hour
- Total Time: 1 hour
- Servings: 1 loaf (14 slices)
Ingredients
- 3 cups sorghum flour (see tip to grind your own)
- 1/3 cup whole psyllium husks
- 2 1/2 teaspoons baking powder certified GF, as needed
- 3/4 teaspoon baking soda
- 3/4 teaspoon salt
- 2 3/4 cups water
- 1 tablespoon cider vinegar (see notes for options)
Method
- Preheat the oven to 350F (180C). Note: do not use convection setting for this bread (see post for explanation). Spray or grease a 9×5-inch (22.5×12.5 cm) loaf baking pan (or line with parchment paper to avoid all oils).
- In a large mixing bowl , whisk the sorghum flour , psyllium husks, baking powder , baking soda and salt until blended.
- Add the water and vinegar, stirring until combined and no dry ingredients are visible.
- Transfer the dough to the prepared pan. Smooth the top into an even layer.
- Using a sharp knife, make a lengthwise slash into the dough (about 1/4-inch deep).
- Bake in the preheated oven for 90 minutes, or until the surface appears pale golden brown, dry and crusty. Cool in the pan, on a cooling rack , for 15 minutes.
- Remove the bread from the pan and cool completely on the cooling rack before slicing.
Notes
Storage: Store the cooled bread in an airtight container at cool room temperature for 2 days, the refrigerator for 1 week, and the freezer for up to 6 months. Sorghum Flour : Sorghum flour can be purchased or ground at home from whole sorghum. Use a high-speed blender to grind the sorghum to a fine flour (it takes about 1 minute), or grind by the 1/4 cup in a small electric coffee mill. Vinegar Options: An equal amount of any other vinegar, or lemon or lime juice, can be used in place of the cider vinegar . Psyllium Tip: I tested this recipe with whole psyllium husks , not psyllium powder . You should be able to use an equal weight (not volume) of psyllium powder (check your package for the weight and volume amounts). I have not tested the recipe with psyllium powder.