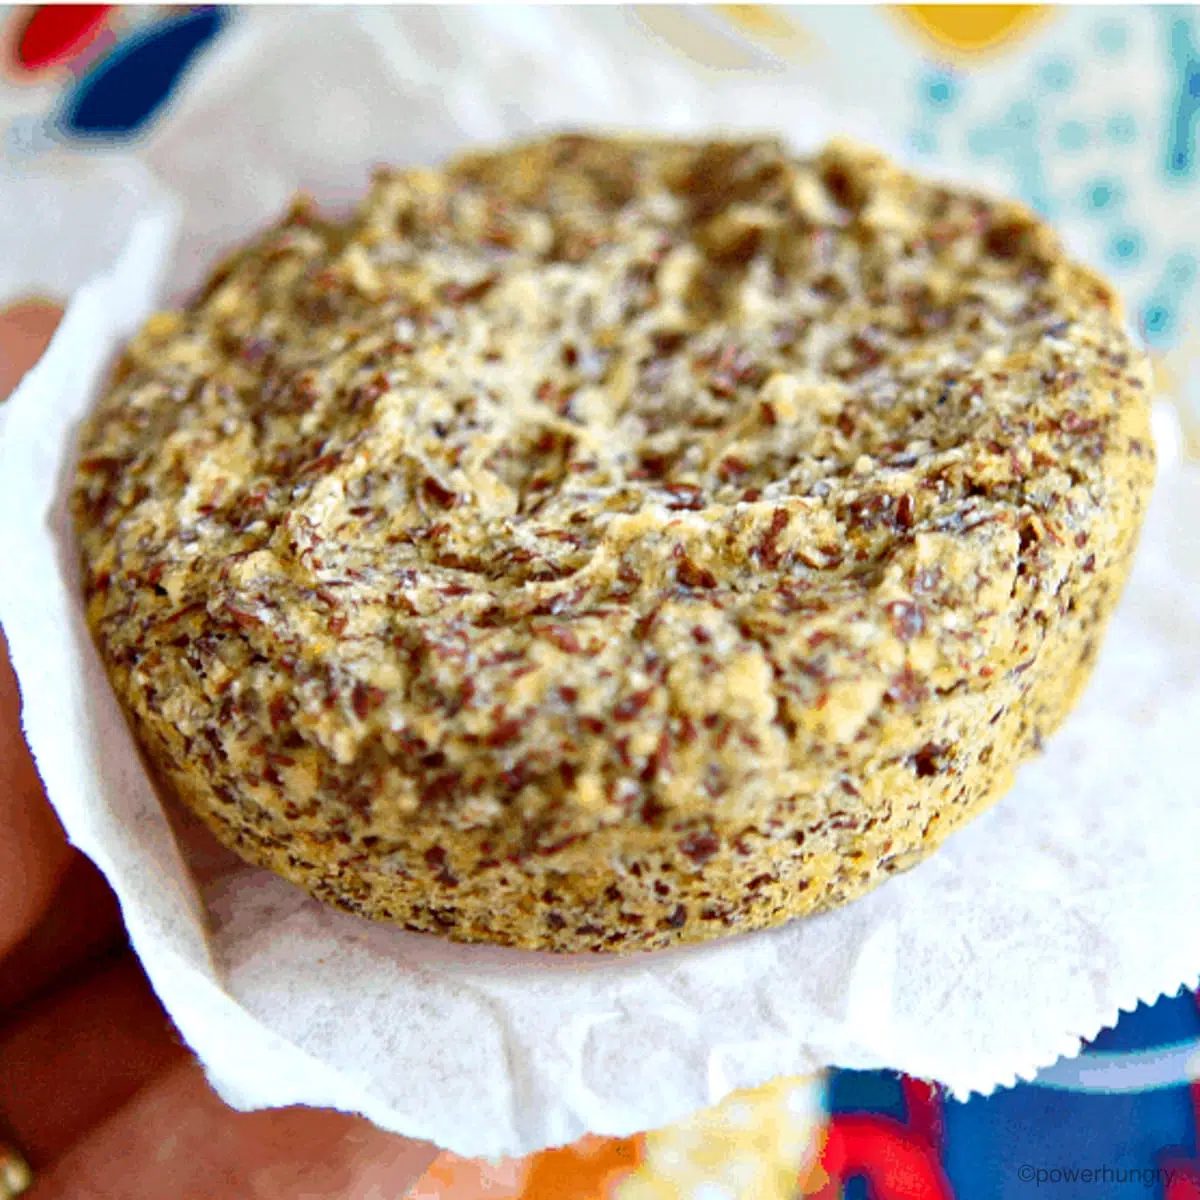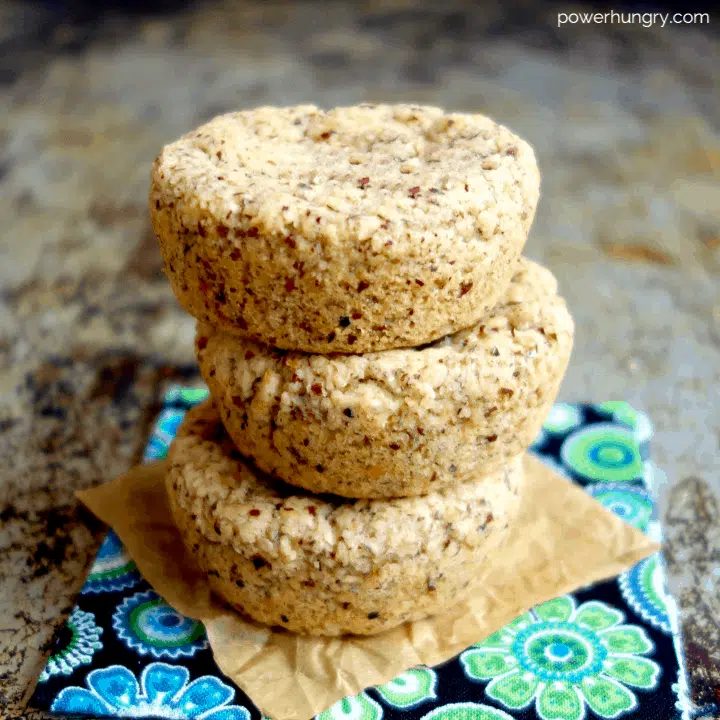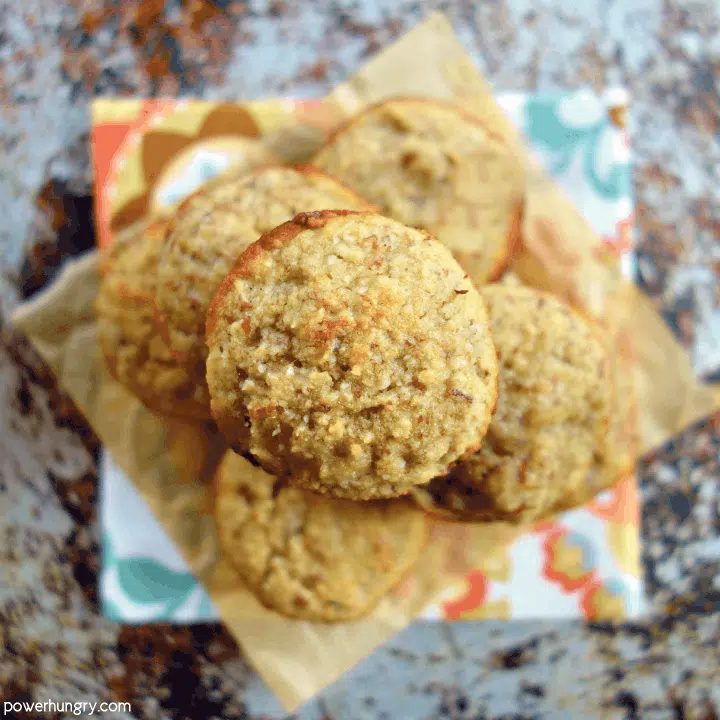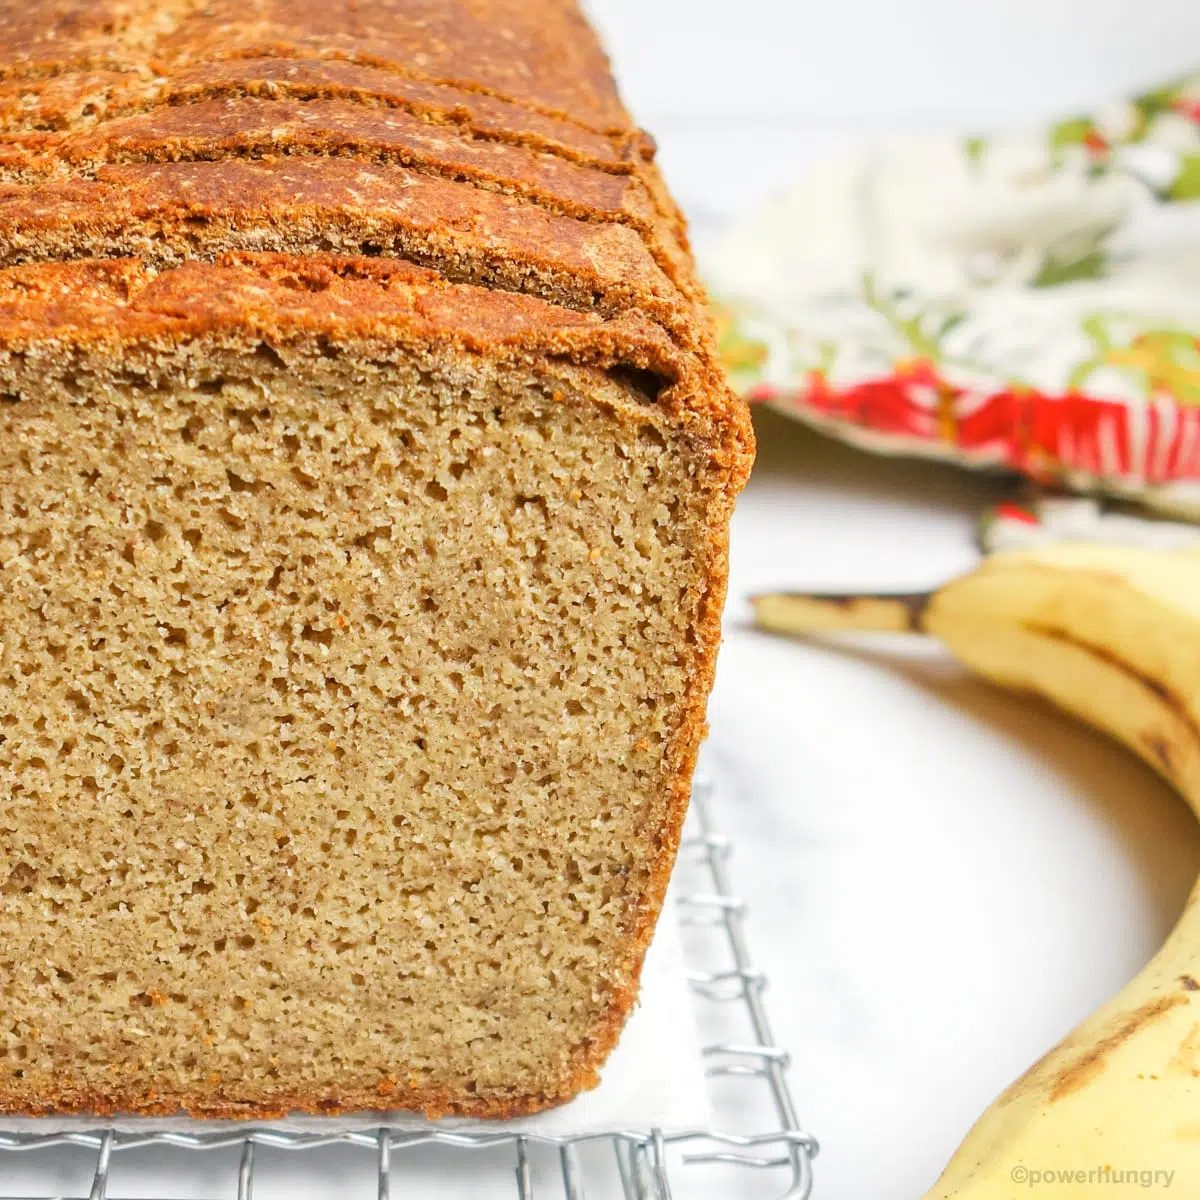
Fast & straightforward 100% millet banana bread! Flourless, vegan, gluten-free, and oil-free, it is made in a flash in a blender.This makes a sturdy, fine-textured loaf that is great for toasting & sandwiches.
Gluten-Free Vegan Banana Bread
Why yes, the world does need another banana bread recipe!
This one is unique in several ways. First, it is made from whole millet grain (no flours, no other grains). Millet is a naturally gluten-free grain that is high in fiber, protein and antioxidants. I like that it has a neutral flavor (translation, versatile in all kinds of recipes) andlovethat it is inexpensive (especially when I purchase it in bulk).
Second, the loaf is a breeze to make. The millet and bananas are processed in a blender in seconds. Push-button baking, I like it.
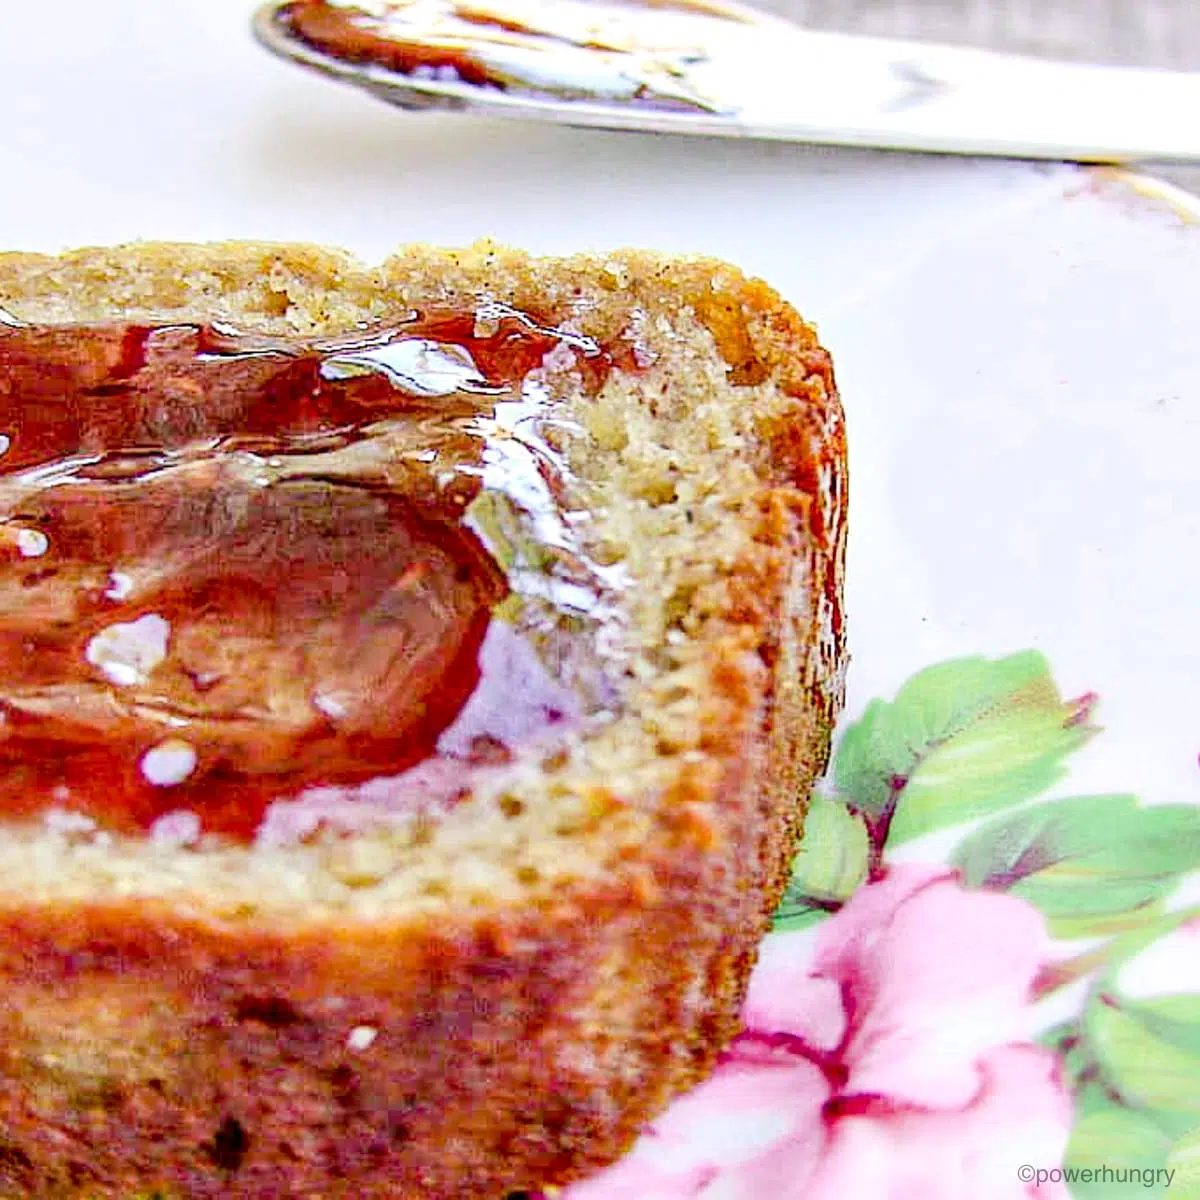
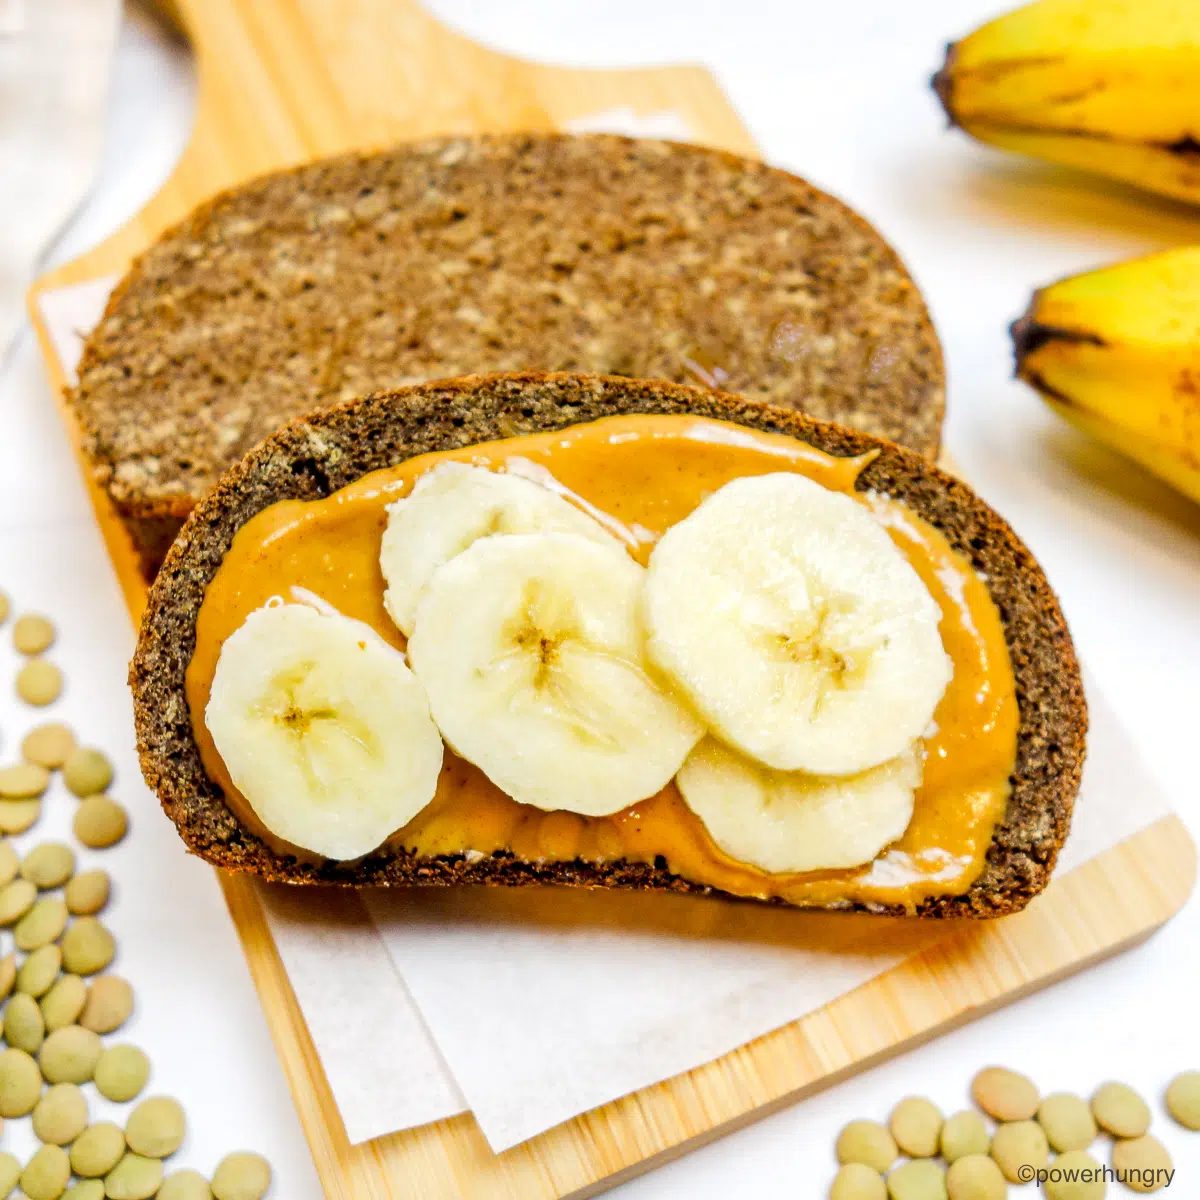
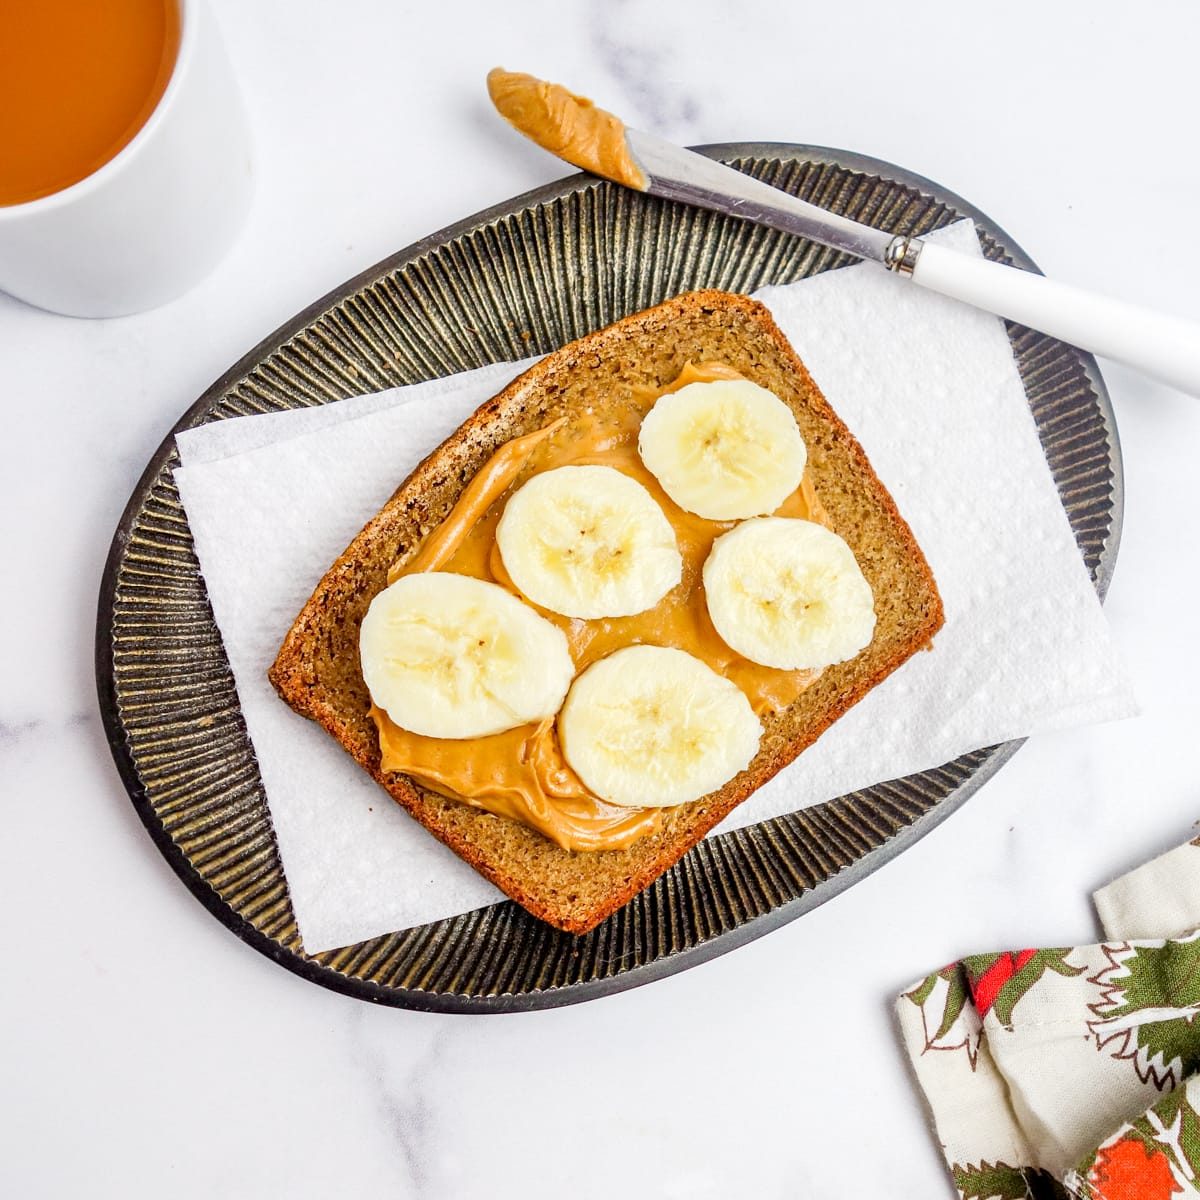
Third, this banana bread is more sturdy than squidgy, more bread than cake. Sometimes the latter fits the bill, but when it comes to toasting and sandwiches (spread with nut butter, jam, fruit, Nutella, you name it) this banana bread is ideal.
I don’t know about you, but I need banana bread sandwiches in my life :).
Recipe Benefits
- Gluten-free
- Vegan (egg-free & dairy-free}
- Xanthan gum-free
- Oil-free
- Refined sugar-free
- Nut-free
- Flourless (see my notes for using millet flour in place of whole millet)
- High in fiber
- Minimal ingredients
- Fast & straightforward to prepare
Ingredients for Straightforward 100% Millet Banana Bread
The exact amounts of each ingredient are indicated in the recipe card at the end of the post.
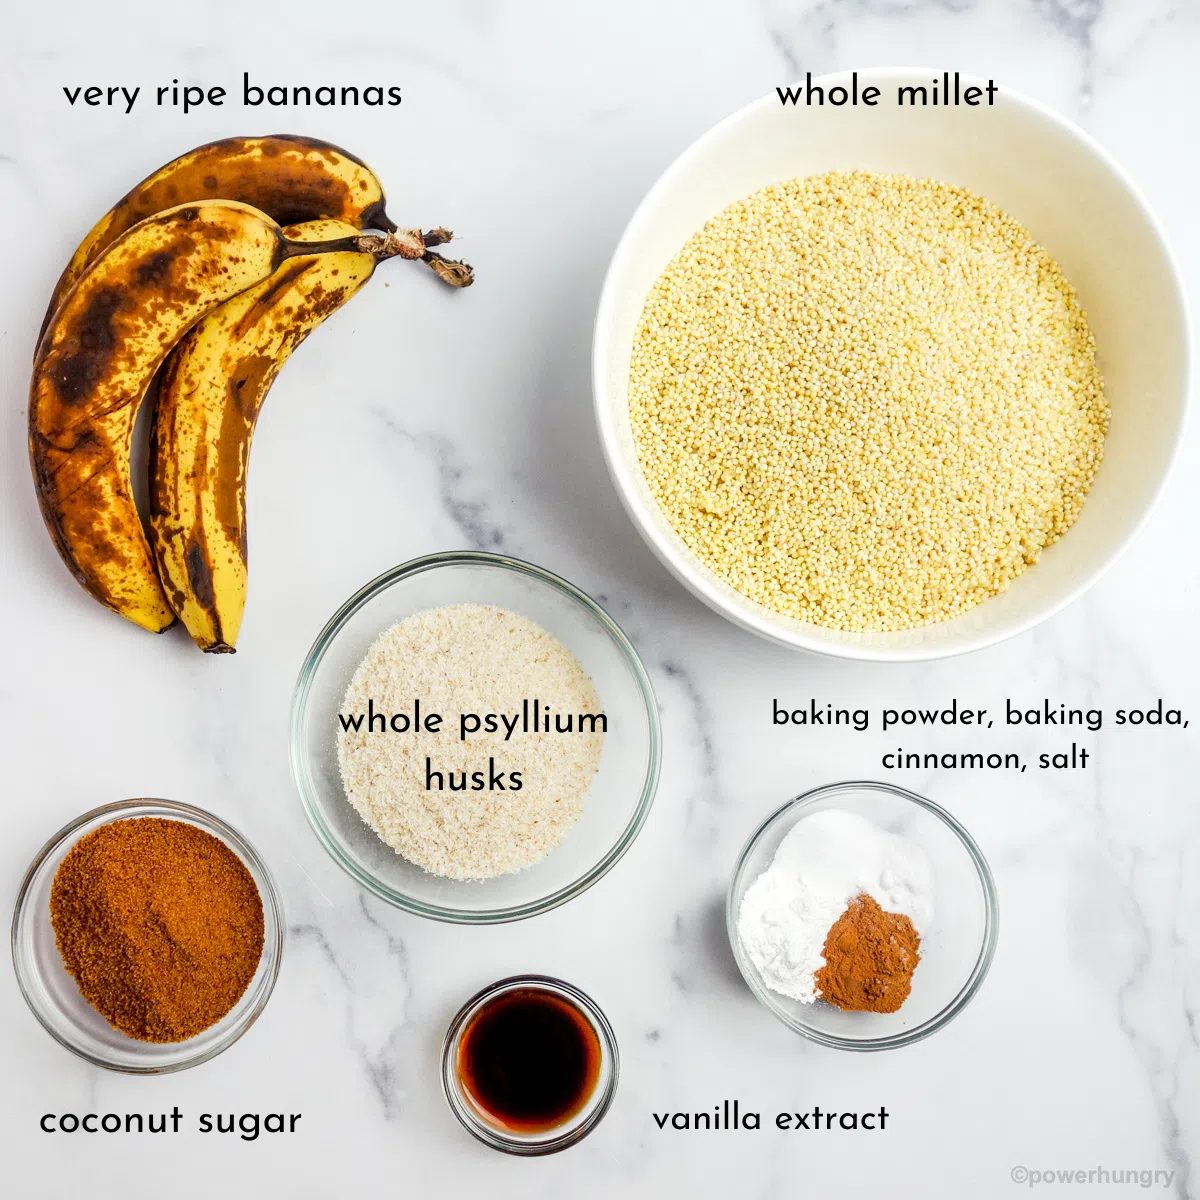
The recipe ingredients are minimal (as a banana bread should be ?):
- mashed, very ripe bananas (a lot of them)
- whole millet (raw)
- whole psyllium husks
- coconut sugar (or the sweetener of your choice)
- vanilla extract
- cider vinegar (or any light-colored vinegar)
- ground cinnamon
- baking powder, baking soda, and salt
The recipe also uses plain water (I use filtered tap water).
Sweetener Options
An equal amount of brown sugar, or the granulated sweetener of your choice, can be used in place of the coconut sugar.
An equal amount of liquid sweetener can also be used. If using a liquid sweetener, decrease the total amount of water in the recipe by 2 tablespoons (30 mL).
How to Make 100% Millet Banana Bread
Step One: Preheat the Oven and Prepare the Pan
Preheat the oven to 350F (180C). If your oven has a convection setting, I recommend that youdo not use it for this bread. This bread needs to be baked using the regular (radiant) heat. More about this in the FAQS at the end of the post.
Spray a 9×5-inch (22.5 x12.5 cm) loaf pan with nonstick cooking spray. Alternatively, lightly oil or grease the pan.
Step Two: Blend Most (but not all) of the Ingredients
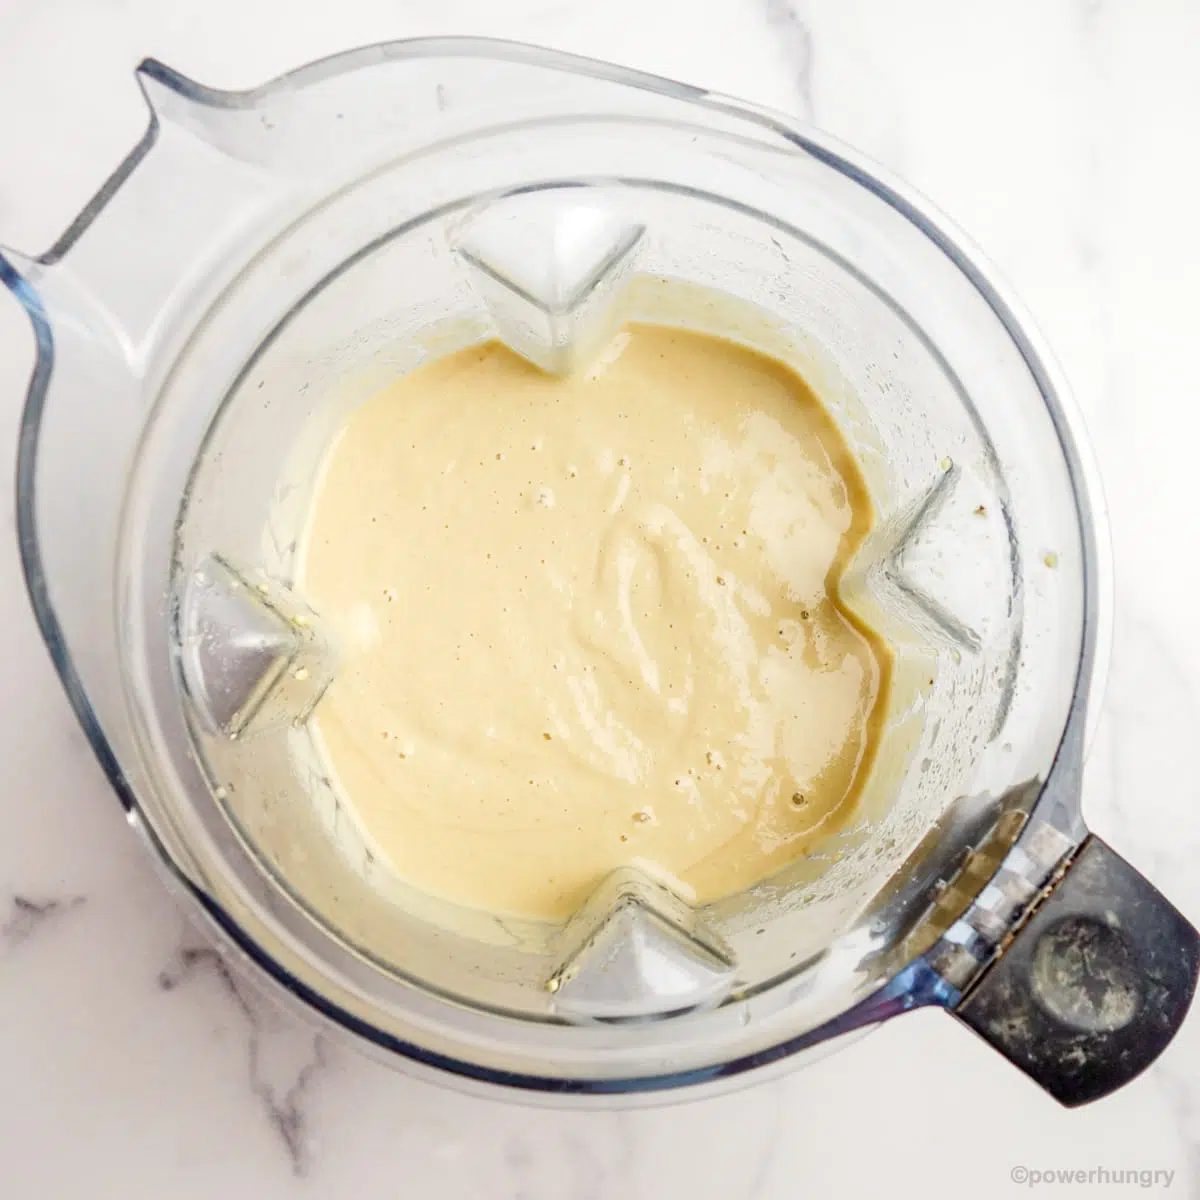
Place the millet, bananas, water, coconut sugar, vinegar and vanilla in a blender (a high-speed or regular blender).
Blend on high speed, stopping once or twice to scrape down the sides of the blender container, until the millet is completely broken down and the batter is smooth. Pour the batter into a large bowl.
Step Three: Whisk in the Remaining Ingredients
Stir the psyllium husks, baking powder, cinnamon, baking soda, and salt into the batter until completely combined. Use a spatula or large spoon rather than a whisk (the batter thickens quickly and will clump on the whisk).
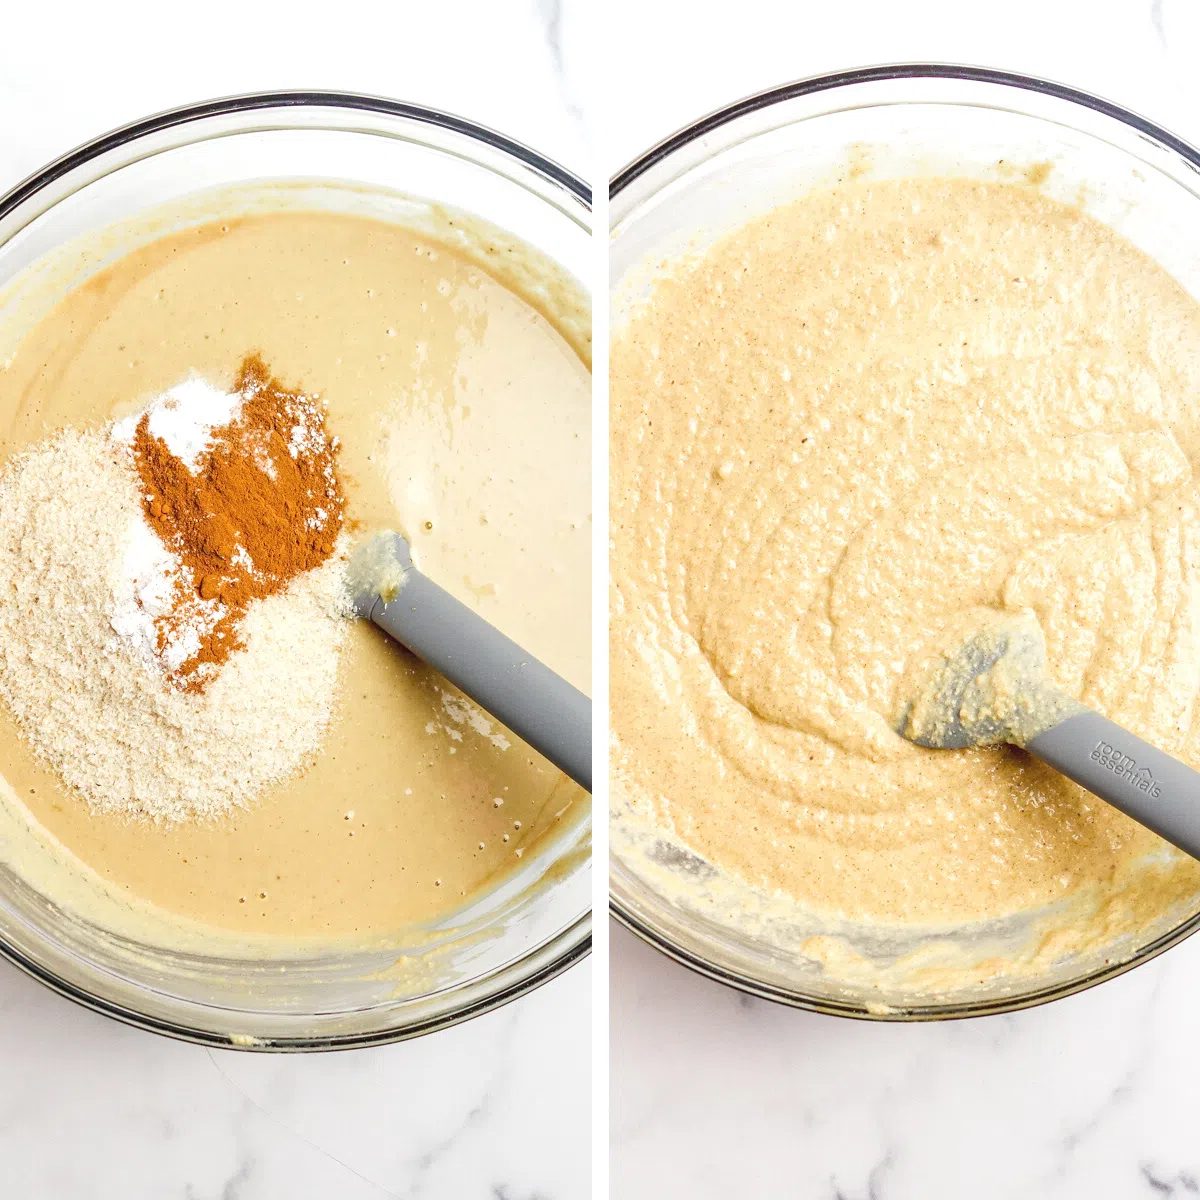
Why Transfer the Batter to a Separate Bowl?
When the psyllium husk is added, the batter becomesvery thickand sticky. In seconds. This makes it (a) difficult to scrape the batter out of the blender and into the pan; and (2) a major task to clean out the blender.
Scraping the thickened batter out of a mixing bowl, by contrast, is quick and straightforward. The same holds true for the cleaning.
Step Four: Pour Batter into Pan
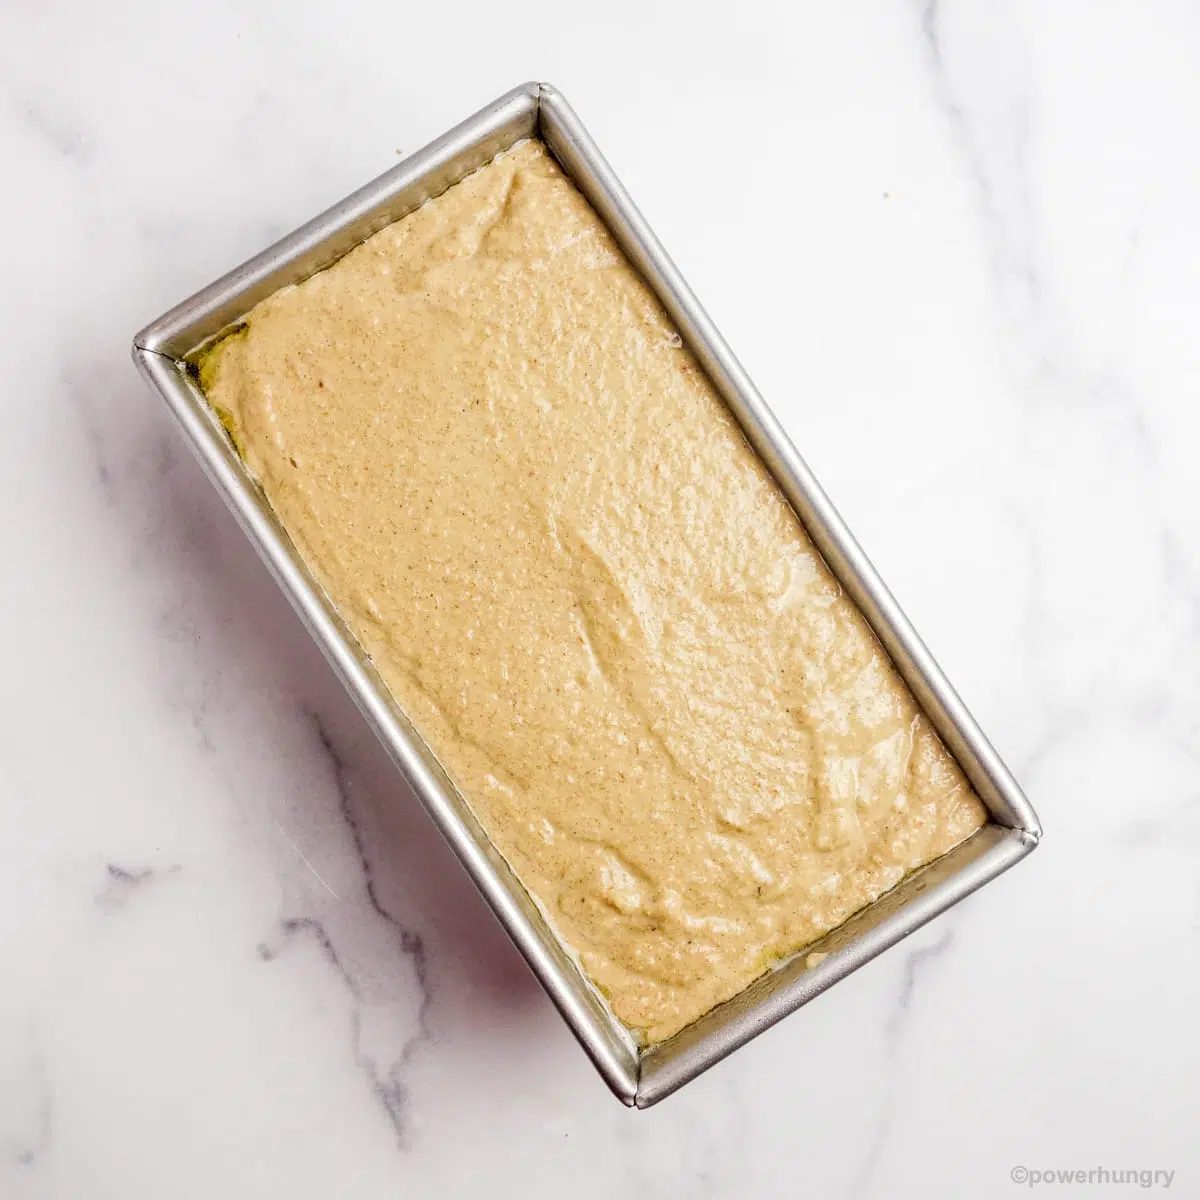
Scrape the batter into the prepared pan and smooth the top with a rubber spatula or the back of a spoon.
Step Five: Bake the Bread
Bake the bread in the preheated 350F (180C) oven for 90 minutes until risen and the surface of the bread is a deep golden brown. A tester inserted near the middle of the bread should come out with only a few moist crumbs attached. The corners of the bread should be pulling away (slightly) from the pan.
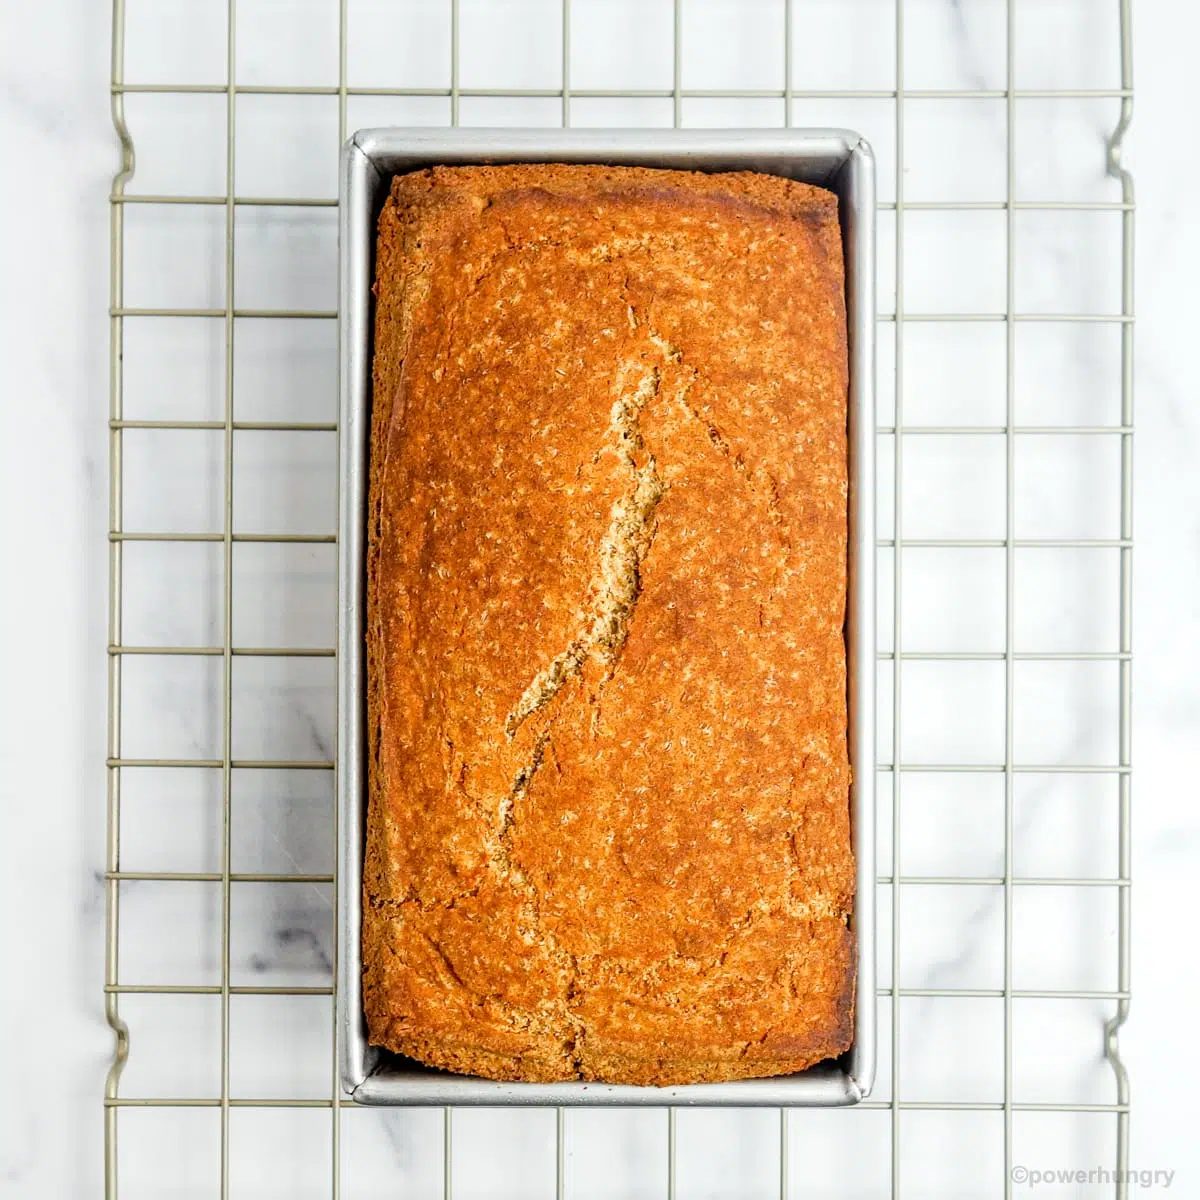
Transfer the pan to a cooling rack. Cool the bread in the pan for 15 minutes.
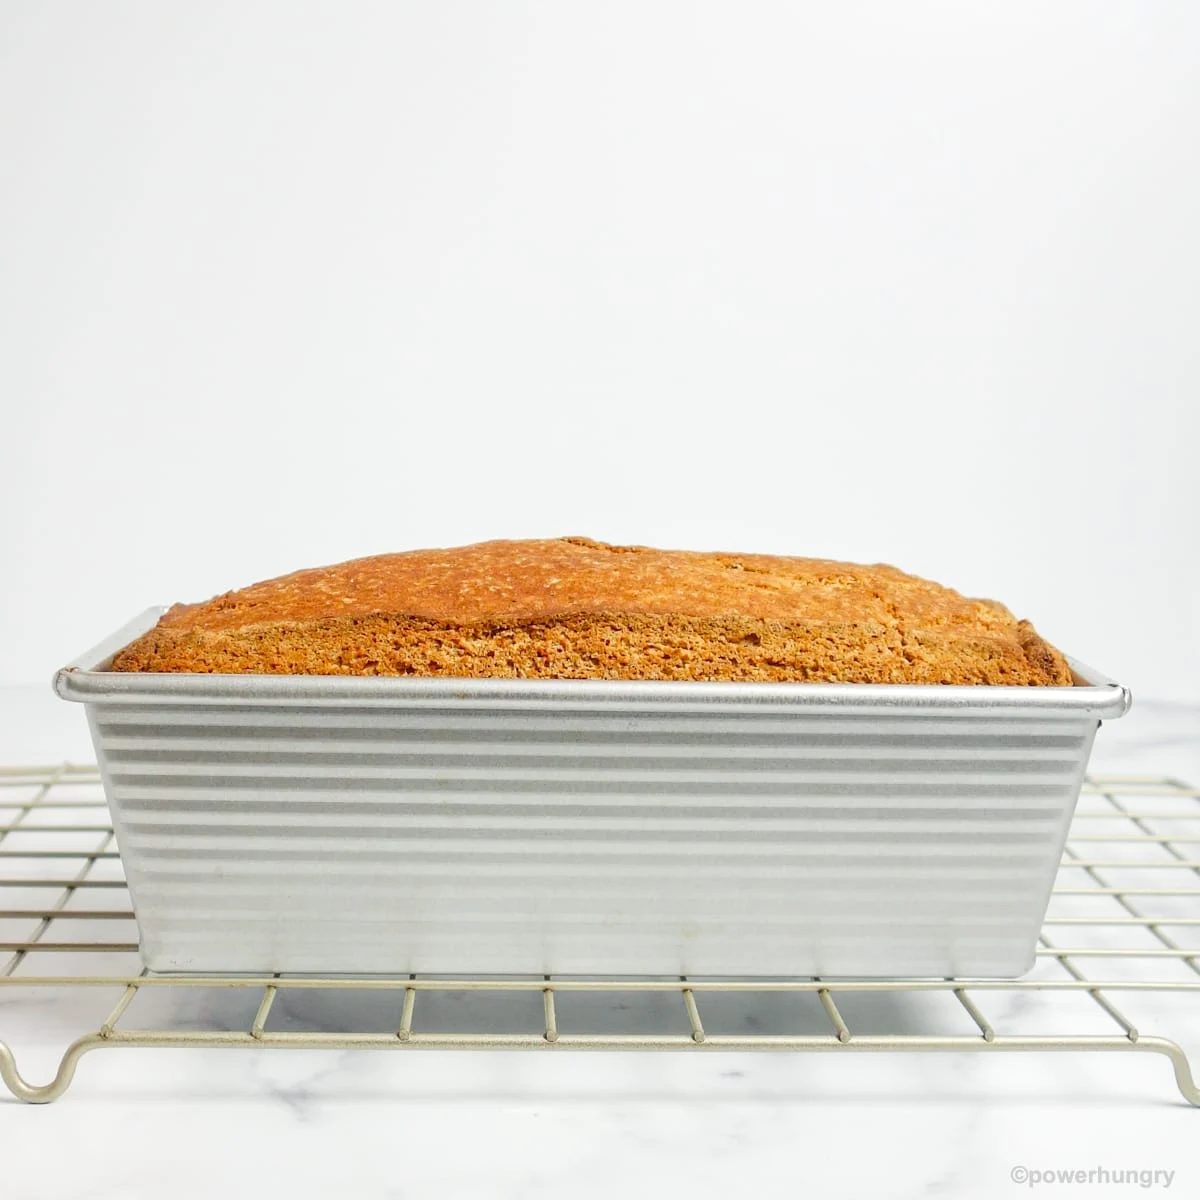
Step Six: Remove from Pan & Cool
Remove the loaf of bread from the pan (slide a butter knife around sides, as needed, to assist the release). Place the loaf on the cooling rack and cool completely.
Slice it Thick or Thin
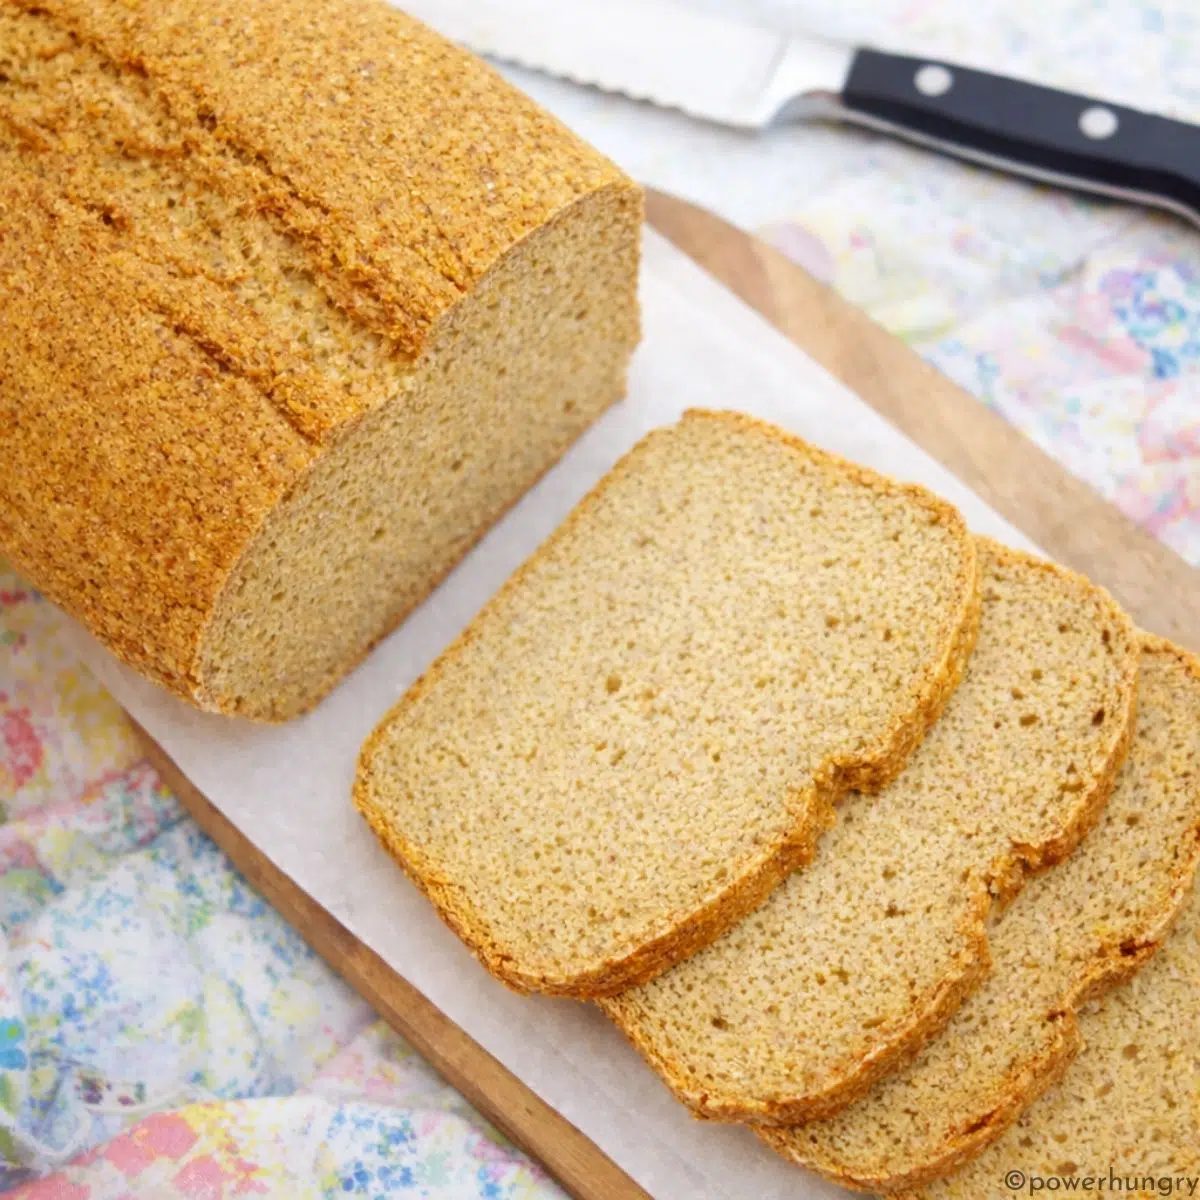
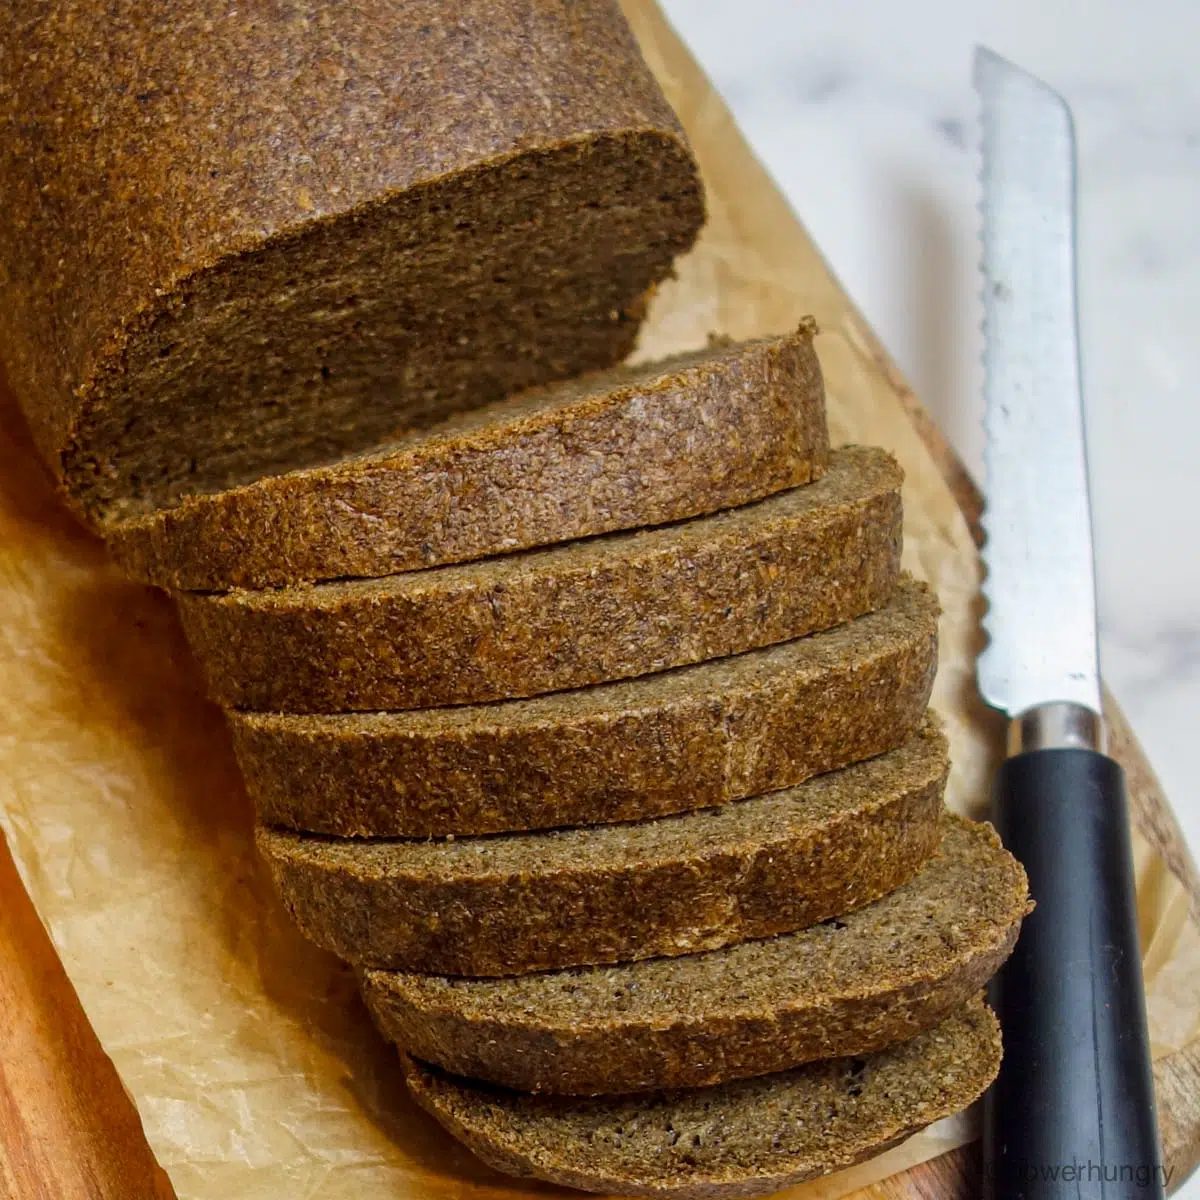
Is this a pretty loaf of banana bread or what?
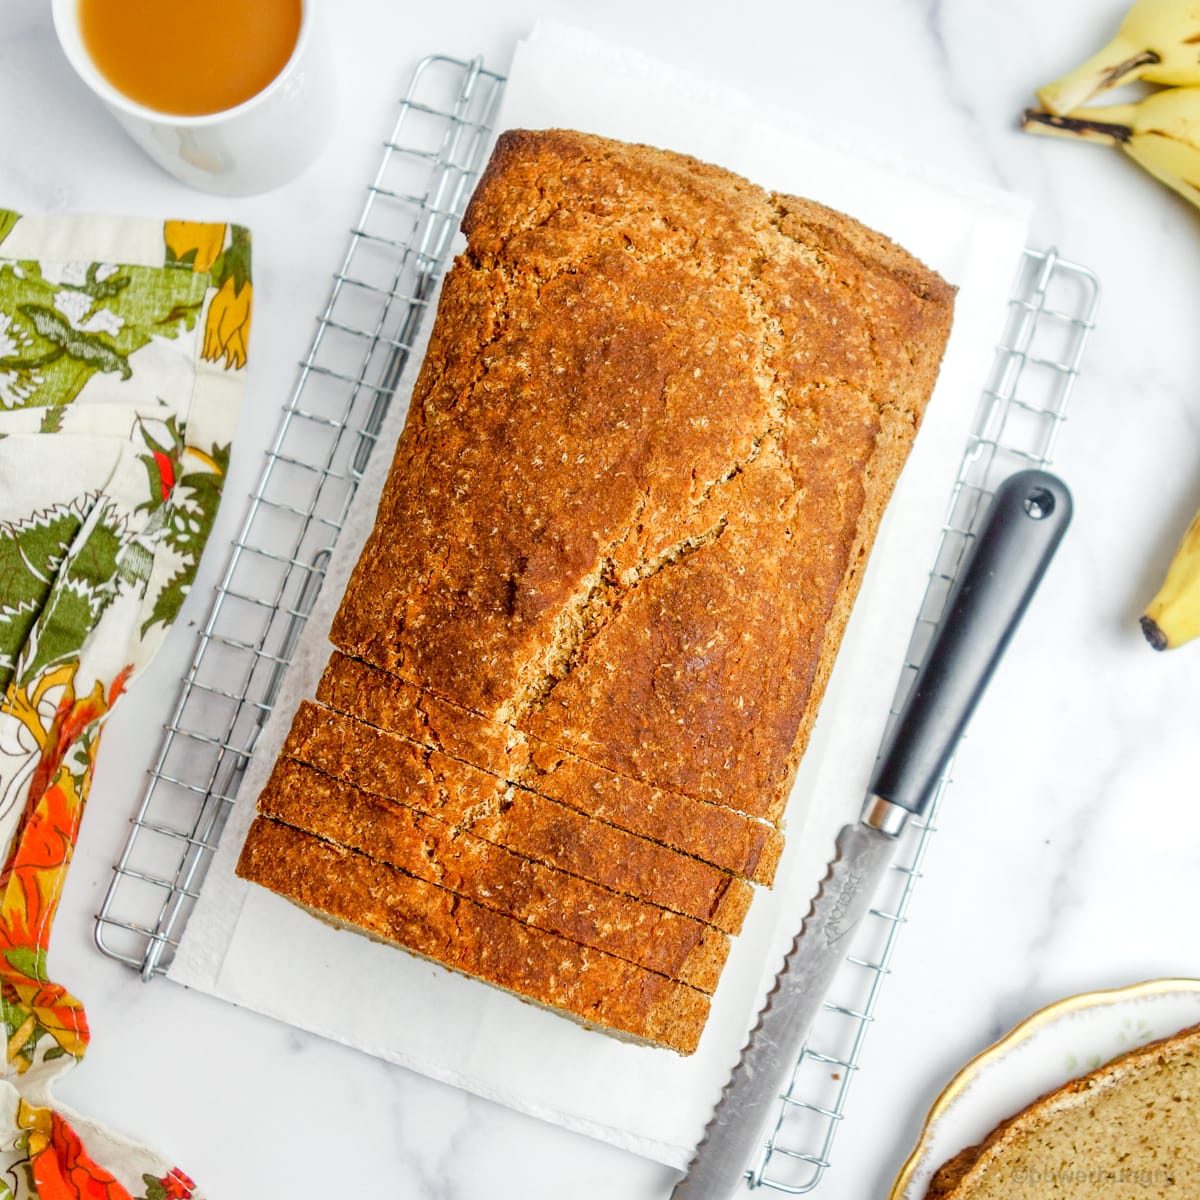
As I mentioned at the start, this is not a squishy, cake-y banana bread. Instead, it is hearty and sturdy, which means that it can be sliced thick, thin, or anywhere in between.
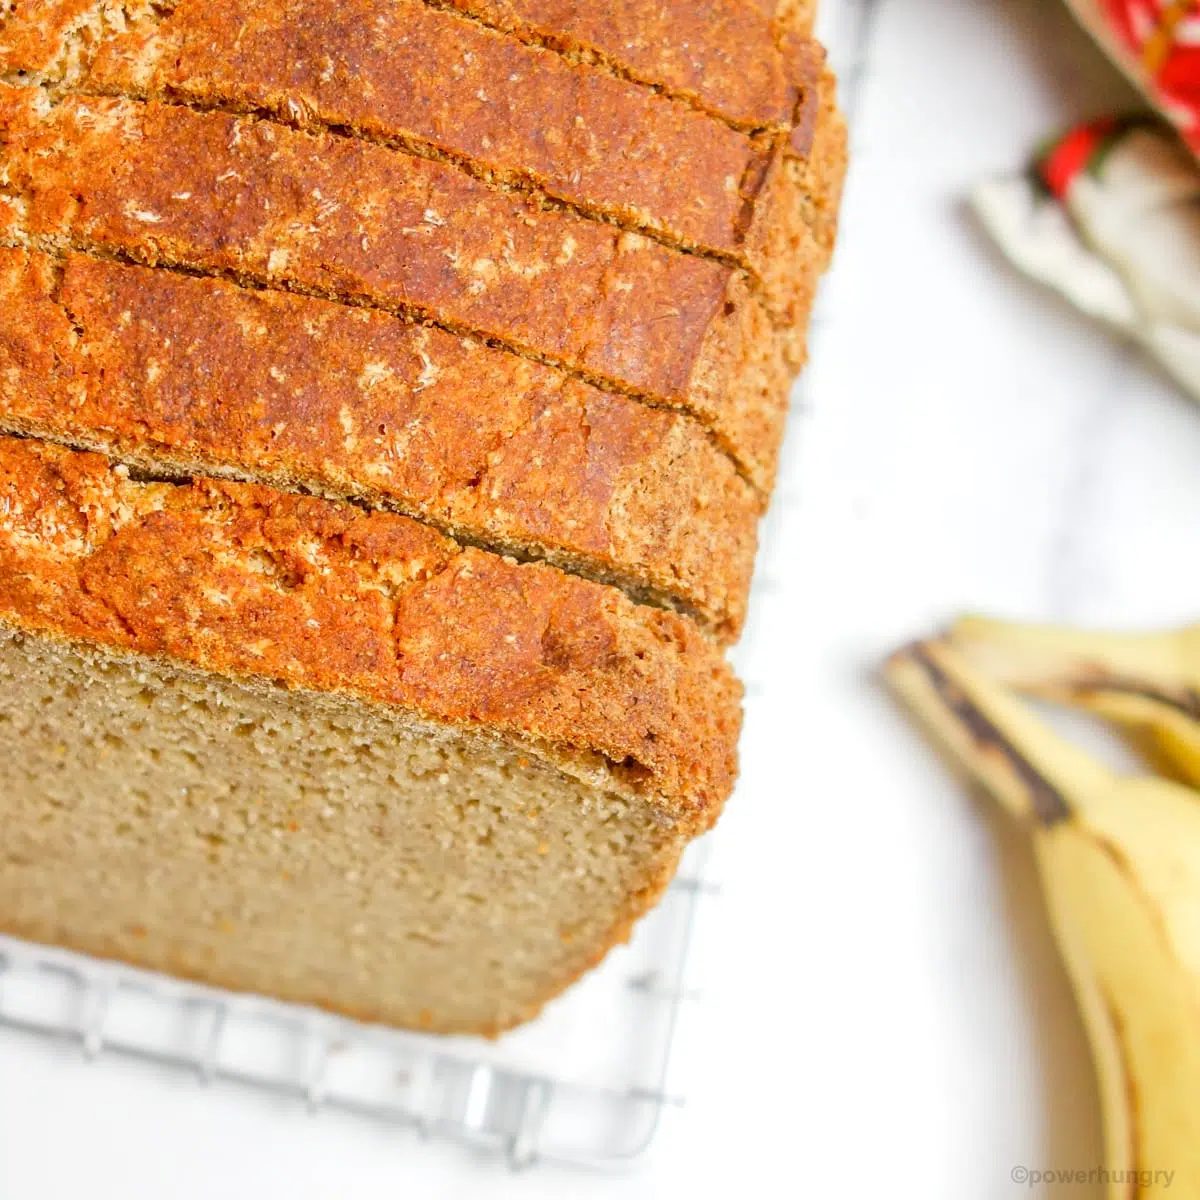
What is the texture & taste of the banana bread?
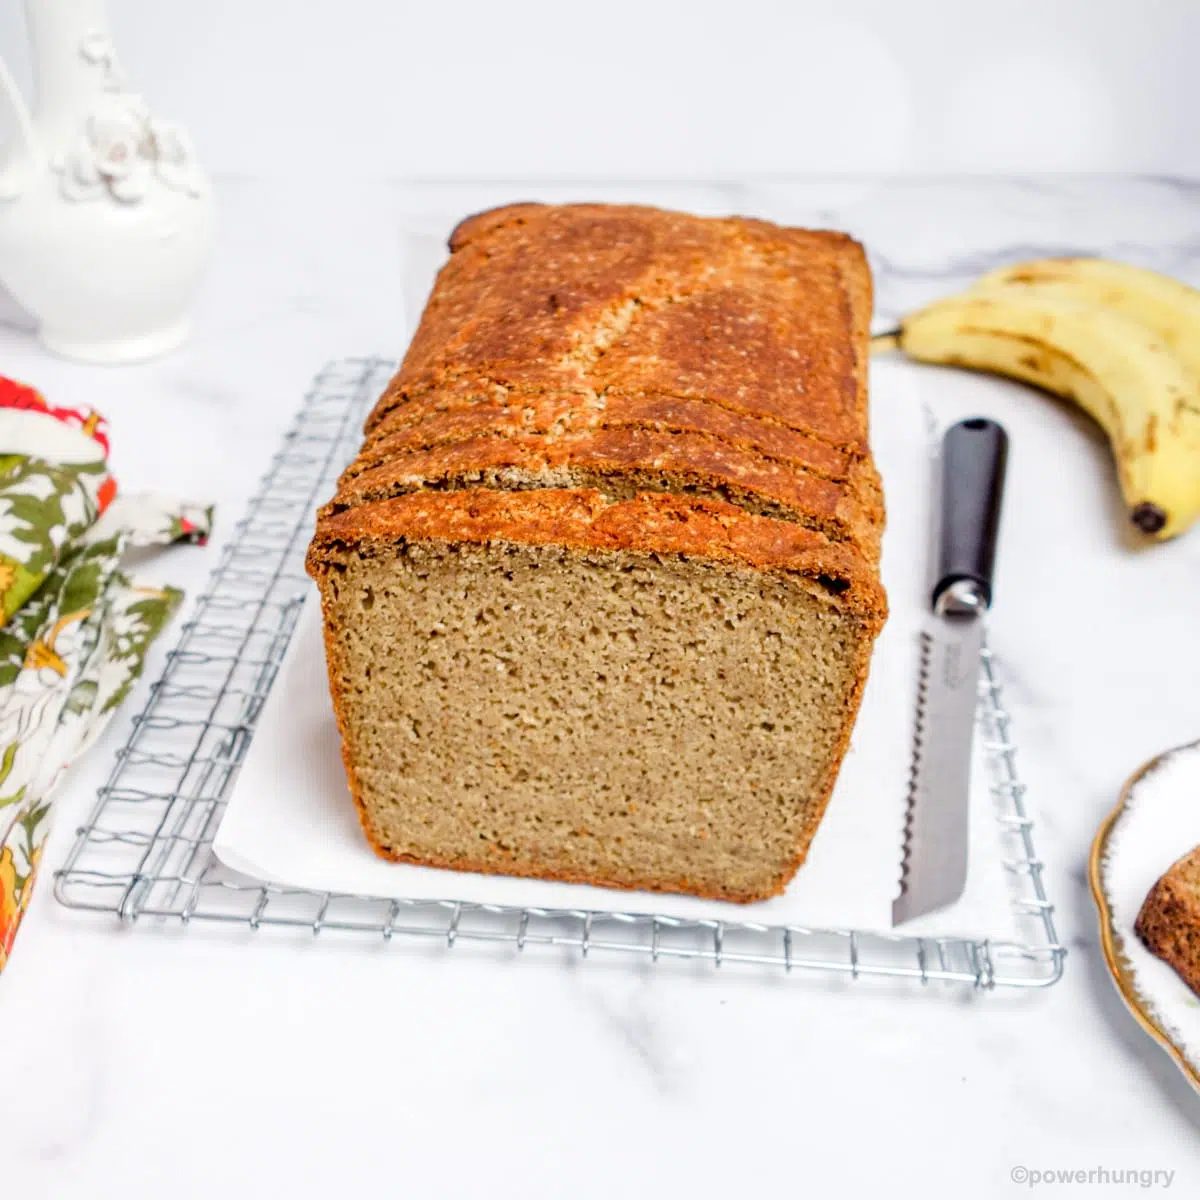
Texture:This is a brawny banana bread: solid, fine-textured, heavy (in a very good way). One slice make s a filling breakfast or snack.
Taste:The flavor of bananas is front and center, with nutty undertones from the millet. This is not a especially-sweet banana bread. I baked multiple loaves to get the level of sweetener just right, but feel free to add more (or slightly less).
FAQ
How should I store the 100% Millet Banana Bread?
Store the cooled bread in an airtight container at cool room temperature for 2 days, the refrigerator for 1 week, and the freezer for up to 6 months.
Can I use millet flour in place of whole millet?
Yes! Here is what you need to do to make the substitution:
(1) Use the same weight (not volume/cups) of millet flour in place of the whole millet grain. Specifically use 400 grams (about 2 and 1/2 cups) of millet flour to replace the 400 grams of whole millet.
For the most accurate results, I strongly advise weighing the millet flour for an exact weight replacement.
(2) Do not add the flour to the blender
Whisk the millet flour, psyllium, cinnamon, baking powder, baking soda and salt in the large bowl. Blend the bananas, water, vinegar and vanilla in the blender until smooth.
Add the banana mixture to the flour mixture, stirring until blended.
Can I use a different grain in place of the millet?
I do not recommend it. The proportion of wet and dry ingredients, as well as the quantity of psyllium husk, is particular to this combination of grains. For the reliable results, stick with the ingredients and proportions listed.
Is the 500 grams of bananas peeled or unpeeled?
I use 500 grams ofpeeled, very ripe bananas.
If you have a kitchen scale, you can weigh the peeled bananas (no need to mash them before adding to the blender). If you are using cups, 500 grams of bananas is 2 cups of finely mashed bananas.
What kind of millet do you use?
I bring this up for my international readers. In the U.S. and Canada, we pretty much have one millet available, labeled “millet.” It is small and pale yellow. It looks like bird seed because…millet is often used for bird seed (note: do not use seeds designated for birdseed in human recipes ?). The variety available for human consumption is hulled.
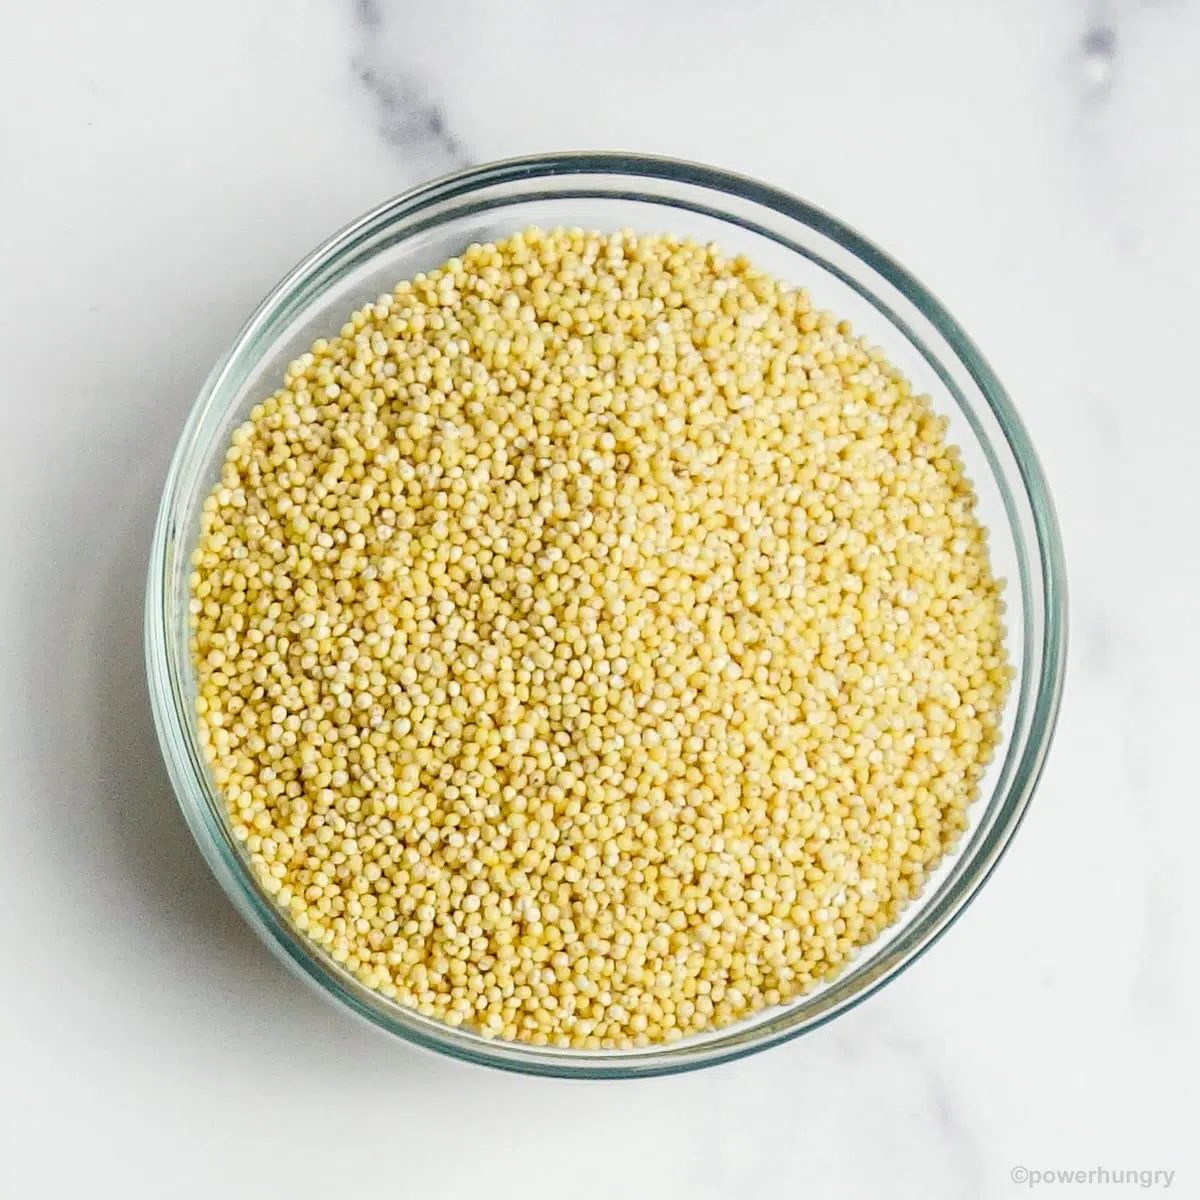
North American manufacturers do not specify the type of millet on packages (just “millet”), but various sources indicate that the only millet grown for human consumption in the United States isproso millet. If you have the choice of several millets in your country, opt for proso millet.
My oven has a convection setting. Should I use it for this bread?
No, I recommend that you do not.Convection ovens are wonderful for many types of recipes, but not every recipe. Convection ovens excel at quick, crisp cooking. They are not the right choice for long slow baking, and that is what this unconventional bread needs.
Convection ovens (or the convection oven setting) can force the outer layer of this bread to rise and separate from the inside of the bread. This will lead to several results: (1) a big bubble under the surface of the loaf; (2) a gooey middle and bottom; and (3) a hard outer crust.
This bread needs the moderate, radiant heat of a conventional (not convection) oven.
My bread came out gooey in the middle. Why?
The bread should not be gooey at all. But if it happens, possible reasons are as follows:
- Baking in a a convection oven instead of conventional oven. See the section above explaining why this makes a huge difference.
- Inaccurate measurements. Even if you have been baking since forever, it is possible that you mis-measured. It is straightforward to get distracted for a split second–it happens to everybody! If you measured using cups, I urge using a scale next time around. You will love using the scale to measure once you start.
- Oven temperature is inaccurate.I regularly check my oven temperature setting using an inexpensive oven thermometer. Check to make sure the oven is accurate before baking. If the oven is too hot, it can force a faster rise to the bread, leading to a bubble under the top of the loaf.
Can I Use Something Other than Whole Psyllium Husks?
No, for this recipe it must be whole psyllium husks. Other gelling agents, such as flaxseed meal or chia seeds, will not work as direct substitutes (they might work, but it would involve some experimenting to determine their efficacy).
I also do not recommend psyllium powder. It can work as a substitute for the whole husks in some recipes, but for some reason, it does not work well in breads such as this.
Happy baking!
Related Recipes:
- Vegan Grain-Free Pumpkin Bread {oil-free}
- 100% Millet Sandwich Bread {vegan, gluten-free, no yeast}
- Flourless Millet Oat Bread {vegan, GF, 5 ingredients}
- Carrot Cake Millet Breakfast Bars {Vegan, GF, Low Fodmap}
- Flourless Apple Millet Muffins {Vegan, Gluten-Free}
100% Millet Banana Bread (oil-free, vegan, GF)
- Prep Time: 10 minutes
- Cook Time: 1 hour
- Total Time: 1 hour
- Servings: 1 large loaf (14 slices)
Ingredients
- 2 cups uncooked millet
- 500 g mashed peeled very ripe bananas (about 2 cups)
- 1.25 cups water
- 1/2 cup coconut sugar (see notes for options)
- 1 tablespoon cider vinegar or other light-colored vinegar (see notes for options)
- 2 teaspoons vanilla extract
- 1/3 cup whole psyllium husks (not powder)
- 2 teaspoons baking powder (certified GF, as needed)
- 1.5 teaspoons ground cinnamon
- 3/4 teaspoon salt
- 1/2 teaspoon baking soda
Method
- Preheat the oven to 350F(180C). Note: do not use convection setting for this bread (see post for explanation). Line the sides of a 9×5-inch (22.5×12.5 cm) loaf baking pan (if you eat some oil, you can spray or grease the sides).
- Place the millet , bananas, water, coconut sugar , vinegar and vanilla in a blender container. Blend on high, stopping once or twice to scrape down the container, until smooth.
- Pour the batter into a large bowl . Stir in the psyllium husks, baking powder , cinnamon, baking soda , and salt until blended (it will become very thick, very quickly).
- Pour and spread the batter into the prepared loaf pan , smoothing the top.
- Bake in the preheated oven for 80 to 90 minutes until a deep golden brown and a tester inserted in the middle of the loaf comes out with only a few moist crumbs attached.
- Cool in the pan, on a cooling rack , for 15 minutes.Remove the bread from the pan and cool completely on the cooling rack before slicing.
Notes
Storage: Store the cooled bread in an airtight container at cool room temperature for 2 days, the refrigerator for 1 week, and the freezer for up to 6 months. Vinegar: Any light colored vinegar can be used in place of the cider vinegar . Or use an equal amount of lemon juice. Sugar Options: An equal amount of brown sugar or cane sugar can be used in place of the coconut sugar .